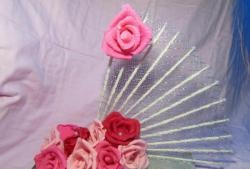
Corrugated paper rose
This master class is about giant roses made of corrugated paper. This rose will be a wonderful decoration for a photo shoot and at any occasion, be it a wedding, a birthday celebration or a party. Thanks to the description below, you can easily make a beautiful rose.
Materials for creating a rose:
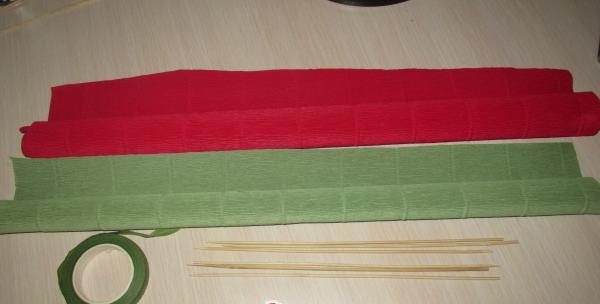
1. corrugated paper (green, crimson);
2. scissors;
3. glue;
4. tape;
5. skewers;
6. template.
Let's get started:
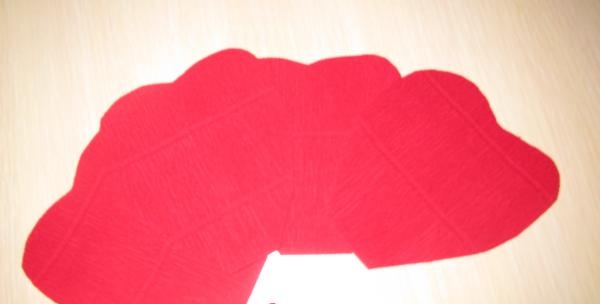
We cut out strips 10 cm wide from corrugated paper, cutting them parallel to the horizontal stripes. From these strips we cut out 15 heart-shaped petals and 5 drop-shaped petals.
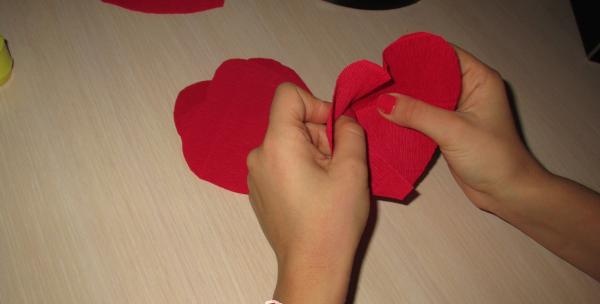
Each finished petal must be pressed inward in the middle with two thumbs, then from the resulting bulge, stretch the petal in opposite directions.
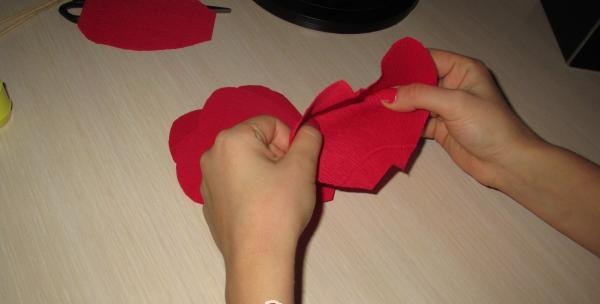
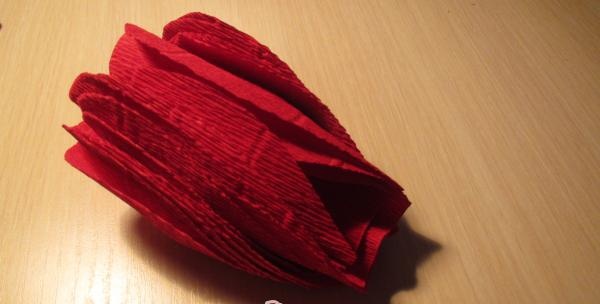
We wrap each petal on a pencil so that the petals of your rose are exactly like those of a real one. Be careful, the petal must be wrapped away from the front side of the corrugated paper.
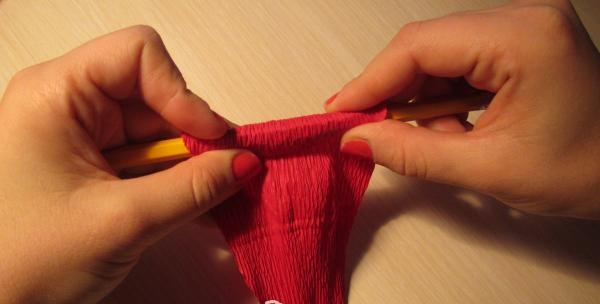
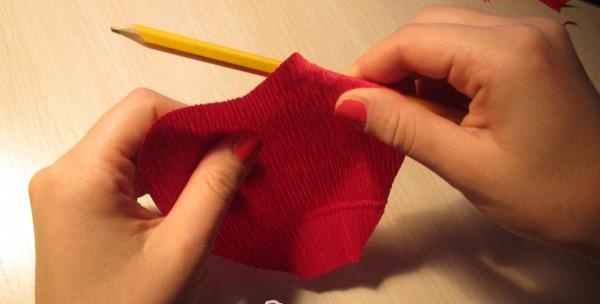
We are preparing the stem for our rose. As a stem, you can use a specially prepared stem made of wood, wire, or plastic, but in this master class, wooden skewers are used.
We wrap three skewers with light green tape.
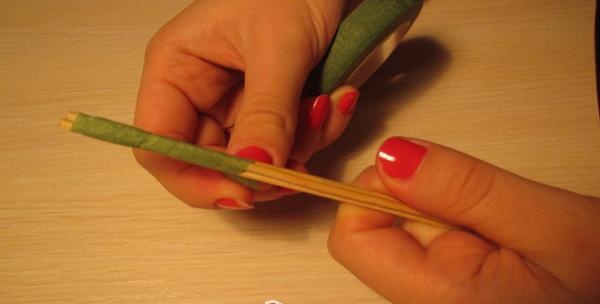
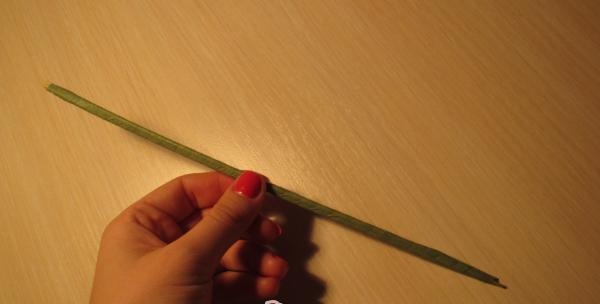
Let's start making our bud. First of all, we wrap the top of our trunk with pink corrugated paper so that it is not visible inside the bud. Next, we attach drop-shaped petals to the base, and then heart-shaped petals.
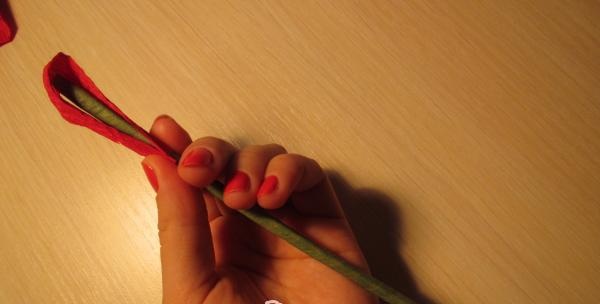
We form a rose bud and secure each petal with tape.
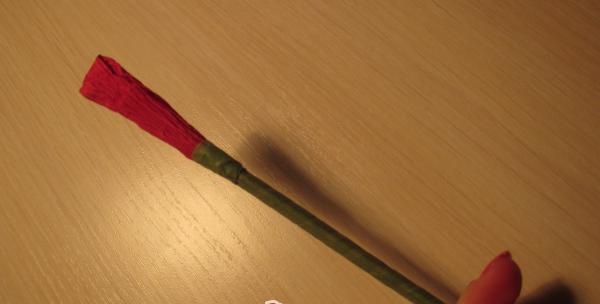
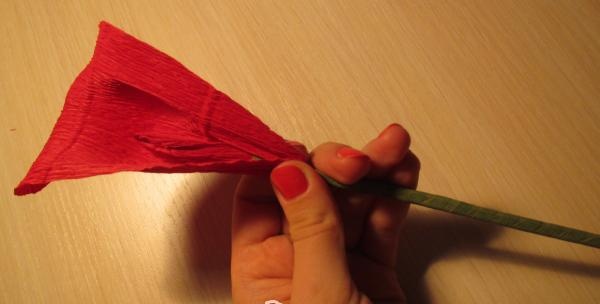
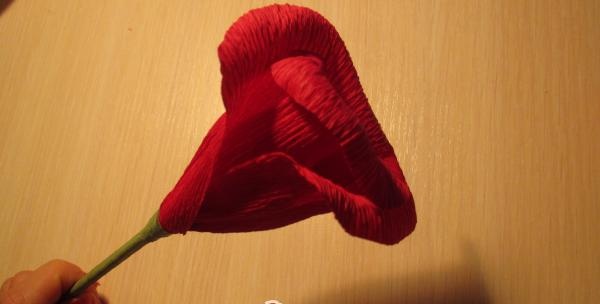
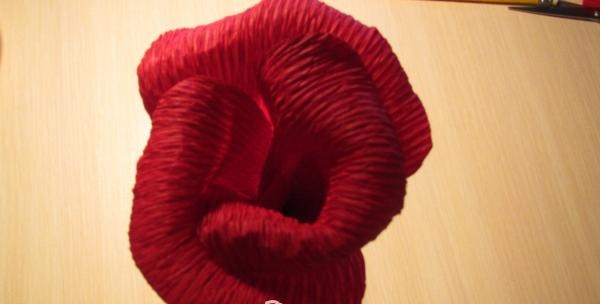
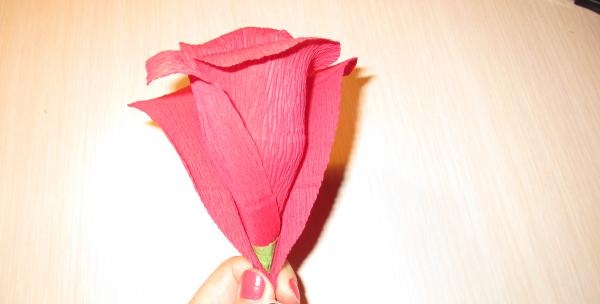
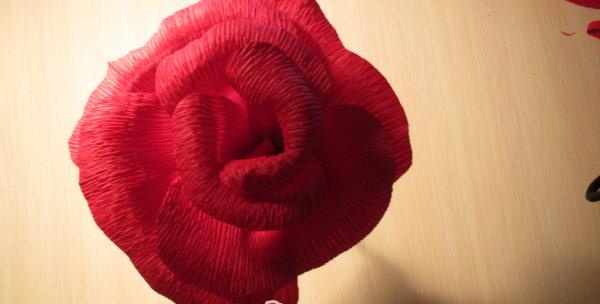
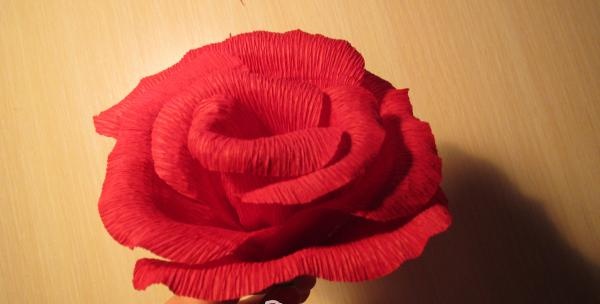
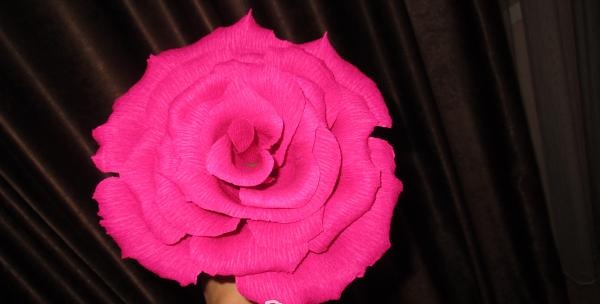
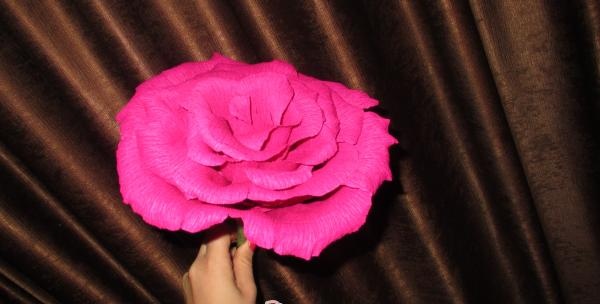
To give our almost finished rose a more natural look, we’ll make a border of petals for it.
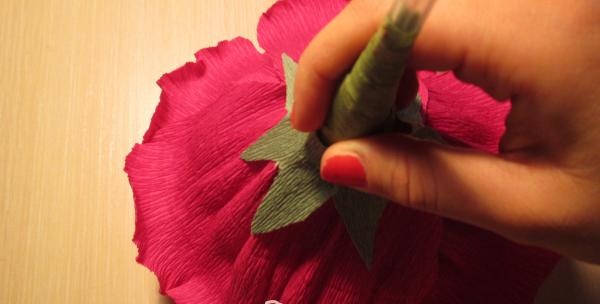
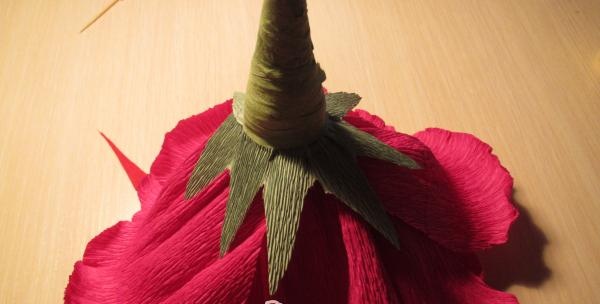
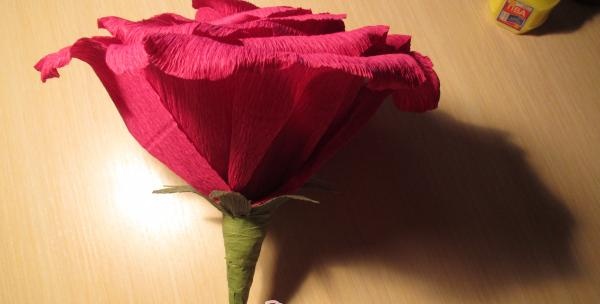
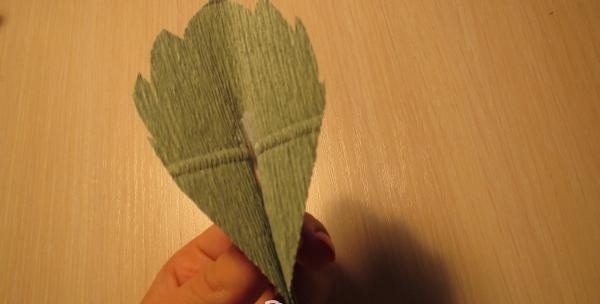
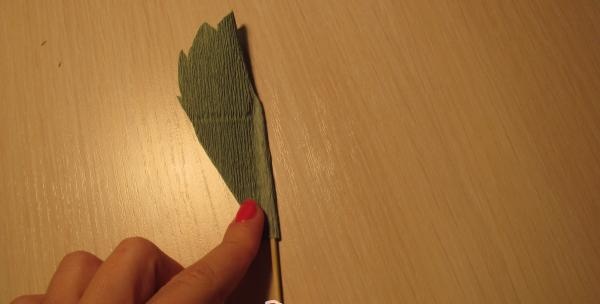
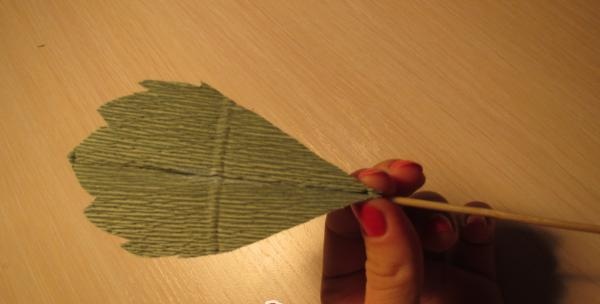
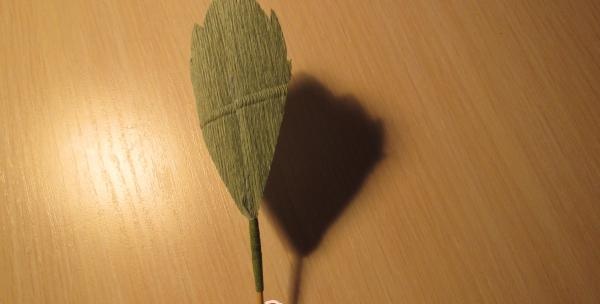
The last details in our rose are the petals. We attach them to the stem and secure them with tape.
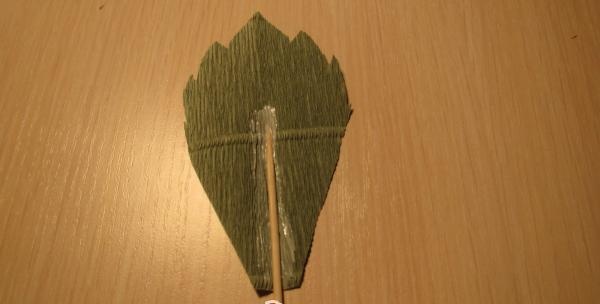
Our rose is ready!
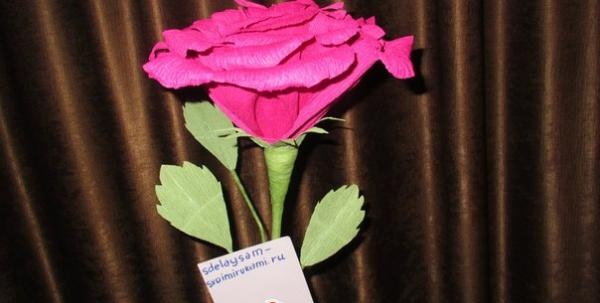
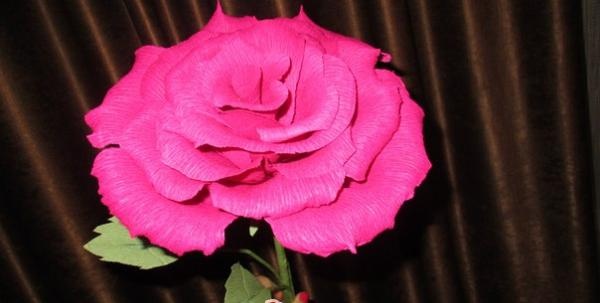
I wish you success in your creative work!
Materials for creating a rose:

1. corrugated paper (green, crimson);
2. scissors;
3. glue;
4. tape;
5. skewers;
6. template.
Let's get started:
We cut out strips 10 cm wide from corrugated paper, cutting them parallel to the horizontal stripes. From these strips we cut out 15 heart-shaped petals and 5 drop-shaped petals.

Each finished petal must be pressed inward in the middle with two thumbs, then from the resulting bulge, stretch the petal in opposite directions.


We wrap each petal on a pencil so that the petals of your rose are exactly like those of a real one. Be careful, the petal must be wrapped away from the front side of the corrugated paper.


We are preparing the stem for our rose. As a stem, you can use a specially prepared stem made of wood, wire, or plastic, but in this master class, wooden skewers are used.
We wrap three skewers with light green tape.


Let's start making our bud. First of all, we wrap the top of our trunk with pink corrugated paper so that it is not visible inside the bud. Next, we attach drop-shaped petals to the base, and then heart-shaped petals.

We form a rose bud and secure each petal with tape.


To give our almost finished rose a more natural look, we’ll make a border of petals for it.


The last details in our rose are the petals. We attach them to the stem and secure them with tape.


Our rose is ready!


I wish you success in your creative work!
Similar master classes
Particularly interesting
Comments (2)


