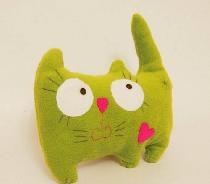
Cute turtle
Does your child love toys? Every mother tries to pamper her child with new soft friends. Imagine how nice it will be for a child to receive a toy that his mother made herself and especially for him. Now I will show you how to make an interesting cute turtle that your baby will enjoy and not get bored playing with.
To create a turtle you will need:
• Threads of the same thickness, but different colors and shades. I used small skeins that were left over from previous products - it’s very convenient and practical, by the way.
• Hook and scissors.
• Needle and thread for stitching parts.
• Synthetic fluff for stuffing.
• Large black beads or small beads for eyes.
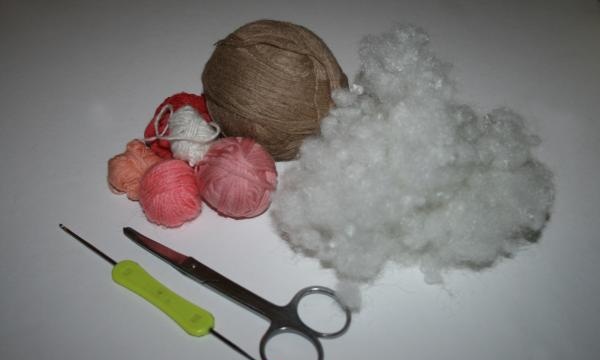
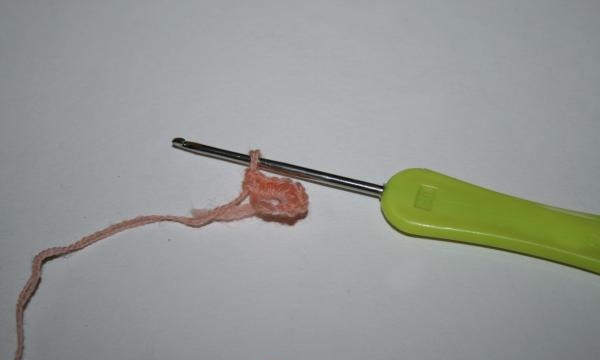
All parts will be knitted approximately the same way, some will be larger, some smaller, but the beginning will always be the same - the Amigurumi loop. We start knitting from the shell. It’s easier to build on it so that all other parts are the same size. We make a loop and tie it with six stitches.
Next we knit three more rows, with the usual additions, to make a small pancake.We are already starting to knit the fourth row with a thread of a different color.
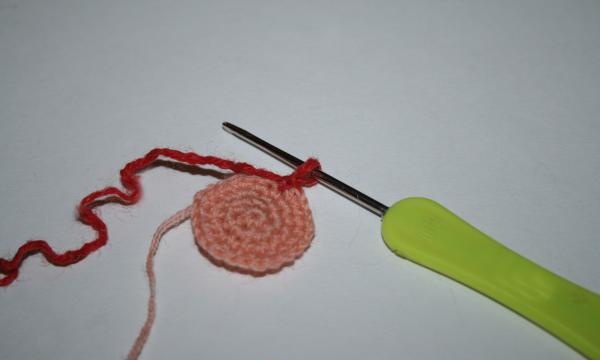
Having finished the contrast row, we again return to the thread of the previous color.
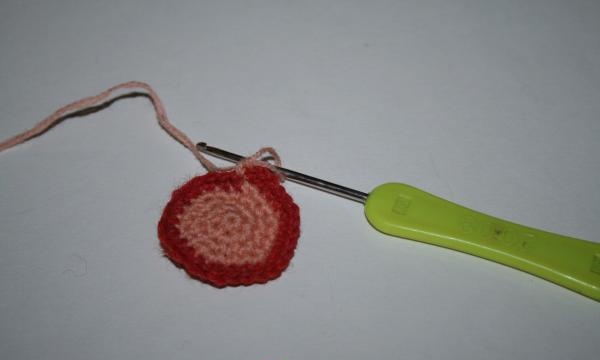
We make another row and tie a new color, and cut off the old thread, it will no longer be needed.
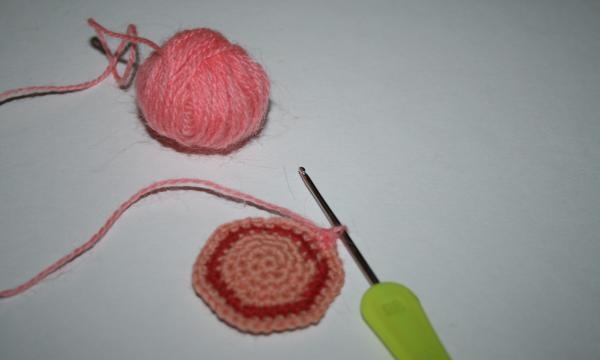
Thus, we make rings of different colors so that the shell is striped.
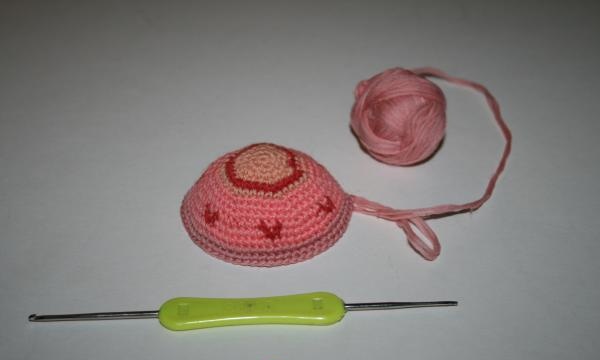
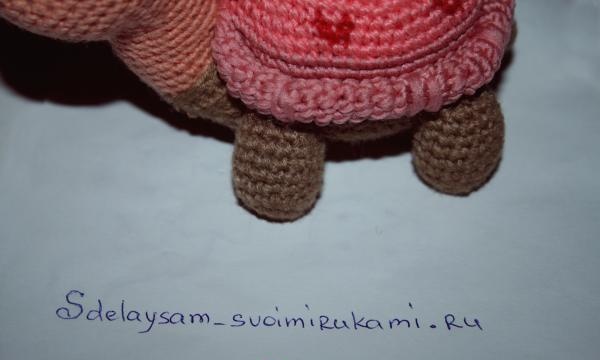
In approximately the same way, only without the stripes, we knit the turtle’s head, belly, four legs and tail. We stuff all the parts with padding and sew them together.
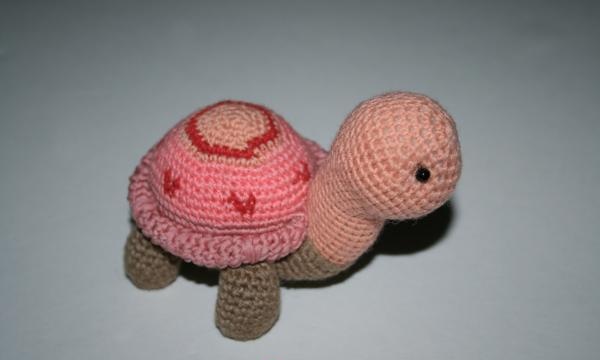
It turned out to be such a wonderful turtle. This toy will undoubtedly become one of your baby's favorites. Experiment with colors and pamper your beloved child, he will be very grateful to you.
To create a turtle you will need:
• Threads of the same thickness, but different colors and shades. I used small skeins that were left over from previous products - it’s very convenient and practical, by the way.
• Hook and scissors.
• Needle and thread for stitching parts.
• Synthetic fluff for stuffing.
• Large black beads or small beads for eyes.

All parts will be knitted approximately the same way, some will be larger, some smaller, but the beginning will always be the same - the Amigurumi loop. We start knitting from the shell. It’s easier to build on it so that all other parts are the same size. We make a loop and tie it with six stitches.

Next we knit three more rows, with the usual additions, to make a small pancake.We are already starting to knit the fourth row with a thread of a different color.

Having finished the contrast row, we again return to the thread of the previous color.

We make another row and tie a new color, and cut off the old thread, it will no longer be needed.

Thus, we make rings of different colors so that the shell is striped.

In approximately the same way, only without the stripes, we knit the turtle’s head, belly, four legs and tail. We stuff all the parts with padding and sew them together.

It turned out to be such a wonderful turtle. This toy will undoubtedly become one of your baby's favorites. Experiment with colors and pamper your beloved child, he will be very grateful to you.

Similar master classes
Particularly interesting
Comments (0)


