Pencil holder
I suggest you make a pencil holder with your own hands. Moreover, it can be done together with your child (if you have one and have reached an age when you can not be afraid to pick up scissors and glue).
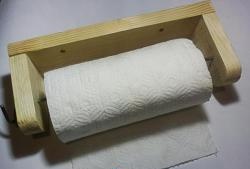
So let's get started! You and I will need very little, very ordinary things: tubes of toilet paper and paper towels, thick cardboard, colored paper, scissors, glue, tape and ribbons with pebbles for decoration.
Let's take the tubes and cut them so that we get three different sizes. Next, cut out a stand from thick cardboard. Mine is square, but you can make it in any other shape. To make it look better, wrap it in beautiful paper using double-sided tape. You can also use glue, depending on your preference.
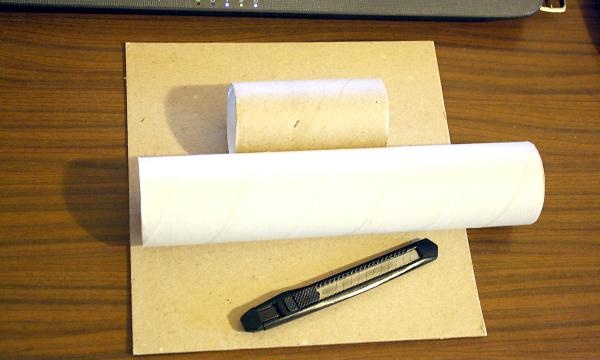
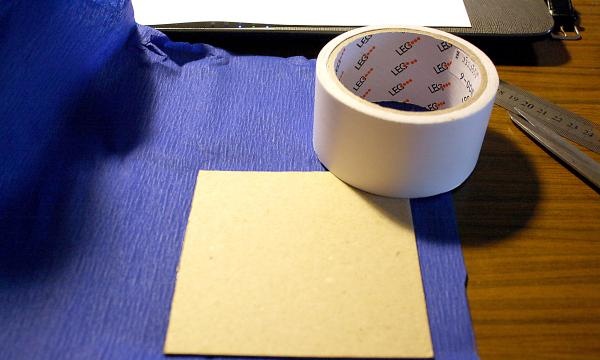
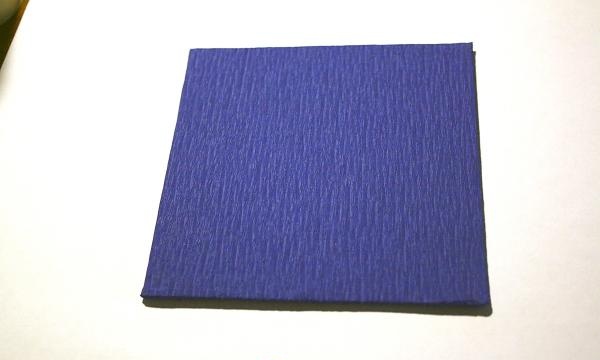
Alright, the base is ready. We take the tubes and cover them with colored paper. In any way known to you. Please note that you won’t have to process them inside; paper towel manufacturers did the job for us. The simplest paper for wrapping gifts is used here. There are many options for colors and shades.You can also use the wallpaper left over after the renovation, if you have any lying around on the mezzanine.
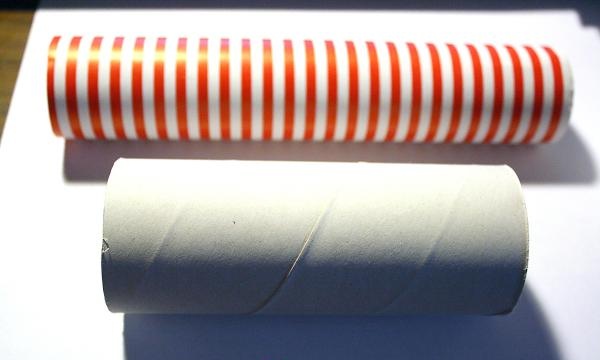
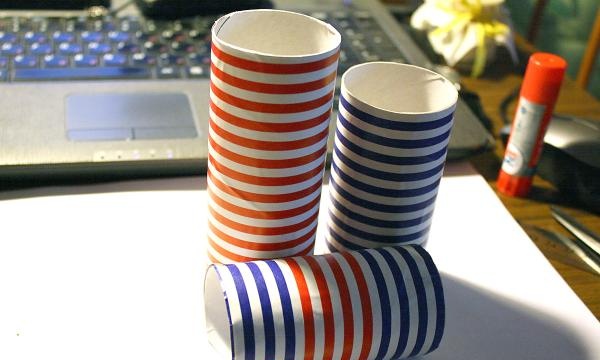
Done. Next we connect our tubes with the stand. This is the most crucial moment, since you need to connect it firmly and carefully, so that there is no shame in the seam, and so that the tube still stands in its place. I used hot glue.
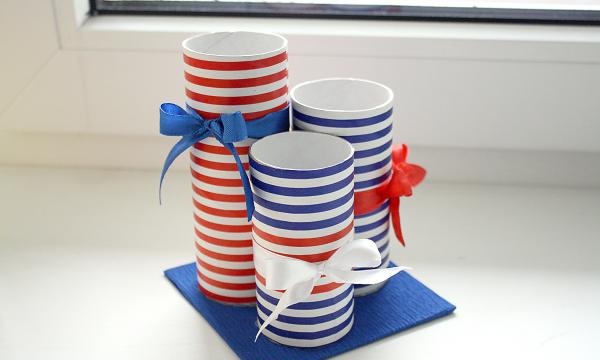
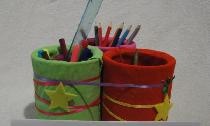
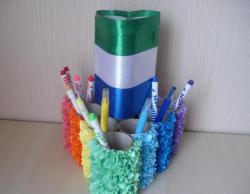
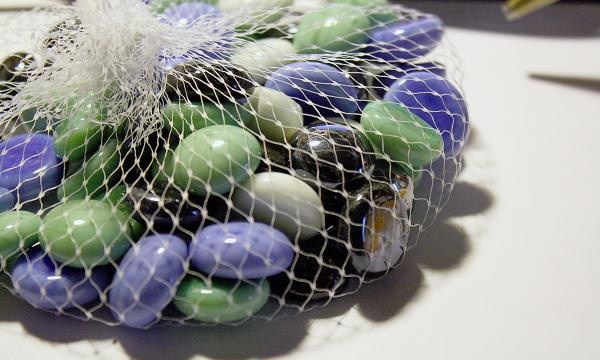
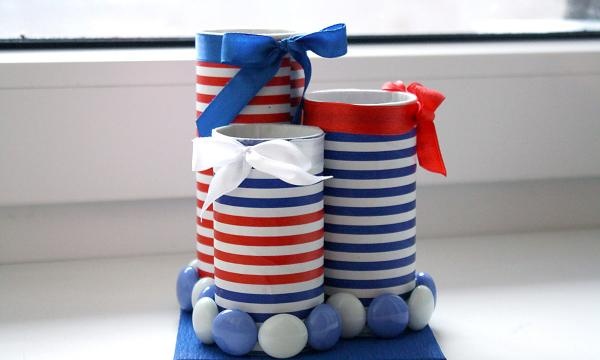
And then the most creative part of the work begins. Let's decorate our stand! Here you are limited only by your imagination. You can use whatever you want - sequins, ribbons, figures, pebbles, shells, etc. The main thing is to stick to the chosen direction. I decided to use ribbons. It doesn’t look bad, but there weren’t enough of them and glass pebbles were used.
Ready! Our pencil organizer can be used for its intended purpose.
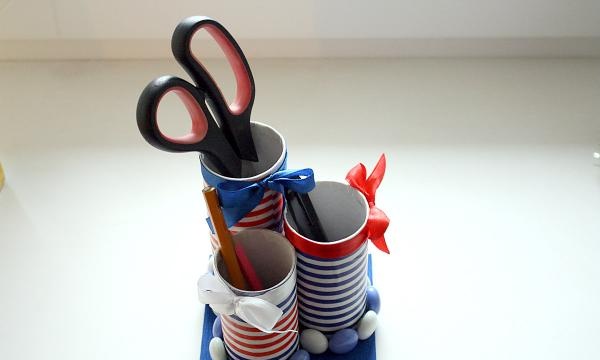
Inspiration to you!
So let's get started! You and I will need very little, very ordinary things: tubes of toilet paper and paper towels, thick cardboard, colored paper, scissors, glue, tape and ribbons with pebbles for decoration.
Let's take the tubes and cut them so that we get three different sizes. Next, cut out a stand from thick cardboard. Mine is square, but you can make it in any other shape. To make it look better, wrap it in beautiful paper using double-sided tape. You can also use glue, depending on your preference.


Alright, the base is ready. We take the tubes and cover them with colored paper. In any way known to you. Please note that you won’t have to process them inside; paper towel manufacturers did the job for us. The simplest paper for wrapping gifts is used here. There are many options for colors and shades.You can also use the wallpaper left over after the renovation, if you have any lying around on the mezzanine.


Done. Next we connect our tubes with the stand. This is the most crucial moment, since you need to connect it firmly and carefully, so that there is no shame in the seam, and so that the tube still stands in its place. I used hot glue.

And then the most creative part of the work begins. Let's decorate our stand! Here you are limited only by your imagination. You can use whatever you want - sequins, ribbons, figures, pebbles, shells, etc. The main thing is to stick to the chosen direction. I decided to use ribbons. It doesn’t look bad, but there weren’t enough of them and glass pebbles were used.

Ready! Our pencil organizer can be used for its intended purpose.


Inspiration to you!
Similar master classes
Particularly interesting
Comments (2)

