Original pencil stand
Today, many household items are presented in stores in a wide range, but truly interesting, beautiful and creative things can be made with your own hands. I suggest you make an excellent stand for pencils, markers, scissors and other small items - with your own hands.
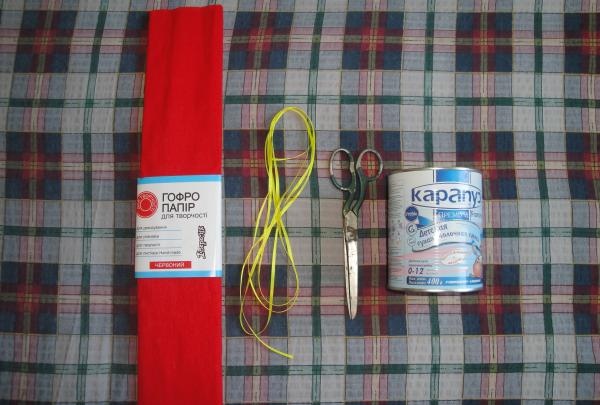
For crafts You will need:
1. Large tin can. It is best to take a baby food jar, as it does not have sharp edges and is quite capacious.
2. Corrugated paper.
3. Scissors.
4. Colored ribbons.
5. Those decorations with which you want to decorate the finished product.
So let's get to work.
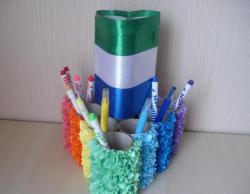
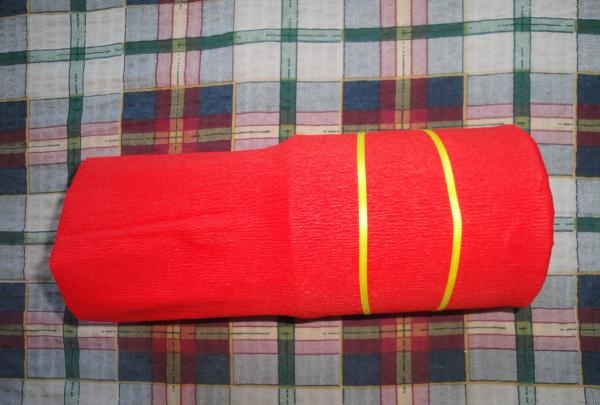
Measure the circumference of the jar, now cut a sheet of corrugated paper 3-4 cm larger than this circumference. Fold the cut sheet in half and wrap it around the jar.
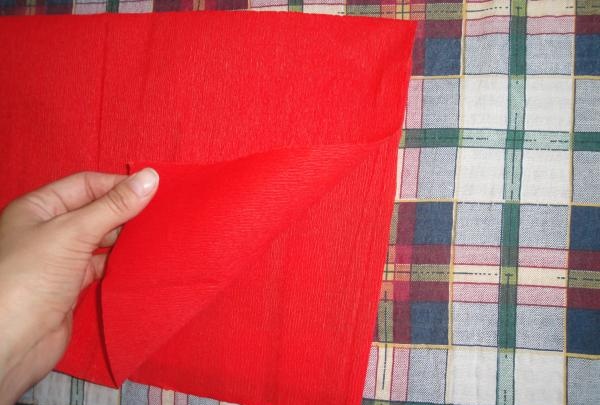
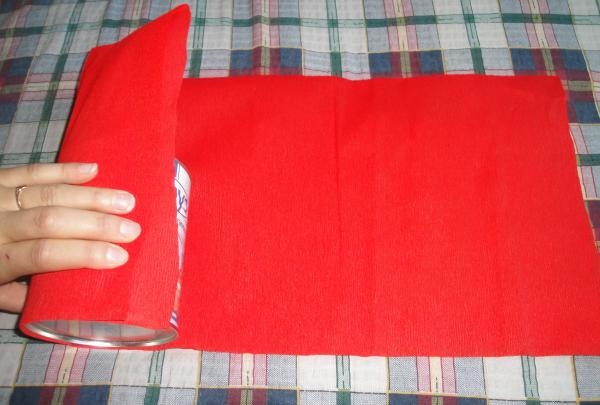
In order to secure the paper, it is better not to use glue - the paper is thin and it can leave unsightly marks on it. In my work I used ribbons. Choose beautiful, narrow ribbons that create a strong contrast on the paper. Wrap them around the jar several times and tie them neatly.
The protruding edge of the paper needs to be folded inside the jar and thoroughly smoothed around the walls.
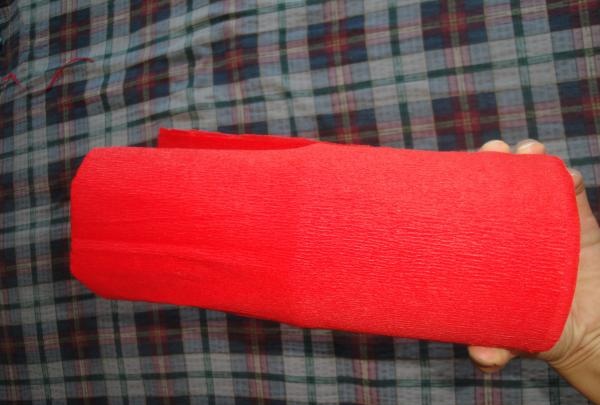
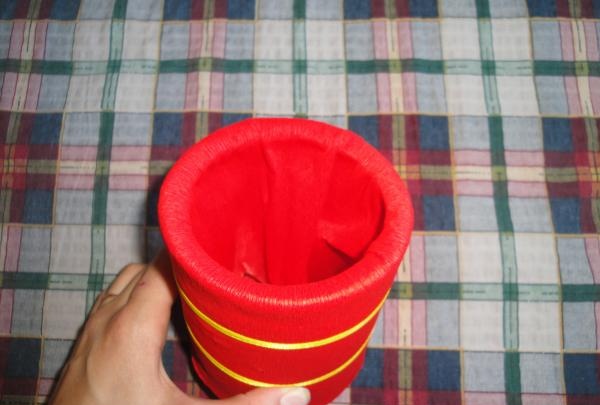
In total you need to make three such stands; when they are ready, take them and place them in a triangle. Now wrap three cans very tightly at the top and bottom with long ribbons, tie the ribbons in a strong knot. Ask someone to help you, as doing this alone is very difficult.
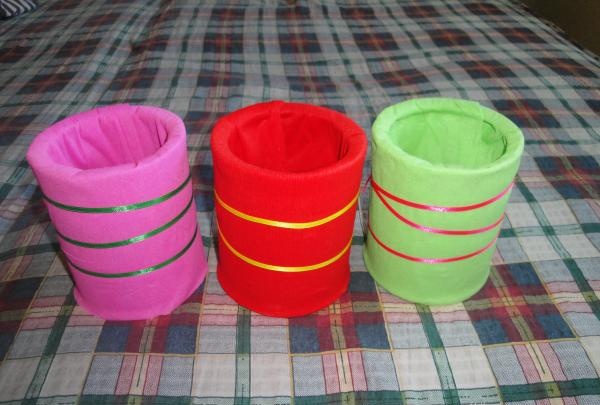
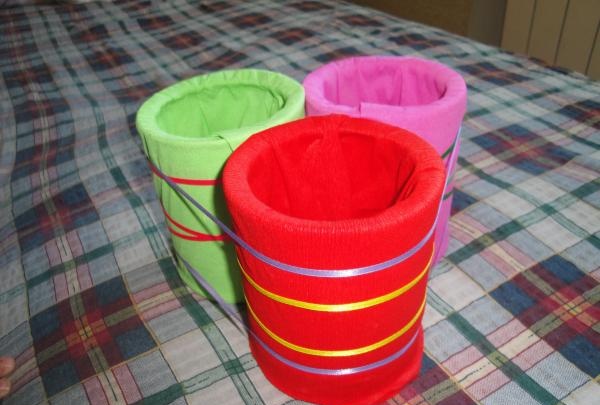
In order to decorate your work, you can use any options. These could be: bows, bright buttons sewn to ribbons, self-adhesive stars, flowers, hearts. In general, everything that your imagination is enough for.
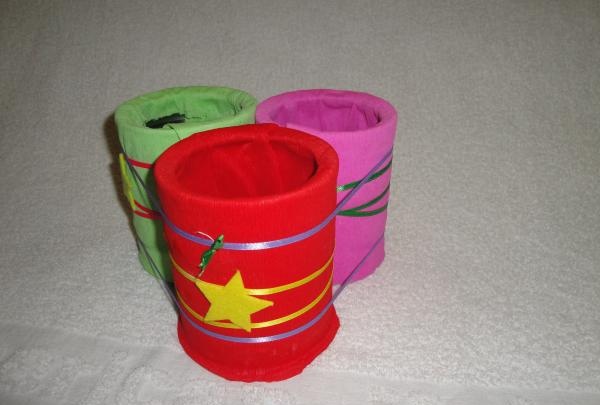
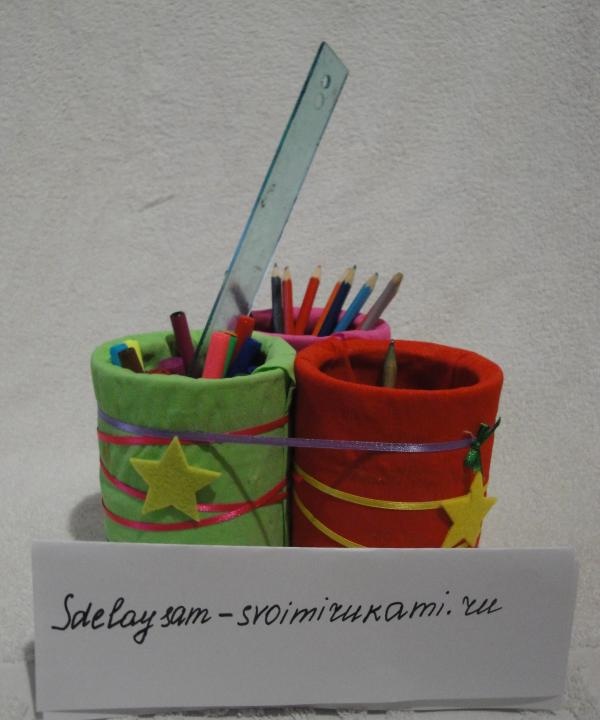
In this interesting trio you can place a small pot with a houseplant, pencils, rulers, and thus create an interesting composition on your desktop.

For crafts You will need:
1. Large tin can. It is best to take a baby food jar, as it does not have sharp edges and is quite capacious.
2. Corrugated paper.
3. Scissors.
4. Colored ribbons.
5. Those decorations with which you want to decorate the finished product.
So let's get to work.
Measure the circumference of the jar, now cut a sheet of corrugated paper 3-4 cm larger than this circumference. Fold the cut sheet in half and wrap it around the jar.


In order to secure the paper, it is better not to use glue - the paper is thin and it can leave unsightly marks on it. In my work I used ribbons. Choose beautiful, narrow ribbons that create a strong contrast on the paper. Wrap them around the jar several times and tie them neatly.
The protruding edge of the paper needs to be folded inside the jar and thoroughly smoothed around the walls.


In total you need to make three such stands; when they are ready, take them and place them in a triangle. Now wrap three cans very tightly at the top and bottom with long ribbons, tie the ribbons in a strong knot. Ask someone to help you, as doing this alone is very difficult.


In order to decorate your work, you can use any options. These could be: bows, bright buttons sewn to ribbons, self-adhesive stars, flowers, hearts. In general, everything that your imagination is enough for.


In this interesting trio you can place a small pot with a houseplant, pencils, rulers, and thus create an interesting composition on your desktop.
Similar master classes
Particularly interesting
Comments (0)


