Thread box
Beautiful and convenient boxes for storing various trinkets are always needed in the house. For example, I like to knit, but over the years of doing this hobby I have collected a lot of leftover yarn, which, on the one hand, I need, but on the other hand, they constantly lie in the wrong place and get tangled. I needed a box in which I would put all the threads, in which they would not get tangled, they would all be in one place and always at hand. I didn’t want to use an ordinary cardboard shoe box, because, firstly, none of them fit in size, and secondly, a cardboard box immediately spoils the interior, making it look cheap and cluttered. That's why my husband made me a beautiful wooden box with an original metal-plastic lid.
To create the box, we needed a 2 cm thick board, 2 sheets of metal-plastic, 9 self-tapping screws, and a grinding attachment for an angle grinder.
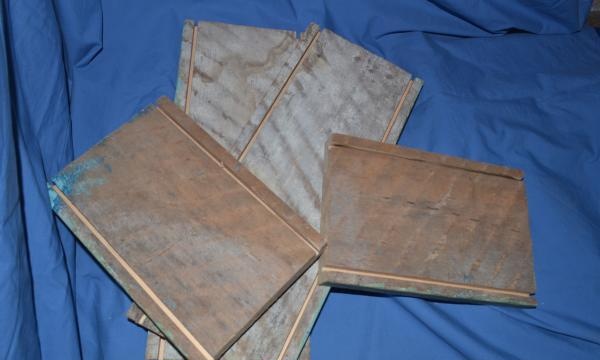
1. Cut out 4 sides from the board. Two of them measure 40 by 15 cm, two more – 25 by 15 cm.
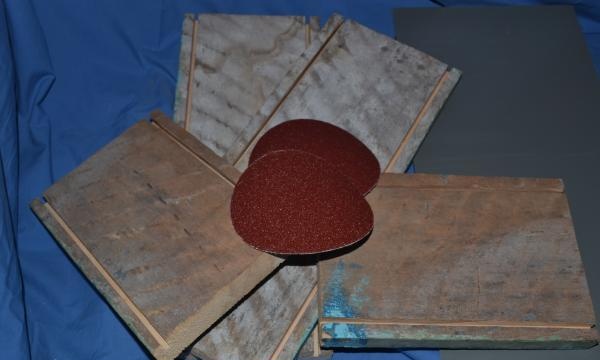
2. On each board, make grooves at the top and bottom at a distance of 1 cm from the edge.
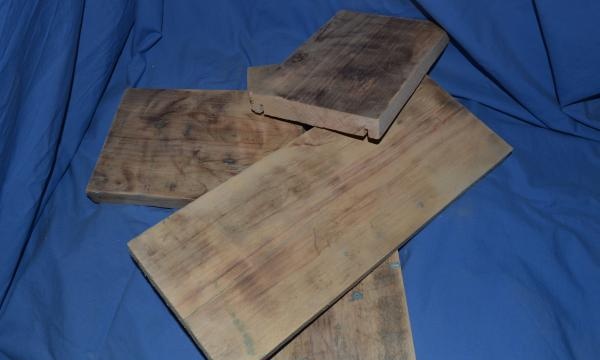
3. On one small side on top we do not make a groove, but cut off the strip at a distance of 1 cm from the edge.
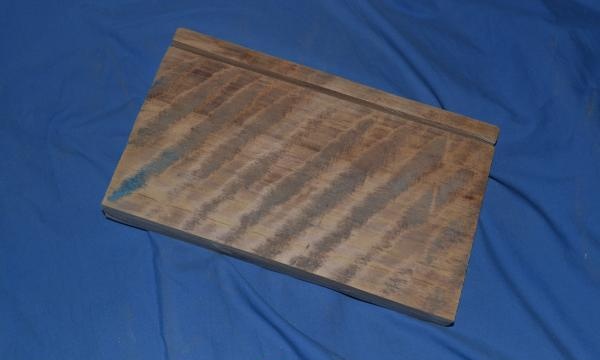
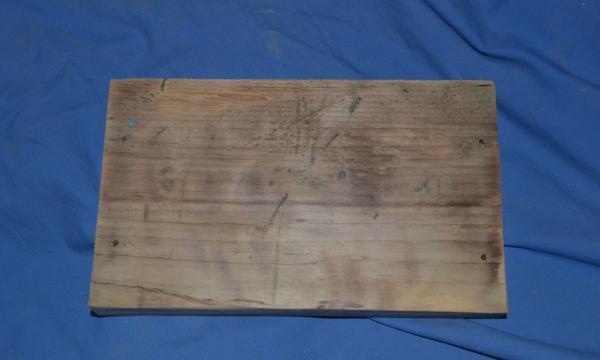
4.Using a grinder and a sanding attachment, we sand all the parts.
5. We begin to assemble the box. Using self-tapping screws, fasten the three walls. Attention, since our walls are quite thin, we first drill holes with a drill 1 mm thinner than the thickness of the self-tapping screw. We screw the screws into the holes. We screw in 2 screws on each side - top and bottom.
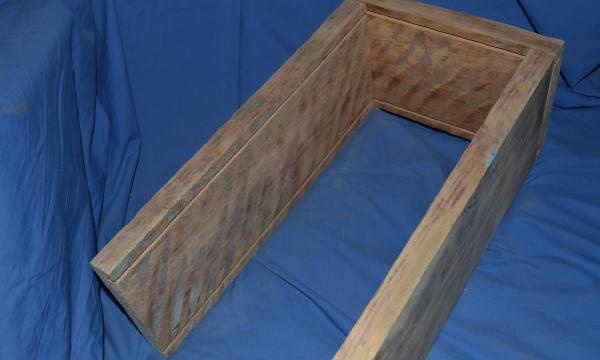
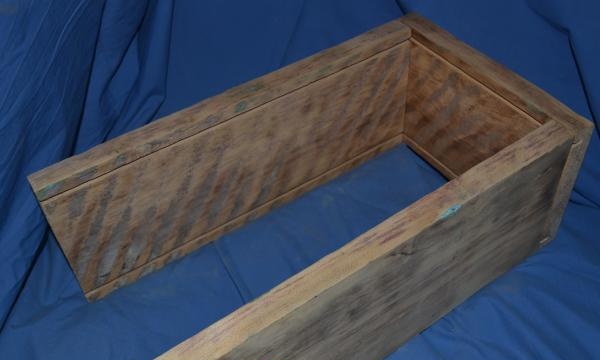
6. Cut out the bottom and lid from metal-plastic with parameters 38 by 23 cm.
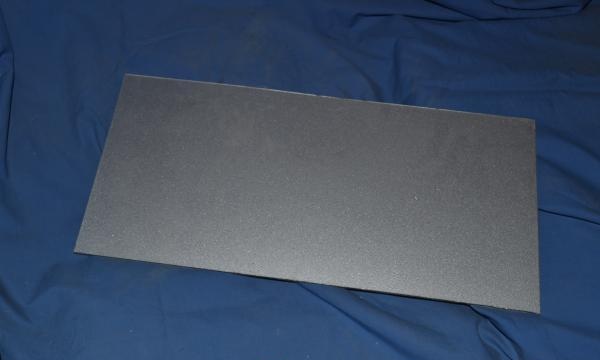
7. Insert the bottom into the grooves.
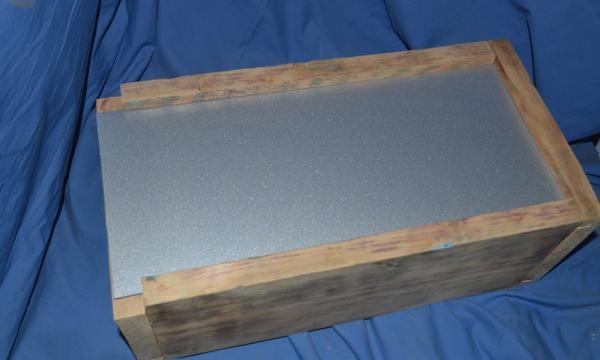
8. Screw on the fourth side (with the cut edge).
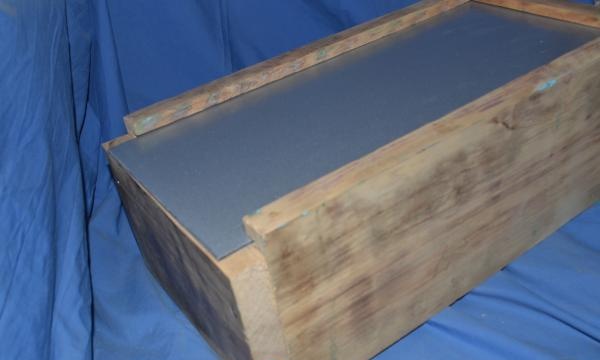
9. Making a handle. It can be cut from a plank, or you can buy a ready-made handle.
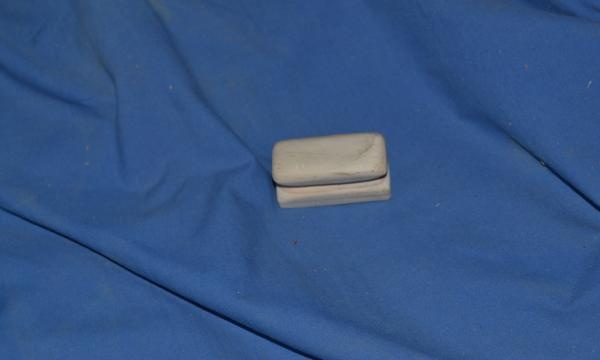
10. Place marks on the lid where the handle will be and drill holes. Screw on the handle.
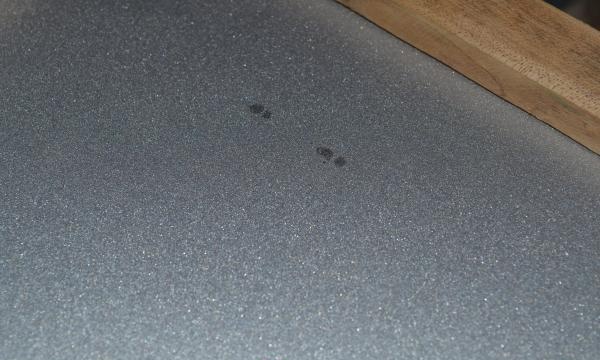
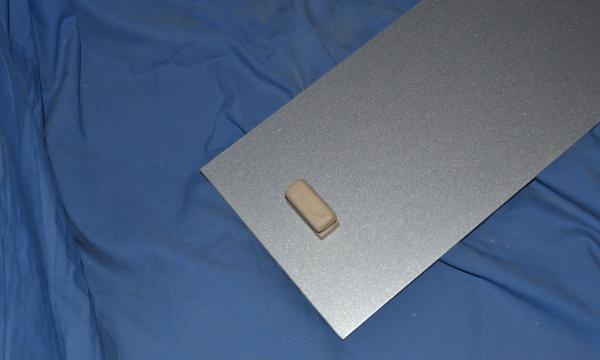
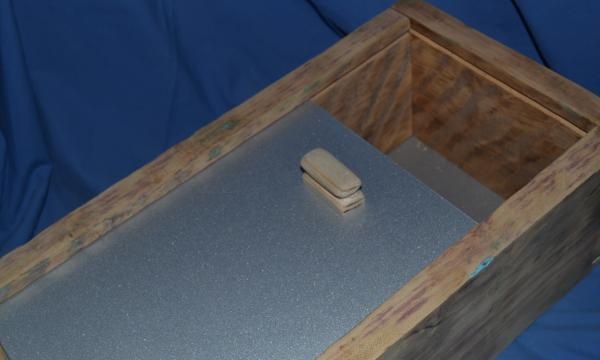
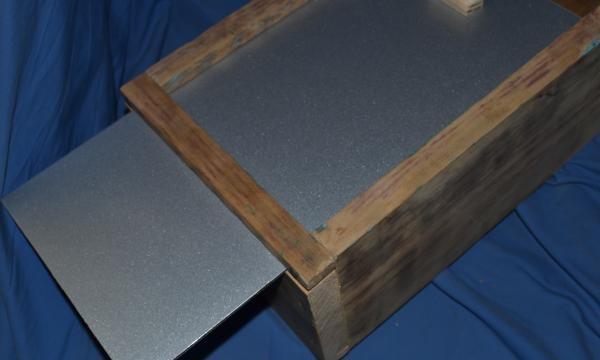
11. Insert the cover into the grooves. We fasten the bar that remains from the side.
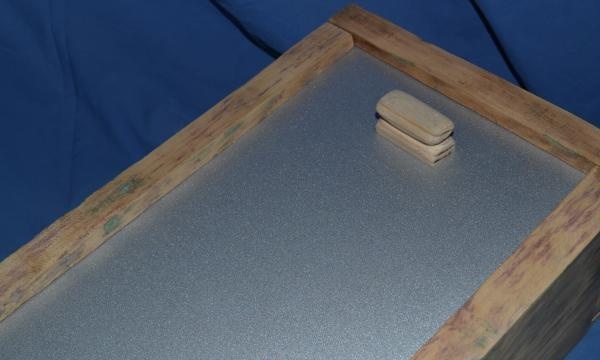
Our box is ready. You can put not only threads in it, but also other small items - cosmetics, jewelry, stationery, small children's toys, etc.
To create the box, we needed a 2 cm thick board, 2 sheets of metal-plastic, 9 self-tapping screws, and a grinding attachment for an angle grinder.

1. Cut out 4 sides from the board. Two of them measure 40 by 15 cm, two more – 25 by 15 cm.

2. On each board, make grooves at the top and bottom at a distance of 1 cm from the edge.

3. On one small side on top we do not make a groove, but cut off the strip at a distance of 1 cm from the edge.


4.Using a grinder and a sanding attachment, we sand all the parts.
5. We begin to assemble the box. Using self-tapping screws, fasten the three walls. Attention, since our walls are quite thin, we first drill holes with a drill 1 mm thinner than the thickness of the self-tapping screw. We screw the screws into the holes. We screw in 2 screws on each side - top and bottom.


6. Cut out the bottom and lid from metal-plastic with parameters 38 by 23 cm.

7. Insert the bottom into the grooves.

8. Screw on the fourth side (with the cut edge).

9. Making a handle. It can be cut from a plank, or you can buy a ready-made handle.

10. Place marks on the lid where the handle will be and drill holes. Screw on the handle.


11. Insert the cover into the grooves. We fasten the bar that remains from the side.

Our box is ready. You can put not only threads in it, but also other small items - cosmetics, jewelry, stationery, small children's toys, etc.


Similar master classes
Particularly interesting
Comments (1)


