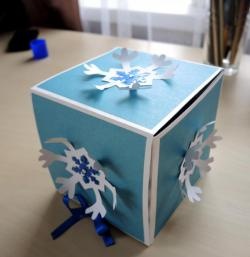
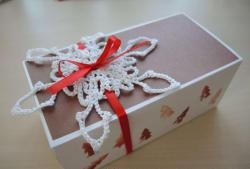
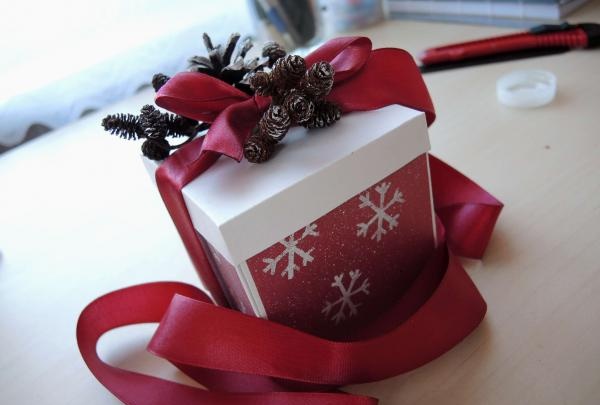
Miniature gift box
Simple and tasteful. Natural materials are used in production. Ideal for packaging homemade cookies or a little surprise.
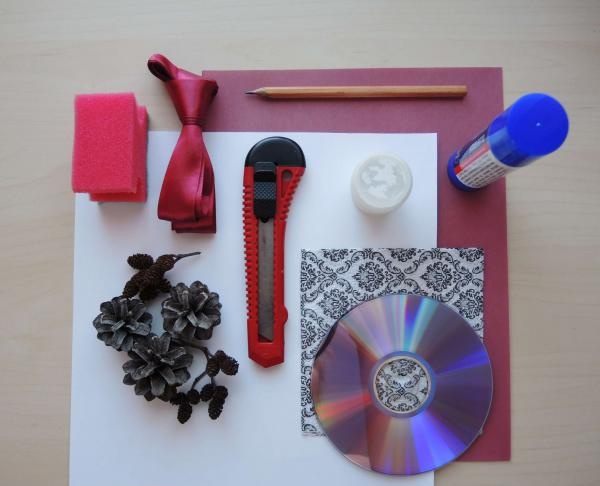
We will need:
- Whatman
- Satin ribbon
- Colored paper
- White gouache
- Sponge
- Unnecessary toothbrush
- Stationery knife
- Glue
- Old DVD disc
- Cones
- A napkin that can be used to line the inside of the box
- Scissors.
Let's get started.
Using the pattern below, we draw the outline of the box and the lid. Note that the lid should be a couple of millimeters larger than the box itself.
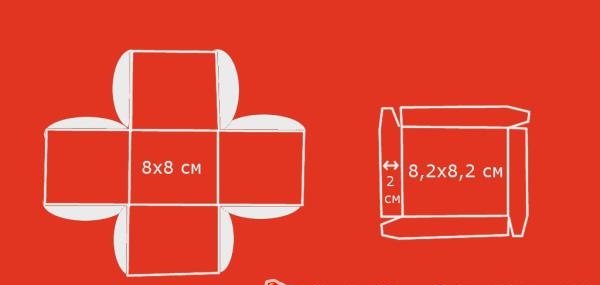
We will need the disk to draw curves. You can, of course, use a compass, but this method is much easier and faster.
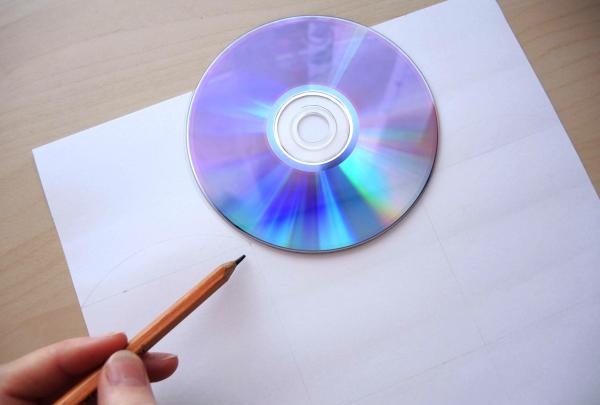
Cut out the box, as well as four squares of colored paper measuring approximately 7.8 x 7.8 cm.
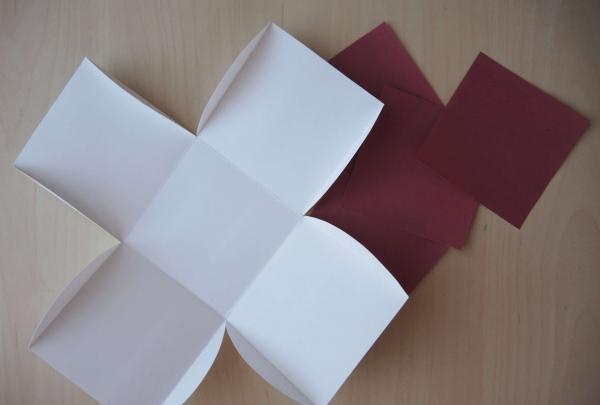
Glue them to the sides of the future box.
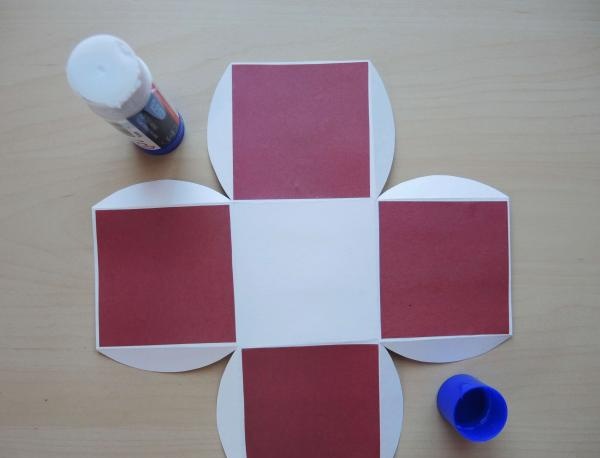
Draw a snowflake on a small piece of cardboard. Just don’t place it at the very edge - this will create inconvenience in the future.

Use a knife to cut out the silhouette of a snowflake.
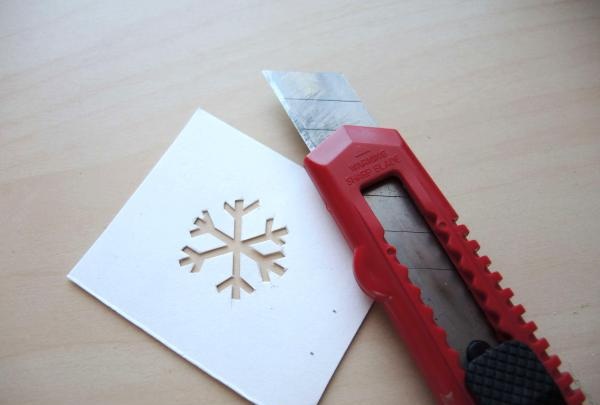
Now, using the stencil we made, white gouache and a sponge, we decorate the box.
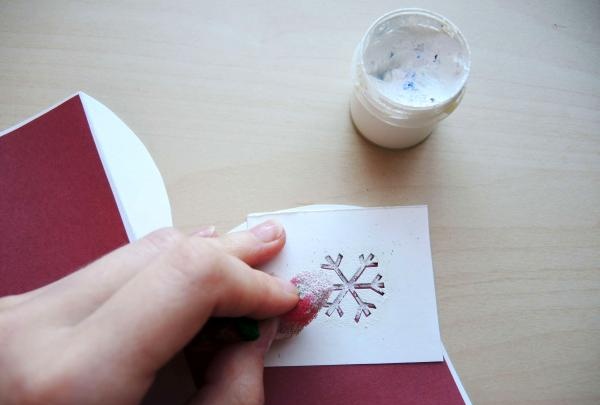
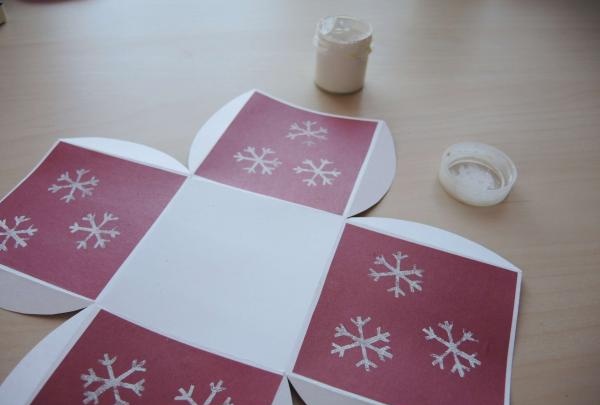
You can add “snow” with a toothbrush. To do this, you just need to put white gouache on a brush moistened with a drop of water and “spray” the paint.Next, we cut out the lid of the box, glue it and put everything together. There is no need to glue the box itself, just put on the lid.
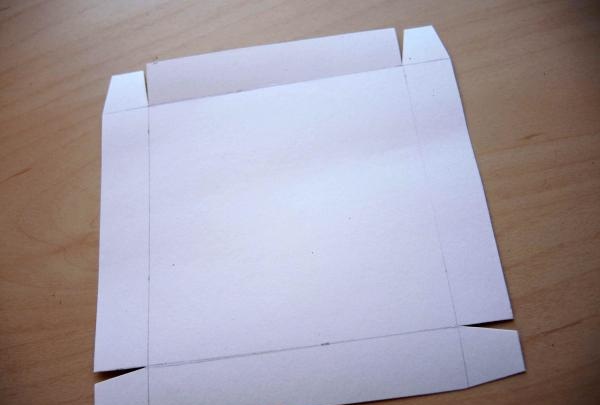
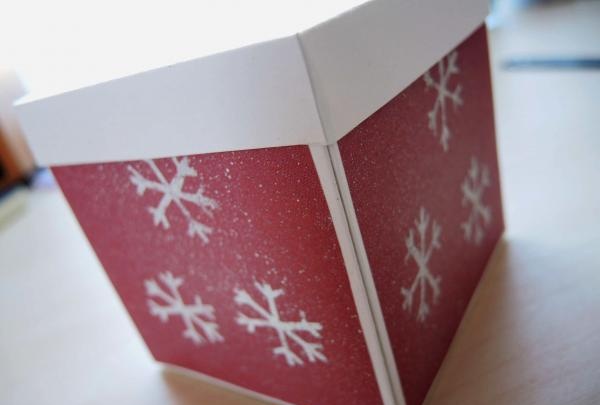
Using the same sponge and white gouache, we will decorate the cones.
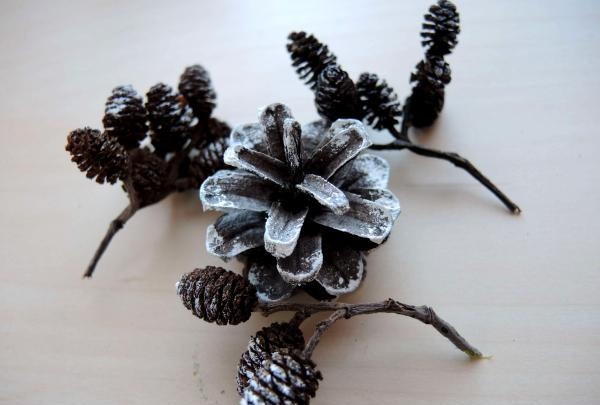
We tie the box with a ribbon and attach the pine cones to the lid. So your small but cute gift wrapping is ready!
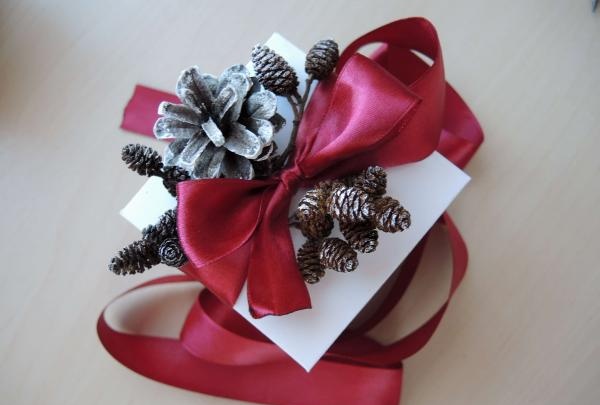

Happy holidays to you!

We will need:
- Whatman
- Satin ribbon
- Colored paper
- White gouache
- Sponge
- Unnecessary toothbrush
- Stationery knife
- Glue
- Old DVD disc
- Cones
- A napkin that can be used to line the inside of the box
- Scissors.

Let's get started.
Using the pattern below, we draw the outline of the box and the lid. Note that the lid should be a couple of millimeters larger than the box itself.

We will need the disk to draw curves. You can, of course, use a compass, but this method is much easier and faster.

Cut out the box, as well as four squares of colored paper measuring approximately 7.8 x 7.8 cm.

Glue them to the sides of the future box.

Draw a snowflake on a small piece of cardboard. Just don’t place it at the very edge - this will create inconvenience in the future.

Use a knife to cut out the silhouette of a snowflake.

Now, using the stencil we made, white gouache and a sponge, we decorate the box.


You can add “snow” with a toothbrush. To do this, you just need to put white gouache on a brush moistened with a drop of water and “spray” the paint.Next, we cut out the lid of the box, glue it and put everything together. There is no need to glue the box itself, just put on the lid.


Using the same sponge and white gouache, we will decorate the cones.

We tie the box with a ribbon and attach the pine cones to the lid. So your small but cute gift wrapping is ready!


Happy holidays to you!
Similar master classes
Particularly interesting
Comments (1)

