The bow tie
Regardless of what means a person has, he still wants to look stately and elegant. In addition, no weather can prevent you from looking appropriate, the main thing is that you have the desire to do everything for your appearance. After all, how impressive you will look in society depends on the small details of your clothes, and the accessories that are successfully selected for them.
Whether it's a ball or a regular party, you have to look chic! To do this, you don’t have to buy new things, you can just add something to your formal weekend suit, for example, a blouse. If you have a wonderful collared blouse, but don't know what you can add to it to make it look unusual, then this is not a problem! You can make your own bow tie.
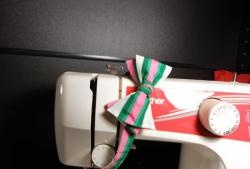
The bow tie is a pretty popular trend these days. An ordinary purchased butterfly will not be so elegant and unusual, but, as far as we know, everything is in our hands, so let’s not let them down, but quickly create a masterpiece with them.
To make a bow tie we will need the following materials and tools: wide satin ribbon (width - 5-6 cm, length - half a meter), thin satin ribbon (length - up to a meter, width - 0.5-1 cm), threads with a needle, scissors, glue, clear nail polish, glue glitter (two colors), special hooks for a bow tie.
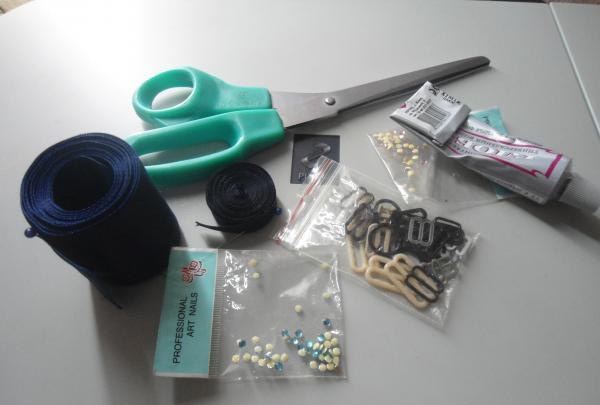
Now let's start working on our tie. First of all, we cut our wide satin ribbon so that one part of it is larger than four fingers of our hand.
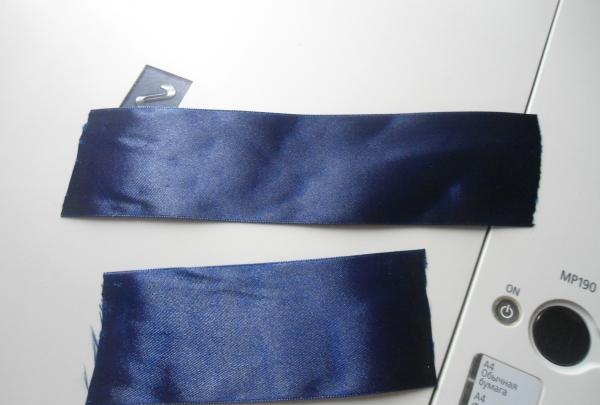
First we take one ribbon, fold it together and run stitches in the middle of the ribbon with a thread and a needle.
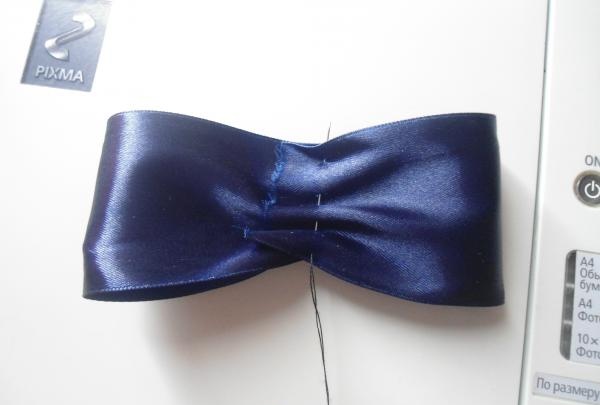
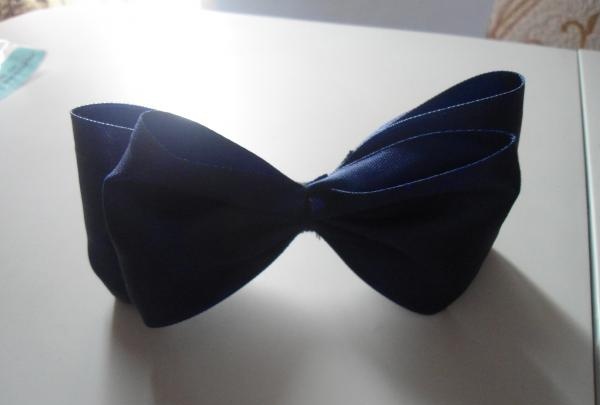
We tighten the thread and twist it several times so that we get a bow. We make the second bow in the same way.
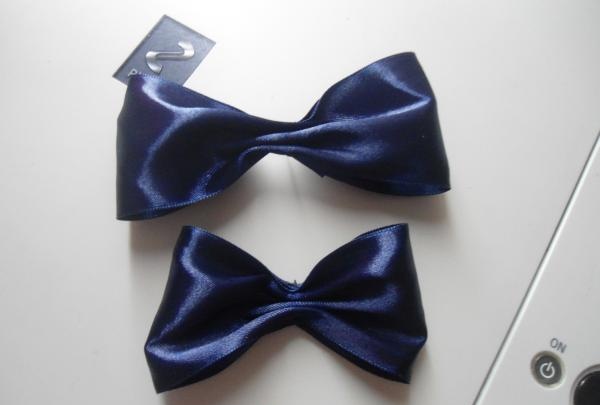
We glue both bows and secure them with thread, so that the thread goes through two bows.
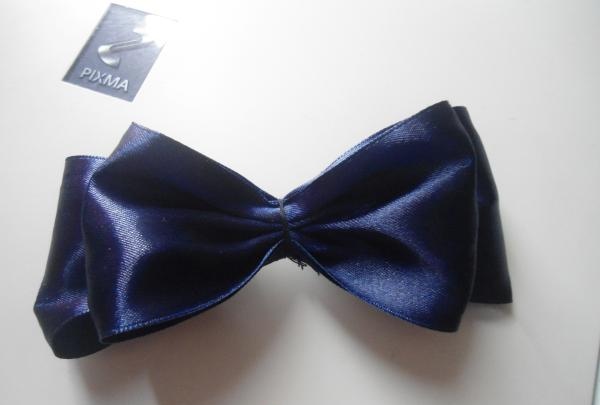
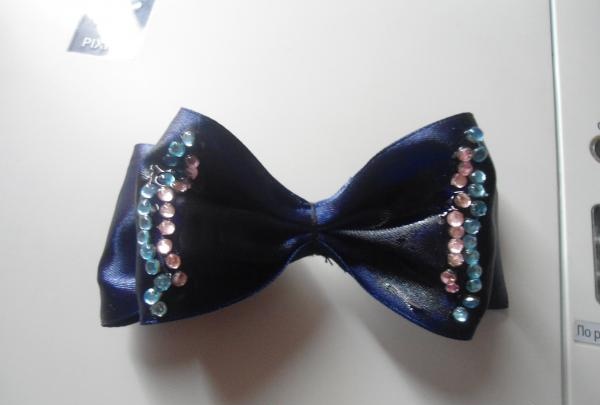
Now we glue glue stones along the edges of the first (smaller) bow. First one row, and then a smaller row with stones of a different color. We cover the top with colorless varnish and wait 15 minutes for the stones to stick well and the varnish to dry.
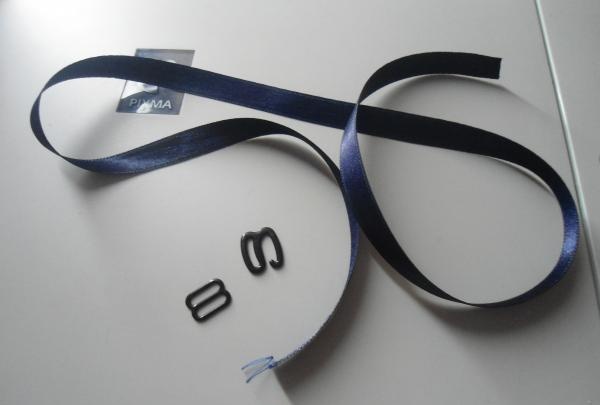
We take a thin satin ribbon and attach special hooks for a bow tie to it. First, we put on the runner, and on the same side we fasten the end of the ribbon in the runner, so that you can easily change the size, rather than having to alter the entire tie later. On the other side we attach the hook itself.
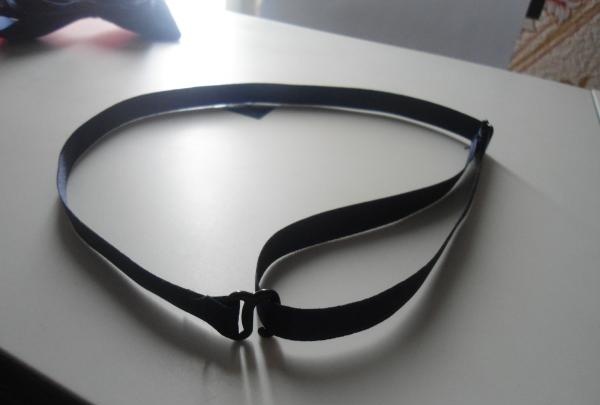
There is a small portion left, and you can safely try on your masterpiece tie with your shirts and blouses. We connect the base ribbon with the butterflies using a small piece of ribbon of the same color as the bows. Sew this ribbon at the back of the bow.
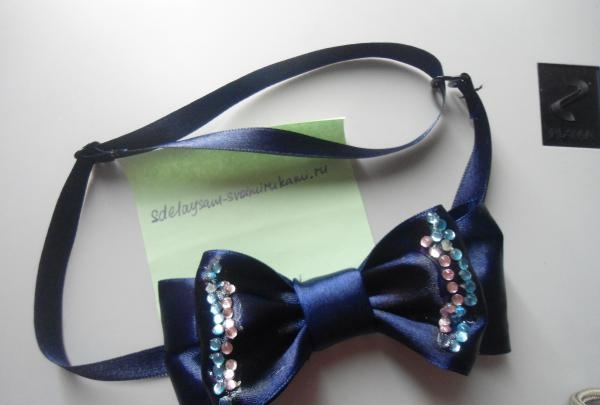
That's it, your bow tie is ready! Now you can brag to all your friends about such an excellent product, and also make such ties to match all the colors of your clothes. And if you decide to present such a bow tie to your friends as a souvenir or gift, it will symbolize your recognition and warm attitude.
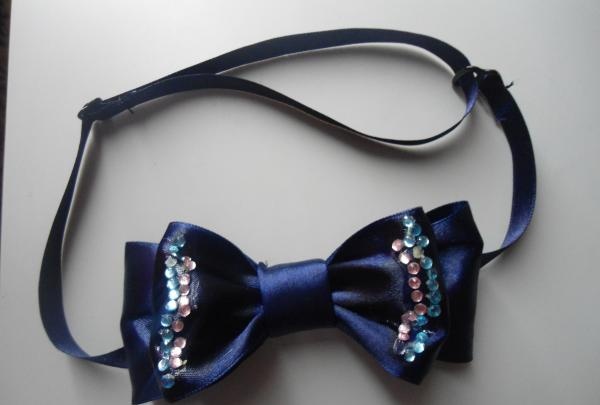
Whether it's a ball or a regular party, you have to look chic! To do this, you don’t have to buy new things, you can just add something to your formal weekend suit, for example, a blouse. If you have a wonderful collared blouse, but don't know what you can add to it to make it look unusual, then this is not a problem! You can make your own bow tie.
The bow tie is a pretty popular trend these days. An ordinary purchased butterfly will not be so elegant and unusual, but, as far as we know, everything is in our hands, so let’s not let them down, but quickly create a masterpiece with them.
To make a bow tie we will need the following materials and tools: wide satin ribbon (width - 5-6 cm, length - half a meter), thin satin ribbon (length - up to a meter, width - 0.5-1 cm), threads with a needle, scissors, glue, clear nail polish, glue glitter (two colors), special hooks for a bow tie.

Now let's start working on our tie. First of all, we cut our wide satin ribbon so that one part of it is larger than four fingers of our hand.

First we take one ribbon, fold it together and run stitches in the middle of the ribbon with a thread and a needle.

We tighten the thread and twist it several times so that we get a bow. We make the second bow in the same way.

We glue both bows and secure them with thread, so that the thread goes through two bows.


Now we glue glue stones along the edges of the first (smaller) bow. First one row, and then a smaller row with stones of a different color. We cover the top with colorless varnish and wait 15 minutes for the stones to stick well and the varnish to dry.

We take a thin satin ribbon and attach special hooks for a bow tie to it. First, we put on the runner, and on the same side we fasten the end of the ribbon in the runner, so that you can easily change the size, rather than having to alter the entire tie later. On the other side we attach the hook itself.


There is a small portion left, and you can safely try on your masterpiece tie with your shirts and blouses. We connect the base ribbon with the butterflies using a small piece of ribbon of the same color as the bows. Sew this ribbon at the back of the bow.

That's it, your bow tie is ready! Now you can brag to all your friends about such an excellent product, and also make such ties to match all the colors of your clothes. And if you decide to present such a bow tie to your friends as a souvenir or gift, it will symbolize your recognition and warm attitude.

Similar master classes
Particularly interesting
Comments (1)


