Felt snowmen - Christmas tree pendants
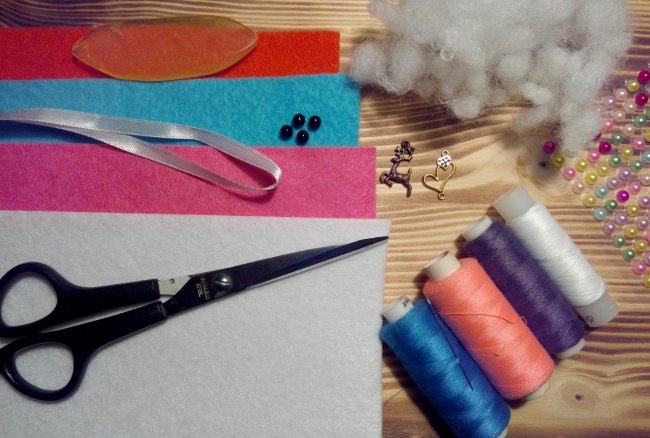
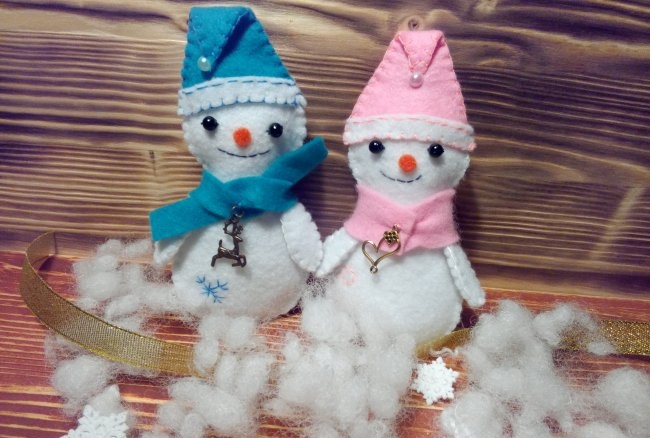
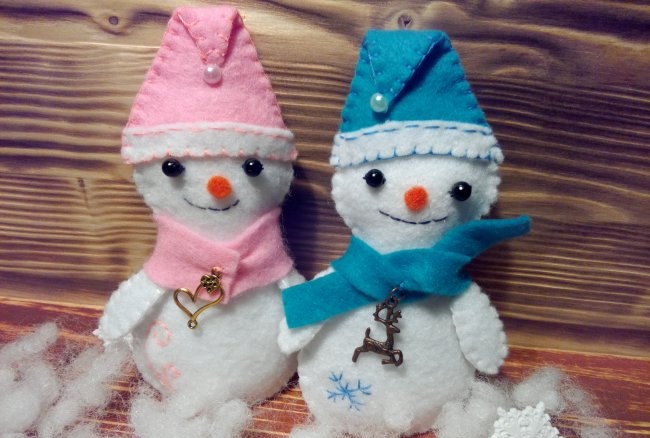
Making these cheerful and positive snowmen is not difficult at all. They can be used as pendants on a holiday tree or placed on a shelf along with other New Year's decorations. To make a pair of snowmen you will need:
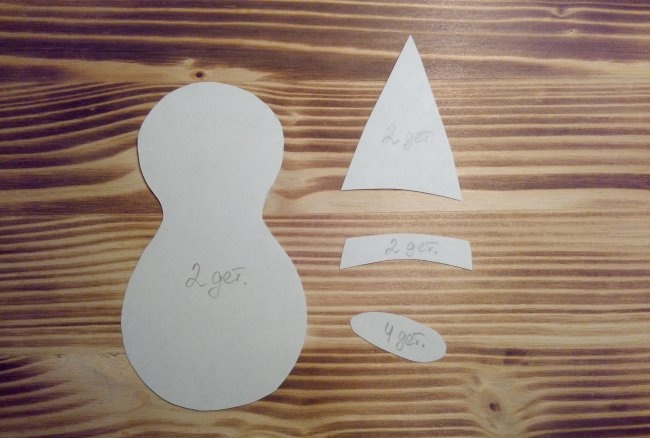
1. Print and cut out paper templates for snowmen and hat parts.
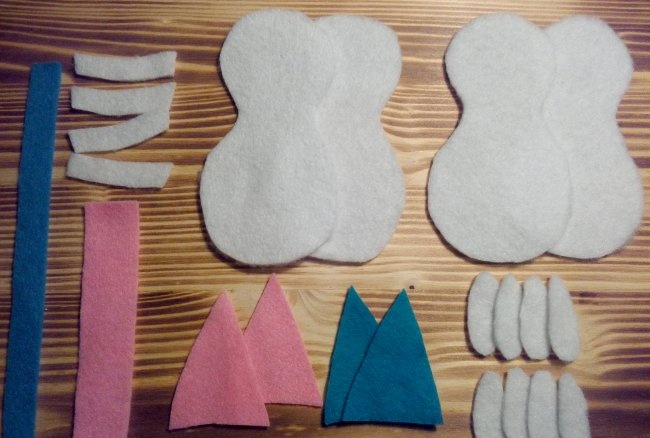
2. Cut out the main parts (torso, arms) from white felt, and hats from pink and blue felt. For scarves, cut strips: 1 cm * 12 cm - blue scarf, 2 cm * 8 cm - pink.
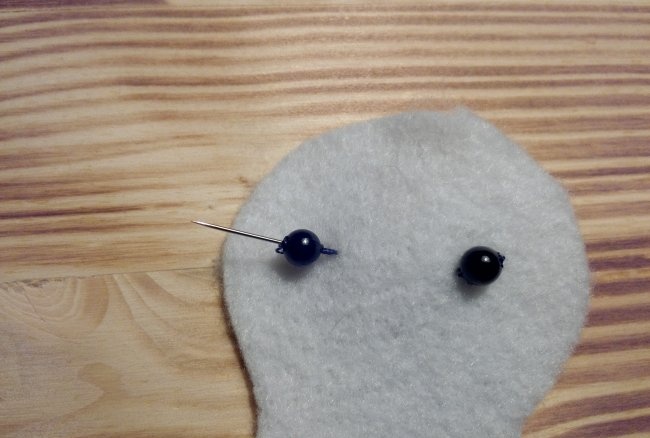
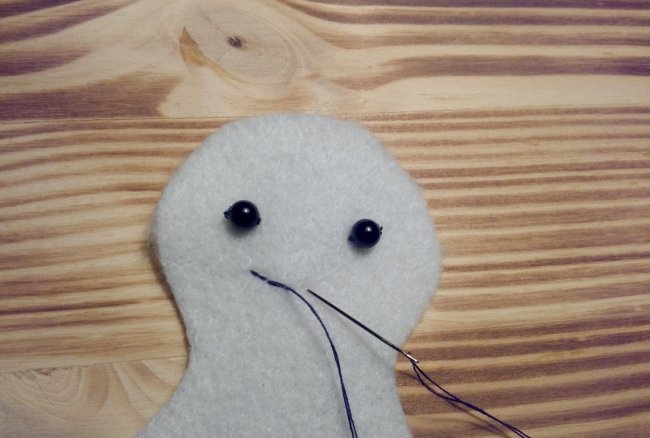
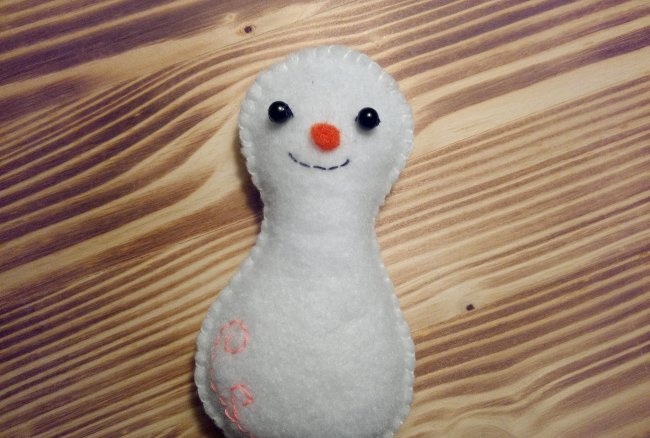
3. First you need to decorate the faces of the snowmen. Take black beads and sew them onto the top of the heads at a distance of 1.5 - 2 cm from each other.
4. Then embroider smiling mouths on the snowmen using dark threads.
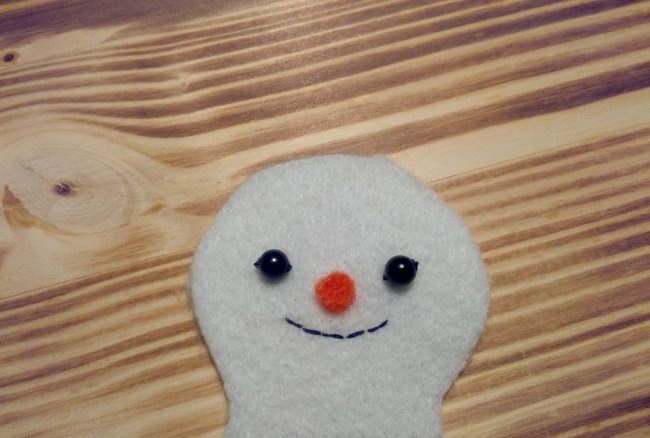
5. Make small circle noses from a piece of orange felt. Sew them with a few blind stitches into the middle of the front of the heads.
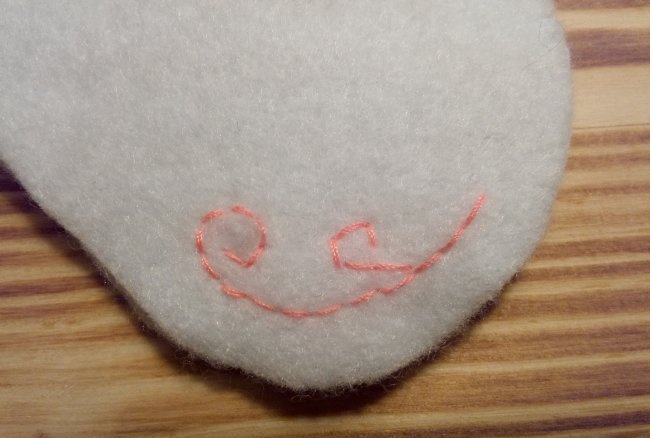
6. Embroider curls on the body of the girl snowman with pink thread.
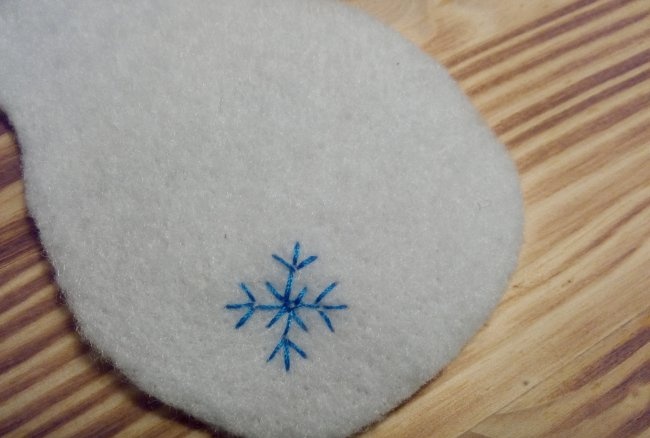
7. Decorate the body of the snowman-boy with an embroidered snowflake.
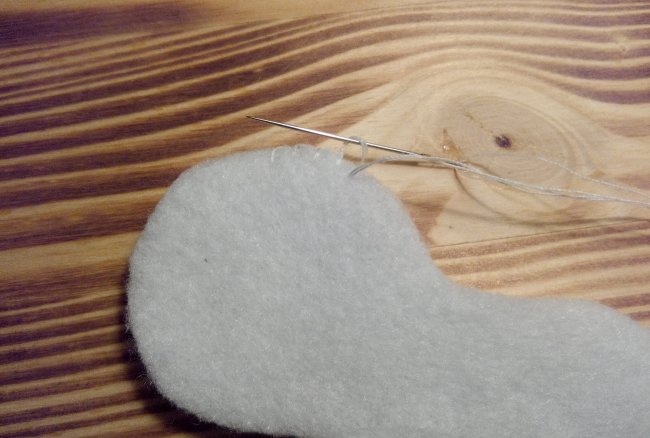
8. Next, place the front pieces of the snowmen over the back pieces and sew them together.
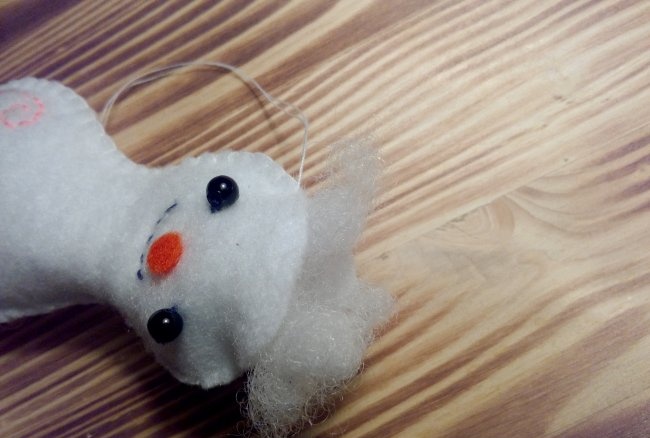
9. At the end, leave an unstitched area and stuff the toys with holofiber through it.
10. After this operation, continue the seam, fasten the thread and cut it.
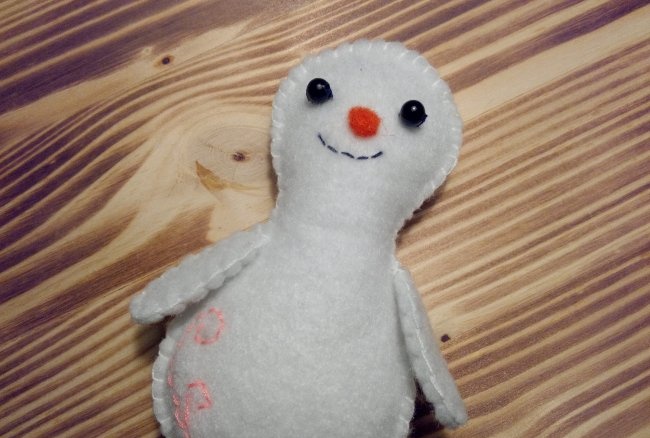
11. Take the parts of the arms, fold them in two and sew them with the same seam as the base. Sew the finished arms to the body. Set the bodies aside for now.
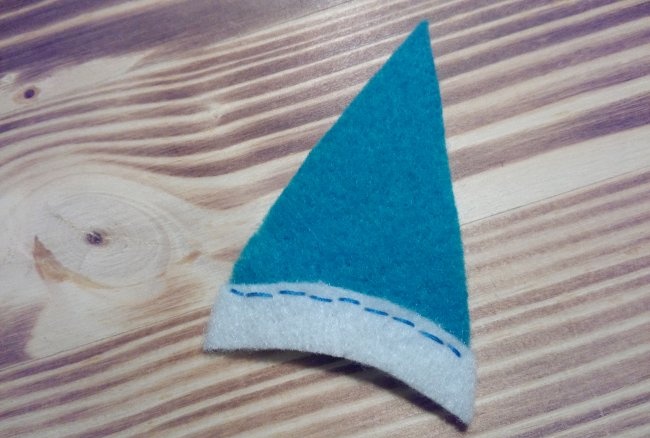
12. Now you need to make hats for the snowmen. Sew white trim to the blue triangle. Take the second part of the hat and do the same with it.
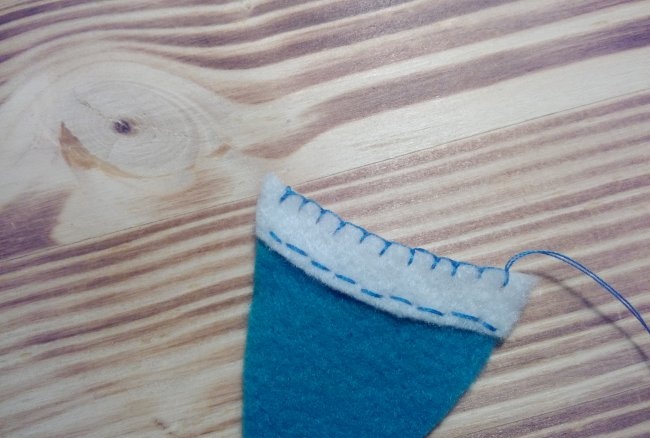
13. Finish the white part of the hat with a blanket stitch. Then do the same with your other half.
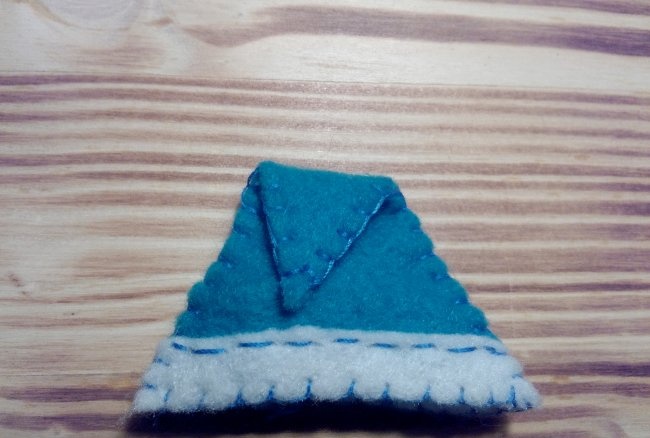
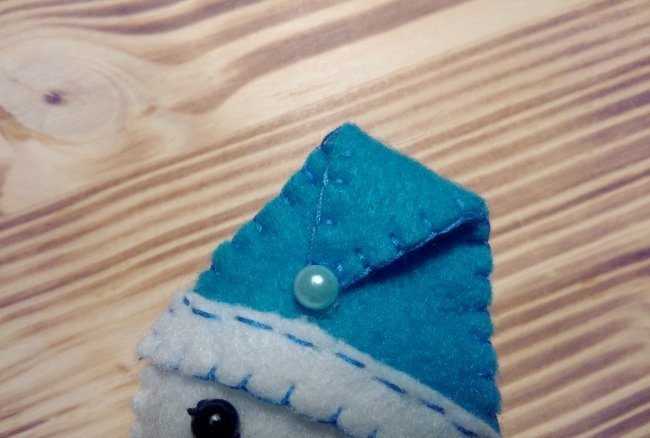
14. Then fold both parts of the product with the wrong sides inward and sew them together. Fold the corner of the hat and sew it to the base.
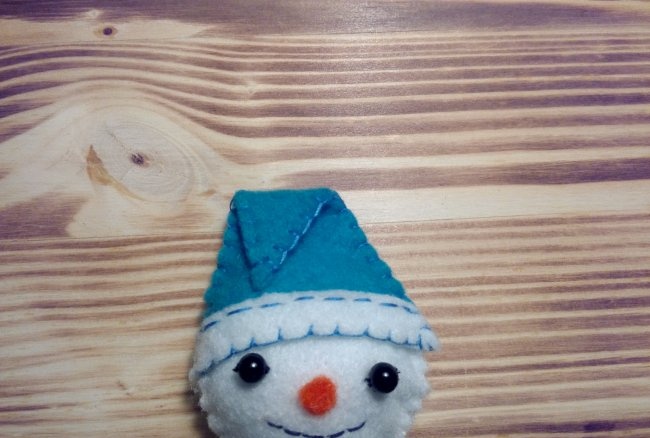
15. Place the blue hat on the boy snowman and sew it to the head with hidden stitches.
16. Take a blue bead and attach it to the top of the hat.
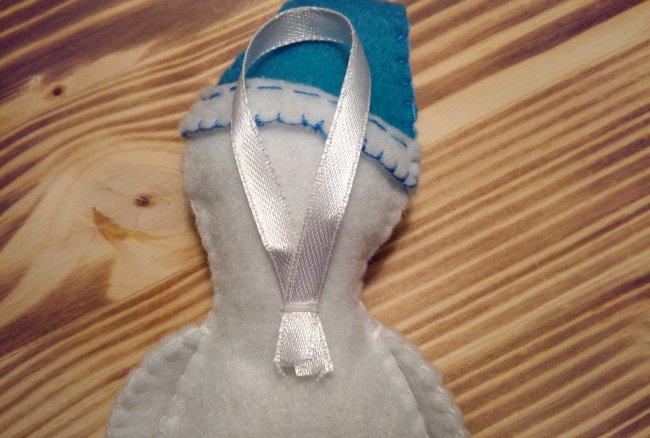
17. Cut a piece of braid measuring 8-10 cm. Fold it into a loop and sew it to the back of the figure’s head.
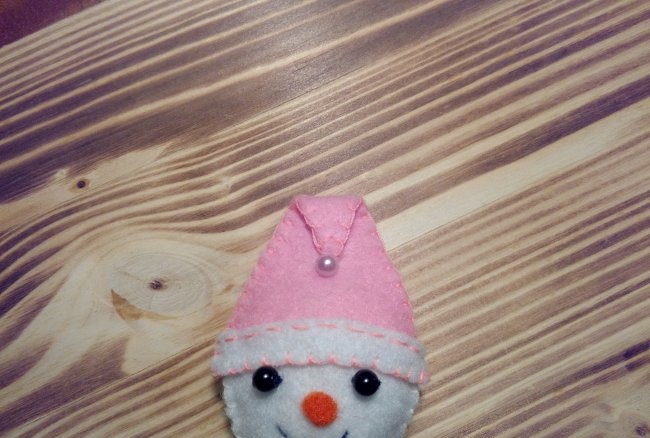
18. Do the same actions with the girl snowman. Make her a hat, decorate it with a pink bead, and sew it to her head.
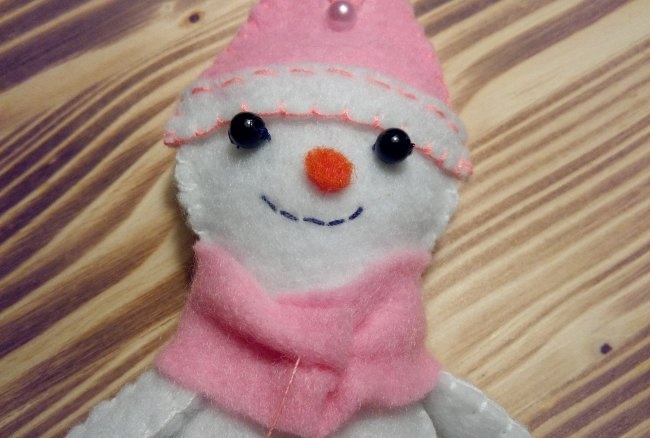
19. Wrap the pink part of the scarf around the neck of the snowman girl. Gather the ends of the scarf and secure.
20. For the snowman boy, tie a scarf around his head in a knot. Decorate both scarves with pendants.
- Soft white felt for the base, thin blue and pink felt sheets for hats and scarves. A small piece of orange is for the nose.
- Sewing threads of all the listed shades and black (or any dark shade) - for embroidering the mouth.
- Small black beads for eyes.
- Beads or rhinestones for decorating hats.
- Synthetic fluff, holofiber for stuffing toys.
- The braid is white.
- Scissors, tailor's soap.
- Pendants for decoration.
1. Print and cut out paper templates for snowmen and hat parts.
2. Cut out the main parts (torso, arms) from white felt, and hats from pink and blue felt. For scarves, cut strips: 1 cm * 12 cm - blue scarf, 2 cm * 8 cm - pink.
3. First you need to decorate the faces of the snowmen. Take black beads and sew them onto the top of the heads at a distance of 1.5 - 2 cm from each other.
4. Then embroider smiling mouths on the snowmen using dark threads.
5. Make small circle noses from a piece of orange felt. Sew them with a few blind stitches into the middle of the front of the heads.
6. Embroider curls on the body of the girl snowman with pink thread.
7. Decorate the body of the snowman-boy with an embroidered snowflake.
8. Next, place the front pieces of the snowmen over the back pieces and sew them together.
9. At the end, leave an unstitched area and stuff the toys with holofiber through it.
10. After this operation, continue the seam, fasten the thread and cut it.
11. Take the parts of the arms, fold them in two and sew them with the same seam as the base. Sew the finished arms to the body. Set the bodies aside for now.
12. Now you need to make hats for the snowmen. Sew white trim to the blue triangle. Take the second part of the hat and do the same with it.
13. Finish the white part of the hat with a blanket stitch. Then do the same with your other half.
14. Then fold both parts of the product with the wrong sides inward and sew them together. Fold the corner of the hat and sew it to the base.
15. Place the blue hat on the boy snowman and sew it to the head with hidden stitches.
16. Take a blue bead and attach it to the top of the hat.
17. Cut a piece of braid measuring 8-10 cm. Fold it into a loop and sew it to the back of the figure’s head.
18. Do the same actions with the girl snowman. Make her a hat, decorate it with a pink bead, and sew it to her head.
19. Wrap the pink part of the scarf around the neck of the snowman girl. Gather the ends of the scarf and secure.
20. For the snowman boy, tie a scarf around his head in a knot. Decorate both scarves with pendants.
Similar master classes
Particularly interesting
Comments (0)

