Reverse decoupage on a plate
Back decoupage is a paper applique laid on a hard surface and covered with varnish and (or) paint. Thanks to this technology, you can create real masterpieces with your own hands. For example, if you have simple materials, you can create a collection of glass plates that can complement a sideboard or wall decoration. To make reverse decoupage on a plate, you will need the most simple materials and tools:
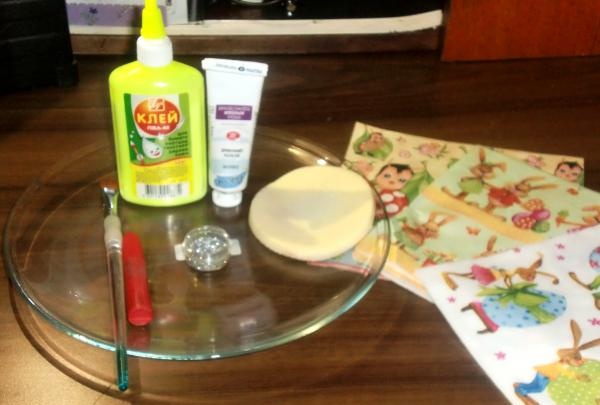
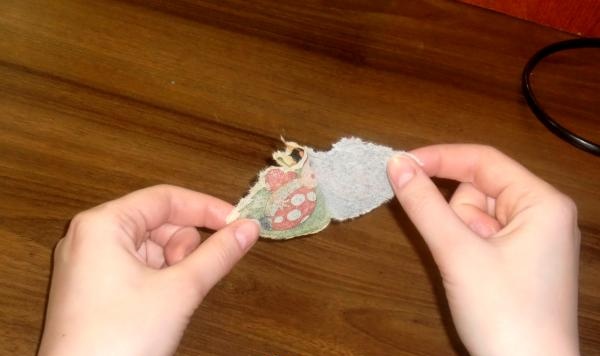
In our country, in industrial stores you can find napkins with drawings; these are what you will need for crafts. Such napkins are imported from Germany, and rice paper can be used as an alternative. The method of processing rice paper is identical to napkins. So, with your hands, start cutting off the outline of the design, leaving an edge of 1-3 mm.
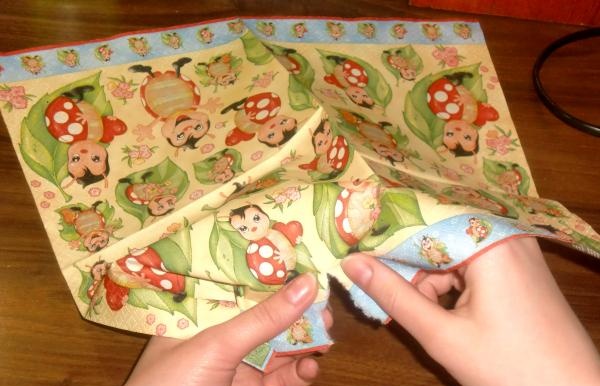
The napkin should be of minimal thickness, so remove all excess layers. As a rule, such napkins have three layers, so the bottom two layers will have to be removed.
Lay out the paper applications according to the sketch you have planned. The surface of the plate should be free of fingerprints, glue particles and dirt. Before the procedure, wash it thoroughly and dry it with a cloth towel.
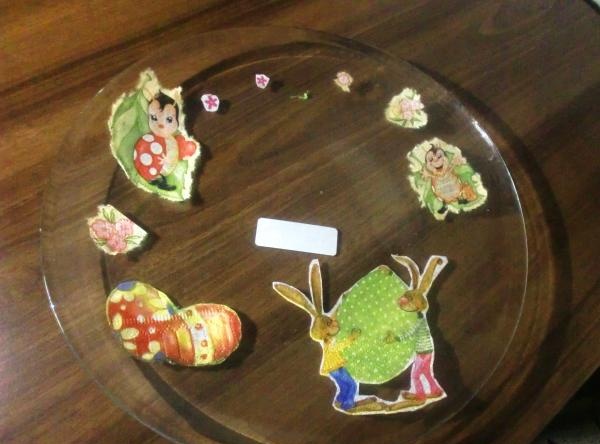
The napkins will be placed on the back side of the plate, so the same must be done on the bottom of the plate with the wrong side.
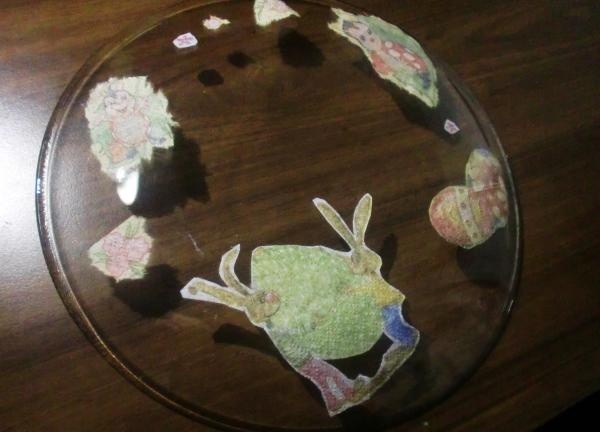
Now start gluing the pictures with PVA glue. If the glue is very thick, dilute it with water - this will not cause it to lose its adhesive properties. Do this procedure carefully so that the napkins do not tear. If you wish, you can sprinkle glitter on the areas covered with glue - this will make the plate look more beautiful.
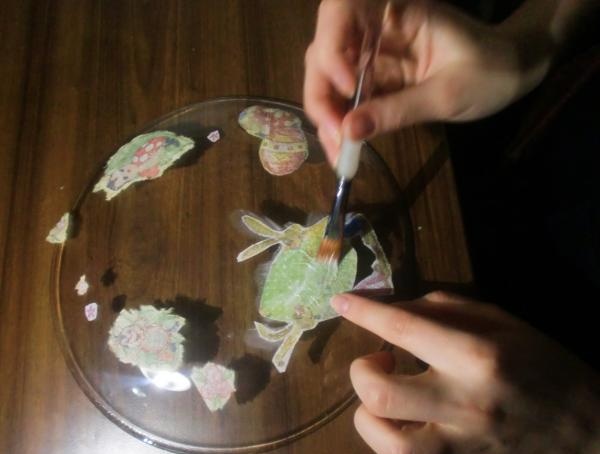
Now dry the glue. Don't be alarmed if the napkins initially have white spots due to the glue. After final drying, the glue will become almost transparent.
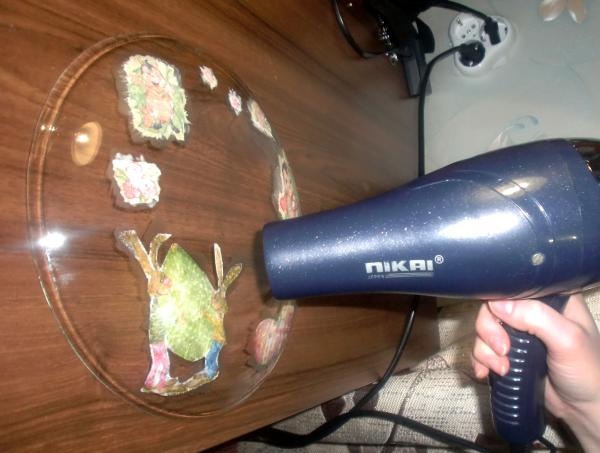
Now apply a thin layer of acrylic paint with a sponge. The background of the plate should not be very bright, so dilute the colored paint with white until the color is moderately light.
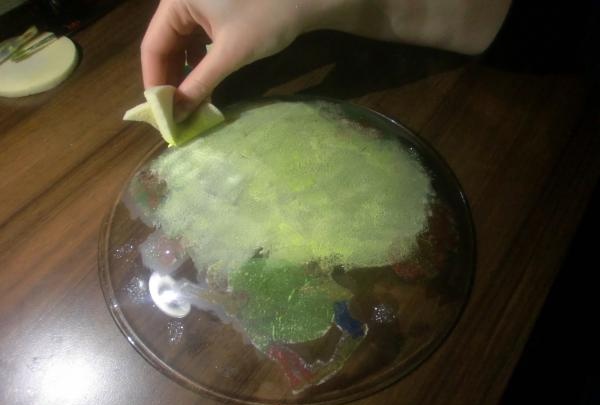
Now use a hairdryer to dry the paint dry. Do not try to look at your work or touch it with your fingers, otherwise fingerprints will remain in the paint.
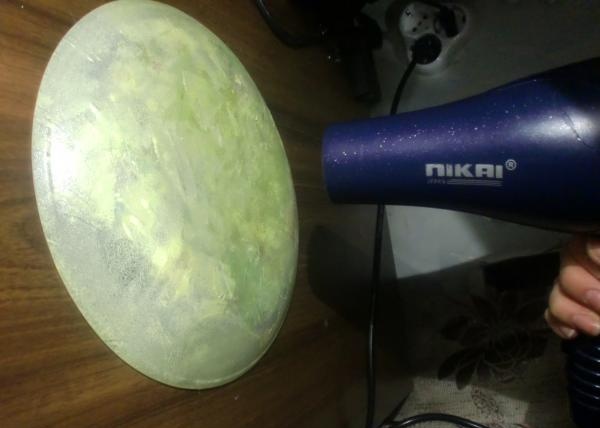
One coat of paint is not enough, so apply a second one. If you are not satisfied with this thickness, you can safely apply the third and subsequent layers of other colors. The main thing is not to forget to dry each layer dry. If the plate is going to be used, apply a thin layer of acrylic varnish over the acrylic paint and let dry. This way the varnish will protect the plate from water.
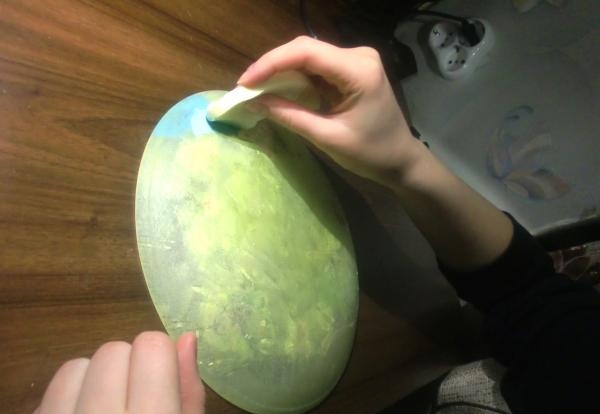
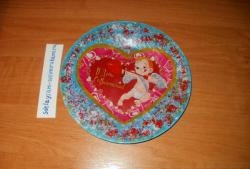
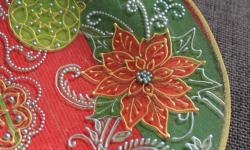
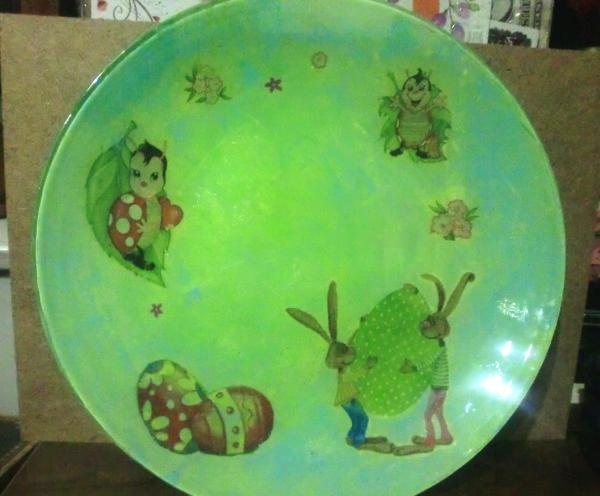
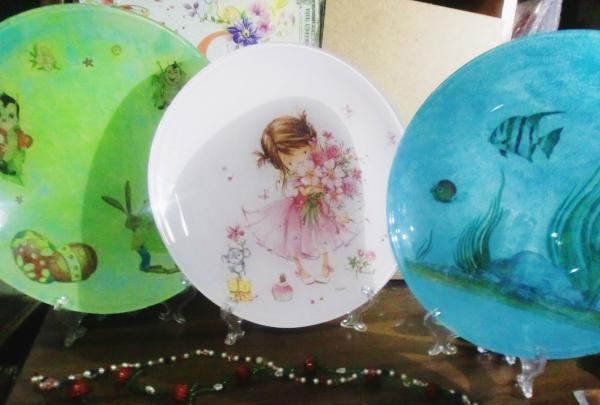
The plate turned out to be very bright and funny, and most importantly, it was made by your own hands! If you really want, you can create a whole collection of such plates with different images.
- -Glass plate;
- -Paper napkins with drawings or rice paper;
- -PVA glue;
- -Acrylic paint (white, colored);
- -Brush (the brush must be synthetic, otherwise natural fibers will begin to fall out during work);
- -Dry glitter;
- -Sponge or sponge.

In our country, in industrial stores you can find napkins with drawings; these are what you will need for crafts. Such napkins are imported from Germany, and rice paper can be used as an alternative. The method of processing rice paper is identical to napkins. So, with your hands, start cutting off the outline of the design, leaving an edge of 1-3 mm.

The napkin should be of minimal thickness, so remove all excess layers. As a rule, such napkins have three layers, so the bottom two layers will have to be removed.

Lay out the paper applications according to the sketch you have planned. The surface of the plate should be free of fingerprints, glue particles and dirt. Before the procedure, wash it thoroughly and dry it with a cloth towel.

The napkins will be placed on the back side of the plate, so the same must be done on the bottom of the plate with the wrong side.

Now start gluing the pictures with PVA glue. If the glue is very thick, dilute it with water - this will not cause it to lose its adhesive properties. Do this procedure carefully so that the napkins do not tear. If you wish, you can sprinkle glitter on the areas covered with glue - this will make the plate look more beautiful.

Now dry the glue. Don't be alarmed if the napkins initially have white spots due to the glue. After final drying, the glue will become almost transparent.

Now apply a thin layer of acrylic paint with a sponge. The background of the plate should not be very bright, so dilute the colored paint with white until the color is moderately light.

Now use a hairdryer to dry the paint dry. Do not try to look at your work or touch it with your fingers, otherwise fingerprints will remain in the paint.

One coat of paint is not enough, so apply a second one. If you are not satisfied with this thickness, you can safely apply the third and subsequent layers of other colors. The main thing is not to forget to dry each layer dry. If the plate is going to be used, apply a thin layer of acrylic varnish over the acrylic paint and let dry. This way the varnish will protect the plate from water.

The plate turned out to be very bright and funny, and most importantly, it was made by your own hands! If you really want, you can create a whole collection of such plates with different images.


Similar master classes
Particularly interesting
Comments (0)


