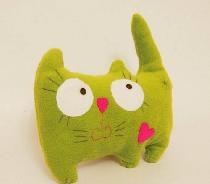
DIY monkey - symbol of 2016
The coming 2016 will pass under the auspices of the Monkey. You can appease a minx by placing a talisman in your house - her portrait. You can make a Primitive Monkey yourself using old jeans. The costs for this will be minimal, and the result will please you.
To make a Monkey with your own hands, let’s prepare:
- old jeans;
- flesh-colored fabric;
- printed material (for pants and bow);
- filler;
- 2 white buttons and 2 black beads (for eyes);
- brown and red acrylic on fabric;
- threads matching the color;
- sewing machine, needle, scissors.
Let's get started.
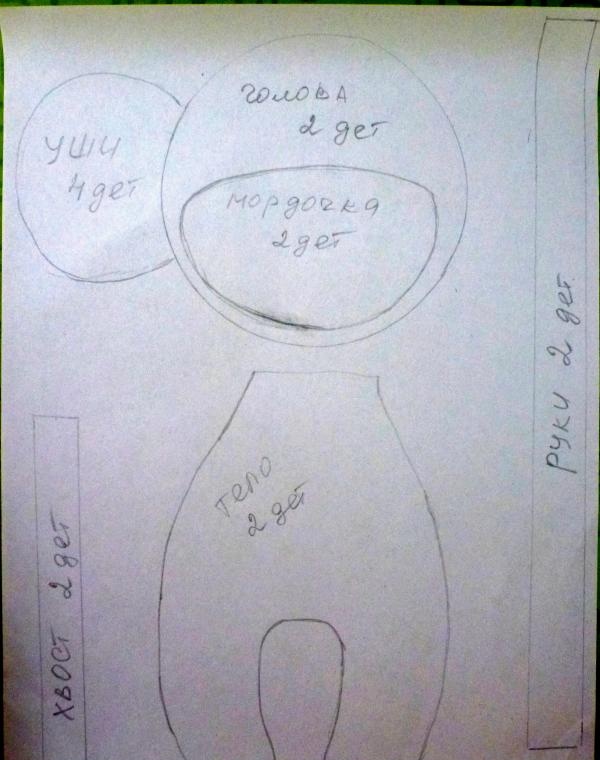
1. To make a Monkey, we will use a pattern.
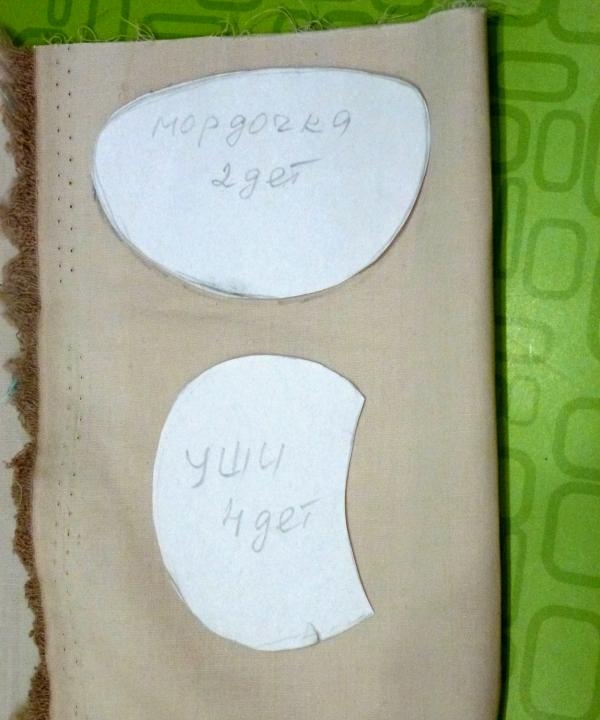
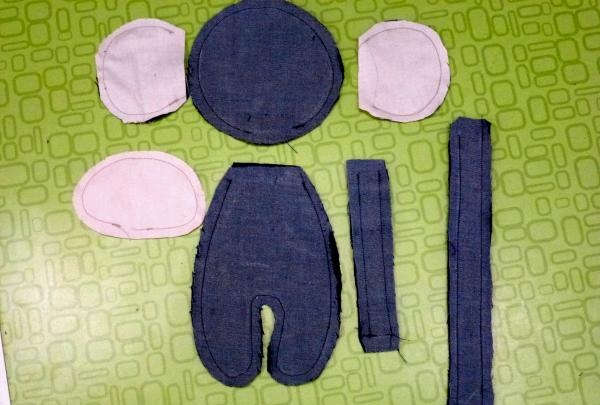
2. From bodily tissue we will prepare 2 parts each for the muzzle and ears.
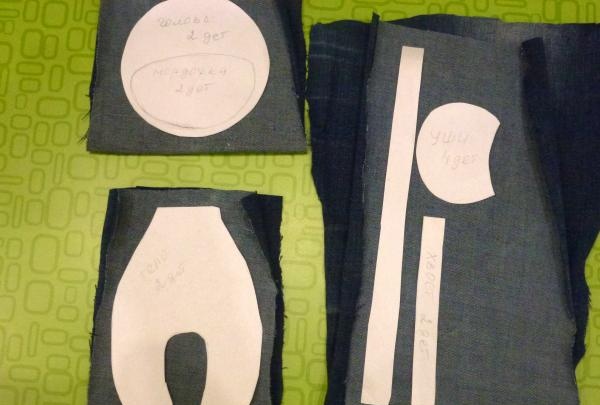
3. From jeans we will cut out 2 parts of the body, head, arms, tail and ears.
4. For the ears, fold the flesh and denim pieces in pairs with right sides inward and sew a seam. We will also sew all the other pairs of elements. We'll cut them out and turn them inside out.
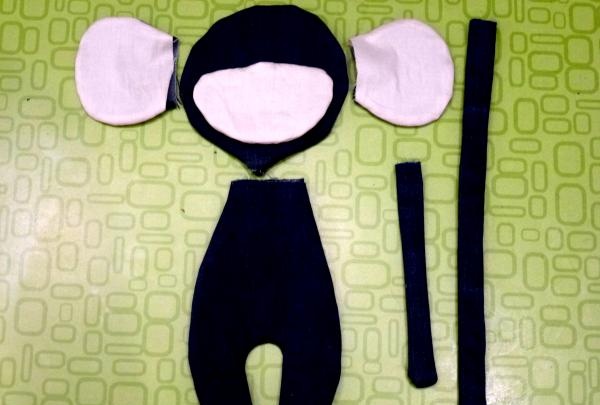
5. Fill the head and body and connect them with a hidden seam.
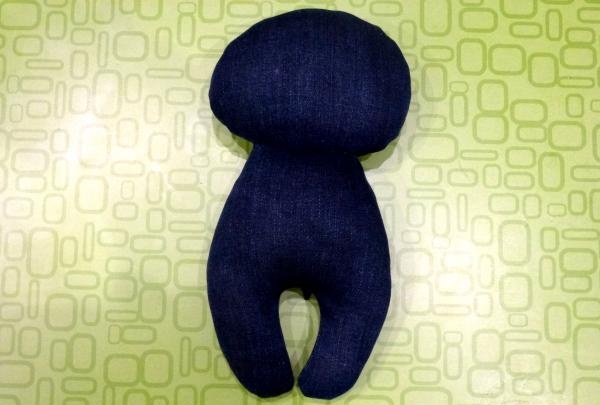
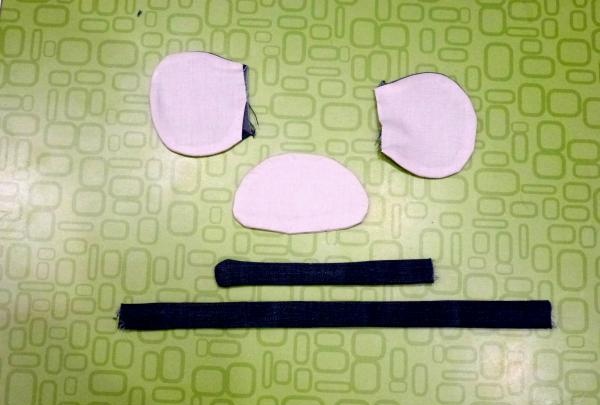
6. Iron the ears, muzzle, arms and tail.
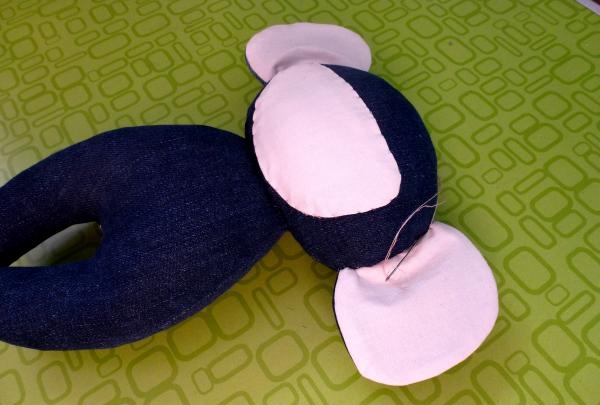
7. Fix the face on the front of the head using a hidden seam. We will also attach the ears to a suitable place.
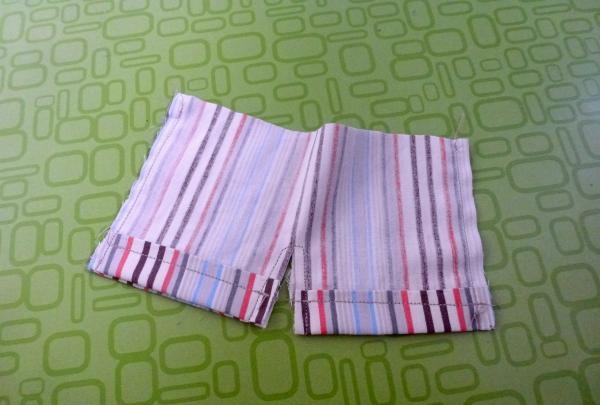
8. For the pants, cut out a flap with a pattern. We will determine its size by eye. Let's fold it in half, facing inward. Let's make a small cut in the middle. Fold and sew the bottom. Connect the side seams and the notch to create panties.
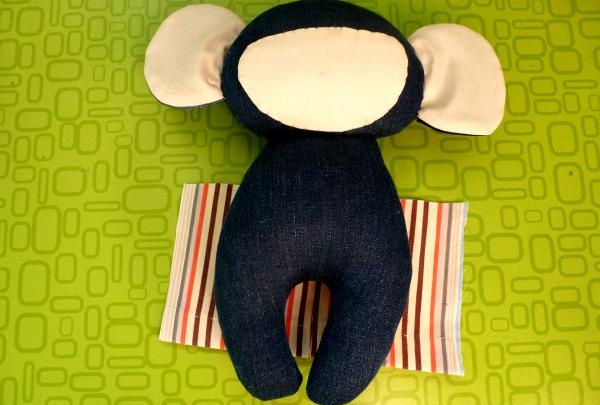
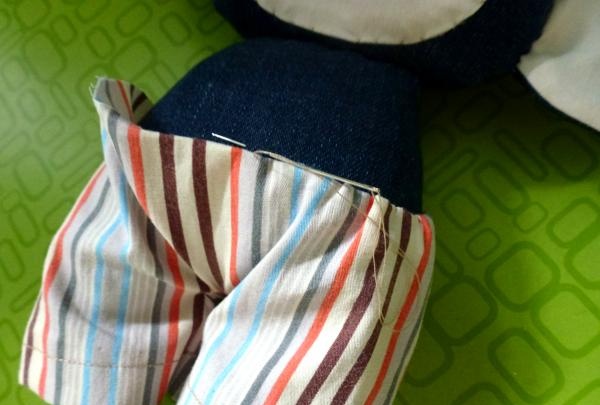
9. Let's put trousers on the Monkey. Having folded the top, we fix it with a hidden seam on the animal.
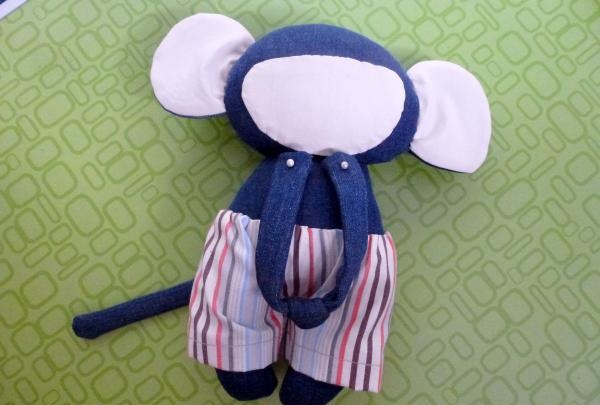
10. We will tie the handles into a knot exactly in the middle, thus dividing them into two. Sew on the front in the neck area.
11. Fix the tail over the pants
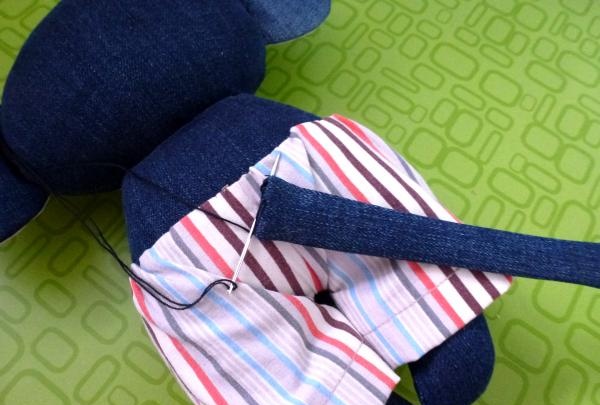
12. Let's start designing the muzzle. Let's sew on the eyes: first a white button, and on top - a small bead. Using acrylic we will draw a nose, mouth, freckles.
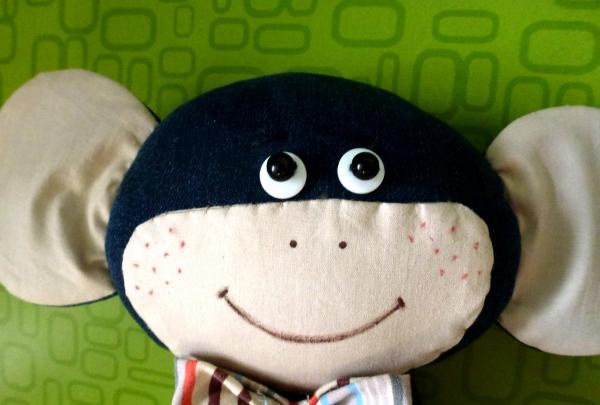
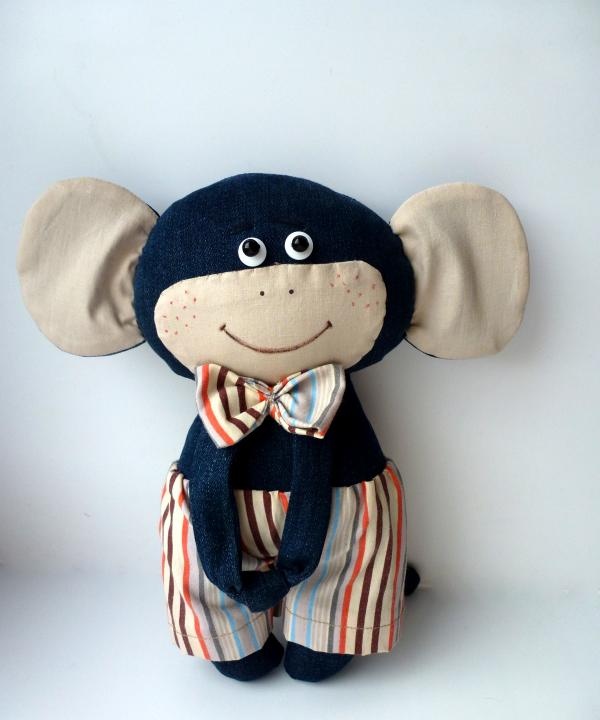
The monkey is ready. It will be a wonderful interior decoration or an original gift for both a child and an adult.
To make a Monkey with your own hands, let’s prepare:
- old jeans;
- flesh-colored fabric;
- printed material (for pants and bow);
- filler;
- 2 white buttons and 2 black beads (for eyes);
- brown and red acrylic on fabric;
- threads matching the color;
- sewing machine, needle, scissors.
Let's get started.
1. To make a Monkey, we will use a pattern.

2. From bodily tissue we will prepare 2 parts each for the muzzle and ears.

3. From jeans we will cut out 2 parts of the body, head, arms, tail and ears.

4. For the ears, fold the flesh and denim pieces in pairs with right sides inward and sew a seam. We will also sew all the other pairs of elements. We'll cut them out and turn them inside out.


5. Fill the head and body and connect them with a hidden seam.


6. Iron the ears, muzzle, arms and tail.
7. Fix the face on the front of the head using a hidden seam. We will also attach the ears to a suitable place.

8. For the pants, cut out a flap with a pattern. We will determine its size by eye. Let's fold it in half, facing inward. Let's make a small cut in the middle. Fold and sew the bottom. Connect the side seams and the notch to create panties.

9. Let's put trousers on the Monkey. Having folded the top, we fix it with a hidden seam on the animal.


10. We will tie the handles into a knot exactly in the middle, thus dividing them into two. Sew on the front in the neck area.
11. Fix the tail over the pants

12. Let's start designing the muzzle. Let's sew on the eyes: first a white button, and on top - a small bead. Using acrylic we will draw a nose, mouth, freckles.


The monkey is ready. It will be a wonderful interior decoration or an original gift for both a child and an adult.
Similar master classes
Particularly interesting
Comments (0)

