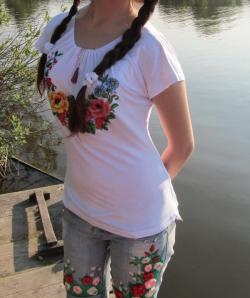
Cheerful sunflowers
Recently, while wandering aimlessly through a craft store, I came across one cheerful and warm picture. It was a sunflower motif on a decoupage napkin. And I liked it so much that I immediately decided to reproduce it as a painting. Without thinking for long, I purchased everything I needed:
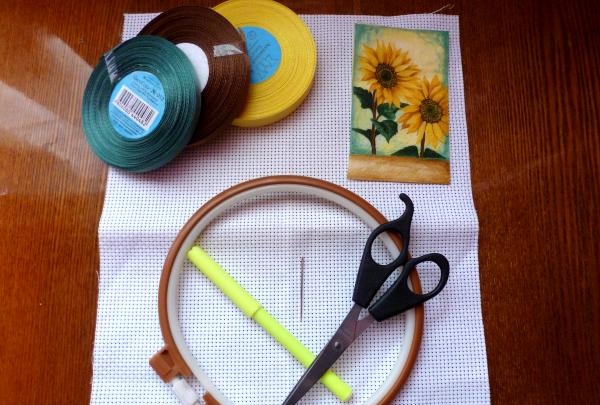
satin ribbons for embroidery (6mm and 12mm);
hoop;
canvas (it is better to take one with small holes);
needle (with a wide eye and a sharp end).
Before you start embroidering, you need to make a rough sketch of the drawing that was chosen as a model. I decided to draw it with a light felt-tip pen to match the ribbons.
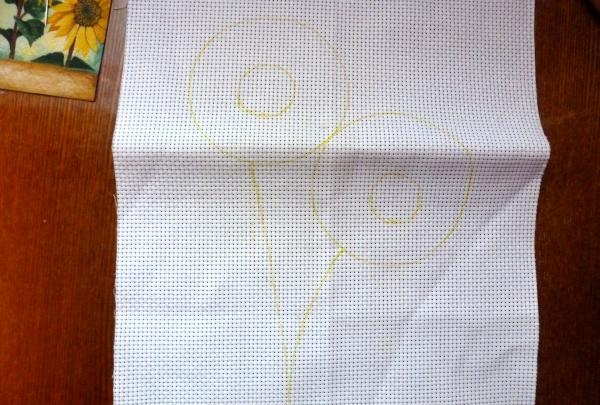
Also, a marker that washes off with water is ideal.
Let's start sewing. Having secured the tape on the back side of the canvas, we bring the needle with the tape to the line of the inner circle.
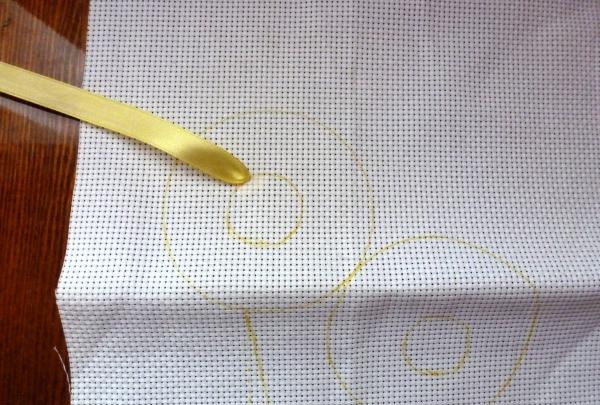
Since my design does not wash off, I make a second puncture slightly outside the outer circle.
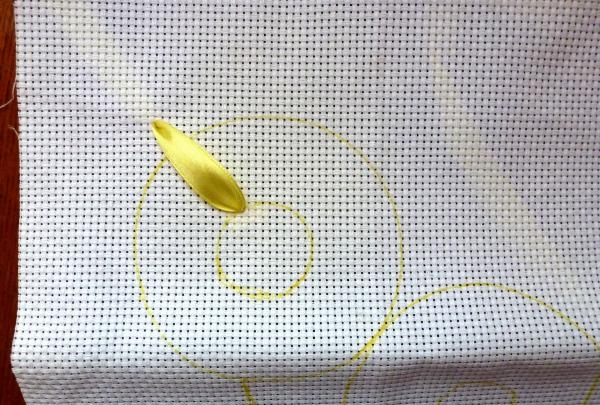
We make the next petal in the same way, only from the top to the middle, so that there is no unnecessary waste of ribbons.
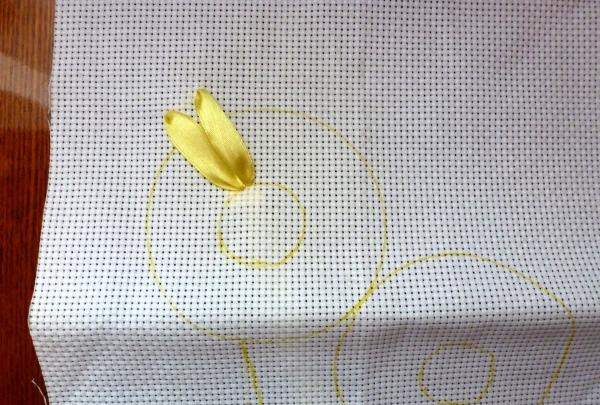
Using this technology we embroider all the petals.
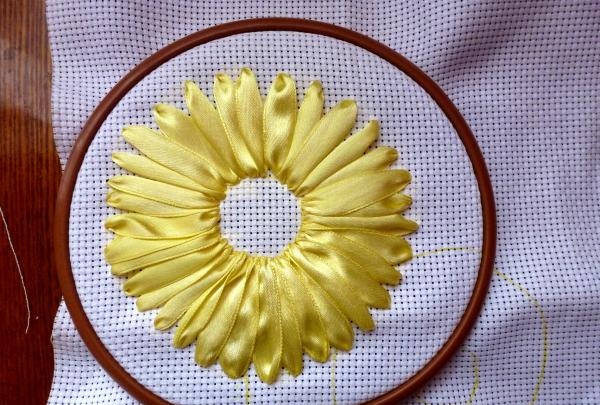
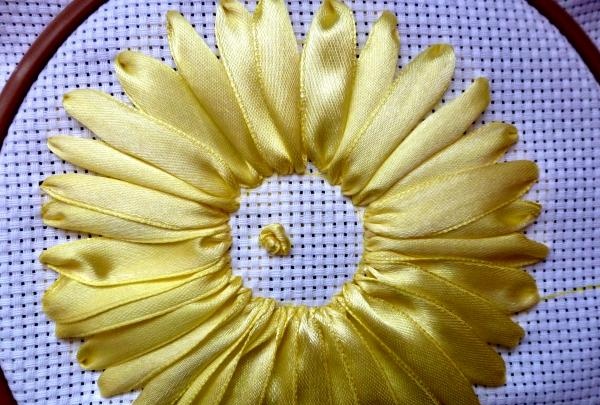
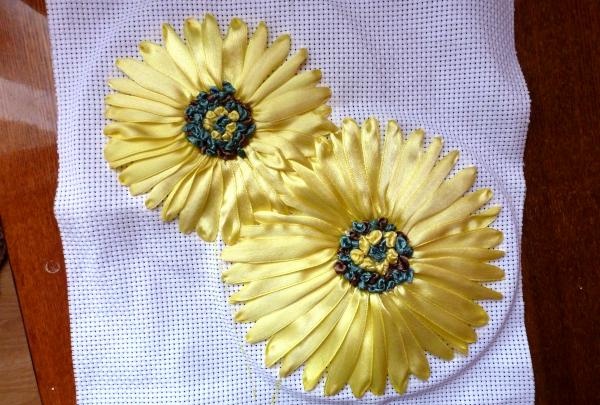
Let's start filling in the middle. Since the chosen picture shows sunflowers at the moment of flowering, the middle consists of three colors: yellow, green and brown. Let's start with yellow.We will fill the core using the “knot” technique. To do this, draw a thread with the desired ribbon color in the center, place the needle closer to the base and cover with ribbon.
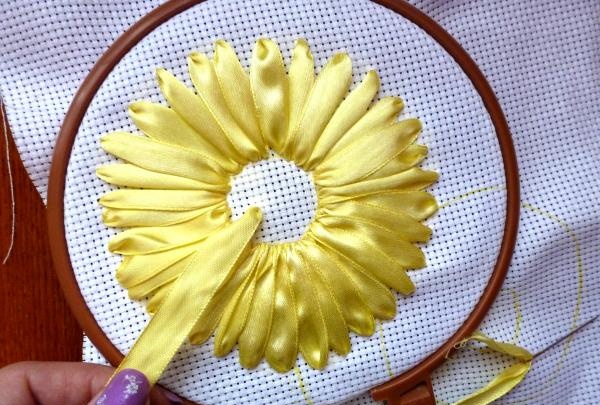
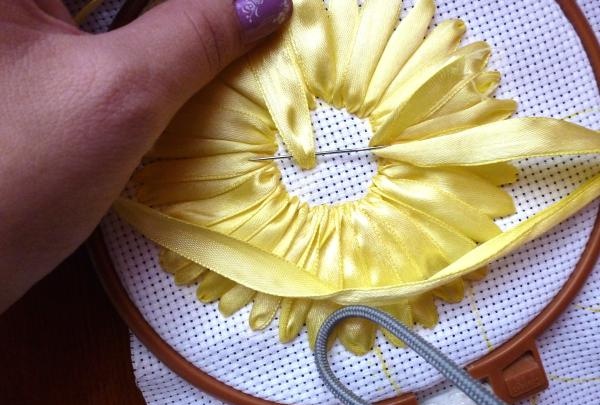
Then, we bend the ribbon around the needle and insert the needle into the adjacent hole on the canvas.
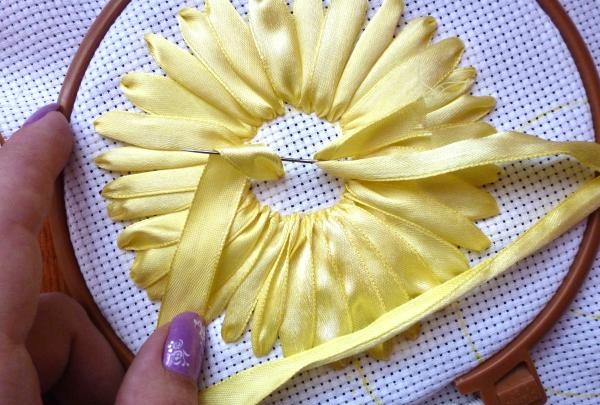
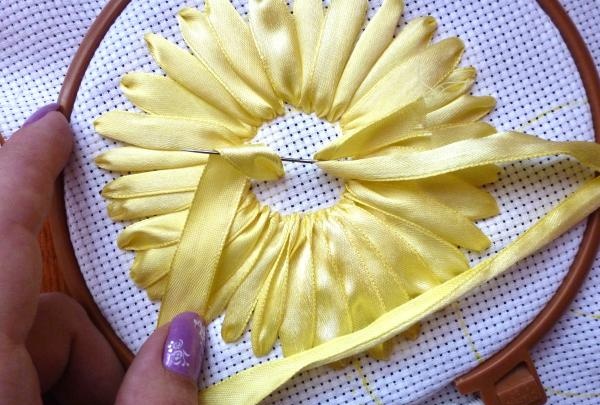
Gently holding it with your finger, we pull the entire free piece of tape inside out, forming a knot on the front side.
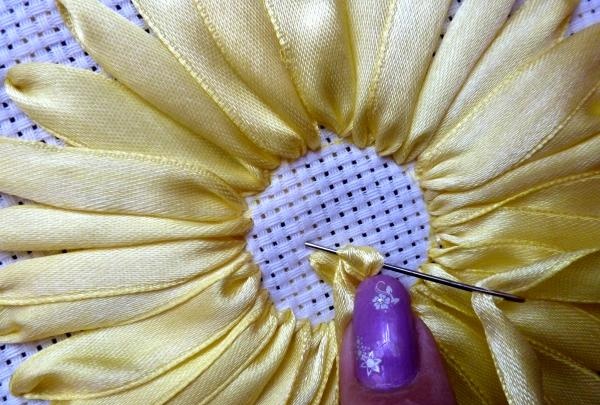
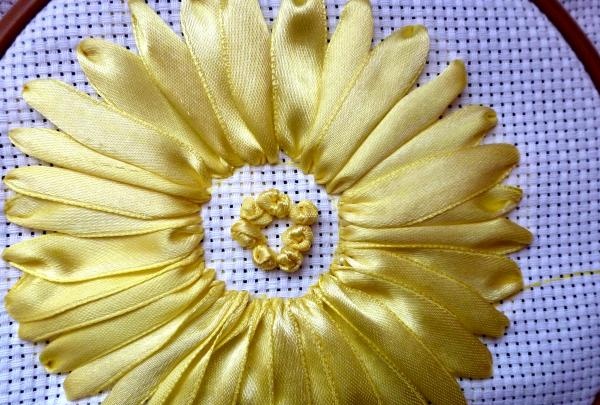
This way it makes a circle of yellow knots.
Next, we repeat the procedure, but in brown and green.
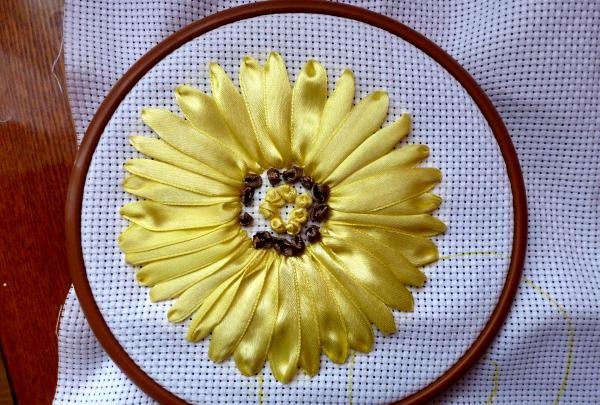
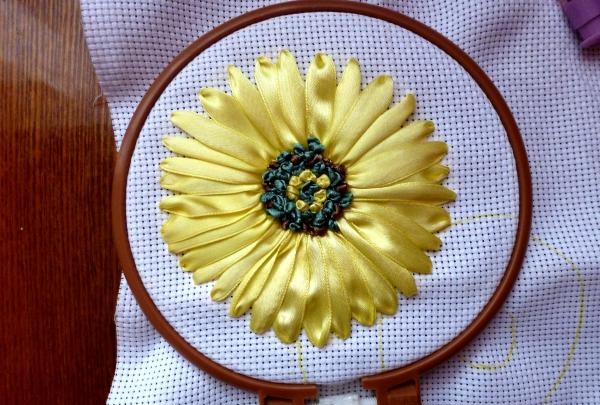
We scatter the last two in a chaotic order.
We do the same for the second sunflower.
To prevent our flowers from looking like they are hanging in the air, we embroider their stems and leaves. To do this, it is best to use a seam with the consonant name “stalked”. Bring the needle and ribbon to the front side and bring it a little lower, making a small stitch at an angle.
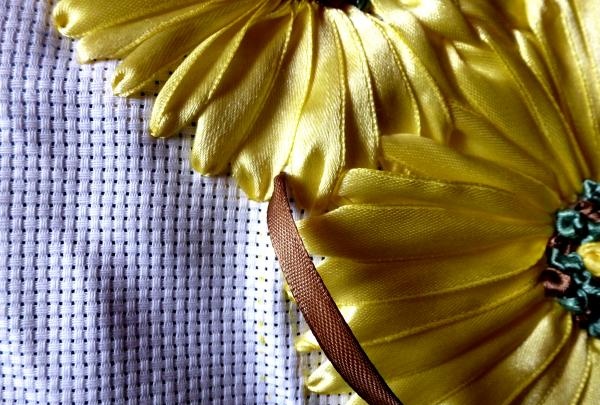
We start the second stitch from the middle of the first, and end below the previous one.
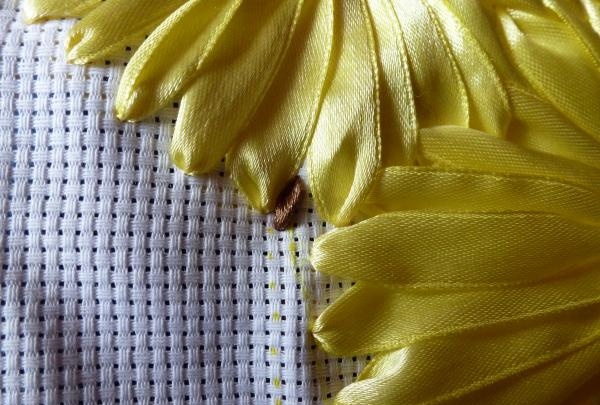
In this way we “draw” the weight of the stem and shoots for the leaves.
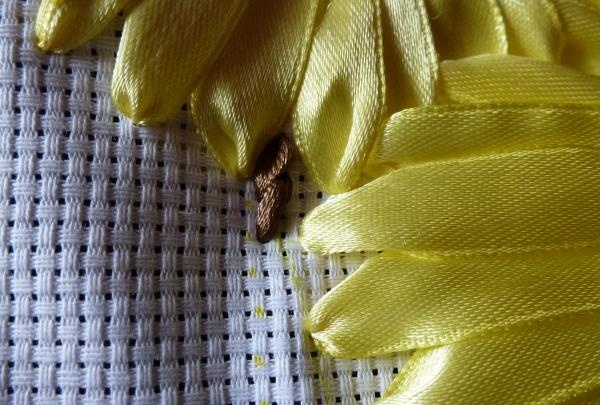
Now we outline the leaves with a felt-tip pen.
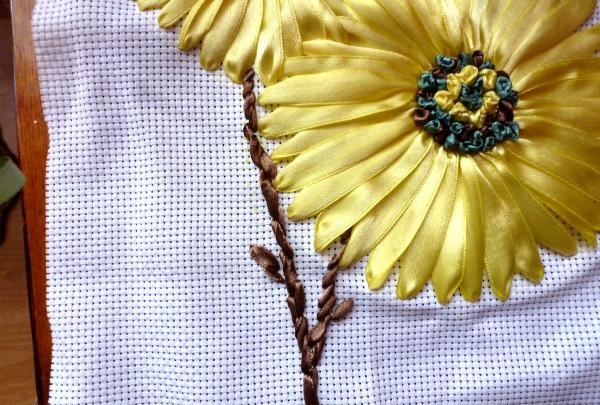
And, using green tape, we occupy the required space.
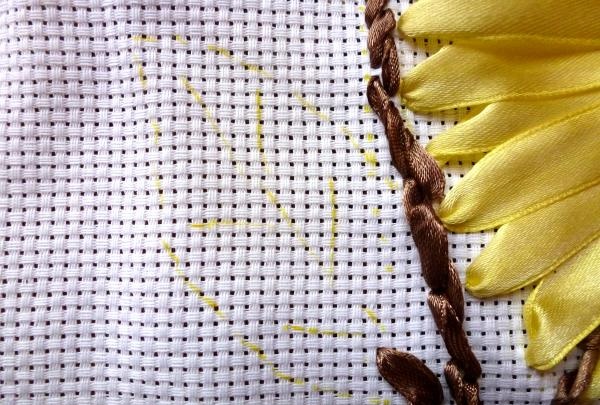
We embroider individual veins with dark green ribbons.
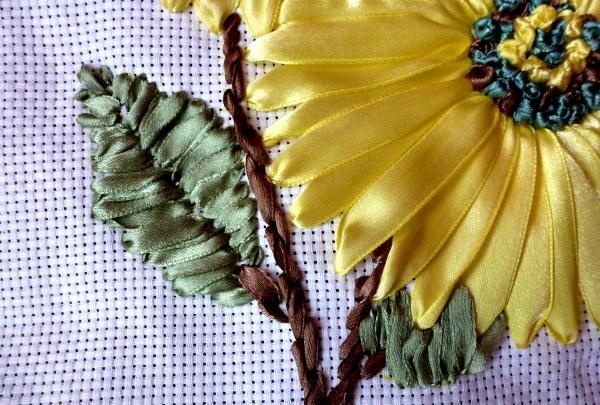
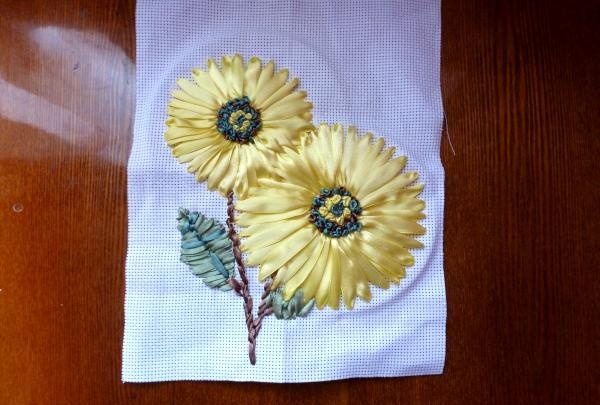
Our sunflowers are ready.
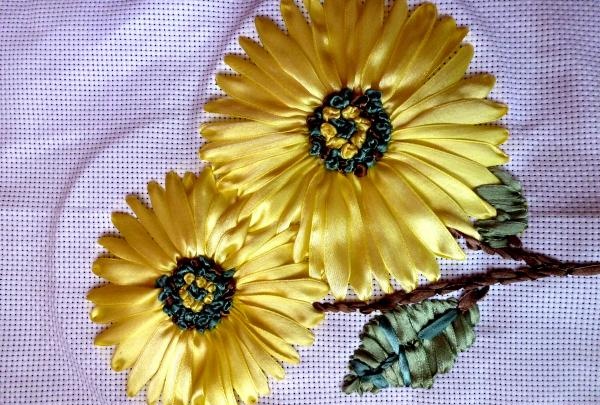
True, I haven’t decided what frame to put them in yet.

satin ribbons for embroidery (6mm and 12mm);
hoop;
canvas (it is better to take one with small holes);
needle (with a wide eye and a sharp end).
Before you start embroidering, you need to make a rough sketch of the drawing that was chosen as a model. I decided to draw it with a light felt-tip pen to match the ribbons.

Also, a marker that washes off with water is ideal.
Let's start sewing. Having secured the tape on the back side of the canvas, we bring the needle with the tape to the line of the inner circle.

Since my design does not wash off, I make a second puncture slightly outside the outer circle.

We make the next petal in the same way, only from the top to the middle, so that there is no unnecessary waste of ribbons.

Using this technology we embroider all the petals.

Let's start filling in the middle. Since the chosen picture shows sunflowers at the moment of flowering, the middle consists of three colors: yellow, green and brown. Let's start with yellow.We will fill the core using the “knot” technique. To do this, draw a thread with the desired ribbon color in the center, place the needle closer to the base and cover with ribbon.


Then, we bend the ribbon around the needle and insert the needle into the adjacent hole on the canvas.


Gently holding it with your finger, we pull the entire free piece of tape inside out, forming a knot on the front side.

This way it makes a circle of yellow knots.

Next, we repeat the procedure, but in brown and green.


We scatter the last two in a chaotic order.
We do the same for the second sunflower.

To prevent our flowers from looking like they are hanging in the air, we embroider their stems and leaves. To do this, it is best to use a seam with the consonant name “stalked”. Bring the needle and ribbon to the front side and bring it a little lower, making a small stitch at an angle.


We start the second stitch from the middle of the first, and end below the previous one.

In this way we “draw” the weight of the stem and shoots for the leaves.

Now we outline the leaves with a felt-tip pen.

And, using green tape, we occupy the required space.

We embroider individual veins with dark green ribbons.

Our sunflowers are ready.

True, I haven’t decided what frame to put them in yet.

Similar master classes
Particularly interesting
Comments (0)

