Brownie Pete
A soul lives in every house, and, as you know, the soul of every house is guarded by little house-dwellers, invisible to the eye, but noticeable in their deeds. Let's create a security certificate for our home together.
To make such an adorable baby you will need:
• fabric on the body, preferably cream or milky in color, preferably linen;
• fabric for pants, preferably plain;
• linen for the shirt, in harmony with the color of the trousers;
• satin ribbon of any color or just fabric on the bast shoes;
• buttons for the eyes;
• satin ribbon or floss for eyelashes;
• padding polyester for filling the doll;
• sewing tools.
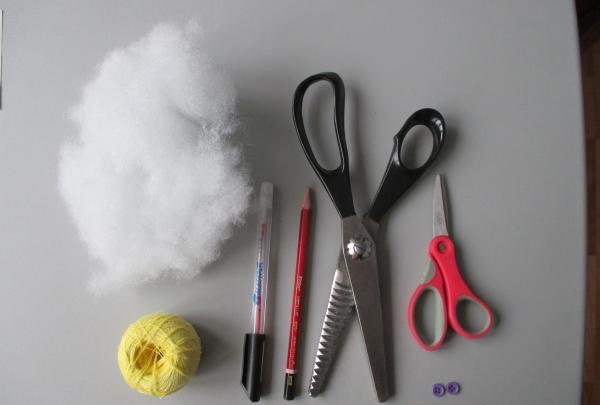
Any tailoring begins with cutting. Transfer the doll patterns onto cardboard and cut them out.
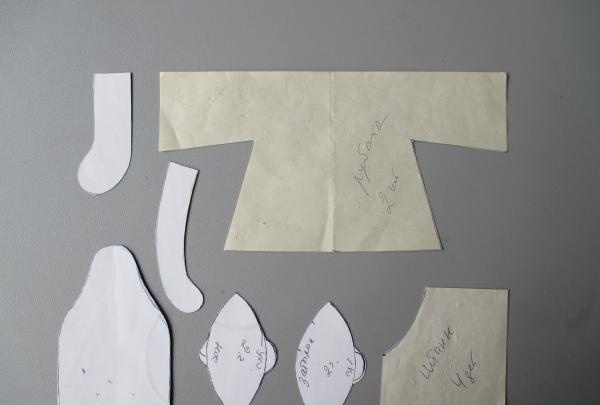
Now lay them out on the fabric strictly along the longitudinal line (otherwise the finished product will squint at the seams and have an ugly appearance), trace along the contour. After this, be sure to secure the parts with safety pins so that the stitching does not move during sewing.
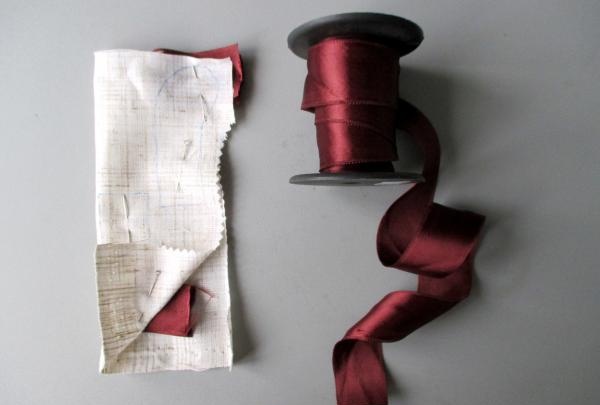
To avoid knitting or sewing the bast shoes, place the satin ribbon inside face to face and secure with a pin.
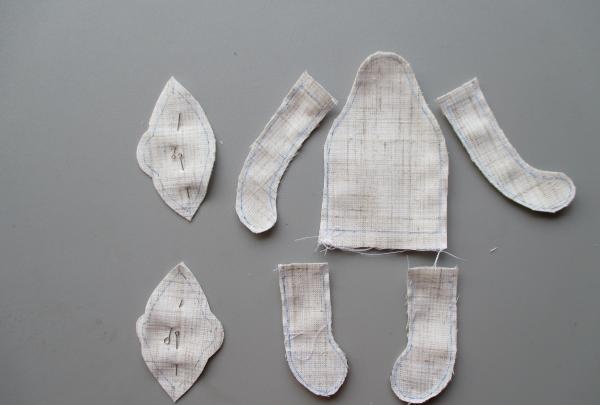
Sew all the details except the head parts.Cut out the finished parts, leaving 3 mm for an allowance; be sure to make notches in the places where the curves are rounded so that the seams of the turned part are crease-free and even.
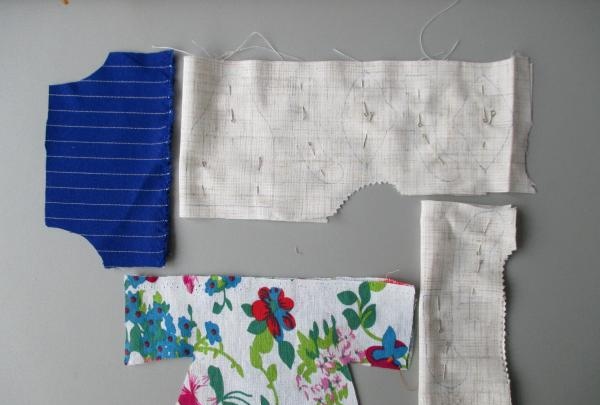
When cutting out the details of the head, leave 0.5 cm for an allowance. Connect them, securing them with pins at the joints, and stitch. Be sure to leave an unstitched section in the middle of the back of the head, through which we will fill the head with padding polyester.
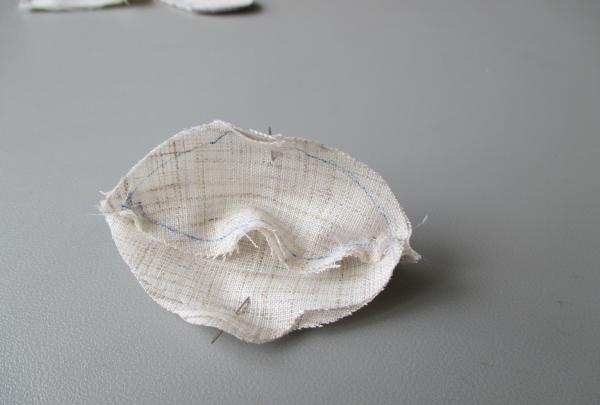
Turn out all the parts and carefully inspect them so that the seams do not come apart anywhere. If this happened somewhere, it’s okay. Turn it inside out and stitch again. You can leave a small hole on the paws and mend it later to give the doll some color.
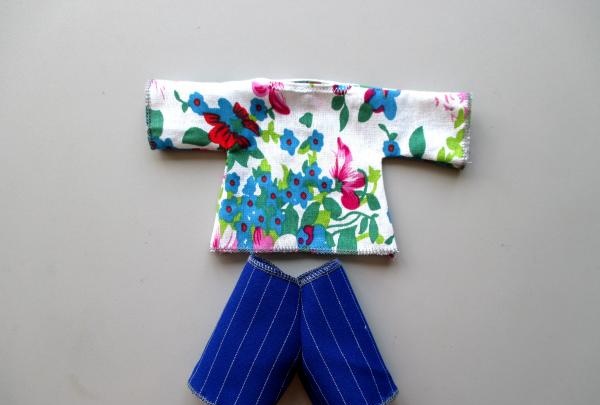
Cut and sew the clothes. It must be ready before stuffing the parts with padding polyester.
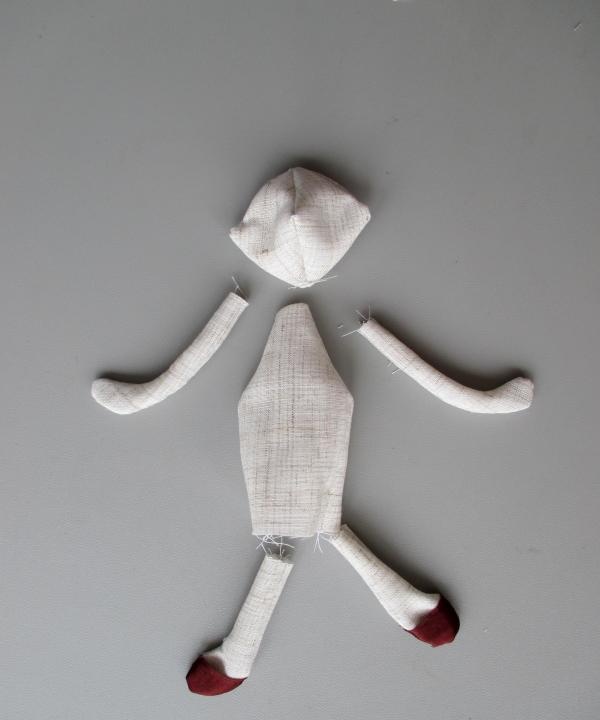
With a simple pencil without protruding graphite in the upper part, you can easily fill all the details with padding polyester, and quickly fill the body and head with the material using your ring finger.
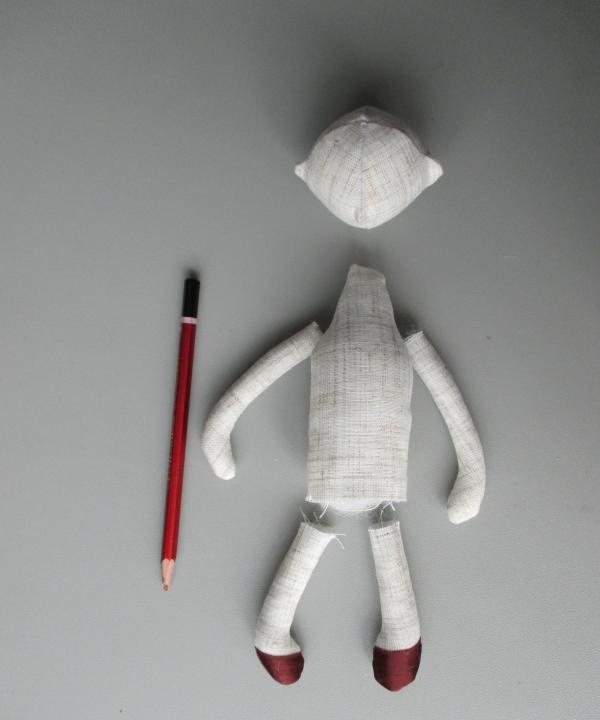
And now we’ll get to the fun part – shaping the doll. To begin, attach the legs to the body, secure them with pins and sew them with a hidden seam.
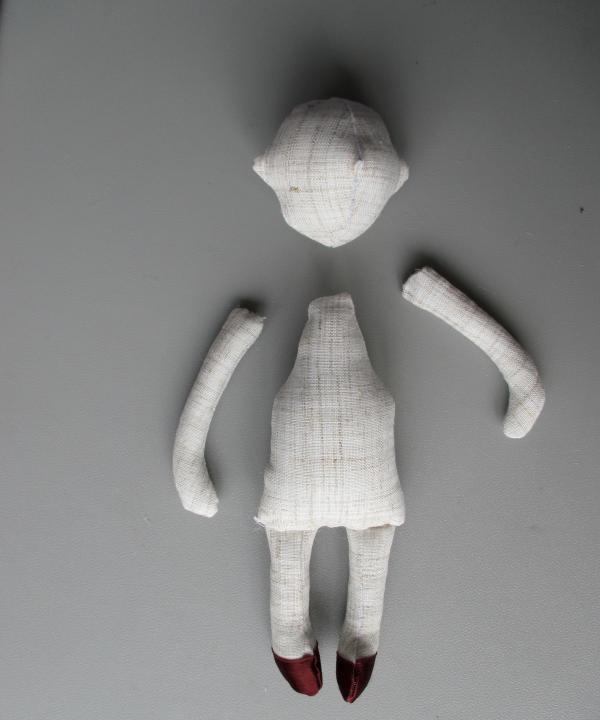
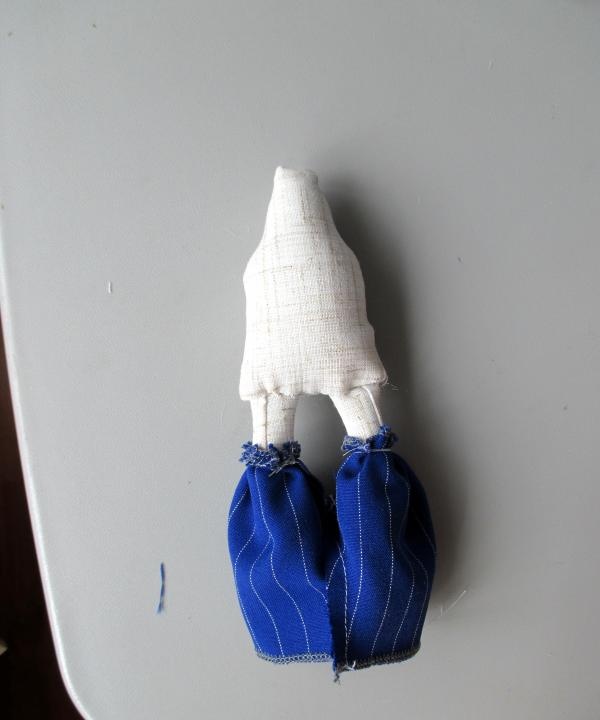
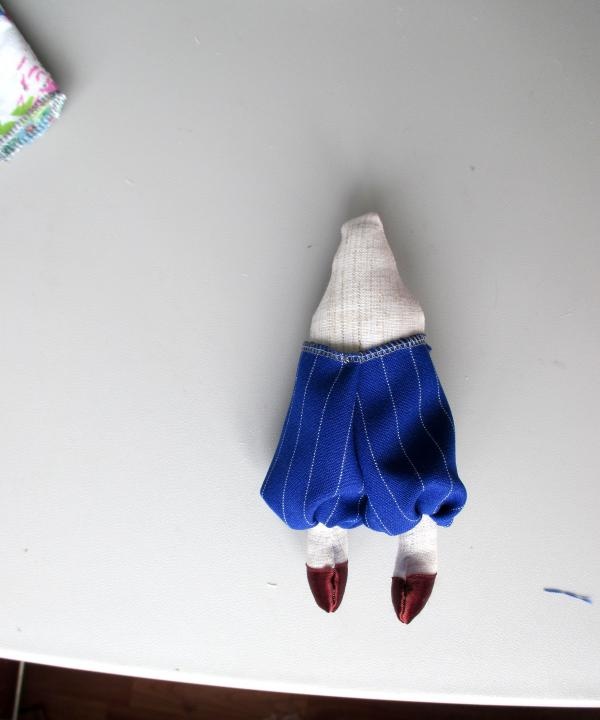
Now let's put on our pants. This is easy to do. We turn the trousers inside out, secure them to the legs with threads, put them on and fasten them to the body. The photo shows everything in detail.
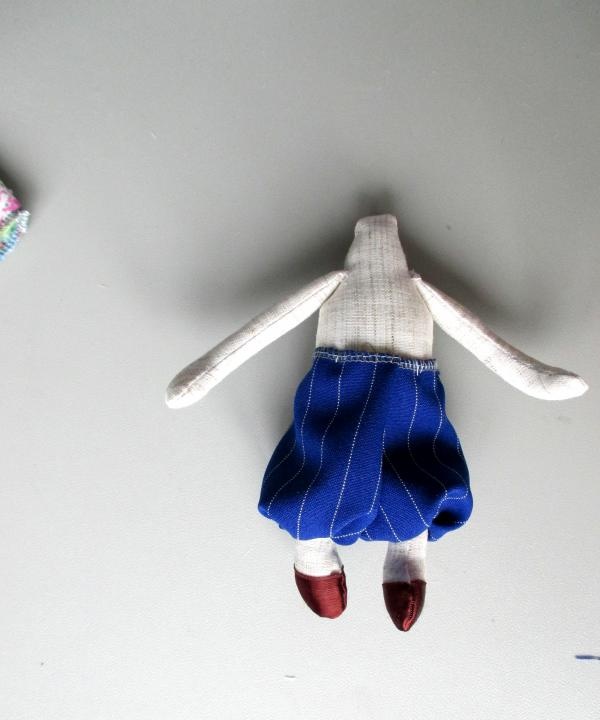
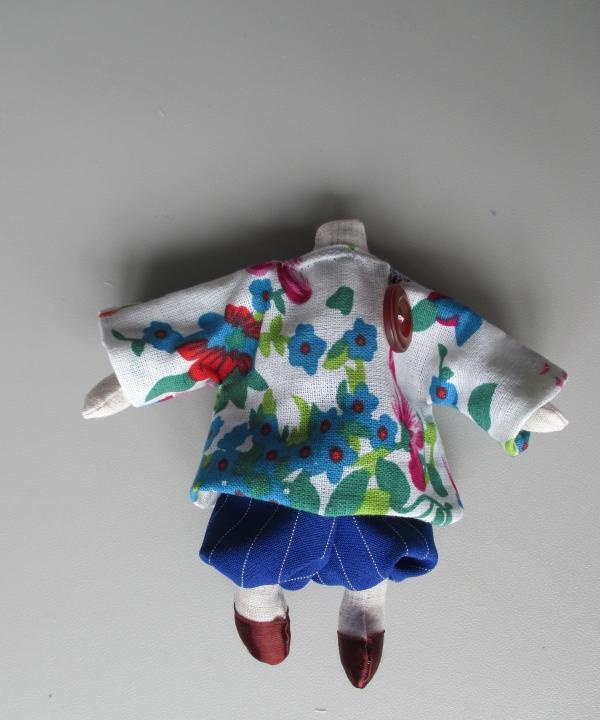
We sew on the handles and put on the shirt.
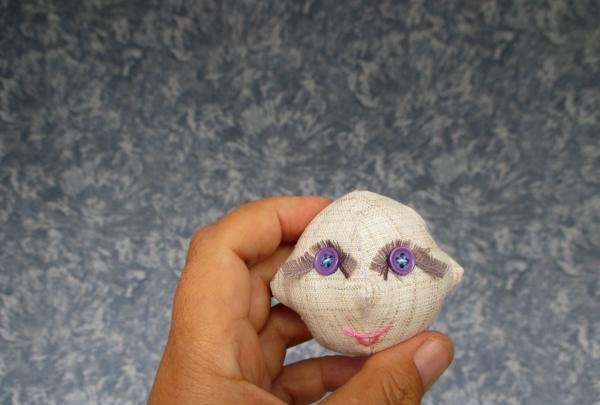
We sew on the doll's eyes, eyelashes, mouth, and possibly eyebrows. Then sew it tightly to the neck.
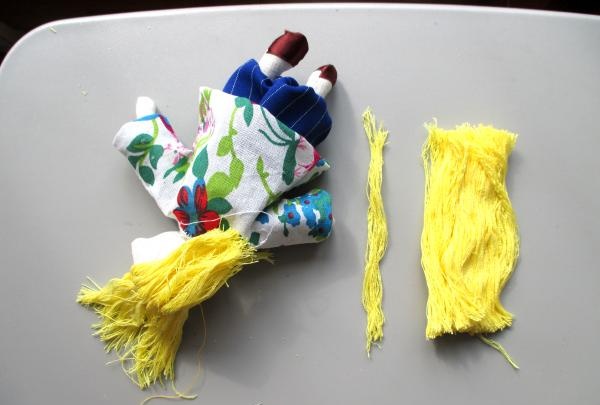
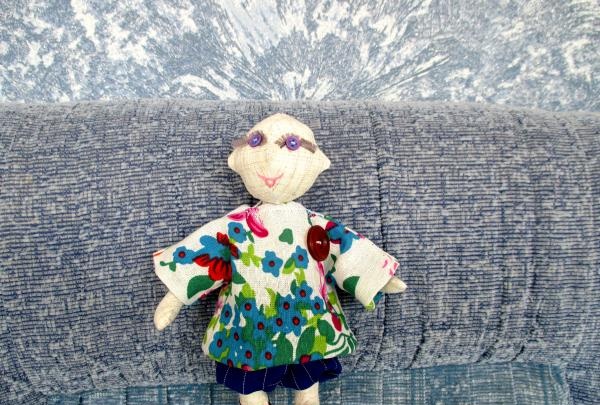
All that remains is to attach the hairs to the head. To do this, take darning or another thread (you can use either thick or thin). We wind it on a suitable book, cut it and get strands. Take a little at a time and sew it to the back of the head.
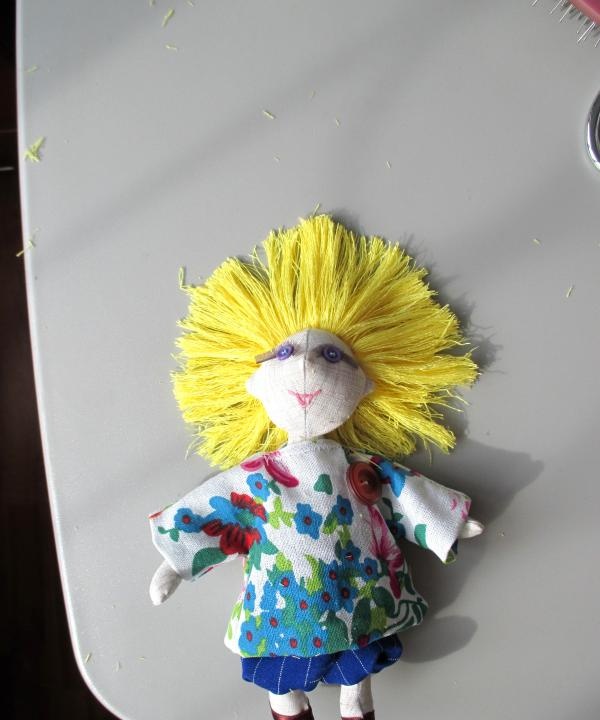
Comb and cut hair in circles.
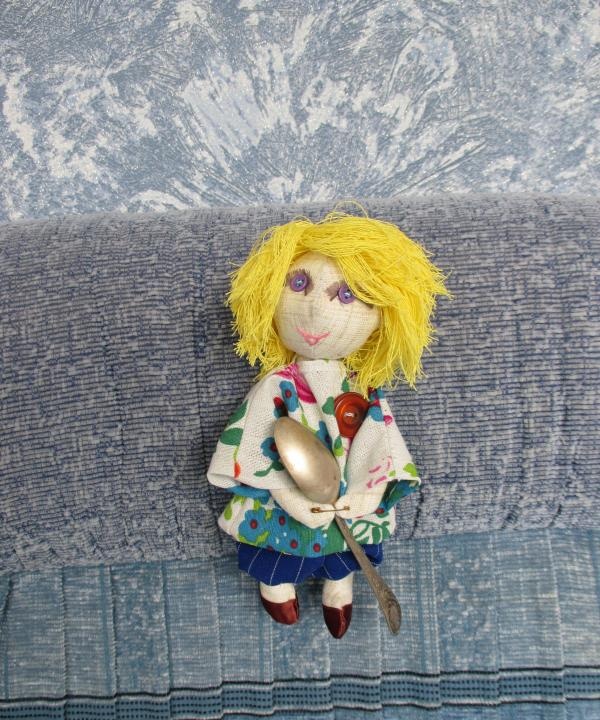
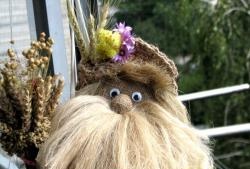
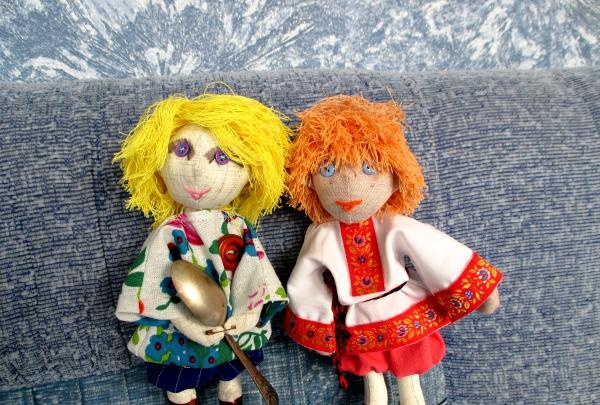
We do the hair and our Pete is ready. Give him a spoon quickly!
To make such an adorable baby you will need:
• fabric on the body, preferably cream or milky in color, preferably linen;
• fabric for pants, preferably plain;
• linen for the shirt, in harmony with the color of the trousers;
• satin ribbon of any color or just fabric on the bast shoes;
• buttons for the eyes;
• satin ribbon or floss for eyelashes;
• padding polyester for filling the doll;
• sewing tools.

Any tailoring begins with cutting. Transfer the doll patterns onto cardboard and cut them out.

Now lay them out on the fabric strictly along the longitudinal line (otherwise the finished product will squint at the seams and have an ugly appearance), trace along the contour. After this, be sure to secure the parts with safety pins so that the stitching does not move during sewing.

To avoid knitting or sewing the bast shoes, place the satin ribbon inside face to face and secure with a pin.

Sew all the details except the head parts.Cut out the finished parts, leaving 3 mm for an allowance; be sure to make notches in the places where the curves are rounded so that the seams of the turned part are crease-free and even.

When cutting out the details of the head, leave 0.5 cm for an allowance. Connect them, securing them with pins at the joints, and stitch. Be sure to leave an unstitched section in the middle of the back of the head, through which we will fill the head with padding polyester.

Turn out all the parts and carefully inspect them so that the seams do not come apart anywhere. If this happened somewhere, it’s okay. Turn it inside out and stitch again. You can leave a small hole on the paws and mend it later to give the doll some color.

Cut and sew the clothes. It must be ready before stuffing the parts with padding polyester.

With a simple pencil without protruding graphite in the upper part, you can easily fill all the details with padding polyester, and quickly fill the body and head with the material using your ring finger.

And now we’ll get to the fun part – shaping the doll. To begin, attach the legs to the body, secure them with pins and sew them with a hidden seam.


Now let's put on our pants. This is easy to do. We turn the trousers inside out, secure them to the legs with threads, put them on and fasten them to the body. The photo shows everything in detail.


We sew on the handles and put on the shirt.


We sew on the doll's eyes, eyelashes, mouth, and possibly eyebrows. Then sew it tightly to the neck.


All that remains is to attach the hairs to the head. To do this, take darning or another thread (you can use either thick or thin). We wind it on a suitable book, cut it and get strands. Take a little at a time and sew it to the back of the head.

Comb and cut hair in circles.

We do the hair and our Pete is ready. Give him a spoon quickly!

Similar master classes
Particularly interesting
Comments (0)


