Tilda the hare
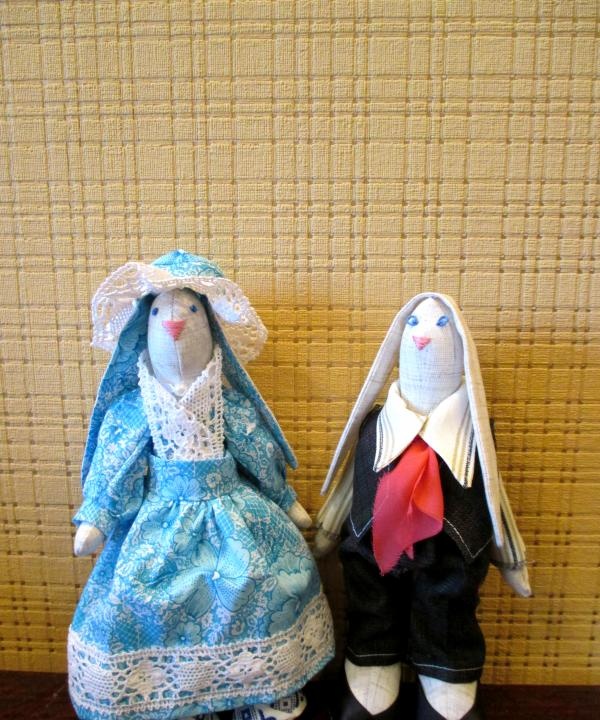
I have long wanted to place a serious bunny in my house, the personification of an office worker. Today I invite you to create such a miracle with me. As always, making any toy begins with preparation for the process.
You will need:
Transfer the proposed pattern onto paper or cardboard and cut along the contour.
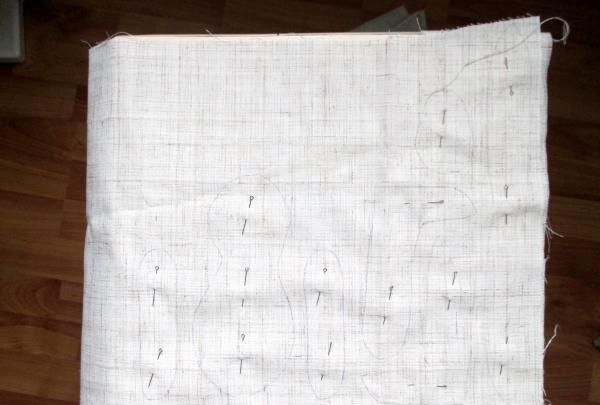
Place the pieces on the fabric, carefully trace with a pencil, and secure with safety pins. This is done so that the fabric does not move when we sew.
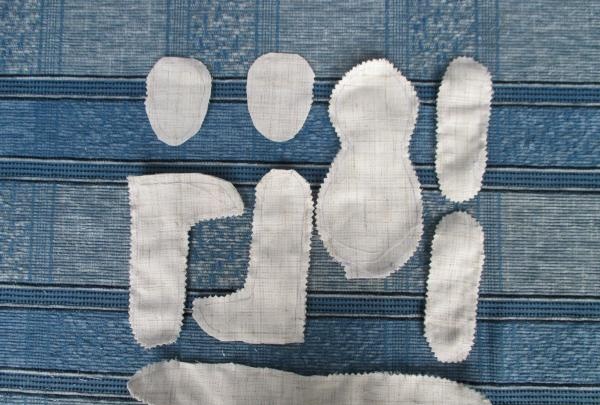
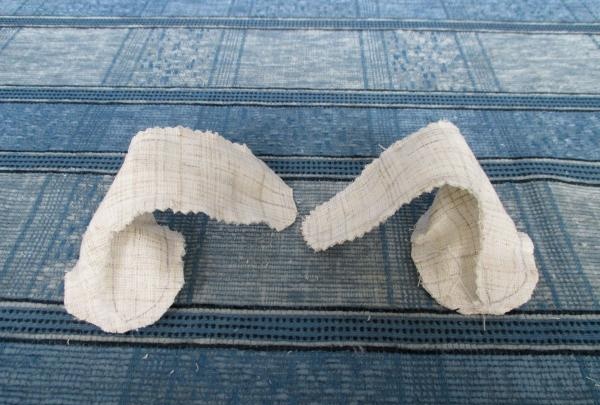
Sew all the details along the contour, except for the soles of the feet. Cut it out, leave a small allowance, maximum 3–5 mm; on the soles there should be at least 5 mm allowance.
The next operation will be preparing the legs. Secure the sole to the boot using needles.
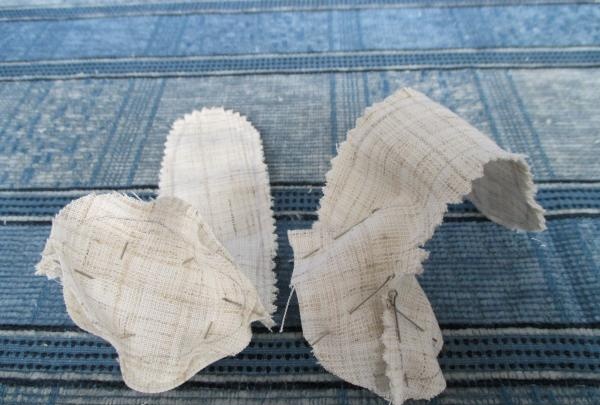
Carefully stitch up the hare's legs.
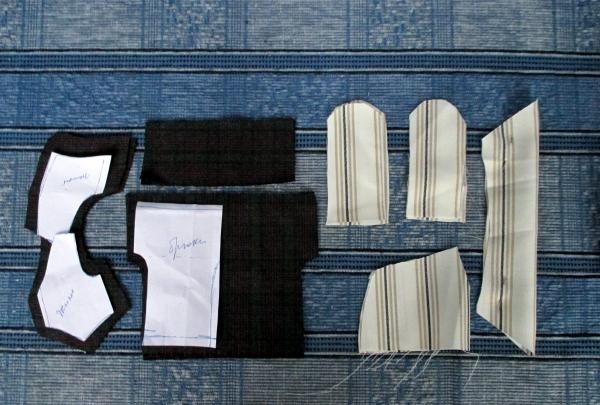
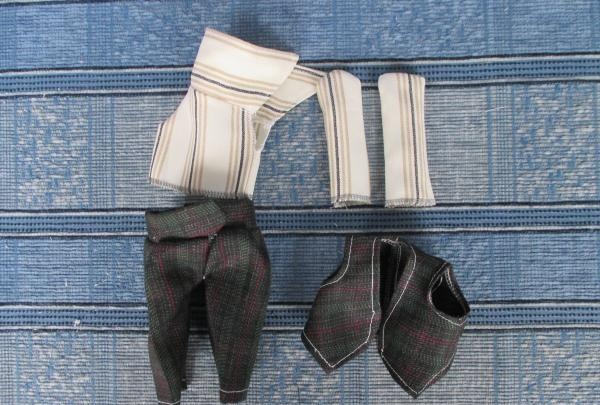
At this stage I always make clothes. Because we will wear the tilde gradually. Cut out your pants, vest, shirt. I specially cut out the vest without a shoulder seam, because the doll is small and it is very difficult to make small seams, especially for novice needlewomen.

We will sew trousers according to all the rules, as for adults. We start sewing the shirt from the collar, which we then attach to the neck. Our sleeves are in the form of tubes.
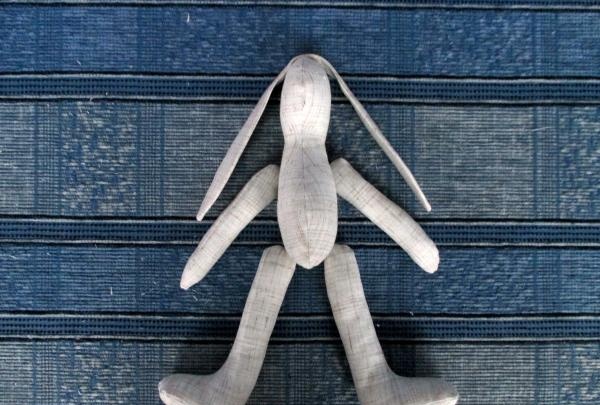
Now let's return to our bunny. Iron the stitched parts and then turn them inside out. This is done in order to straighten the seam, which may become tight when sewing. We cut small holes in the parts so that we can turn them right side out. Turn it inside out.
To fill parts with padding polyester, I use an unsharpened pencil. It's very convenient and easy

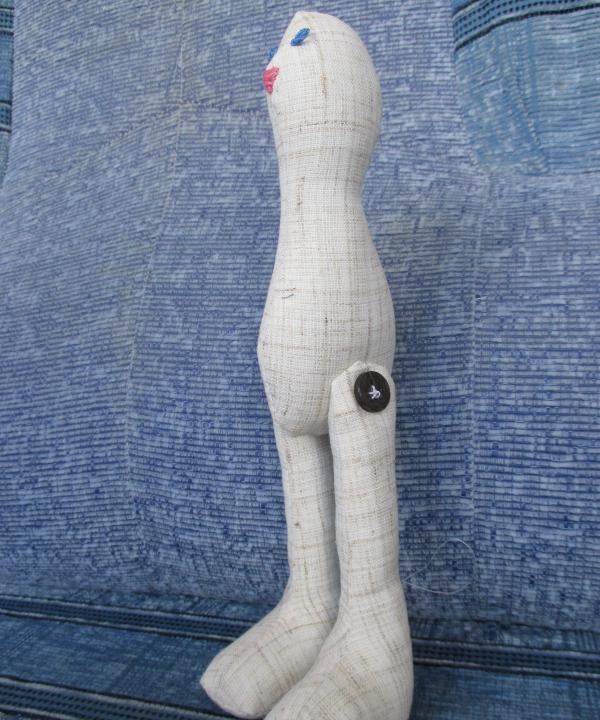
At this stage, you can embroider the nose and eyes of our bunny rabbit and sew on the legs. We sew them on using buttons so that the doll stands.
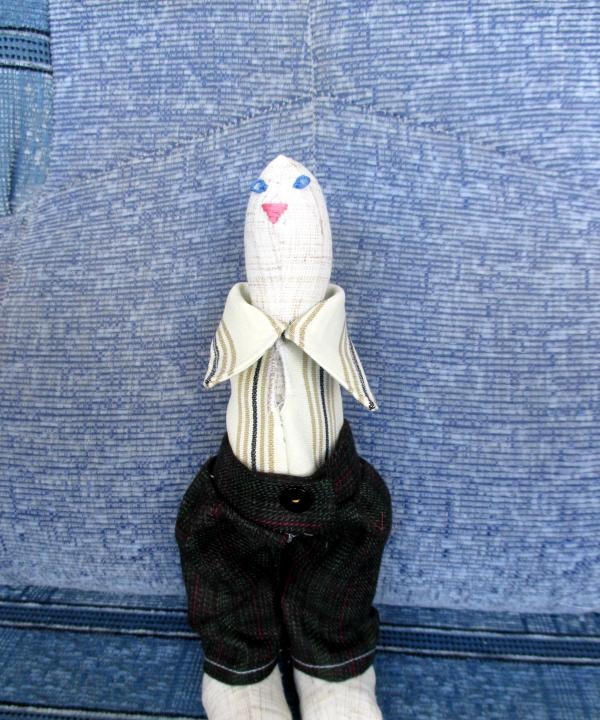
We put on pants and tuck in our shirt. Sew on the button.
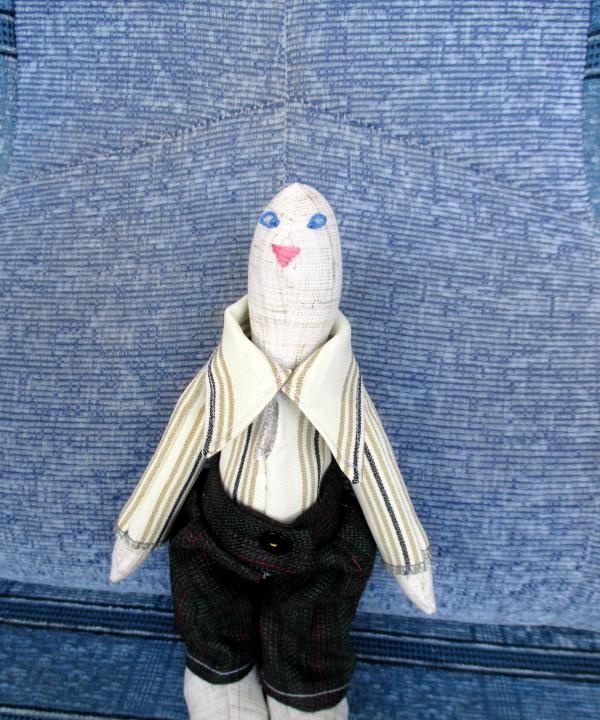
We insert the handles into the sleeves and fix them on the bunny. They can also be sewn on buttons or with a hidden seam, capturing the body.
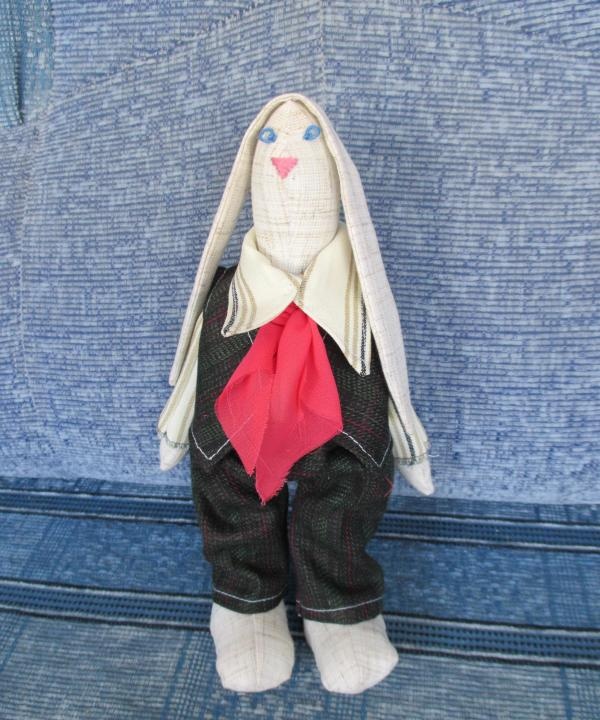
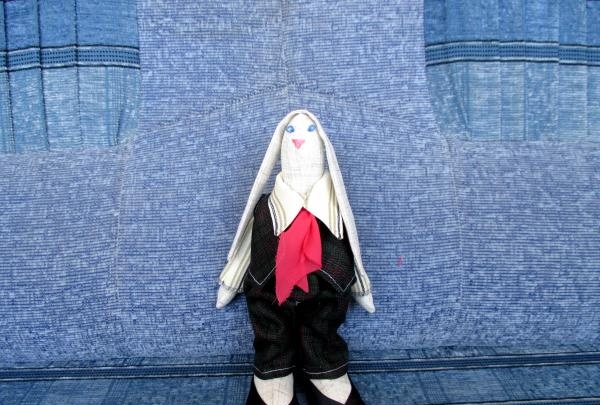
We put on a sleeveless vest and tie a scarf around our neck.
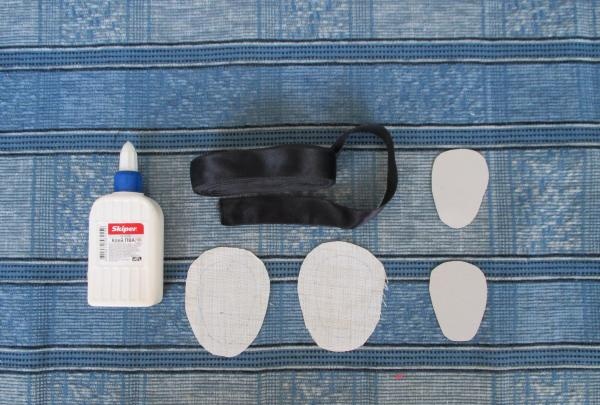
Our bunny is ready, but he doesn’t have shoes yet. To make slippers we will need PVA glue, tape, a cardboard and fabric pattern for the sole. We make a fabric pattern with an allowance of 1–1.5 cm.
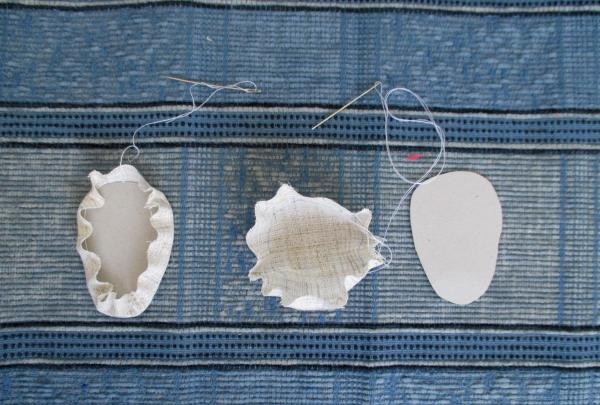
We form the sole; to do this, we assemble it onto a thread along the contour of the pattern.
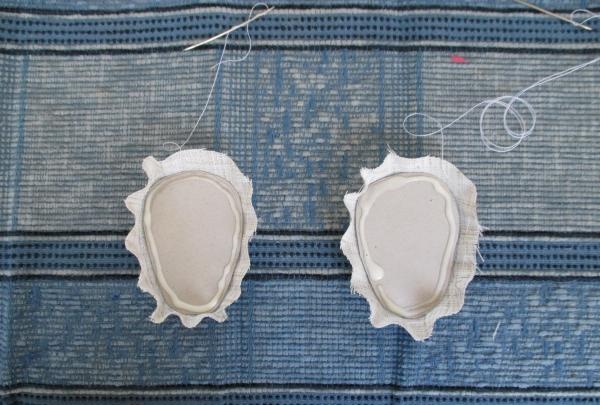
Apply glue to the edges of the cardboard.
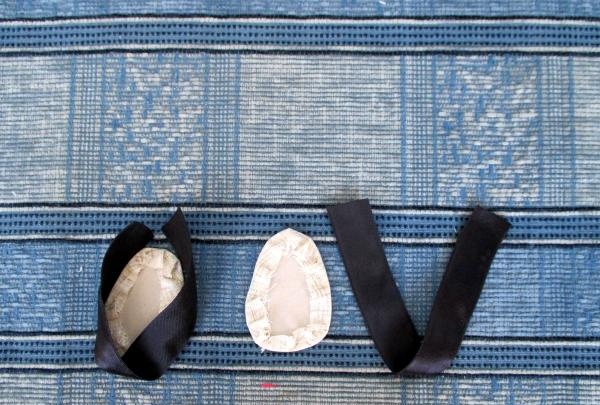
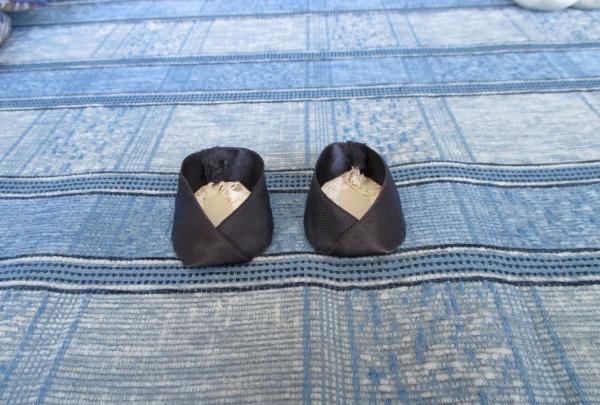
We tighten the thread and place it under a press of several books for about an hour so that the glue dries. After drying, we begin to form the upper of the shoe.We cut the tape so that it wraps around the perimeter of the sole, leaving 2 cm for the fold along the back.
Using a hidden seam, we sew the formed tape to the sole of the shoe. The slippers are ready.
Let's put on shoes for our serious hare.
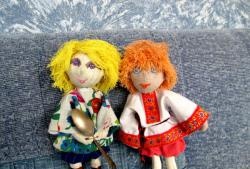
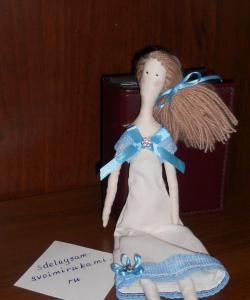
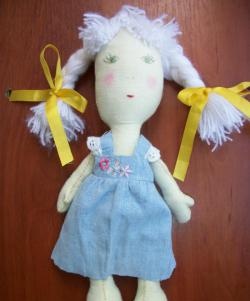
And so as not to get bored, we invite a guest to visit him.
You will need:
- pattern on paper;
- padding polyester for stuffing the doll;
- linen of milky or other color, preferably light shades;
- floss for embroidering a nose and eye;
- satin ribbon for making slippers;
- scissors, threads, needles;
- two pencils, one of which is not sharpened;
- a piece of thin cardboard for shoe soles, PVA;
- light fabric for a shirt;
- dark fabric for trousers;
- any long piece of silk for a scarf.
Transfer the proposed pattern onto paper or cardboard and cut along the contour.
Place the pieces on the fabric, carefully trace with a pencil, and secure with safety pins. This is done so that the fabric does not move when we sew.
Sew all the details along the contour, except for the soles of the feet. Cut it out, leave a small allowance, maximum 3–5 mm; on the soles there should be at least 5 mm allowance.
The next operation will be preparing the legs. Secure the sole to the boot using needles.
Carefully stitch up the hare's legs.
At this stage I always make clothes. Because we will wear the tilde gradually. Cut out your pants, vest, shirt. I specially cut out the vest without a shoulder seam, because the doll is small and it is very difficult to make small seams, especially for novice needlewomen.
We will sew trousers according to all the rules, as for adults. We start sewing the shirt from the collar, which we then attach to the neck. Our sleeves are in the form of tubes.
Now let's return to our bunny. Iron the stitched parts and then turn them inside out. This is done in order to straighten the seam, which may become tight when sewing. We cut small holes in the parts so that we can turn them right side out. Turn it inside out.
To fill parts with padding polyester, I use an unsharpened pencil. It's very convenient and easy
At this stage, you can embroider the nose and eyes of our bunny rabbit and sew on the legs. We sew them on using buttons so that the doll stands.
We put on pants and tuck in our shirt. Sew on the button.
We insert the handles into the sleeves and fix them on the bunny. They can also be sewn on buttons or with a hidden seam, capturing the body.
We put on a sleeveless vest and tie a scarf around our neck.
Our bunny is ready, but he doesn’t have shoes yet. To make slippers we will need PVA glue, tape, a cardboard and fabric pattern for the sole. We make a fabric pattern with an allowance of 1–1.5 cm.
We form the sole; to do this, we assemble it onto a thread along the contour of the pattern.
Apply glue to the edges of the cardboard.
We tighten the thread and place it under a press of several books for about an hour so that the glue dries. After drying, we begin to form the upper of the shoe.We cut the tape so that it wraps around the perimeter of the sole, leaving 2 cm for the fold along the back.
Using a hidden seam, we sew the formed tape to the sole of the shoe. The slippers are ready.
Let's put on shoes for our serious hare.
And so as not to get bored, we invite a guest to visit him.
Similar master classes


Particularly interesting


Comments (0)
