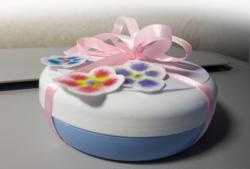
Original gift box
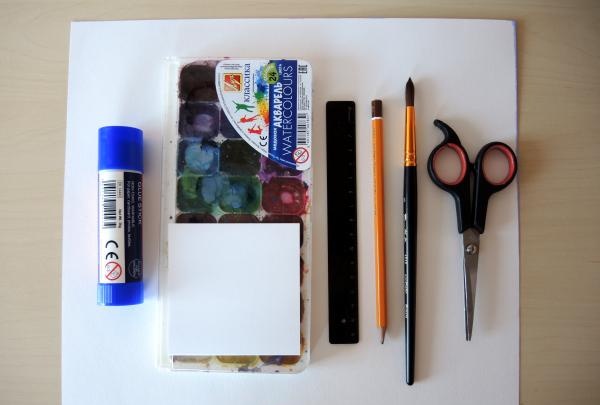
We will need:
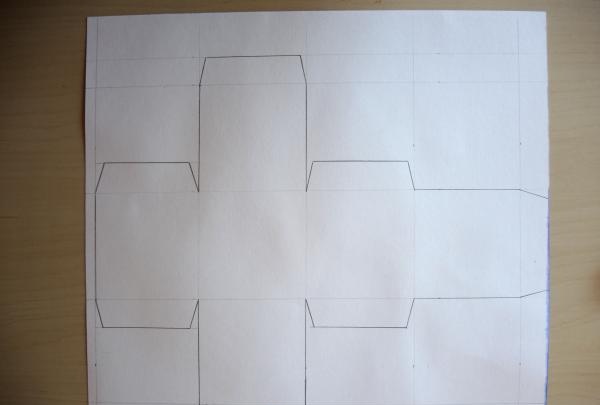
Let's get started. First, let's draw a diagram of our future box on watercolor paper. The dimensions of the squares are 7.5x7.5 cm (you can, of course, change them as it is convenient), the dimensions of the “lapels” are approximately 1.5 - 2 cm.
Cut out the box and bend along the lines. The rough surface of the watercolor paper should be on the outside.
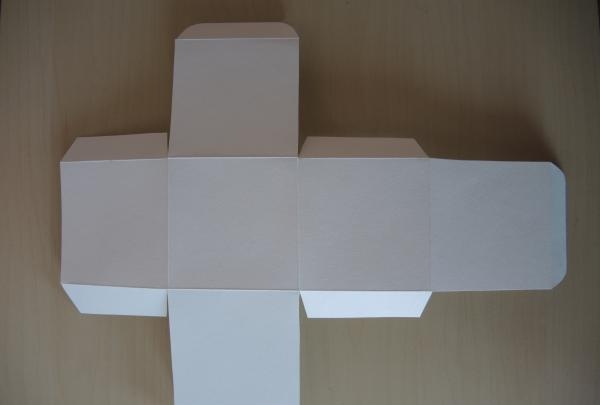
When folded, it will look like this. You can glue it at this stage, or you can glue it later.
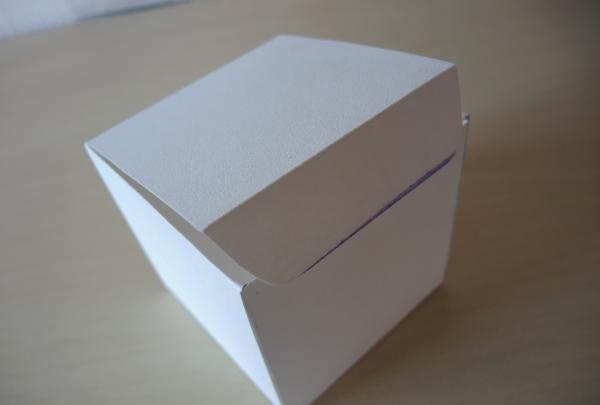
Now comes the fun part. Let's add some color. First, wet the top of the box with water, then add a few drops of paint (you can use several colors, but no more than two or three, otherwise everything will blend into one unsightly muddy color). Moisten the side surfaces with water too. You want the water droplets to start rolling down, and then add paint to them as well.
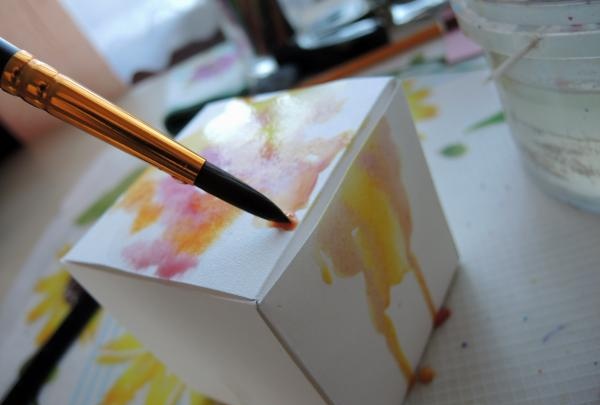
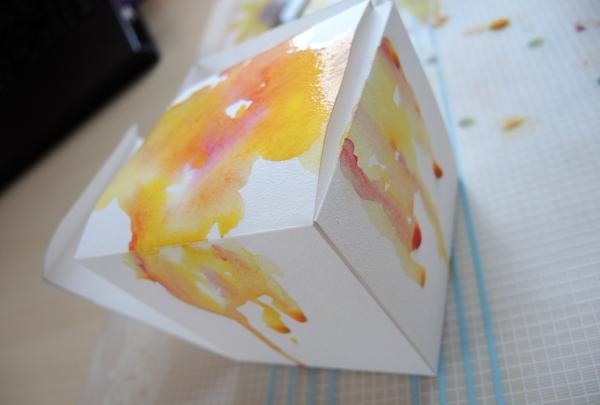
When everything is ready, leave the box to dry.
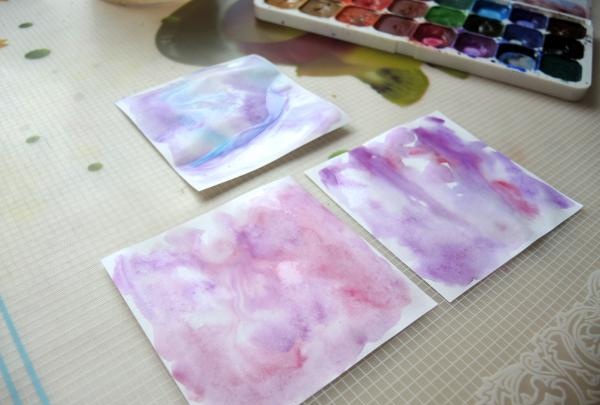
Now let's take plain paper, moisten it generously with water and add a couple of drops of paint (also no more than two or three colors). Leave the paper until dry.
When the water has evaporated, cut out butterflies of different sizes and several small flowers from paper.
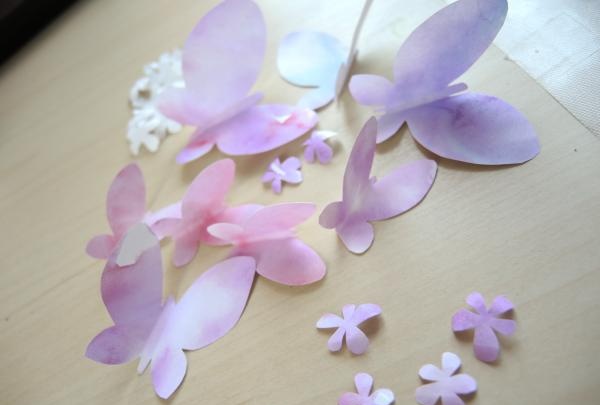
And the last thing: glue butterflies and flowers to the box on all sides.
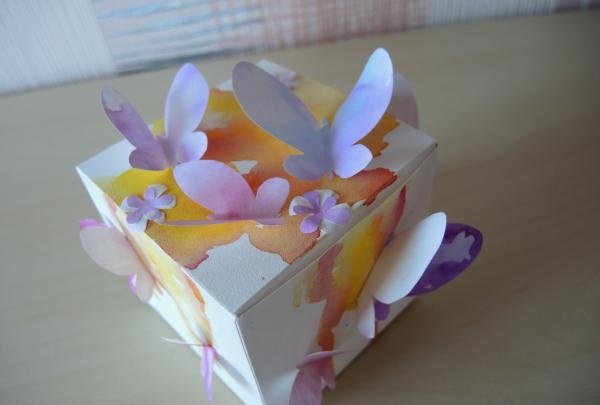
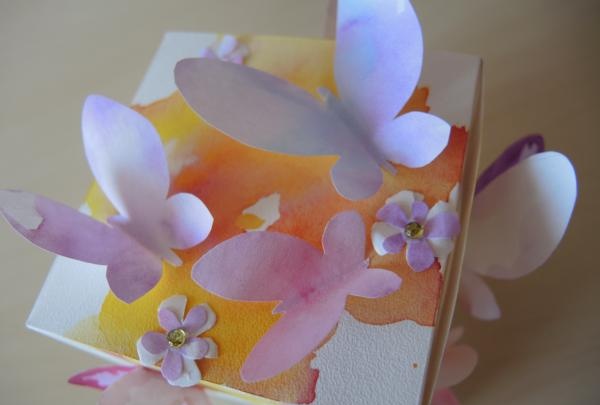
Glue rhinestones or beads into the center of the flowers. That's all. The small gift box is ready, and it only took a few minutes to make.
Wish you all the best!
- - Watercolor paper/
- - Container with water.
- - Brush.
- - Watercolor.
- - Glue.
- - Scissors.
- - Pencil.
- - Ruler.
- - Plain paper.

Let's get started. First, let's draw a diagram of our future box on watercolor paper. The dimensions of the squares are 7.5x7.5 cm (you can, of course, change them as it is convenient), the dimensions of the “lapels” are approximately 1.5 - 2 cm.

Cut out the box and bend along the lines. The rough surface of the watercolor paper should be on the outside.

When folded, it will look like this. You can glue it at this stage, or you can glue it later.

Now comes the fun part. Let's add some color. First, wet the top of the box with water, then add a few drops of paint (you can use several colors, but no more than two or three, otherwise everything will blend into one unsightly muddy color). Moisten the side surfaces with water too. You want the water droplets to start rolling down, and then add paint to them as well.

When everything is ready, leave the box to dry.

Now let's take plain paper, moisten it generously with water and add a couple of drops of paint (also no more than two or three colors). Leave the paper until dry.

When the water has evaporated, cut out butterflies of different sizes and several small flowers from paper.

And the last thing: glue butterflies and flowers to the box on all sides.

Glue rhinestones or beads into the center of the flowers. That's all. The small gift box is ready, and it only took a few minutes to make.

Wish you all the best!
Similar master classes
Particularly interesting
Comments (0)

