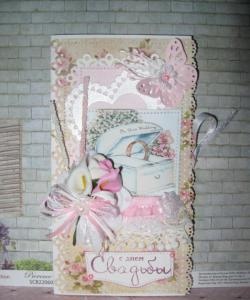
Wedding envelope
We are increasingly faced with the problem when we are invited to a wedding, but we don’t know what to give. You don’t want to give nonsense, and it’s quite difficult to guess what exactly the newlyweds need for the first time. Each person has different taste preferences, and it is very difficult to please both at once. If you are not very familiar with the newlyweds and their loved ones, then you can, of course, ask around their closest circle, so that it would be preferable for them to receive present. If you were invited to a wedding by people who are not significant to you, so to speak, relatives through the third generation, then it will be more complicated. In such cases, the only way out of the situation is to give money. But no one has canceled the congratulations themselves, warm, sincere congratulations with sincere wishes that can be left in a postcard or envelope. So that your gift still has some zest, even though it will be just a cash gift, the congratulatory envelope itself can be handmade, and it will be made with your own hands.
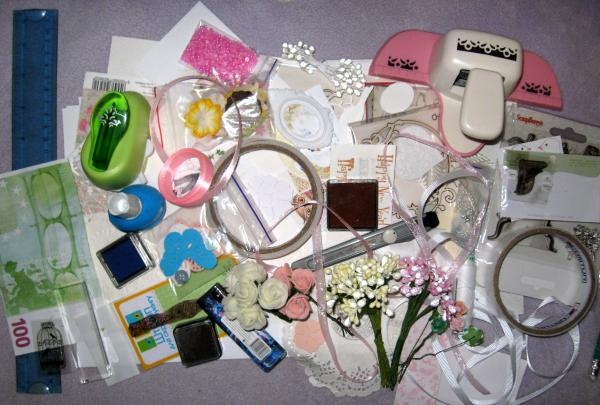
Paper products in the form of envelopes, postcards, covers using the technique are very beautiful. scrapbooking. By showing a little imagination and using a wide range of scrap materials, you can create amazing handmade things that are original and unique. So, for the envelope you will need to take:
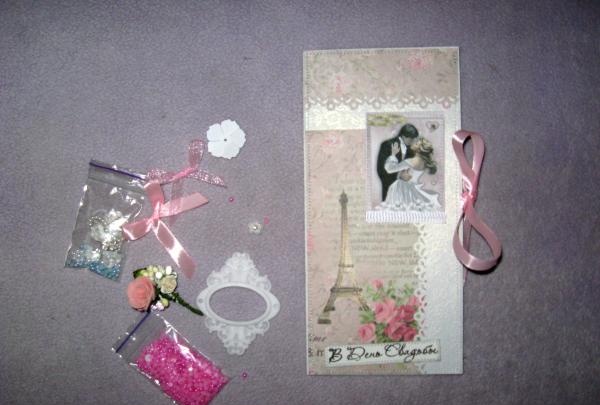
• White-gray landscape paper for pastels;
• Mother-of-pearl white sheet with floral embossing 20*20 cm;
• Paper for scrapbooking with roses and the Ephel Tower;
• Wedding pictures;
• White frame made of polymer clay;
• Stamp “On the Wedding Day”;
• Flower border punch;
• Cutting down a white flower;
• White rep ribbon;
• Light pink satin ribbon 7 mm wide;
• Light pink organza ribbon;
• Pink small half beads;
• Stamens and roses for a bouquet;
• The middle is a flower with a pebble;
• Set of wedding stamps;
• Burgundy, black and gold ink;
• Corner hole punch;
• Watercolor paper;
• Double-sided tape;
• Glue gun;
• PVA glue;
• Simple pencil, ruler, scissors.
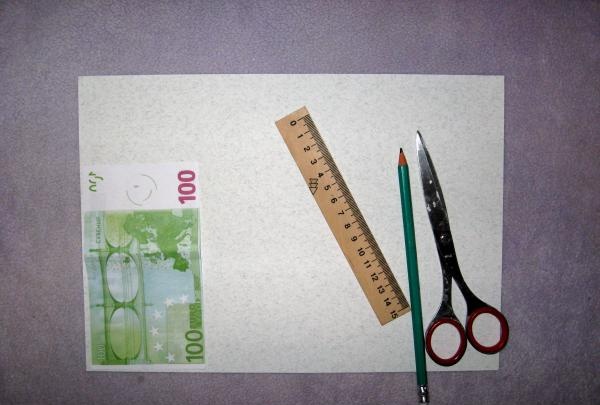
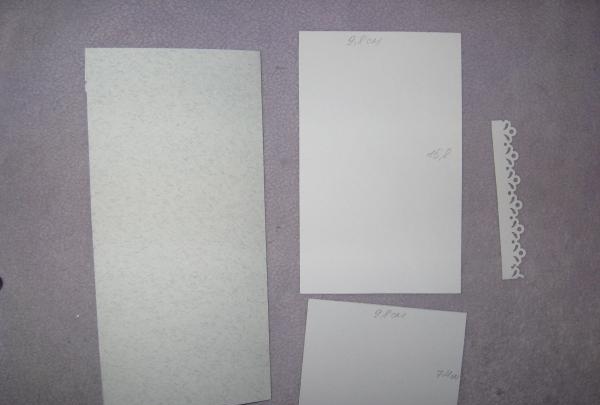
We turn the sheet of pastel over, measure 10*10*9.5 cm on the left. Use scissors to fit the ruler. Leave the height of the envelope 20 cm, the width will be 10 cm.
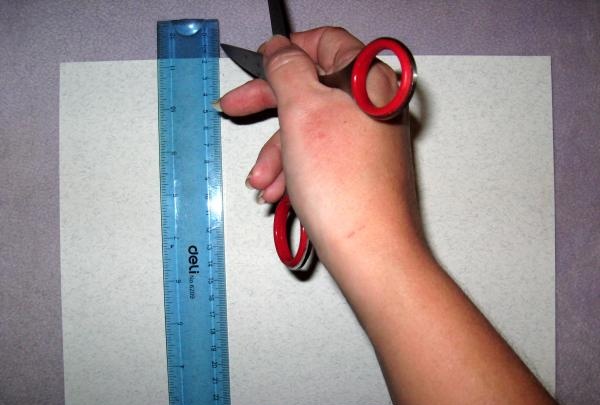
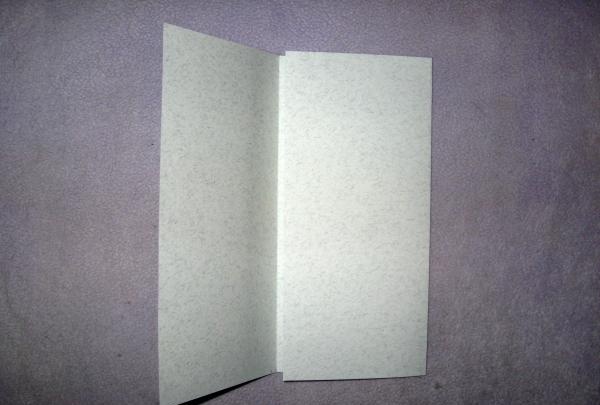
Fold it, cut off half of the third inner side.
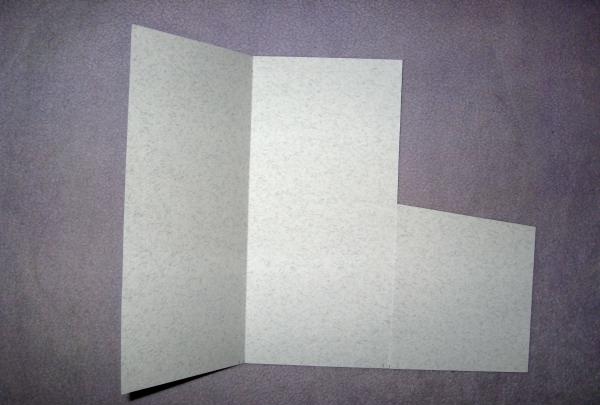
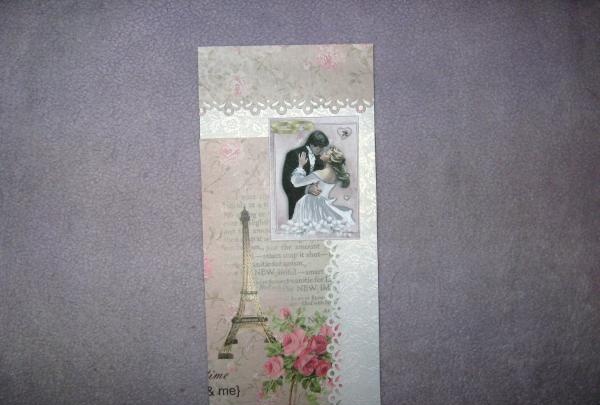
We make blanks for the front of the envelope, cut out 4 blanks of the same size as in the photo from scrap paper and from white embossed paper.
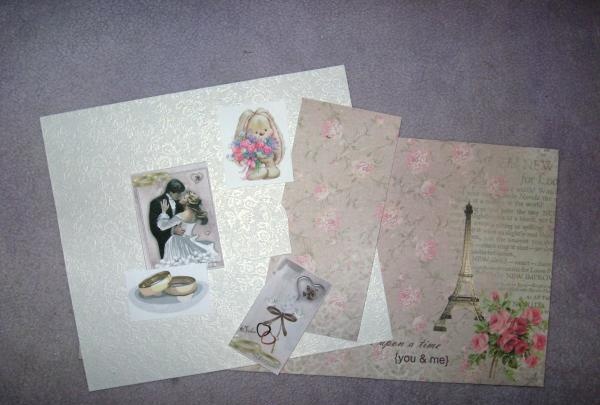
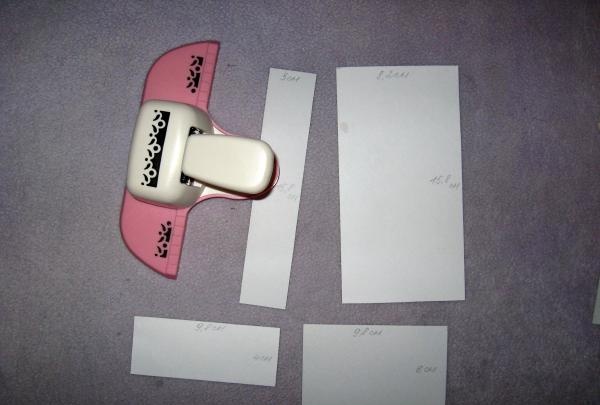
Use a hole punch to make the edges of two blanks. We put the blanks into one, gluing them together with PVA, we get one measuring 9.5 * 19.5 cm. We glue the picture with tape.
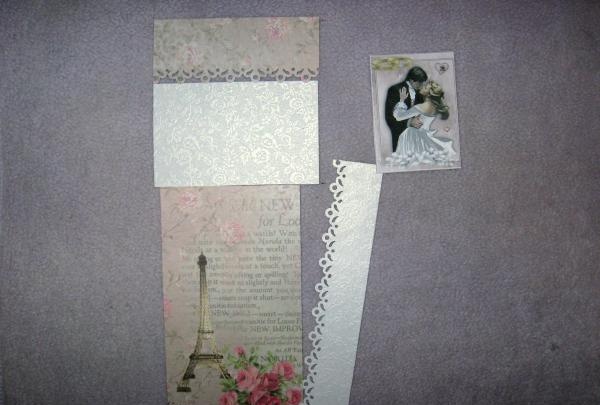
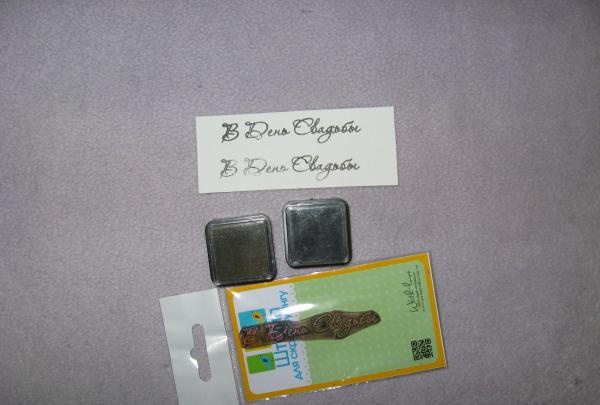
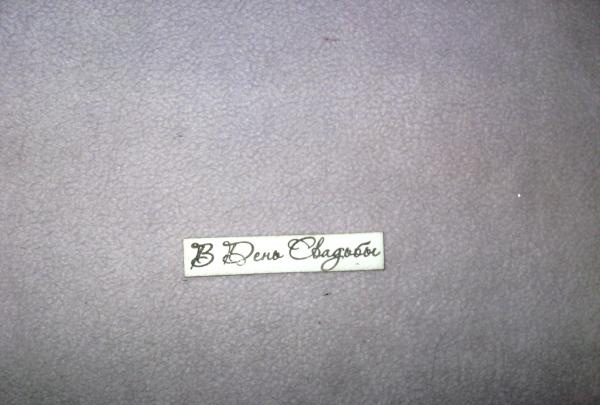
We stamp “On the Wedding Day”, cut it out, and tint the edges.
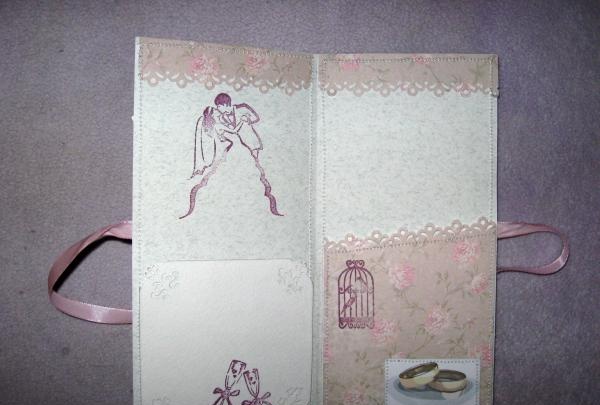
We make three blanks for the inside of the envelope, punch holes and glue them.
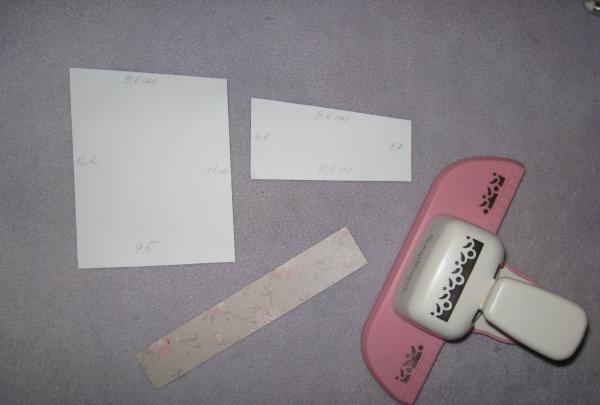
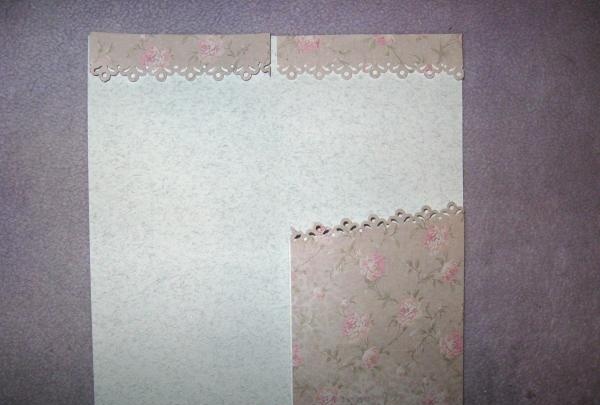
We also assemble the back part from separate fragments.
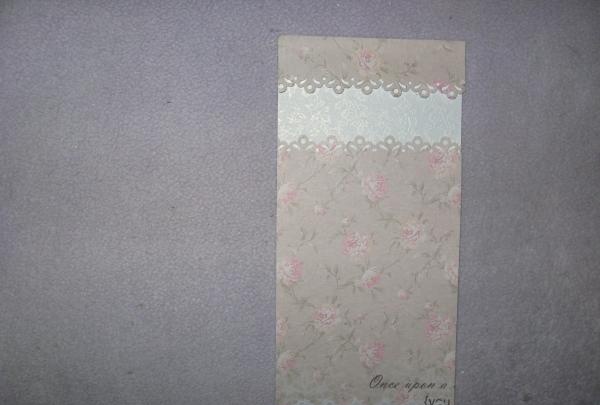
We sew the pictures on with a machine.
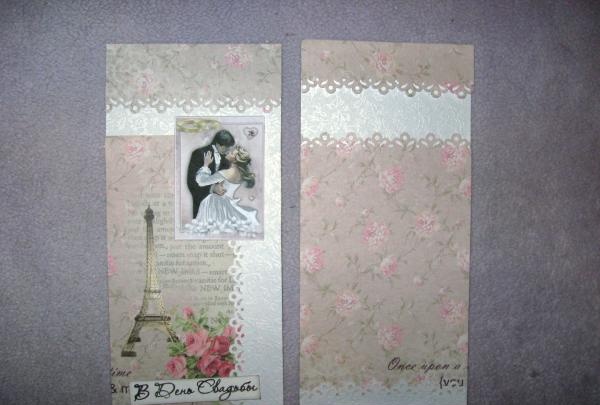
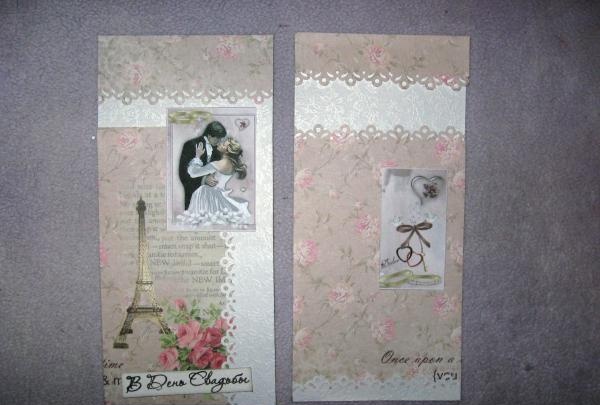
To the base in the middle we glue a strip of satin ribbon on the front and back for tying.
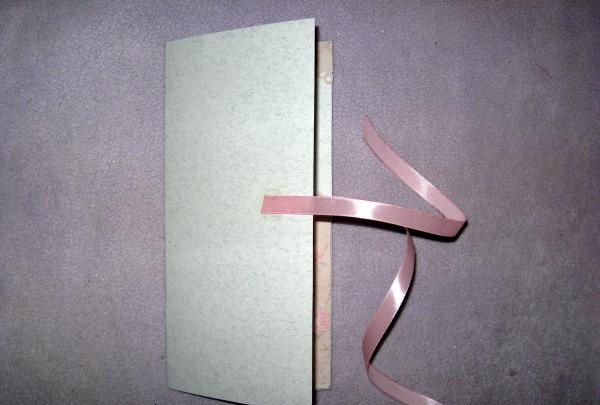
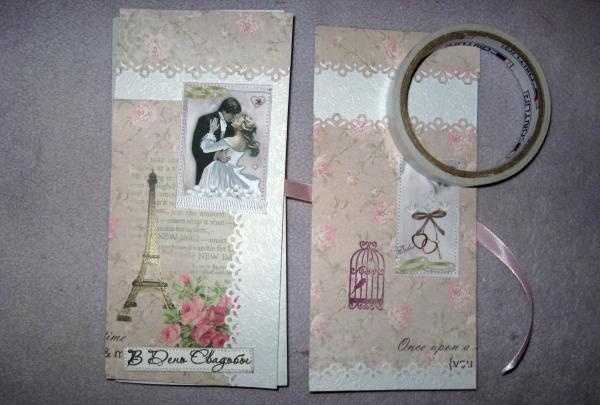
We glue all parts of scrap paper with tape and sew each one separately with a machine. We cut out a 9*9 cm square from the watercolor, make the corners with a hole punch and put the glasses with stamps.
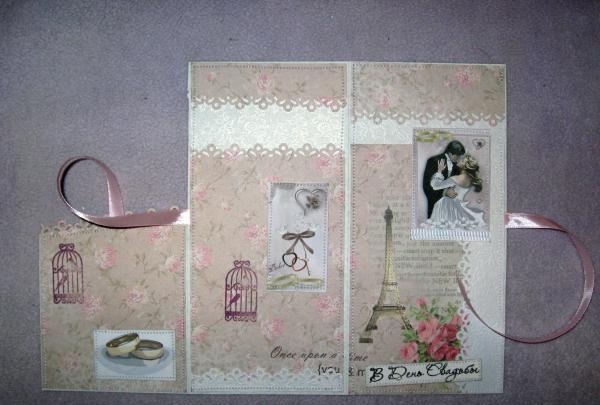
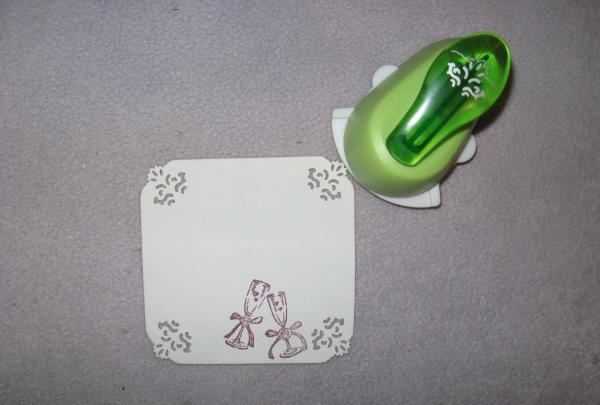
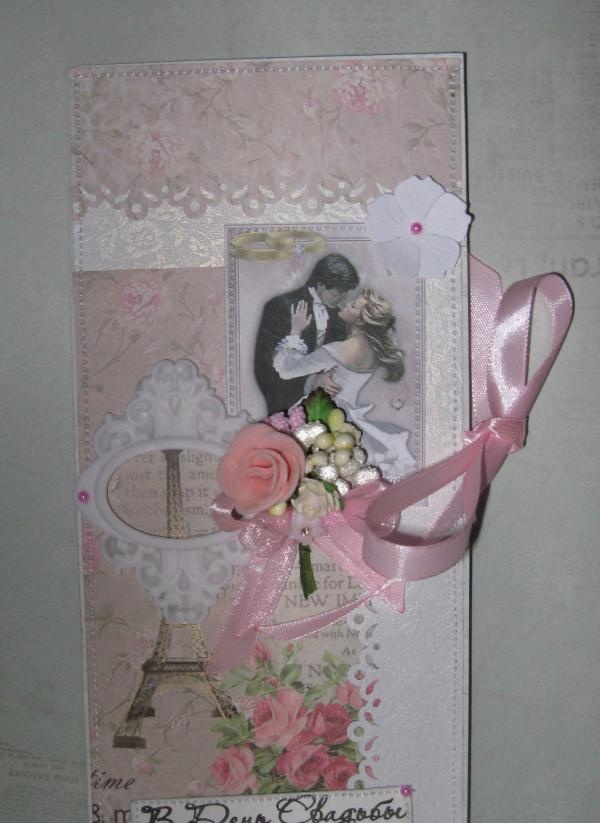
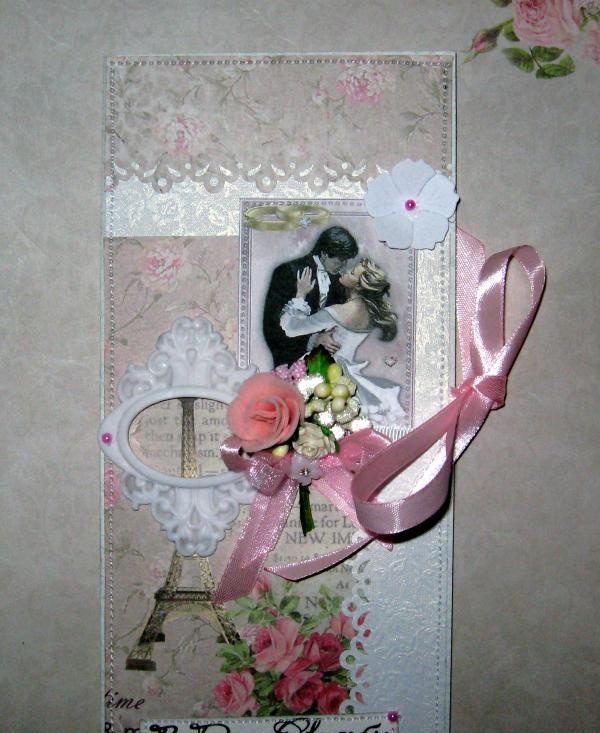
We make a bouquet from stamens and flowers, bows from ribbons, glue decor, as in the photo, starting with a polymer frame.
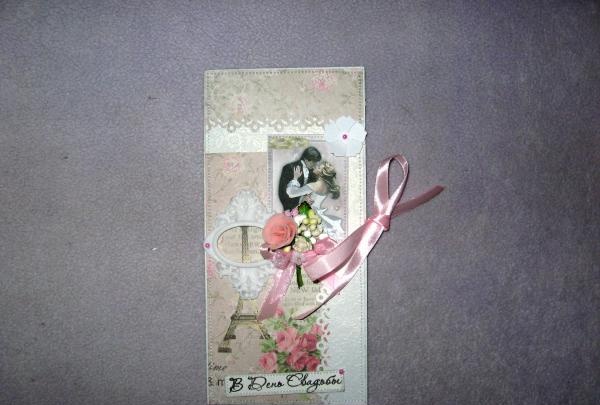
Inside we stamp pictures with wedding stamps in burgundy ink. The envelope is ready, it turned out quite delicate and very beautiful! Good luck!
Paper products in the form of envelopes, postcards, covers using the technique are very beautiful. scrapbooking. By showing a little imagination and using a wide range of scrap materials, you can create amazing handmade things that are original and unique. So, for the envelope you will need to take:
• White-gray landscape paper for pastels;
• Mother-of-pearl white sheet with floral embossing 20*20 cm;
• Paper for scrapbooking with roses and the Ephel Tower;
• Wedding pictures;
• White frame made of polymer clay;
• Stamp “On the Wedding Day”;
• Flower border punch;
• Cutting down a white flower;
• White rep ribbon;
• Light pink satin ribbon 7 mm wide;
• Light pink organza ribbon;
• Pink small half beads;
• Stamens and roses for a bouquet;
• The middle is a flower with a pebble;
• Set of wedding stamps;
• Burgundy, black and gold ink;
• Corner hole punch;
• Watercolor paper;
• Double-sided tape;
• Glue gun;
• PVA glue;
• Simple pencil, ruler, scissors.


We turn the sheet of pastel over, measure 10*10*9.5 cm on the left. Use scissors to fit the ruler. Leave the height of the envelope 20 cm, the width will be 10 cm.


Fold it, cut off half of the third inner side.


We make blanks for the front of the envelope, cut out 4 blanks of the same size as in the photo from scrap paper and from white embossed paper.


Use a hole punch to make the edges of two blanks. We put the blanks into one, gluing them together with PVA, we get one measuring 9.5 * 19.5 cm. We glue the picture with tape.


We stamp “On the Wedding Day”, cut it out, and tint the edges.


We make three blanks for the inside of the envelope, punch holes and glue them.


We also assemble the back part from separate fragments.


We sew the pictures on with a machine.


To the base in the middle we glue a strip of satin ribbon on the front and back for tying.


We glue all parts of scrap paper with tape and sew each one separately with a machine. We cut out a 9*9 cm square from the watercolor, make the corners with a hole punch and put the glasses with stamps.


We make a bouquet from stamens and flowers, bows from ribbons, glue decor, as in the photo, starting with a polymer frame.


Inside we stamp pictures with wedding stamps in burgundy ink. The envelope is ready, it turned out quite delicate and very beautiful! Good luck!


Similar master classes
Particularly interesting
Comments (0)


