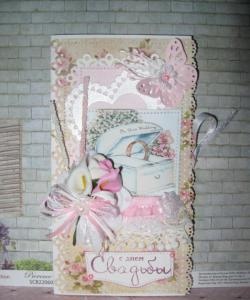
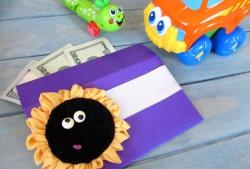
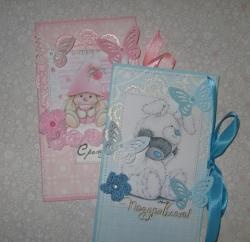
Envelope for money
If any celebration is planned in your life, and you are invited, then a natural question arises by itself - what to give? You may rack your brain for a long time, going through a lot of gift ideas, but the best option would be an envelope with money. In this case, the hero of the occasion will be able to buy himself what he dreams of. But, even despite such a banal present, it can be made original if you yourself take part in the production of this envelope.
At first glance, it may seem to you that this is difficult and sometimes impossible. I dare to dissuade you, it is easy, exciting and interesting.
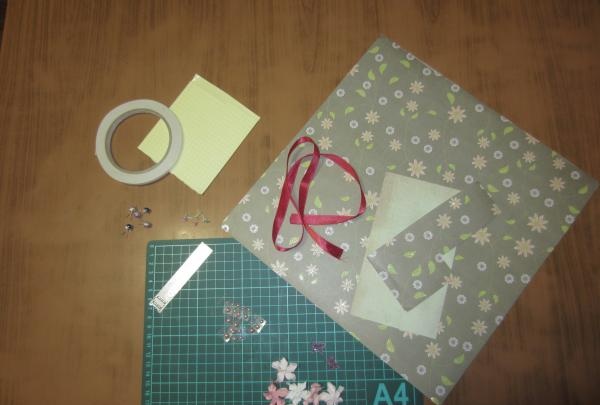
For creativity you will need:
Description of work:
1. Take scrapbooking paper measuring 30 x 30 and mark the required dimensions on the reverse side, as shown in Figure 2.
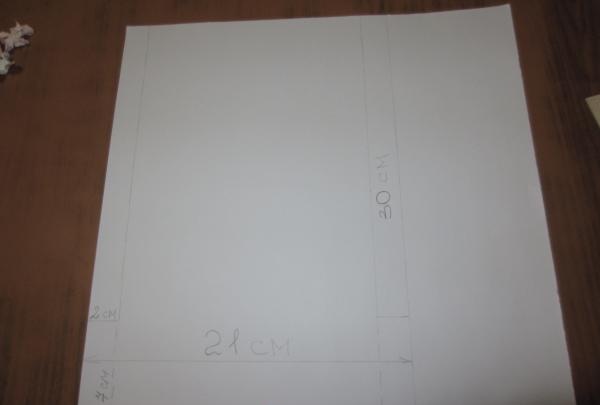
2. Trim off unnecessary edges to create a blank for the future envelope.
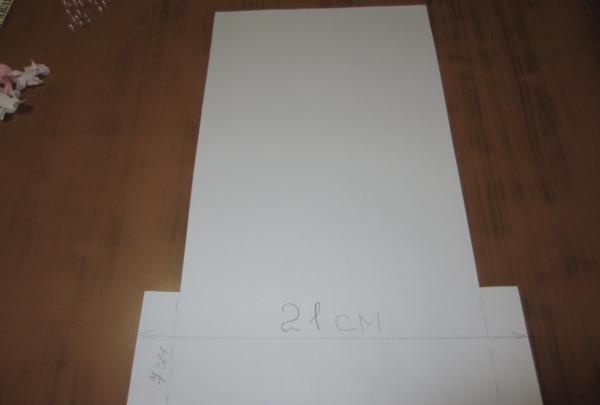
3. Fold the edges inward and glue double-sided tapes on the front side.
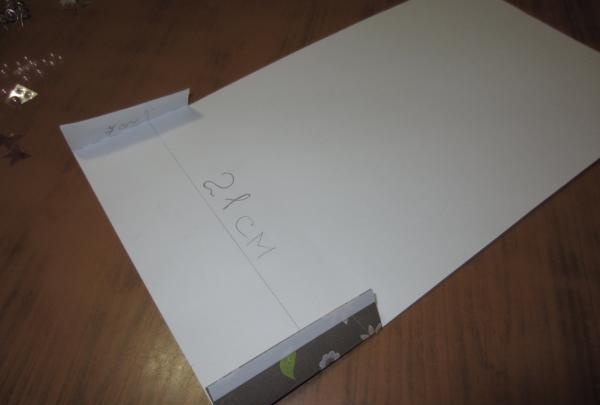
4. Bend the bottom edge of the paper towards the center and glue the side seams.
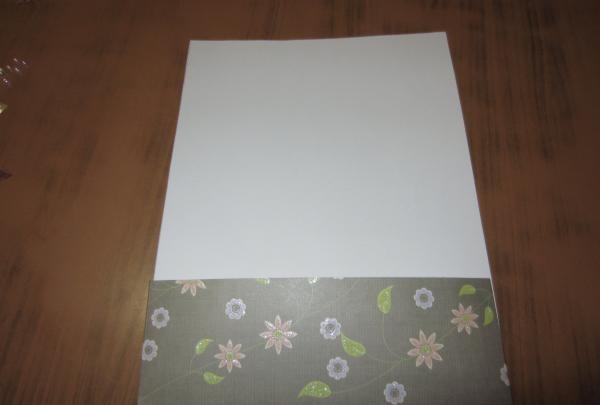
5. Bend the paper again towards the center.
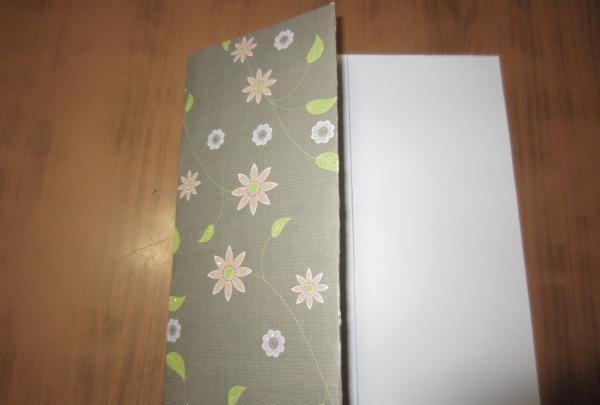
6. On the already formed envelope, using a simple pencil, draw the outline of the future outer cover.
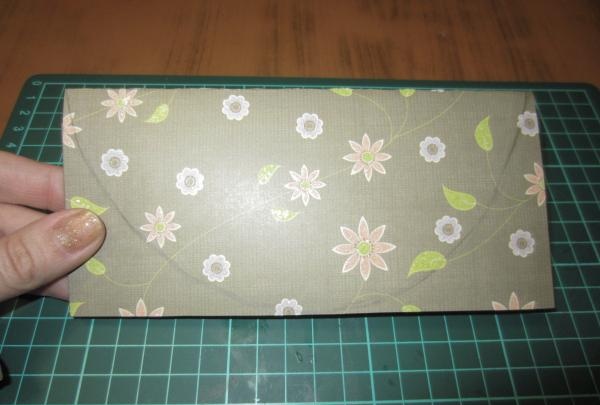
7. Take paper of a different color and draw the outline of the outer cover on it.
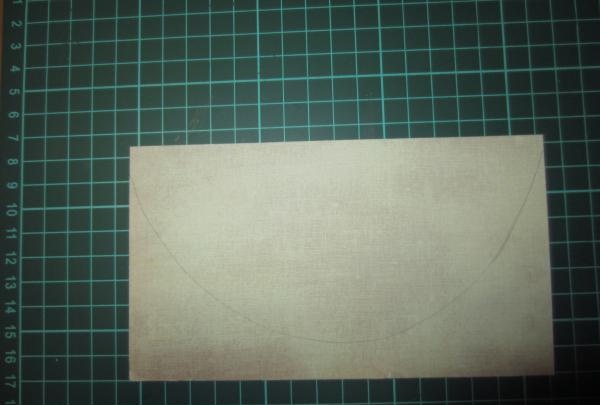
8. Turn the envelope over and stick double-sided tape along its entire length.
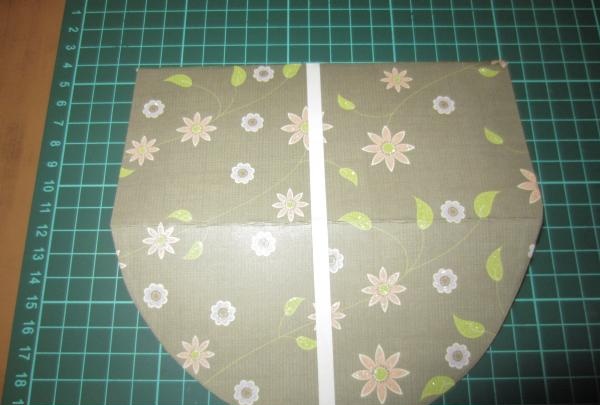
9. Place a satin ribbon on top of the adhesive tape and glue it.
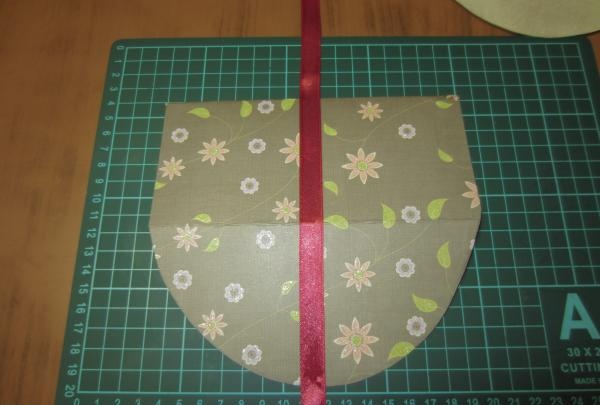
10. The next step is to glue paper of a different color over the satin ribbon, which was prepared as an outer cover.
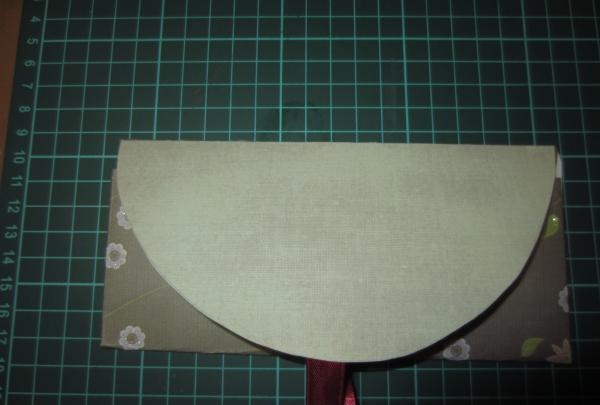
11. Take decorative paper flowers and glue adhesive pillow squares on the wrong side. We glue them in order to visually create a three-dimensional pattern.

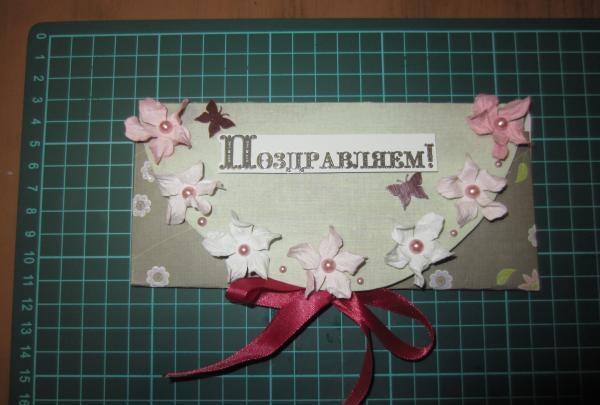
12. Glue decorative paper flowers onto the outer cover of the envelope along its perimeter.
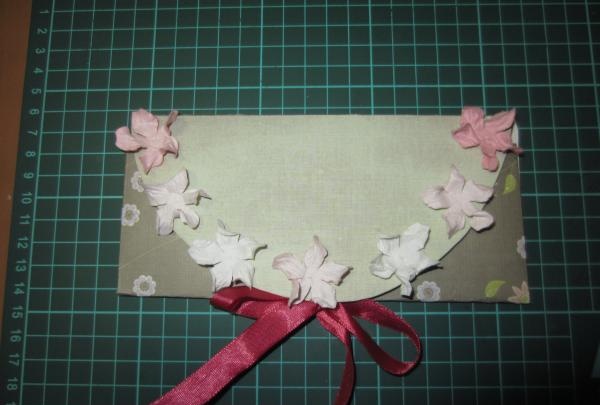
13. Inside each such decorative flower we glue self-adhesive beads. We also glue them between the colors to create harmony and completeness of the picture. For decoration, you can use brads, beads, chains or any other material that you have at hand. Don't be afraid to experiment.
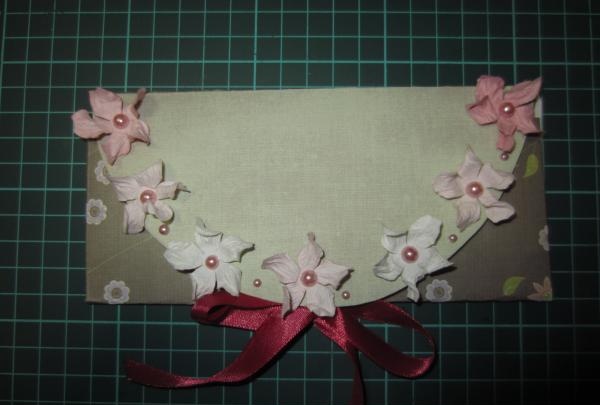
14. To complete the work, you need to paste a line with the celebration or event for which this envelope was prepared. The text can be beautifully printed on a computer, handwritten, or cut out from old postcards. Here your imagination knows no bounds. You can also use stencils or stick one letter at a time on an entire word.
At first glance, it may seem to you that this is difficult and sometimes impossible. I dare to dissuade you, it is easy, exciting and interesting.
For creativity you will need:

- Double-sided tape with a diameter of 5 mm,
- Scrapbooking paper size 30 x 30,
- Scrapbooking paper size 20 X10 in a different color,
- Satin ribbon,
- Matches,
- Pencil, ruler,
- Adhesive pillow squares,
- Decorative paper flowers,
- Self-adhesive beads,
- Decor,
- Scissors.
Description of work:
1. Take scrapbooking paper measuring 30 x 30 and mark the required dimensions on the reverse side, as shown in Figure 2.

2. Trim off unnecessary edges to create a blank for the future envelope.

3. Fold the edges inward and glue double-sided tapes on the front side.

4. Bend the bottom edge of the paper towards the center and glue the side seams.

5. Bend the paper again towards the center.

6. On the already formed envelope, using a simple pencil, draw the outline of the future outer cover.

7. Take paper of a different color and draw the outline of the outer cover on it.

8. Turn the envelope over and stick double-sided tape along its entire length.

9. Place a satin ribbon on top of the adhesive tape and glue it.

10. The next step is to glue paper of a different color over the satin ribbon, which was prepared as an outer cover.

11. Take decorative paper flowers and glue adhesive pillow squares on the wrong side. We glue them in order to visually create a three-dimensional pattern.

12. Glue decorative paper flowers onto the outer cover of the envelope along its perimeter.

13. Inside each such decorative flower we glue self-adhesive beads. We also glue them between the colors to create harmony and completeness of the picture. For decoration, you can use brads, beads, chains or any other material that you have at hand. Don't be afraid to experiment.

14. To complete the work, you need to paste a line with the celebration or event for which this envelope was prepared. The text can be beautifully printed on a computer, handwritten, or cut out from old postcards. Here your imagination knows no bounds. You can also use stencils or stick one letter at a time on an entire word.

Similar master classes
Particularly interesting
Comments (1)


