Congratulatory envelope "Happy Birthday"
Most often, we are used to giving money on birthdays, especially if it is not just a birthday, but a round date, an anniversary. After all, it is quite difficult to guess a person’s tastes if, for example, he is some distant relative or a work colleague he barely knows. It’s another matter if you know the birthday person very well, then you can somehow find out through your friends what exactly the person would like to receive for his birthday, what would be preferable to him, and even then it’s quite difficult, since you might not understand something and they will miss, and somehow both you and the person you are congratulating will feel uneasy. But giving money is the most optimal of all gifts today. But to present it you definitely need an envelope, since handing over money just like that is both uninteresting and quite banal. In addition, there should still be some memory of you, so a congratulatory envelope is simply necessary. And here, as they say, there is a huge choice, both in the factory version and in our own production of the envelope thanks to technology scrapbooking. Handmade envelopes and postcards differ from simple ones in that they are made with love and soul, and also in an original and exclusive design, since repetition is almost impossible even due to the fact that each master’s hand is individual and copying 100% of the work unreal.
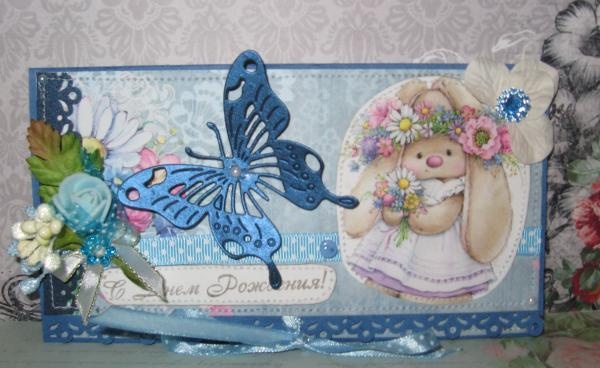
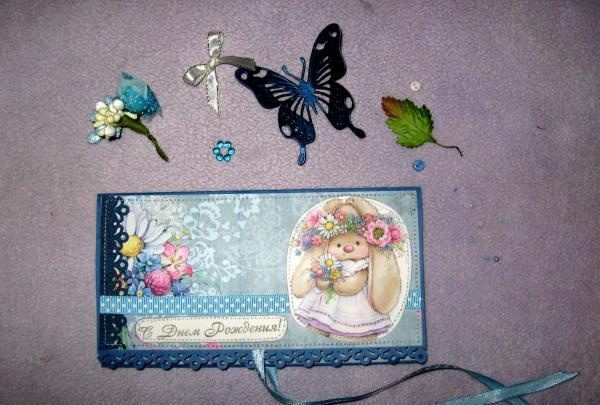
Right now, together with you, we will learn how to make such a money envelope with a bunny and take it for work:
• Blue landscape cardboard sheet with leather look;
• Scrappaper in blue with daisies;
• Pictures with a bunny and a bouquet;
• Carved mother-of-pearl butterfly in dark blue;
• Stamp “Happy Birthday”;
• A piece of pearlescent blue cardboard;
• Large white hydrangea made of paper;
• Shiny hollow blue cabochon, as well as a flower cabochon;
• Blue rose in latex tulle;
• Stamens with glitter;
• Green paper petal on a stem;
• Light blue polka dot ribbon made of satin, 5 mm wide;
• Blue grosgrain ribbon with polka dots, 10 mm wide;
• Curb hole punch;
• Satin white ribbon with lurex;
• Half beads;
• Scissors;
• Glue gun;
• PVA glue;
• Ruler;
• Double-sided tape;
• Pencil;
• Lighter.
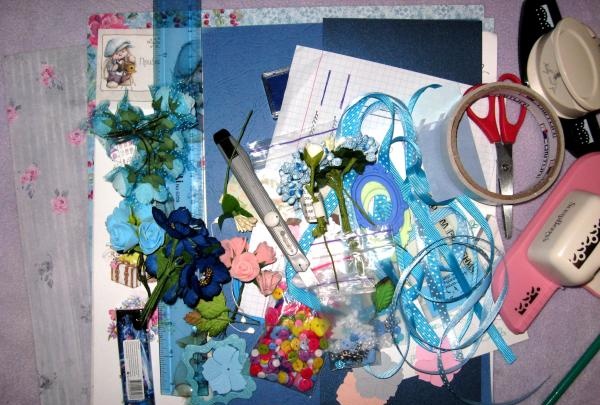
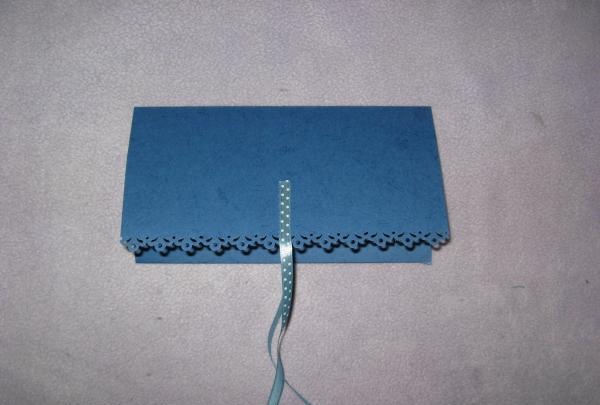
We lay the blue cardboard vertically, measure three bases on it in height: 8 cm, 9 cm and 9.5 cm. We measure 17.5 cm in width, cut off the excess. We separate each part along the bend and fold the workpiece.
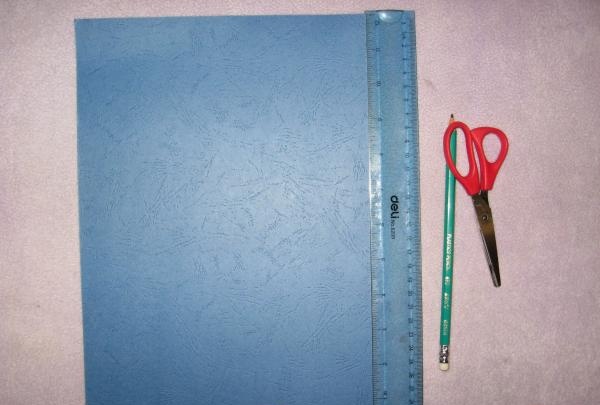
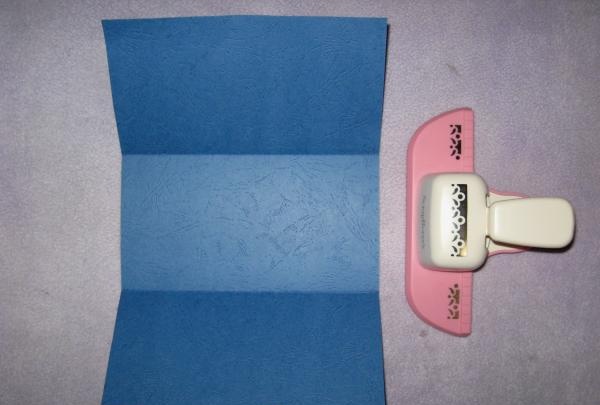
Using a hole punch, we make the bottom and top into floral borders. We measure 15-16 cm from satin ribbon with polka dots, cut it and burn it, stick it with tape on the back and front parts.
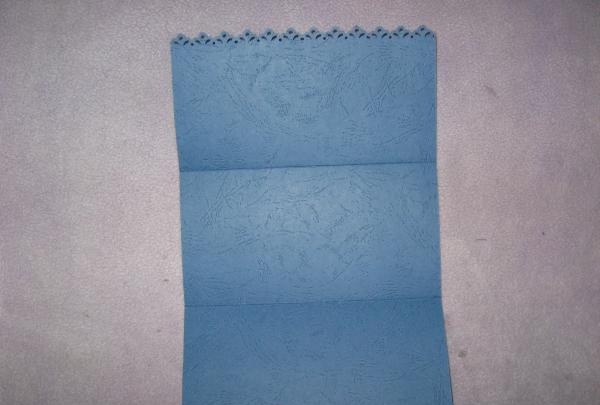
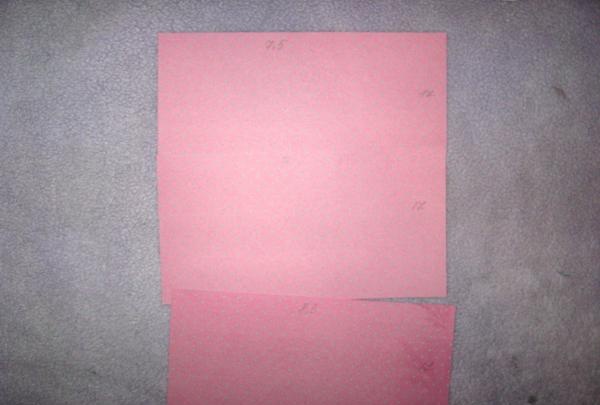
We cut out the following scrap rectangles from scrap paper: 7.5*17 cm, 8*17.5 cm and 8.3*17 cm.
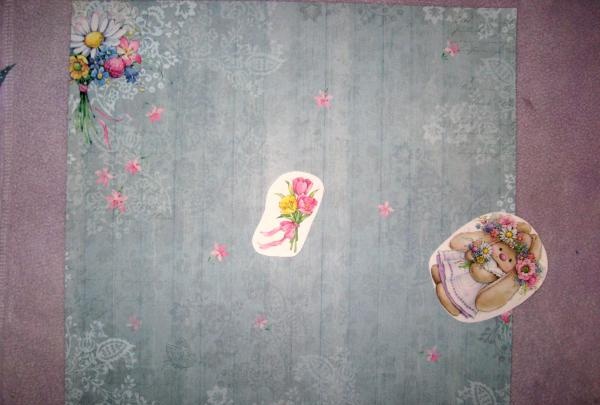
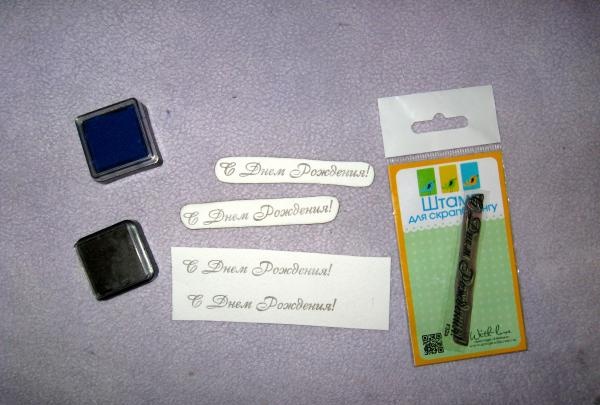
We use a hole punch to go along the side of the larger rectangle, and also make a blue openwork strip. On a white sheet of paper we make two stamps “Happy Birthday”.
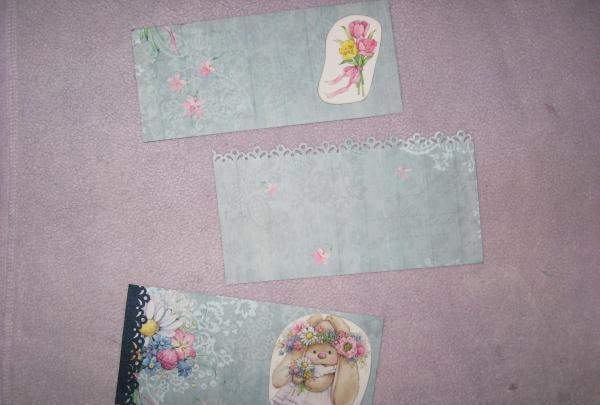
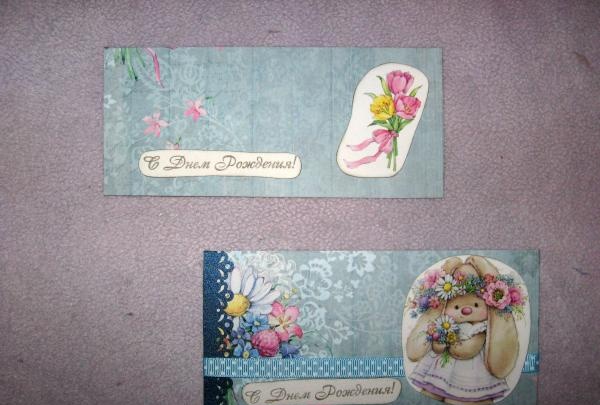
We glue inscriptions and pictures onto both rectangles. We glue a mother-of-pearl openwork strip and a grosgrain ribbon onto the front blank. We glue each scrap rectangle to the base. We sew each one along the edges with a machine.

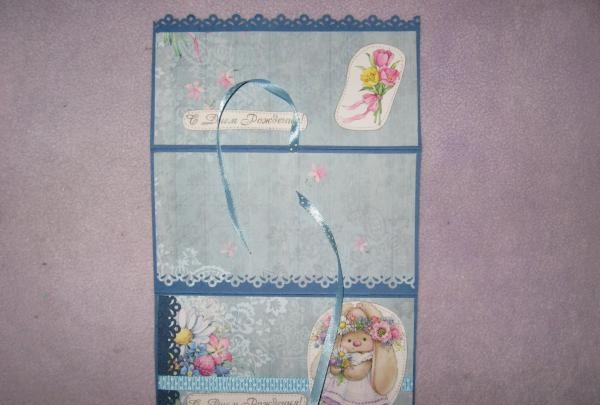
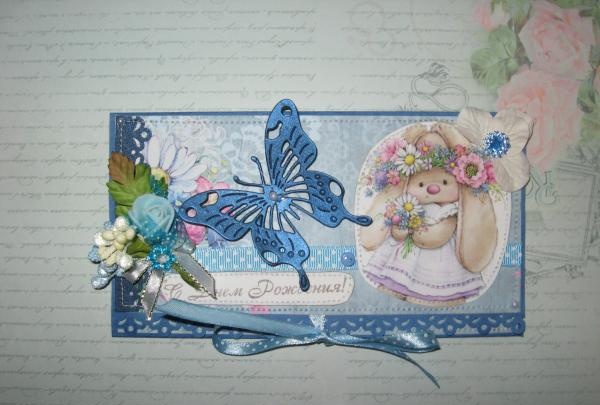
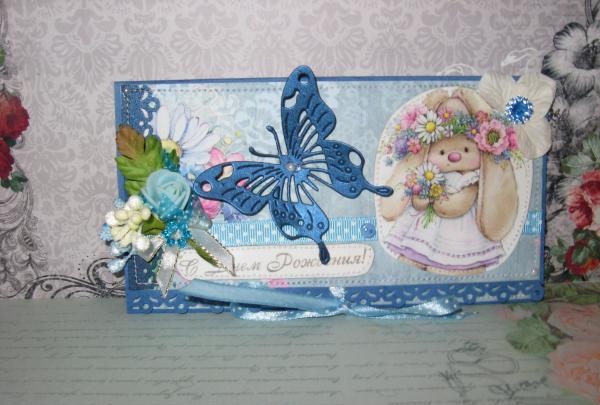
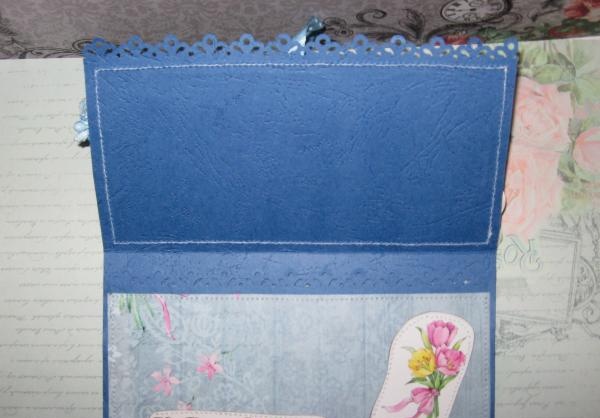
We glue the envelope pocket with PVA. All that remains is to make a bouquet of flowers, stamens and leaves, tie it with a bow of satin ribbon and glue it to the envelope together with the hollow heart. We also glue the flower and cabochon in the upper corner.
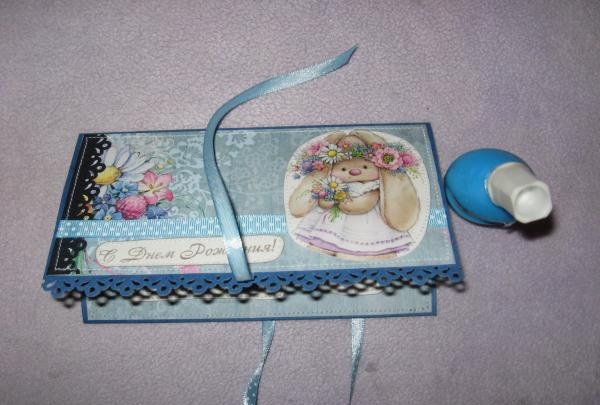
We receive a birthday envelope with a cute bunny! Thank you for your attention and good luck to everyone!
Right now, together with you, we will learn how to make such a money envelope with a bunny and take it for work:
• Blue landscape cardboard sheet with leather look;
• Scrappaper in blue with daisies;
• Pictures with a bunny and a bouquet;
• Carved mother-of-pearl butterfly in dark blue;
• Stamp “Happy Birthday”;
• A piece of pearlescent blue cardboard;
• Large white hydrangea made of paper;
• Shiny hollow blue cabochon, as well as a flower cabochon;
• Blue rose in latex tulle;
• Stamens with glitter;
• Green paper petal on a stem;
• Light blue polka dot ribbon made of satin, 5 mm wide;
• Blue grosgrain ribbon with polka dots, 10 mm wide;
• Curb hole punch;
• Satin white ribbon with lurex;
• Half beads;
• Scissors;
• Glue gun;
• PVA glue;
• Ruler;
• Double-sided tape;
• Pencil;
• Lighter.


We lay the blue cardboard vertically, measure three bases on it in height: 8 cm, 9 cm and 9.5 cm. We measure 17.5 cm in width, cut off the excess. We separate each part along the bend and fold the workpiece.


Using a hole punch, we make the bottom and top into floral borders. We measure 15-16 cm from satin ribbon with polka dots, cut it and burn it, stick it with tape on the back and front parts.


We cut out the following scrap rectangles from scrap paper: 7.5*17 cm, 8*17.5 cm and 8.3*17 cm.


We use a hole punch to go along the side of the larger rectangle, and also make a blue openwork strip. On a white sheet of paper we make two stamps “Happy Birthday”.


We glue inscriptions and pictures onto both rectangles. We glue a mother-of-pearl openwork strip and a grosgrain ribbon onto the front blank. We glue each scrap rectangle to the base. We sew each one along the edges with a machine.


We glue the envelope pocket with PVA. All that remains is to make a bouquet of flowers, stamens and leaves, tie it with a bow of satin ribbon and glue it to the envelope together with the hollow heart. We also glue the flower and cabochon in the upper corner.


We receive a birthday envelope with a cute bunny! Thank you for your attention and good luck to everyone!


Similar master classes
Particularly interesting
Comments (0)


