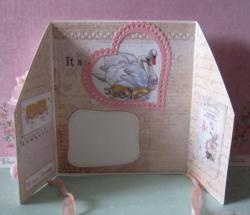
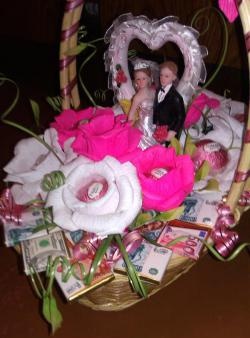
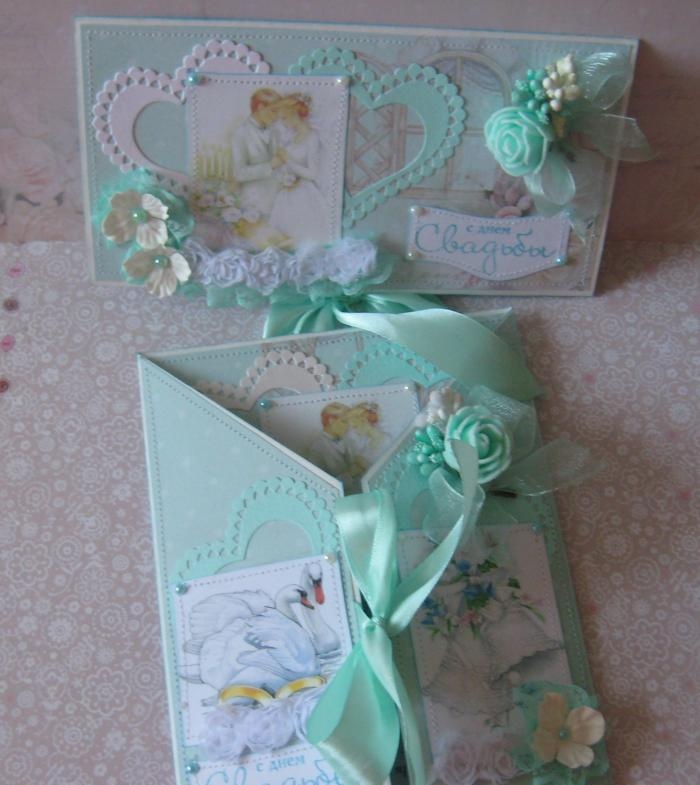
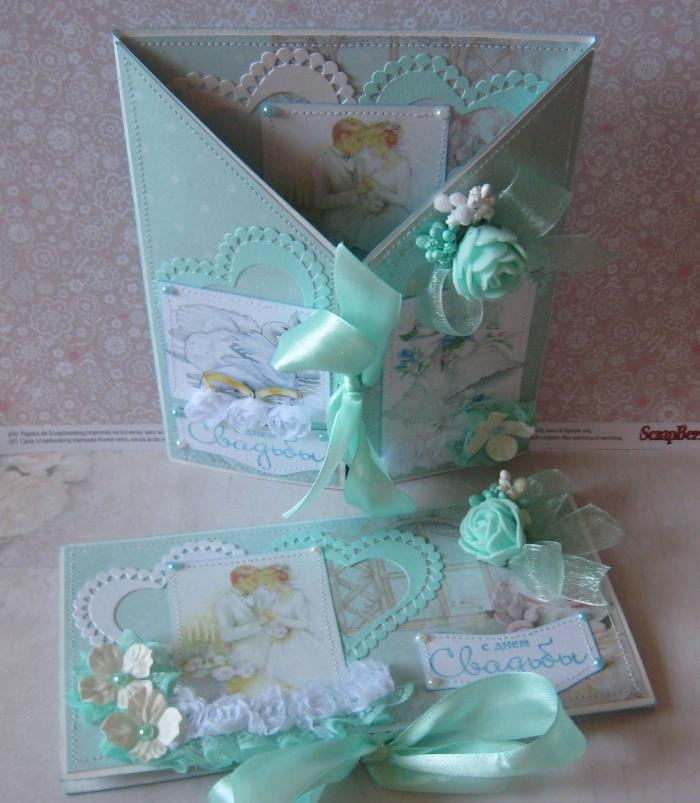
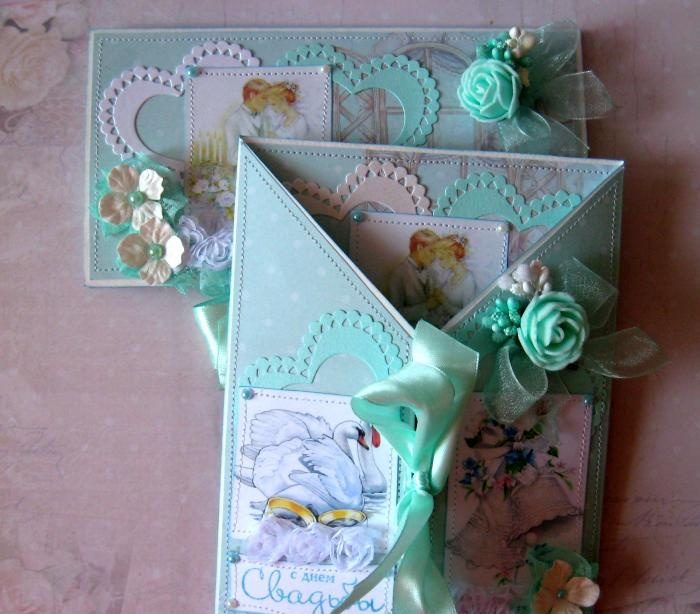
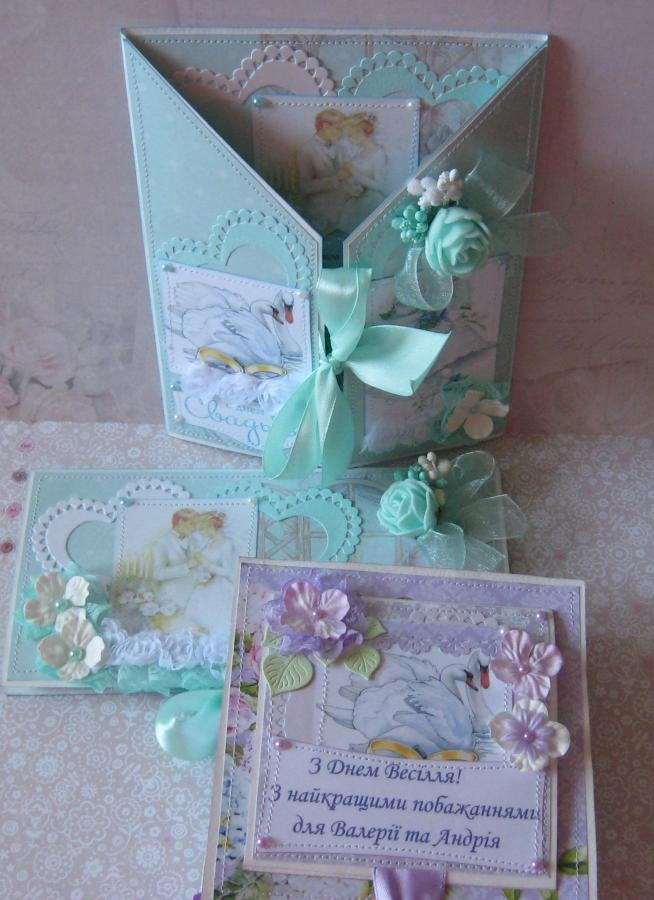
Wedding gift set: folding card and money envelope
Every wedding these days is decorated better than the other. Nowadays there is a very rich and colorful selection of wedding accessories, so making the wedding of your dreams is very simple and the activity is quite exciting and interesting. Many, of course, prefer to contact special agencies for wedding decorations; they believe that professionals work there and they know better how it will be better and more beautiful. Weddings are mainly decorated in a certain one color, for example, turquoise or mint, pink, peach, blue or aqua, lilac and other colors. Basically, the color scheme of weddings is always in soft colors, and accordingly, the guests also try to please the newlyweds and give them cards and envelopes in the same color as their wedding. Now times are completely different and you won’t surprise anyone with just a banal postcard or envelope. So you need to use your imagination, connect to the Internet and do something with your own hands.For example, you were invited to a turquoise wedding and you are going to give money, what should you do? There is a way out and it’s not difficult. Let's carefully read this article and learn how to make an envelope and a wedding card as a set.
So, let's start and take the following for the master class:
• Watercolor rectangles 19*29.6 and 20*29 cm;
• Turquoise scrap paper 30*30 cm, two sheets;
• Wedding pictures: a pair of newlyweds, a pair of swans, a pair of wedding bells;
• Die-cut elements: champagne and a pair of turquoise glasses, two sets, 4 mint hearts and 2 white mother-of-pearl;
• Stamping “Happy Wedding Day” and a pad with turquoise ink for toning;
• Hydrangea flowers are white;
• Mint lace;
• Satin and organza ribbon of mint color, 25 mm wide;
• Chiffon roses on a white ribbon;
• Half beads mint and turquoise 4 mm and 6 mm in diameter;
• For the bouquet: white and mint latex roses, white and turquoise stamens;
• Printed poem to congratulate newlyweds;
• Glue stick, double-sided tape, pencil, ruler, eraser, heat gun and lighter.
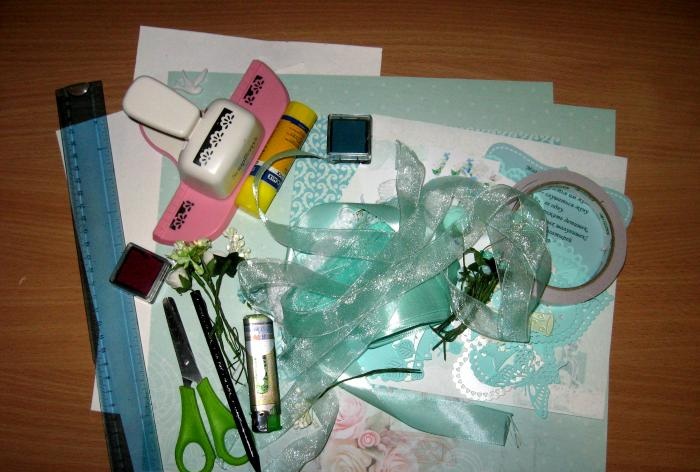
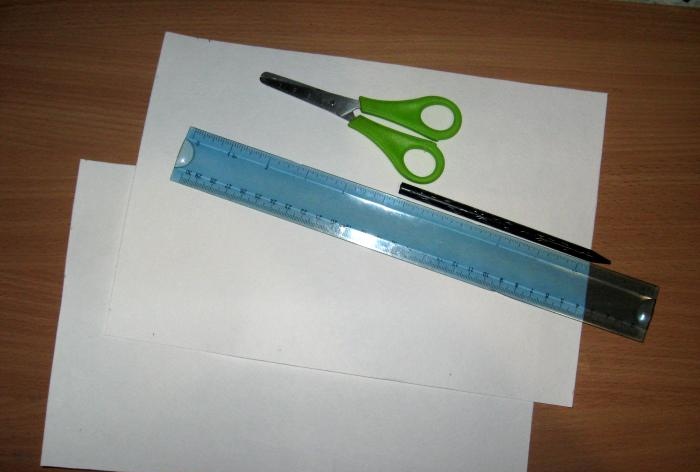
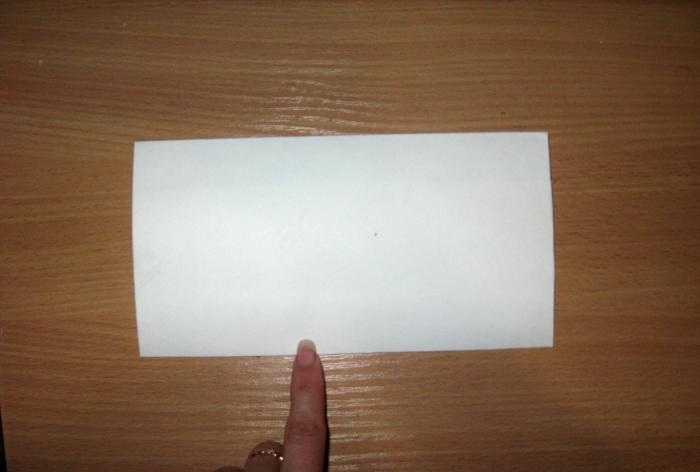
The basis of our products will be watercolor paper; we place both rectangles in front of us.
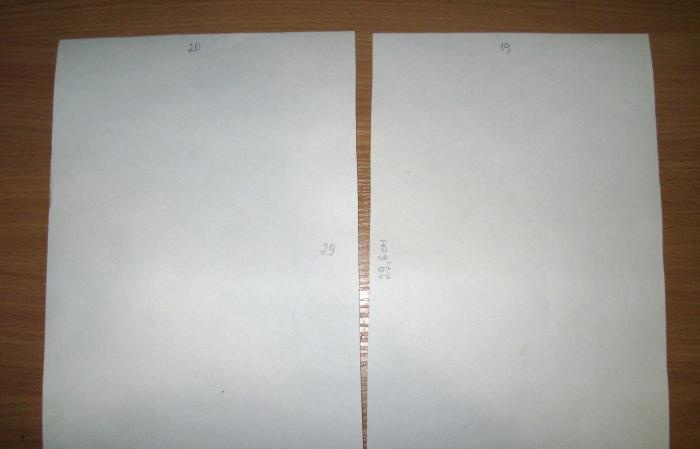
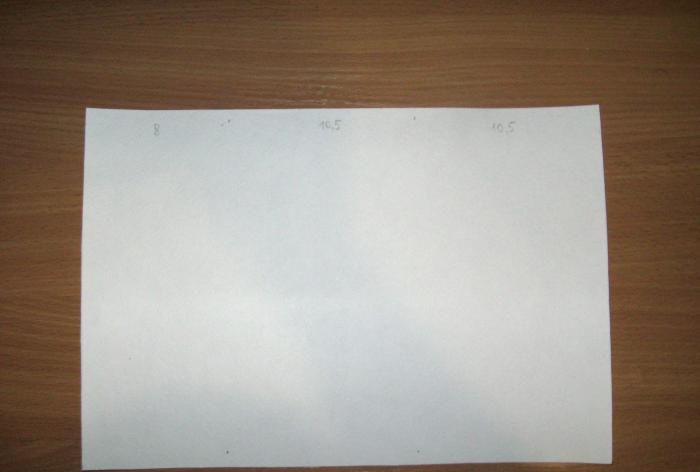
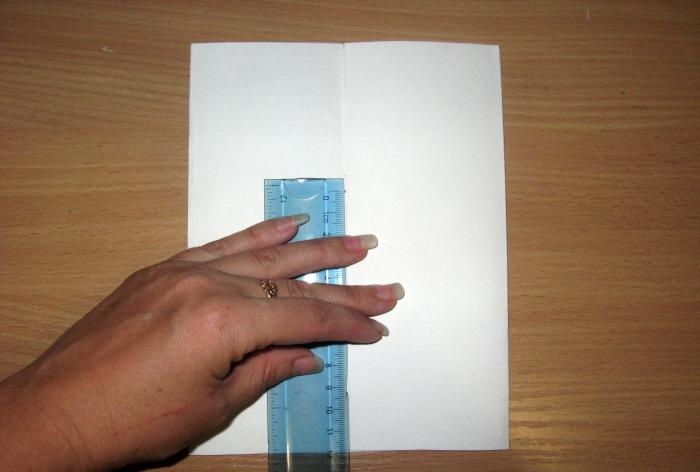
Horizontally unfold the rectangle 20*29 cm and divide it into three parts: 10.5*10.5 and 8 cm, draw bend lines under the ruler and fold the envelope blank.
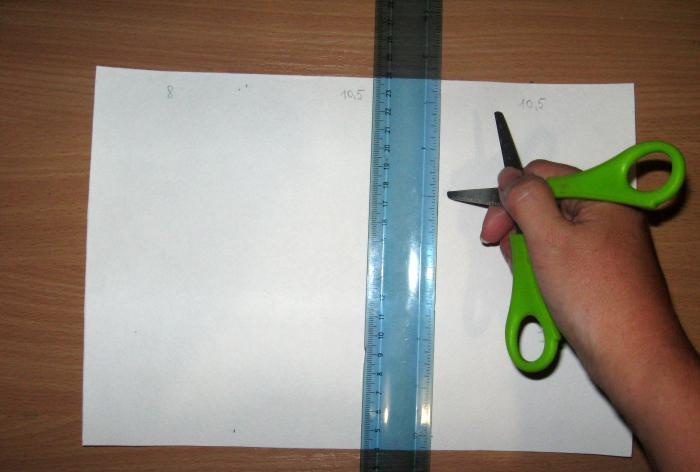
Divide the rectangle for the postcard into three parts 7.4 * 14.8 and 7.4 cm.
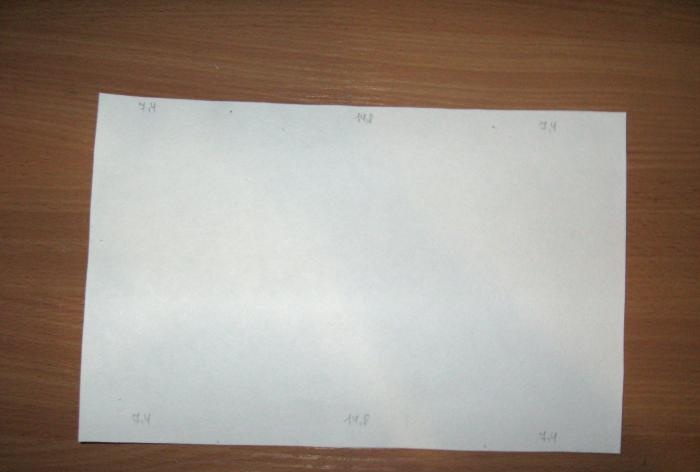
We also draw bend lines and fold the base of the card like this.
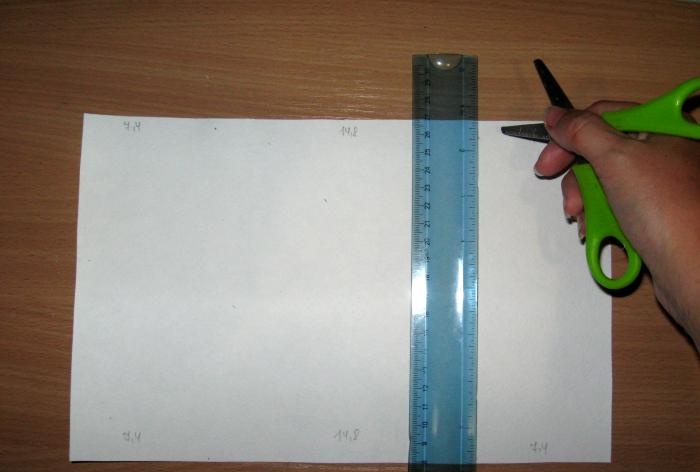
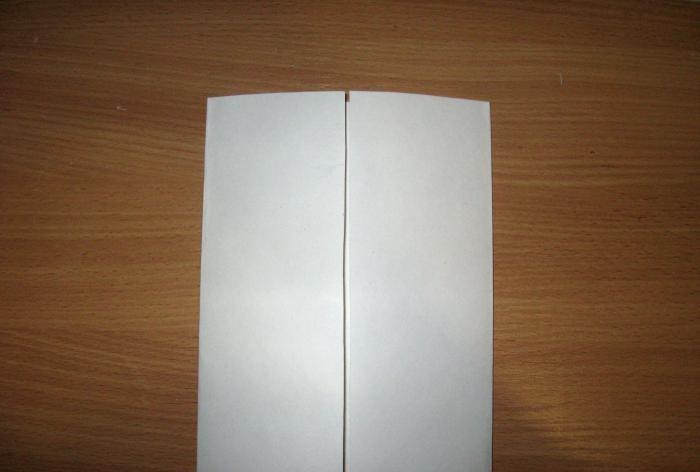
From bottom to top we retreat 12 cm and draw lines to the corners. We cut it and this is the base of the postcard.
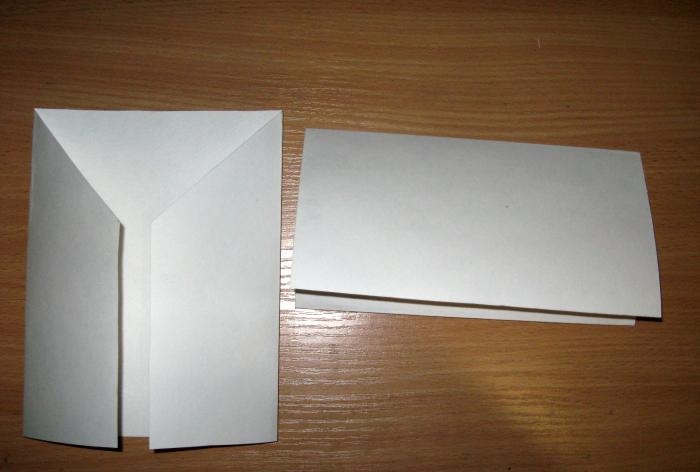
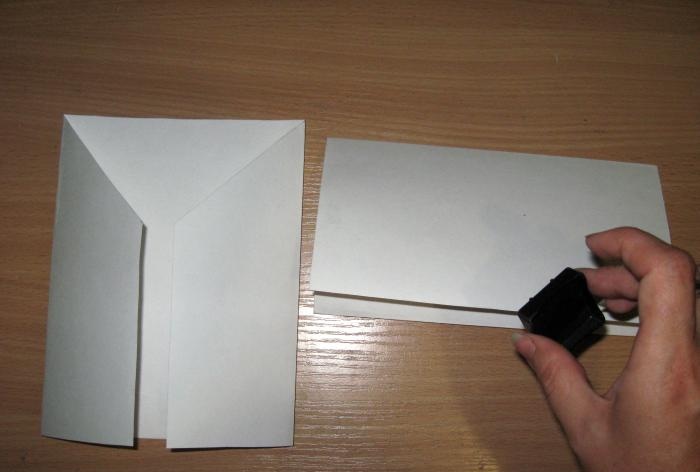
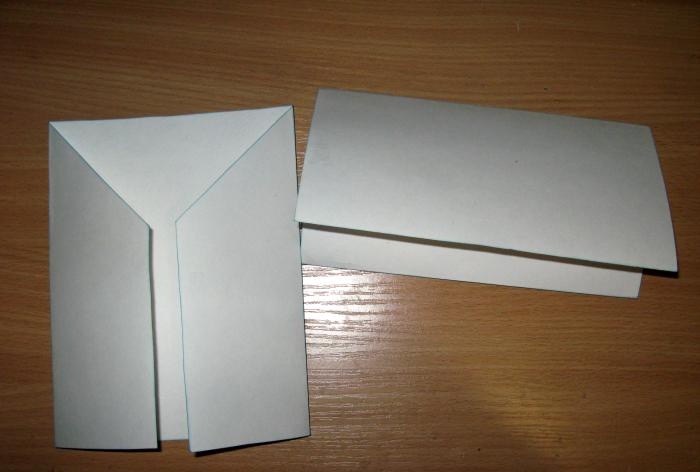
We tint the edges of both bases with an ink pad.
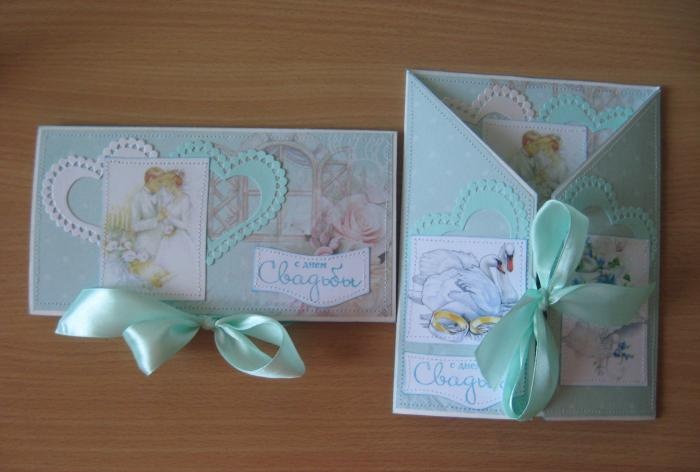
Both of our products will be tied with a bow, so for them we cut out two strips of satin ribbon, burn the edges of each cut and glue them in the center, as in the photo.
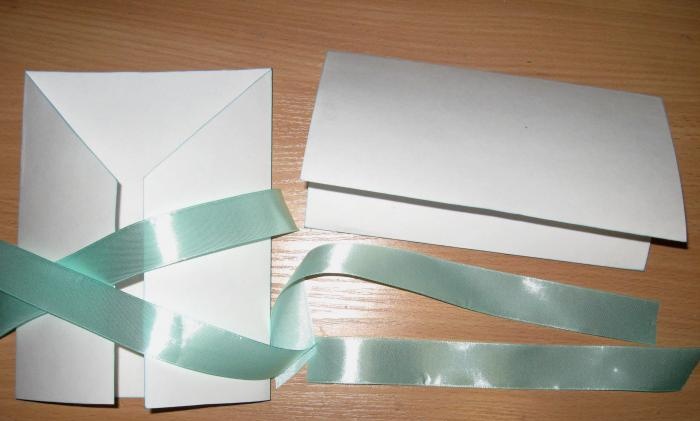
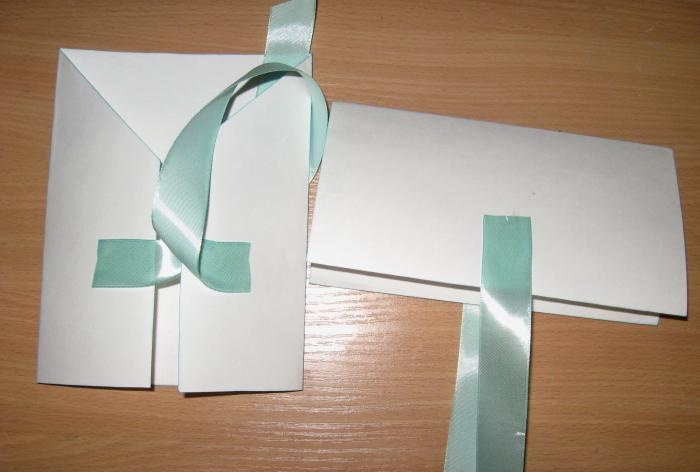
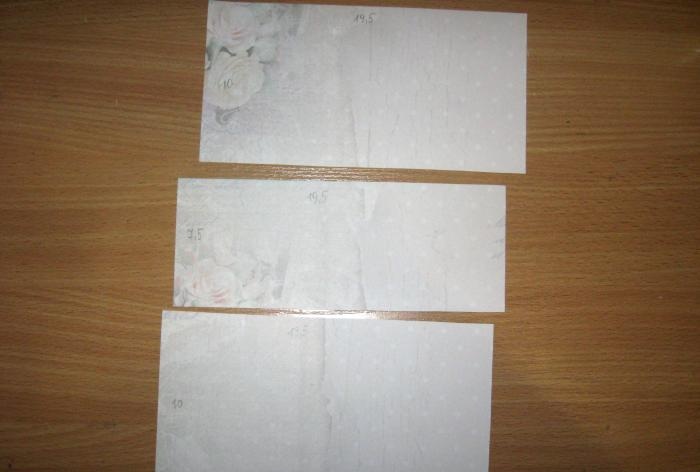
We cut out the following blanks from scrap paper for a postcard.
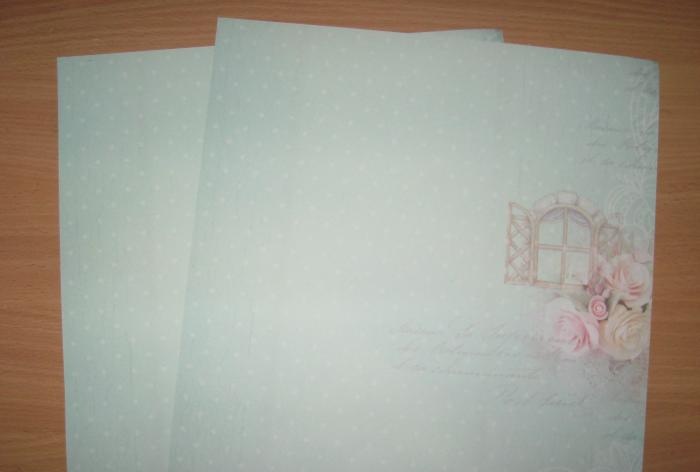
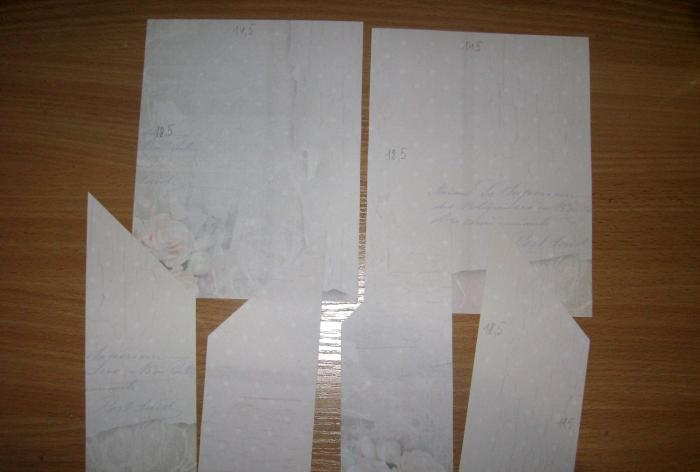
These are for the envelope. We immediately glue the back and inner ones to the bases with tape.
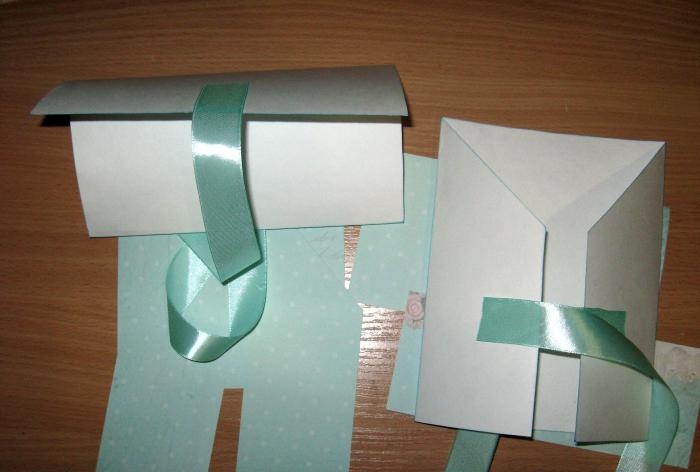
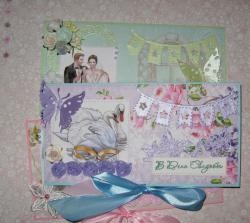
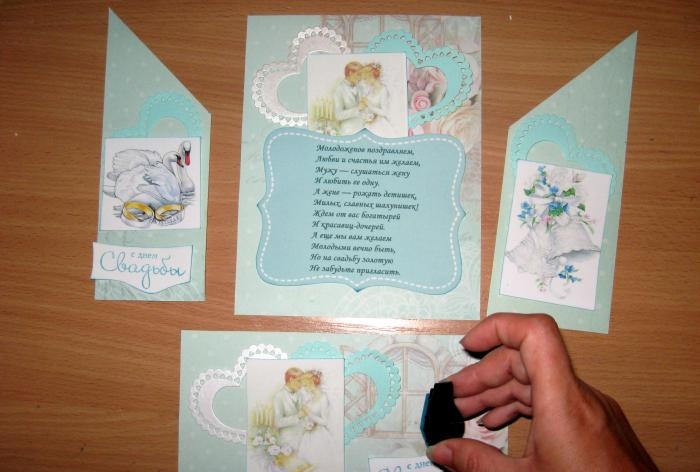
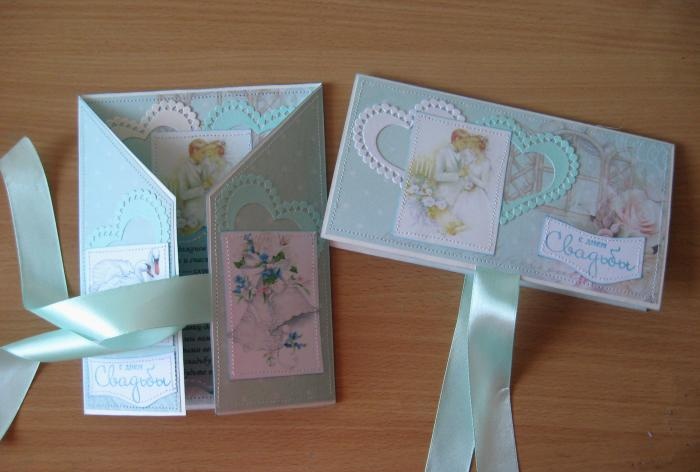
And we decorate the front and large inner cards with cuttings and pictures, as in the photo.
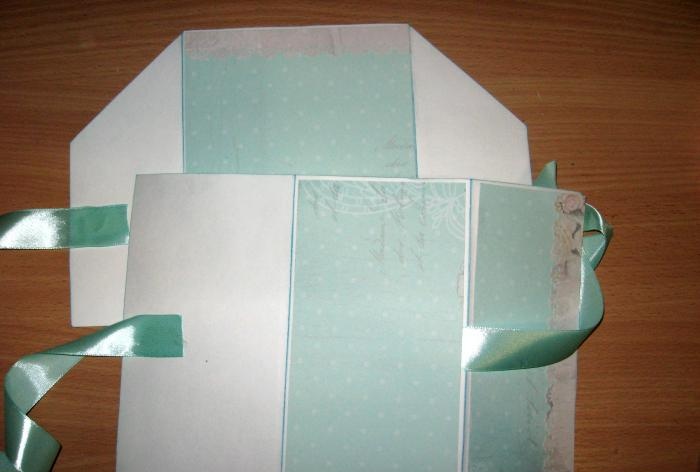
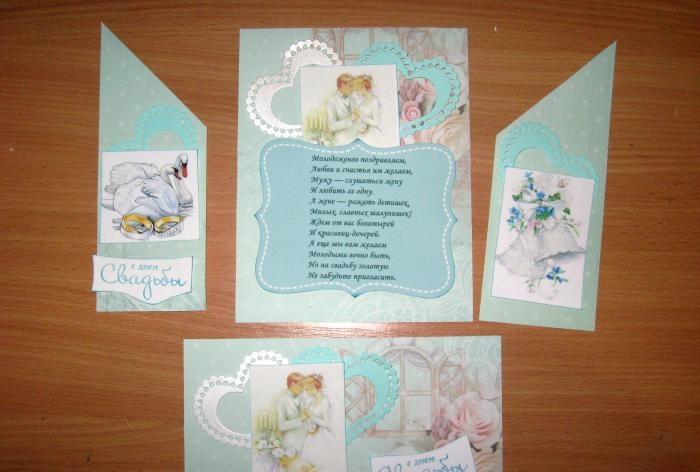
We also tint the edges of all elements. We glue all the pictures, poems and inscriptions and sew everything with a machine.
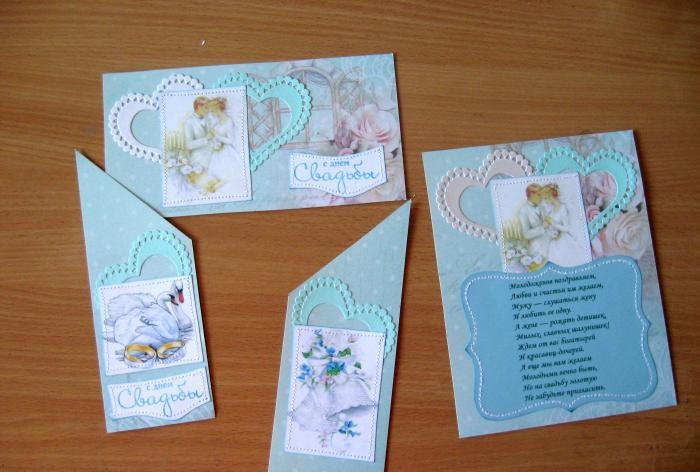
Now we glue all the scrap pieces onto the bases and sew each side.
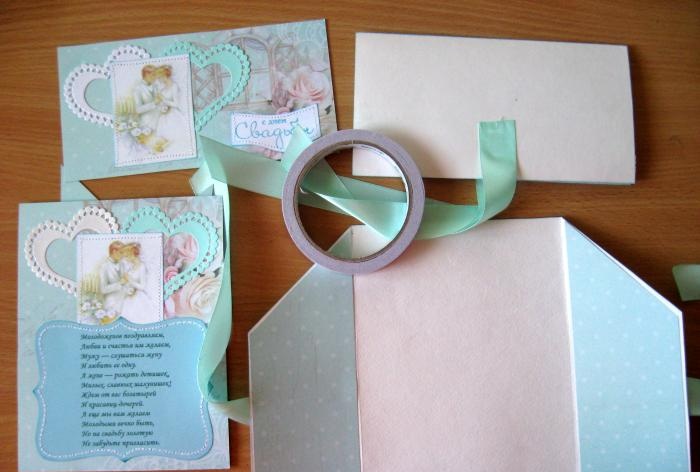
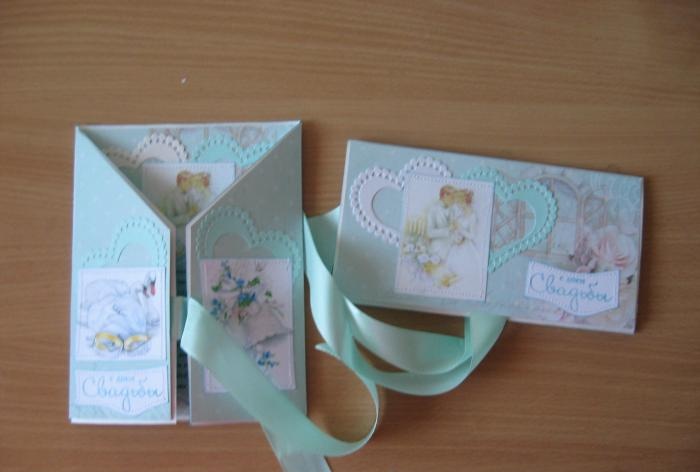
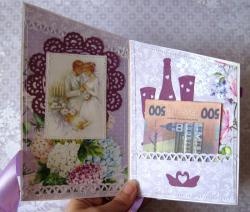
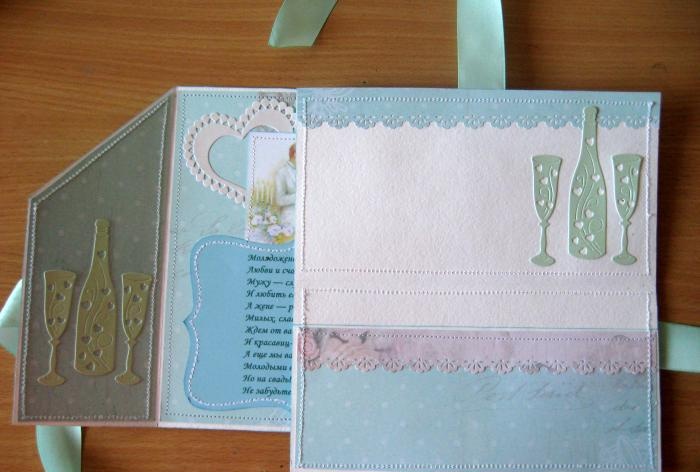
We glue glasses of champagne inside.

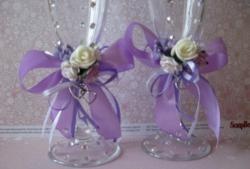
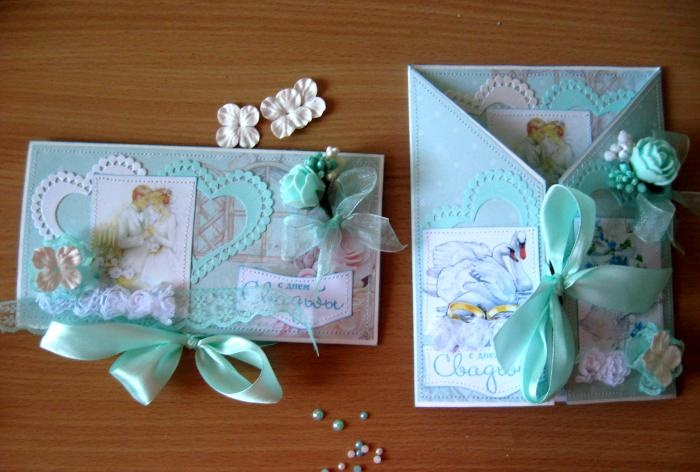
On the outside we glue bouquets, lace, flowers and half beads.
Thank you for your attention and happy creation everyone!
So, let's start and take the following for the master class:
• Watercolor rectangles 19*29.6 and 20*29 cm;
• Turquoise scrap paper 30*30 cm, two sheets;
• Wedding pictures: a pair of newlyweds, a pair of swans, a pair of wedding bells;
• Die-cut elements: champagne and a pair of turquoise glasses, two sets, 4 mint hearts and 2 white mother-of-pearl;
• Stamping “Happy Wedding Day” and a pad with turquoise ink for toning;
• Hydrangea flowers are white;
• Mint lace;
• Satin and organza ribbon of mint color, 25 mm wide;
• Chiffon roses on a white ribbon;
• Half beads mint and turquoise 4 mm and 6 mm in diameter;
• For the bouquet: white and mint latex roses, white and turquoise stamens;
• Printed poem to congratulate newlyweds;
• Glue stick, double-sided tape, pencil, ruler, eraser, heat gun and lighter.


The basis of our products will be watercolor paper; we place both rectangles in front of us.


Horizontally unfold the rectangle 20*29 cm and divide it into three parts: 10.5*10.5 and 8 cm, draw bend lines under the ruler and fold the envelope blank.


Divide the rectangle for the postcard into three parts 7.4 * 14.8 and 7.4 cm.


We also draw bend lines and fold the base of the card like this.


From bottom to top we retreat 12 cm and draw lines to the corners. We cut it and this is the base of the postcard.


We tint the edges of both bases with an ink pad.


Both of our products will be tied with a bow, so for them we cut out two strips of satin ribbon, burn the edges of each cut and glue them in the center, as in the photo.


We cut out the following blanks from scrap paper for a postcard.


These are for the envelope. We immediately glue the back and inner ones to the bases with tape.


And we decorate the front and large inner cards with cuttings and pictures, as in the photo.


We also tint the edges of all elements. We glue all the pictures, poems and inscriptions and sew everything with a machine.


Now we glue all the scrap pieces onto the bases and sew each side.


We glue glasses of champagne inside.


On the outside we glue bouquets, lace, flowers and half beads.


Thank you for your attention and happy creation everyone!


Similar master classes
Particularly interesting
Comments (1)

