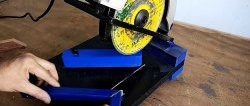
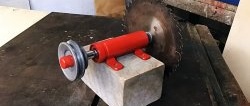
How to make a machine for sharpening circular saws and more from a drill
Any tool periodically requires sharpening, including the teeth of a circular saw, otherwise they will spoil the material being cut or may break during operation. To prevent this from happening, you can make a machine from a household drill and available materials to sharpen cutting elements.
Before working on the machine, you need to prepare:
Among the tools, you cannot do without a drill with attachments, sandpaper, tape measure, square and marker, pliers, hammer, wrenches and punch.
We mark a fragment of MDF and three-layer plywood and use a drill with core drills to cut out two and four disks, respectively. Moreover, the plywood parts are slightly larger in size.
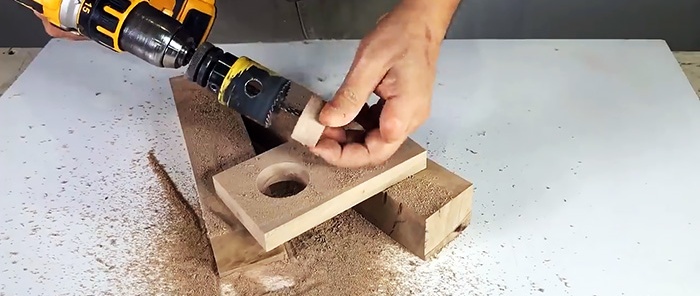
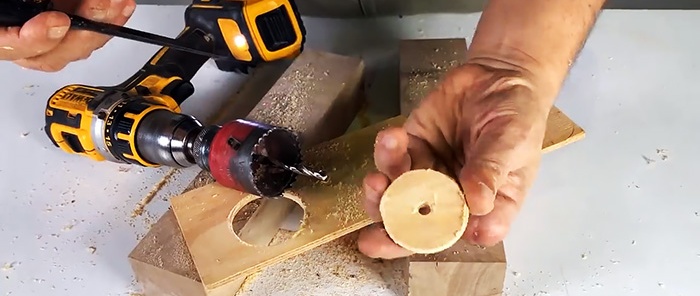
We process the discs with sandpaper. We drill large central holes in one of the MDF and two plywood ones, and smaller ones in the remaining ones.
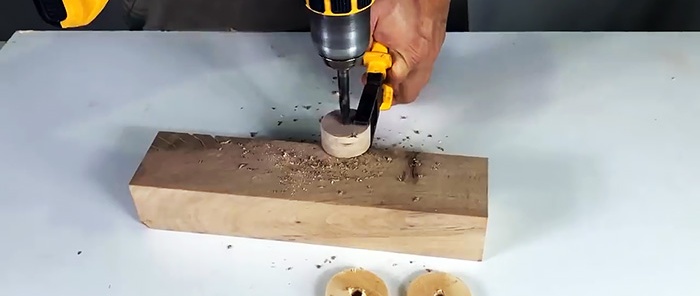
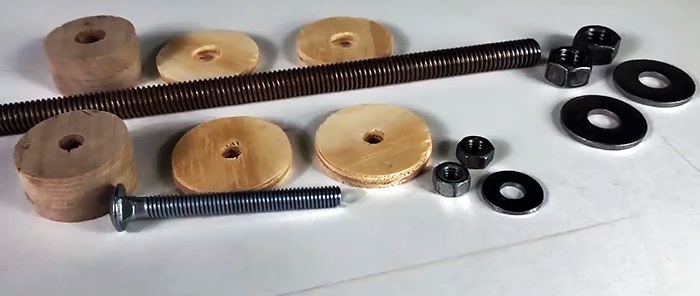
We drive a small nail into each plywood circle. We apply glue to the ends of the MDF disks and, centering them with a pin and a bolt, apply plywood circles and fix them with nails.
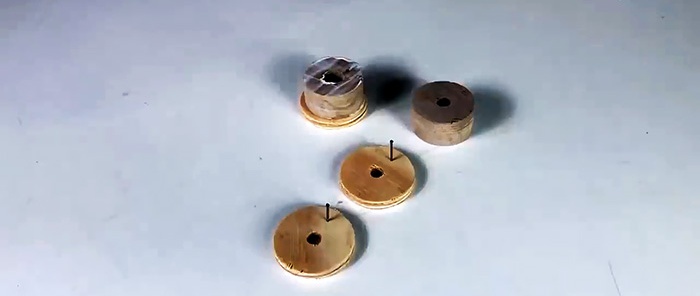
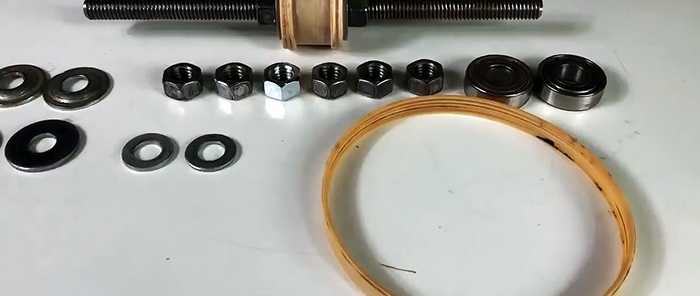
On a stud with a washer and a screwed nut, we install a roller made of MDF disks and plywood in the center and press it from the other end with a washer and nut. Tighten the assembly with wrenches.
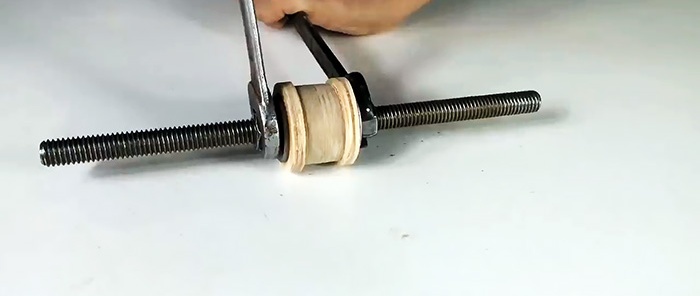
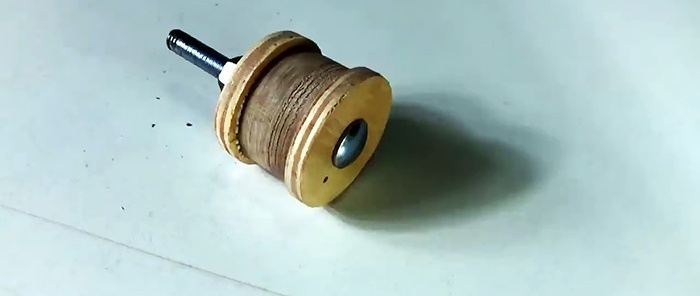
We insert the ball head bolt into the hole of the second roller, press it firmly, and then tighten it through the washer with two nuts.
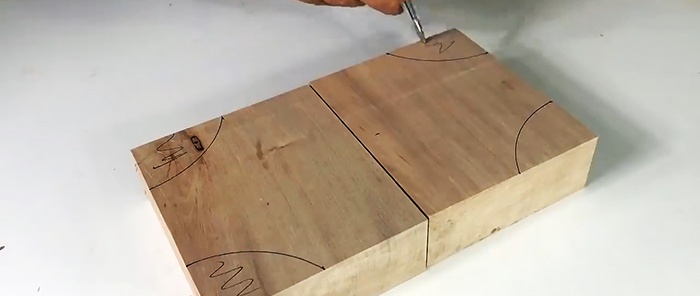
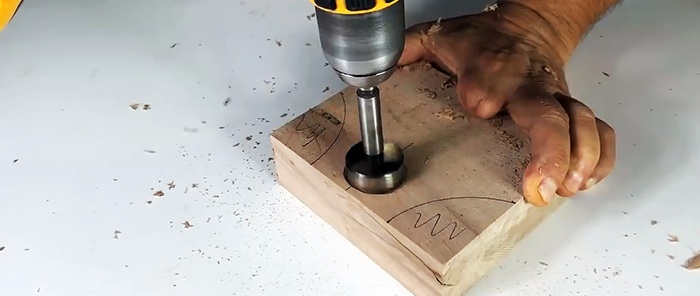
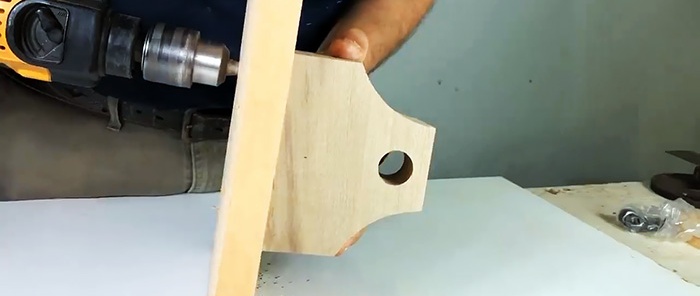
We mark two corners in each of two identical massive bars along arcs of the same circle for subsequent removal. Along the longitudinal axis of the bars, closer to the edges, we mark with a center punch the centers of the holes, which we first make with a twist drill, and then at one end we make a socket of a larger diameter with a Forstner drill.
We mark an MDF rectangle for installing and attaching two stud-axle supports to it.
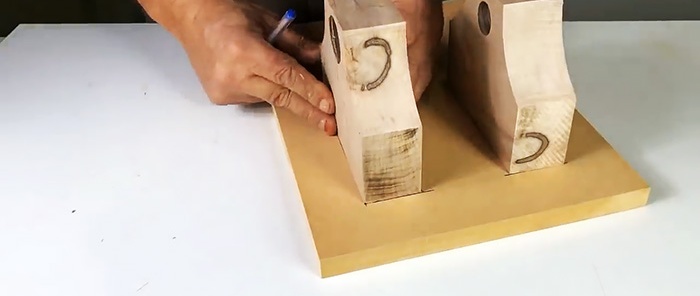
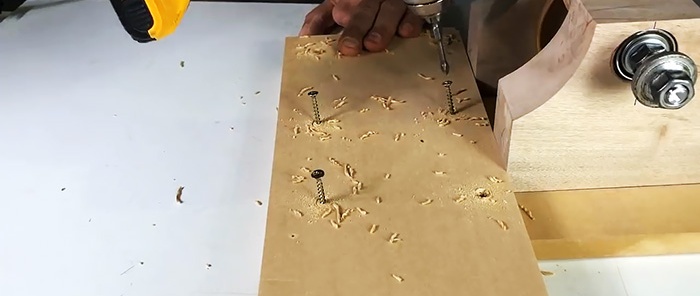
According to the markings, we drill three holes with a thin drill. We secure the supports to the base from the reverse side with screws.
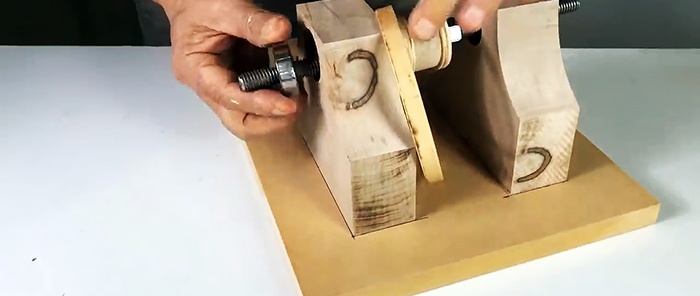
We install bearings from the outside into the support sockets and secure them with one washer and two nuts to prevent axial displacement. We put pressure washers on the ends of the axle stud and screw on one more nut.
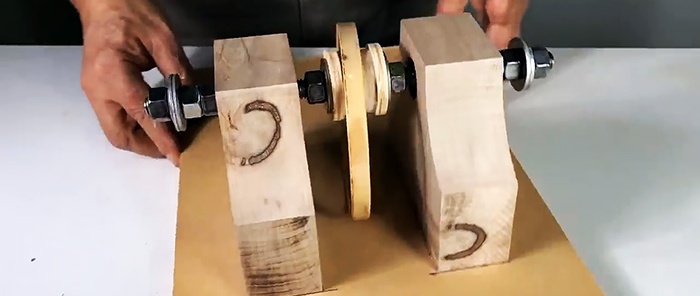
On the base on the long side, transversely and close to the ends of the supports, we lay another rectangle of MDF and secure it to the base with screws. We fix on it a block with a cylindrical recess and two bolts with recessed heads inserted from below into vertical holes.
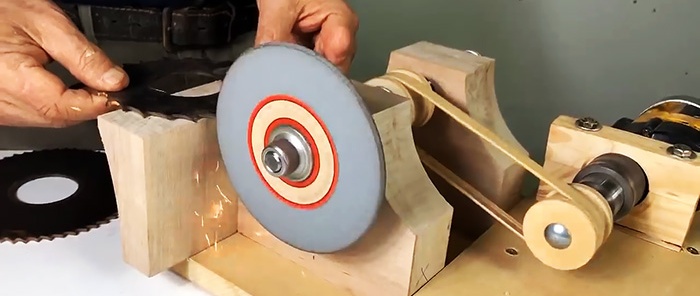
We place a drill in the cylindrical recess of the block, on the spindle of which a drive roller is attached, connected by an elastic belt to the driven roller on a pin-axis.
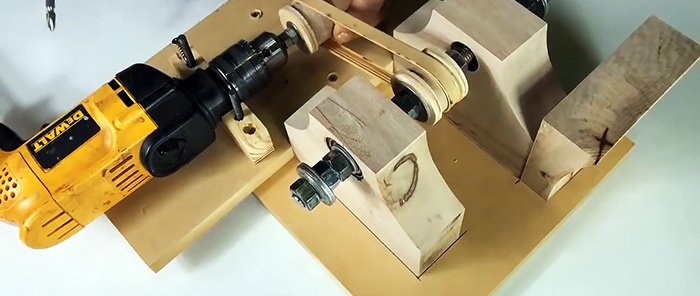
We tighten the belt and adjust the drill until the rollers are in the same plane without distortion relative to the axes. In this position, we secure the timber with the recess to the base with two screws.
We place the counter beam in a mirror image on top of the bolt rods of the lower beam and the drill and tighten it with washers, nuts and a wrench. To increase the reliability and rigidity of the drill fastening, we attach the body closer to the handle to the base with a steel clamp and screws.
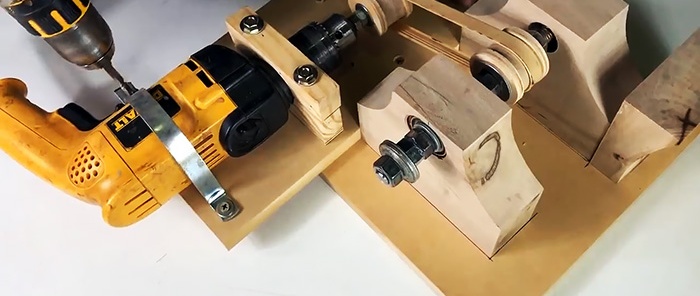
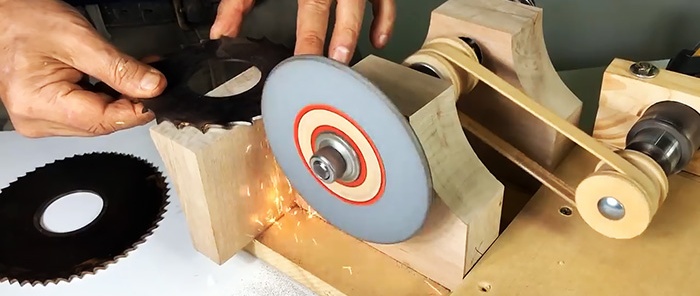
On the opposite side, close to the supports, we attach to the base a stop block for a circular saw when straightening or sharpening. We attach an emery wheel to the axis between the two pressure washers using a nut, and our machine is ready for work.

Will need
Before working on the machine, you need to prepare:
- wooden blocks, fragments of boards, MDF and plywood;
- stud, bolts, nuts, washers, screws and small nails;
- a regular drill;
- wood glue;
- two ball bearings;
- elastic belt;
- steel clamp;
- emery wheel and pressure washers.
Among the tools, you cannot do without a drill with attachments, sandpaper, tape measure, square and marker, pliers, hammer, wrenches and punch.
The process of manufacturing parts and assembling the machine
We mark a fragment of MDF and three-layer plywood and use a drill with core drills to cut out two and four disks, respectively. Moreover, the plywood parts are slightly larger in size.


We process the discs with sandpaper. We drill large central holes in one of the MDF and two plywood ones, and smaller ones in the remaining ones.


We drive a small nail into each plywood circle. We apply glue to the ends of the MDF disks and, centering them with a pin and a bolt, apply plywood circles and fix them with nails.

On a stud with a washer and a screwed nut, we install a roller made of MDF disks and plywood in the center and press it from the other end with a washer and nut. Tighten the assembly with wrenches.

We insert the ball head bolt into the hole of the second roller, press it firmly, and then tighten it through the washer with two nuts.

We mark two corners in each of two identical massive bars along arcs of the same circle for subsequent removal. Along the longitudinal axis of the bars, closer to the edges, we mark with a center punch the centers of the holes, which we first make with a twist drill, and then at one end we make a socket of a larger diameter with a Forstner drill.


We mark an MDF rectangle for installing and attaching two stud-axle supports to it.

According to the markings, we drill three holes with a thin drill. We secure the supports to the base from the reverse side with screws.

We install bearings from the outside into the support sockets and secure them with one washer and two nuts to prevent axial displacement. We put pressure washers on the ends of the axle stud and screw on one more nut.


On the base on the long side, transversely and close to the ends of the supports, we lay another rectangle of MDF and secure it to the base with screws. We fix on it a block with a cylindrical recess and two bolts with recessed heads inserted from below into vertical holes.

We place a drill in the cylindrical recess of the block, on the spindle of which a drive roller is attached, connected by an elastic belt to the driven roller on a pin-axis.

We tighten the belt and adjust the drill until the rollers are in the same plane without distortion relative to the axes. In this position, we secure the timber with the recess to the base with two screws.
We place the counter beam in a mirror image on top of the bolt rods of the lower beam and the drill and tighten it with washers, nuts and a wrench. To increase the reliability and rigidity of the drill fastening, we attach the body closer to the handle to the base with a steel clamp and screws.

On the opposite side, close to the supports, we attach to the base a stop block for a circular saw when straightening or sharpening. We attach an emery wheel to the axis between the two pressure washers using a nut, and our machine is ready for work.

Watch the video
Similar master classes
Particularly interesting
Comments (1)

