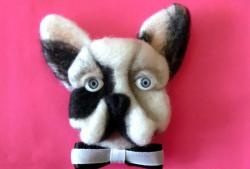
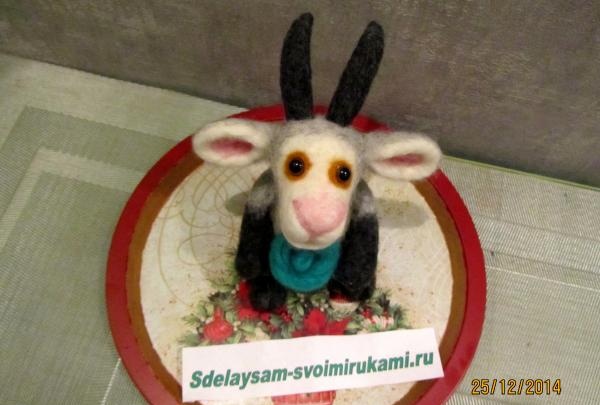
Goat Martha
A child will play with such a goat with pleasure, and adults will admire and admire the craft. In order to make this toy, we will need:
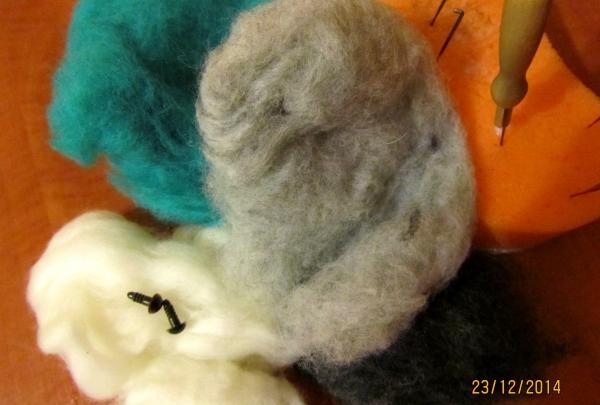
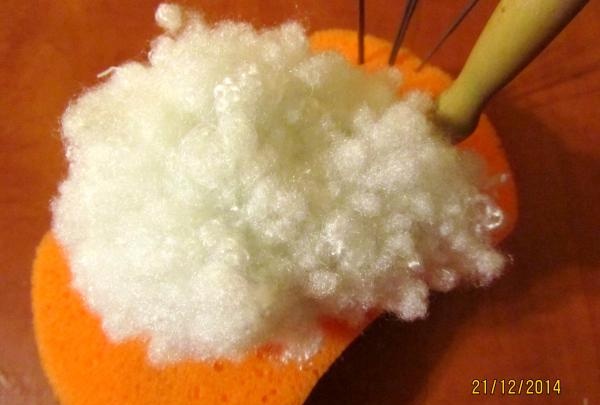
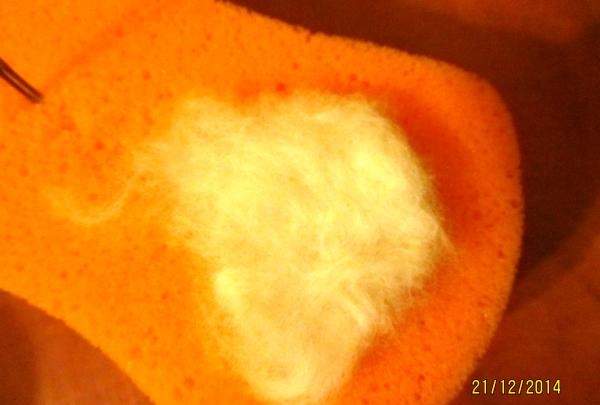
Let's start making the head. To do this, we form a head from centipon and use a needle No. 38 to knock it down, giving it a shape.
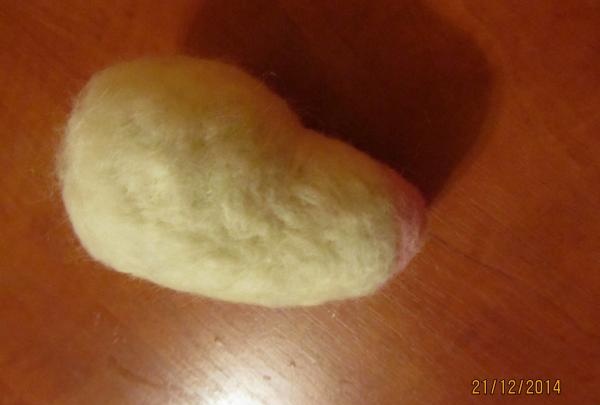
Then, when the head becomes dense, we wrap it with white wool and continue felting until the head becomes dense. In this case, you need to make sure that the sentipon is not visible and, if necessary, add white wool.
The head is ready. Now let's make the lower lip. Take a thin layer of white wool and felt it.
Using pink wool, we make a nose on the muzzle and attach a lip. We get such a muzzle.
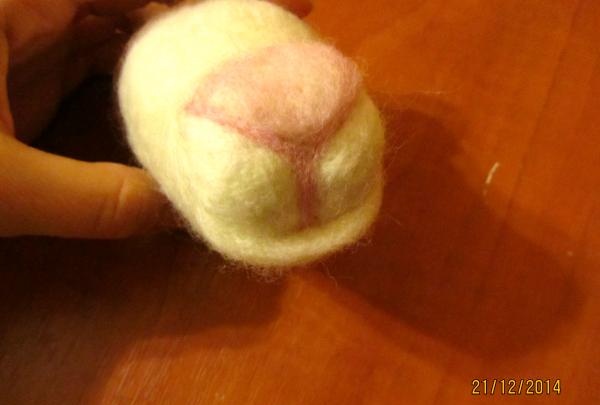
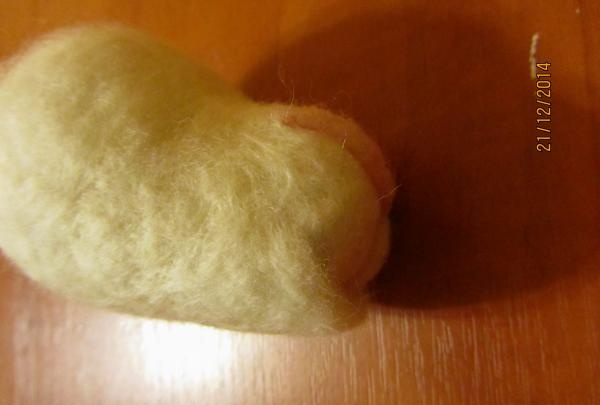
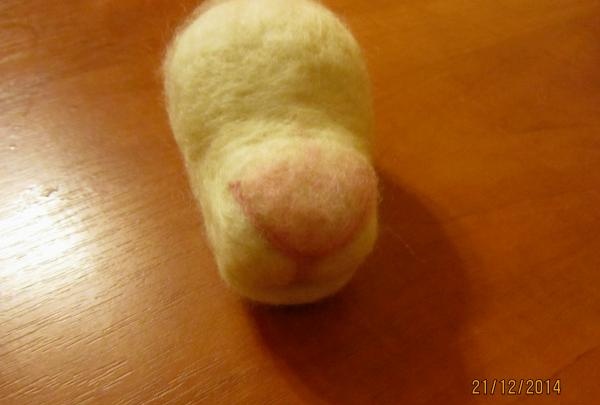
Now let's make the body. We form the desired shape from the centipon and use a needle No. 38 to felt it to medium density.
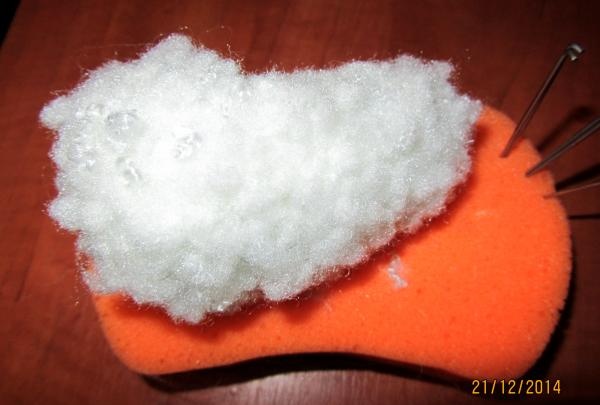
Then we wrap this part well with white wool.
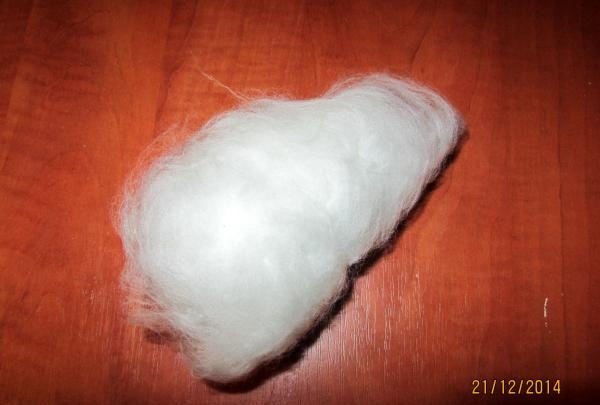
We start felting with a needle No. 38 and as it becomes denser, we change the needle to No. 40. The result is a body like this.
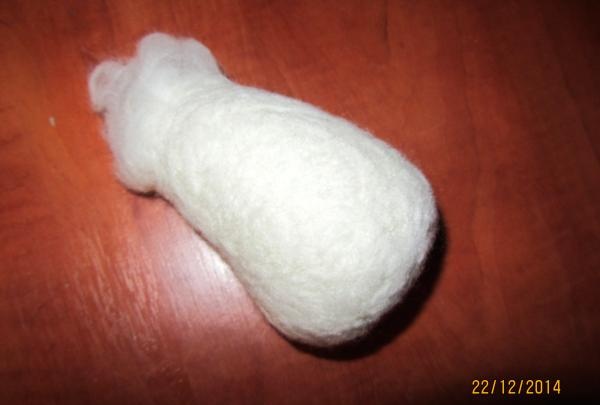
Let's start with the ears. Take two identical pieces of white wool
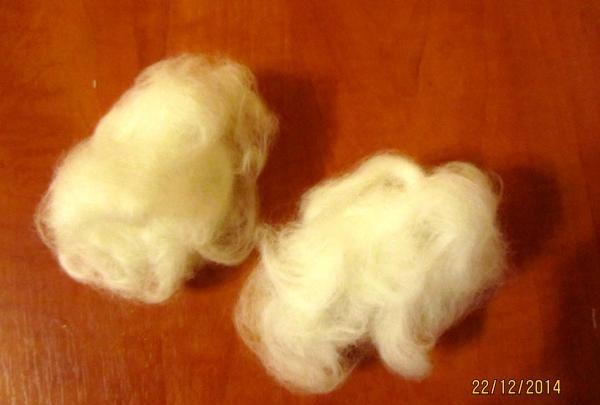
Using needle No. 38, we begin to felt the ears.
TIP: All paired parts must be done in parallel, i.e. at the same time, to avoid discrepancies in size and density, this applies to both arms and legs.
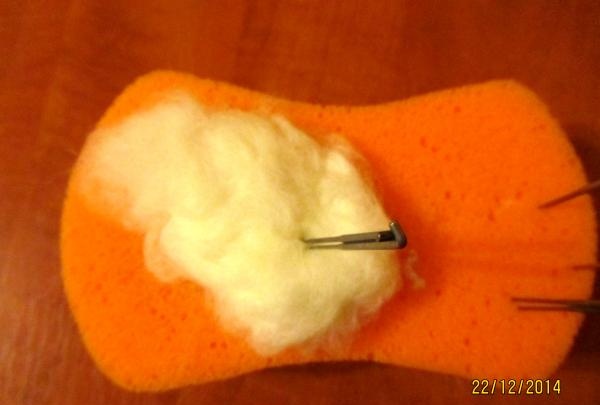
Now that the main part of the ears is ready, in the middle we make a shade of pink and get these ears.
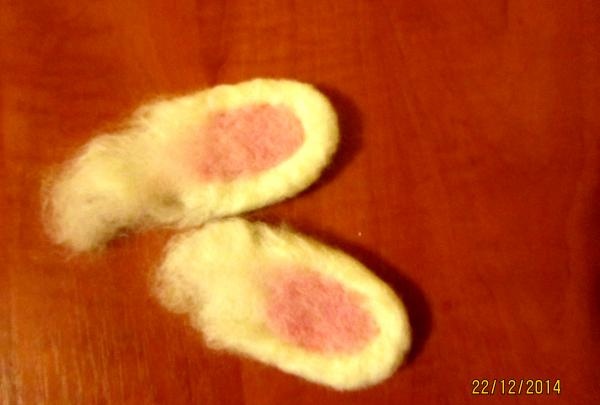
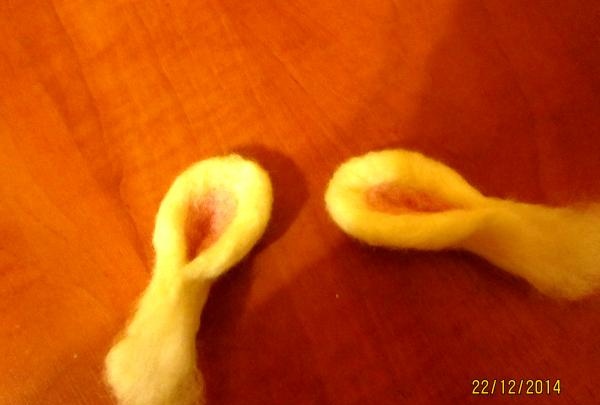
Then we give them the desired shape.
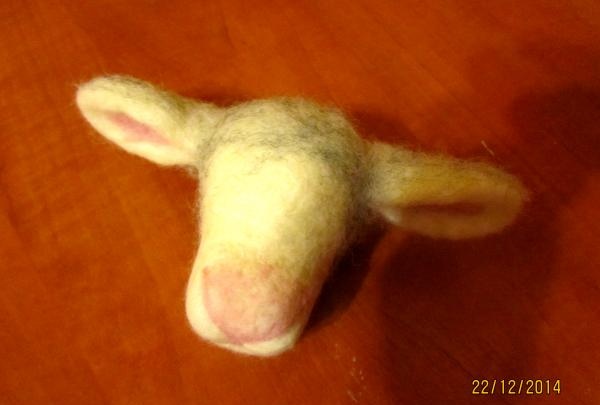
We put gray wool on the head and on the back of the ears and stuff it lightly. We get the same detail as in the photo.
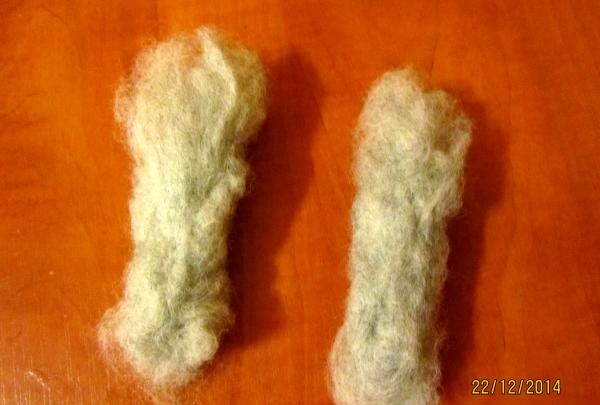
We make arms and legs, these parts are almost the same. We take gray wool and form arms and begin felting. After the parts become sufficiently dense, we roll the hooves onto them, which we make separately from dark gray wool.
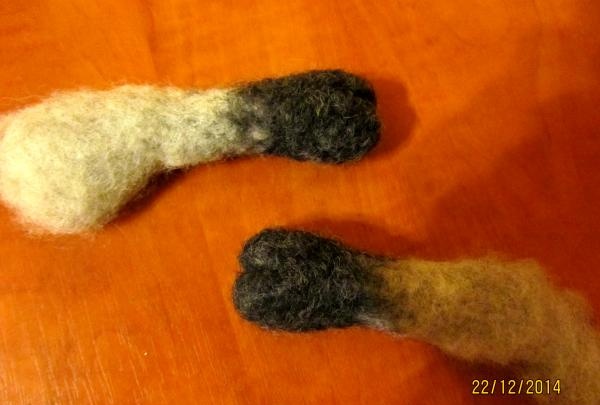
We do the legs in the same way, only with a more curved shape.
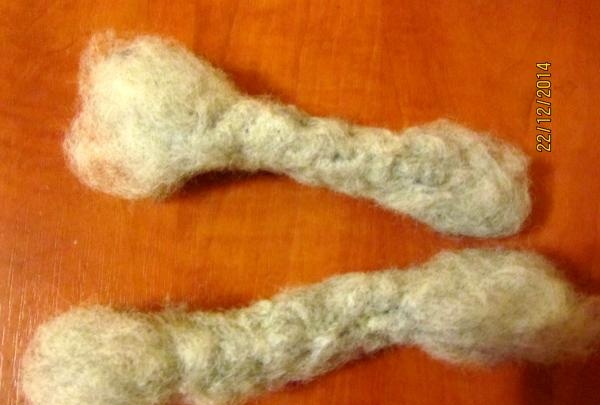
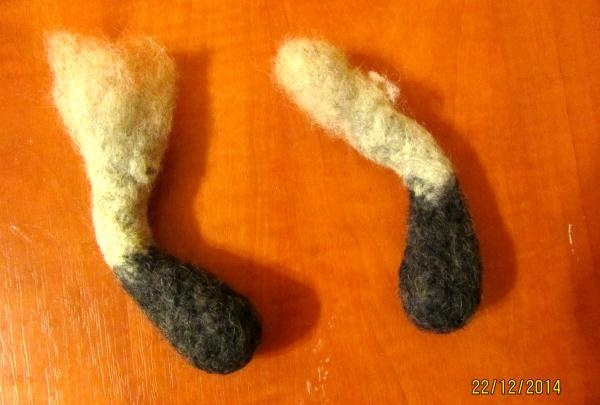
We start making horns. The principle is the same: first we give it shape (I started with gray wool to save money, since I didn’t have enough dark wool). But if you have enough dark gray wool, make the entire piece from it.
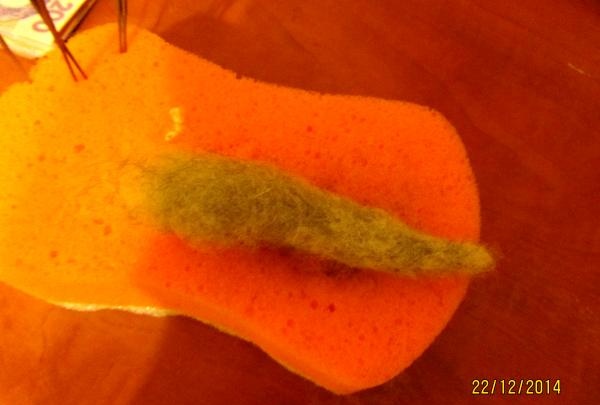
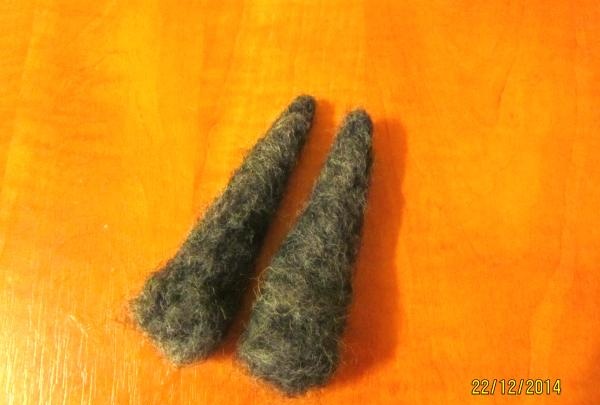
Then we give the horns a more curved shape.
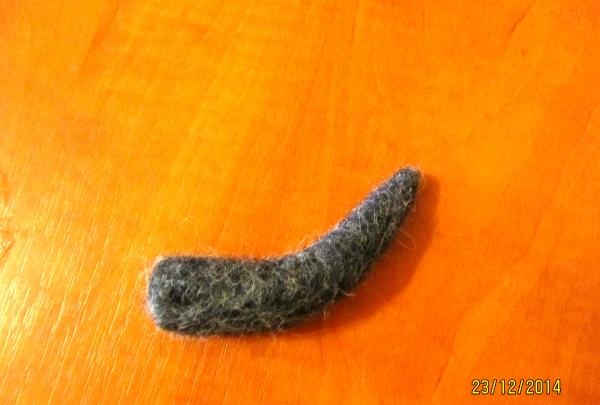
Now we attach the arms and legs to the body using a needle No. 38. After this, we roll gray wool onto the back. The results are gray legs, arms and back, and a white belly.
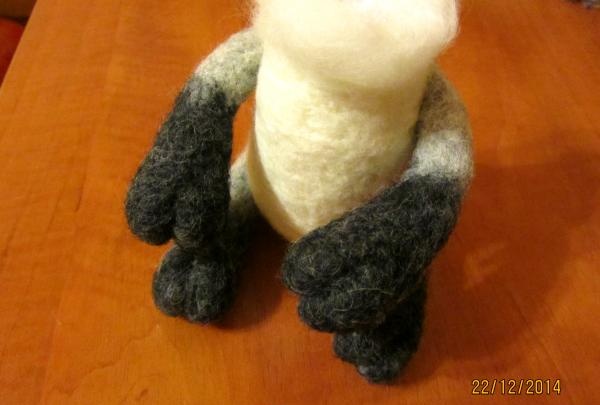
We attach the horns to the head.
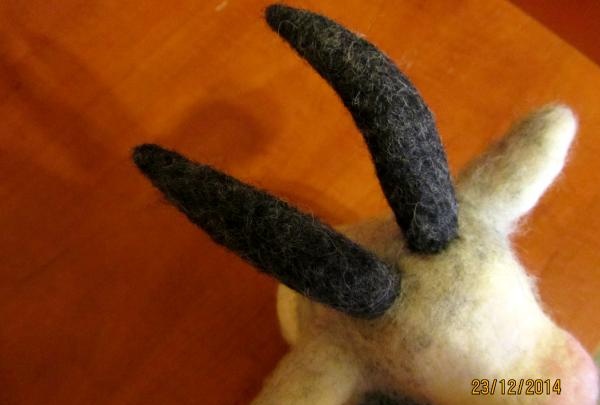
We secure the head well to the body. We fasten all this using a 38 and 40 needle.
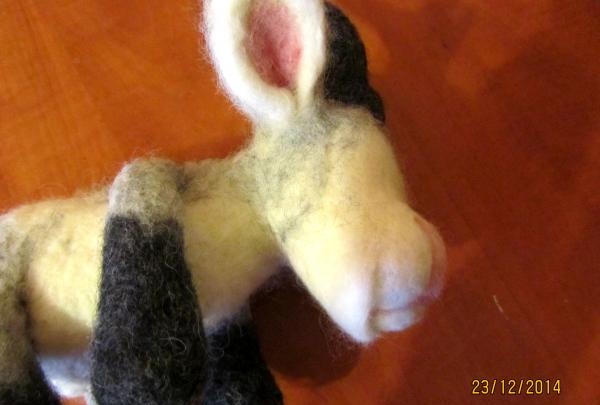
Glue on the eyes.
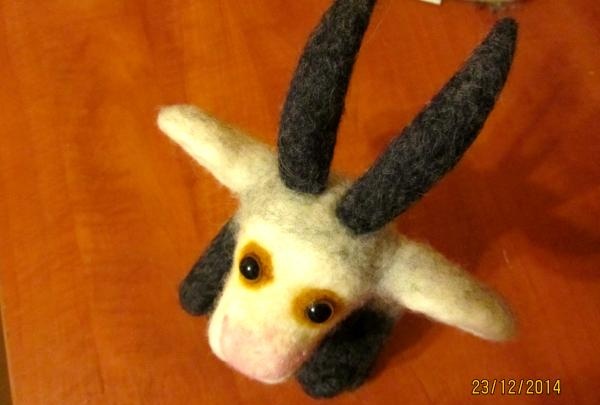
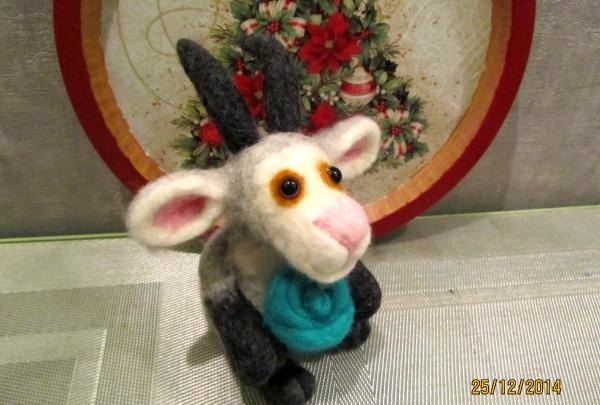
The goat is ready. You can, like I did, roll up the cabbage and give it to the goat, or you can give it what you like best or will be more relevant to your needs. crafts.
- wool for felting in gray, white, dark gray, a little pink (if you don’t have these colors, you can replace them with a suitable shade for these details). Cabbage also requires green wool, but this is not necessary, you don’t have to do it;
- sentipon;
- felting needles No. 38, 40;
- ready-made eyes (the eyes can be replaced with any others of your choice, and if you have nowhere to buy them, you can felt them from wool, which will also look great).

Let's start making the head. To do this, we form a head from centipon and use a needle No. 38 to knock it down, giving it a shape.

Then, when the head becomes dense, we wrap it with white wool and continue felting until the head becomes dense. In this case, you need to make sure that the sentipon is not visible and, if necessary, add white wool.

The head is ready. Now let's make the lower lip. Take a thin layer of white wool and felt it.

Using pink wool, we make a nose on the muzzle and attach a lip. We get such a muzzle.


Now let's make the body. We form the desired shape from the centipon and use a needle No. 38 to felt it to medium density.

Then we wrap this part well with white wool.

We start felting with a needle No. 38 and as it becomes denser, we change the needle to No. 40. The result is a body like this.

Let's start with the ears. Take two identical pieces of white wool

Using needle No. 38, we begin to felt the ears.
TIP: All paired parts must be done in parallel, i.e. at the same time, to avoid discrepancies in size and density, this applies to both arms and legs.

Now that the main part of the ears is ready, in the middle we make a shade of pink and get these ears.

Then we give them the desired shape.

We put gray wool on the head and on the back of the ears and stuff it lightly. We get the same detail as in the photo.

We make arms and legs, these parts are almost the same. We take gray wool and form arms and begin felting. After the parts become sufficiently dense, we roll the hooves onto them, which we make separately from dark gray wool.


We do the legs in the same way, only with a more curved shape.


We start making horns. The principle is the same: first we give it shape (I started with gray wool to save money, since I didn’t have enough dark wool). But if you have enough dark gray wool, make the entire piece from it.


Then we give the horns a more curved shape.

Now we attach the arms and legs to the body using a needle No. 38. After this, we roll gray wool onto the back. The results are gray legs, arms and back, and a white belly.

We attach the horns to the head.

We secure the head well to the body. We fasten all this using a 38 and 40 needle.

Glue on the eyes.

The goat is ready. You can, like I did, roll up the cabbage and give it to the goat, or you can give it what you like best or will be more relevant to your needs. crafts.


Similar master classes
Particularly interesting
Comments (0)

