Merry Christmas tree
Everyone's favorite New Year and Christmas holidays are approaching, and to lift the New Year's mood, I suggest you make a cheerful Christmas tree that can decorate the interior of your home or become a pleasant gift for friends and family. After all, these are the most anticipated holidays, for which they prepare in advance. And this craft will certainly create a cheerful, festive mood. Before we begin making it, we purchase the necessary materials and tools.
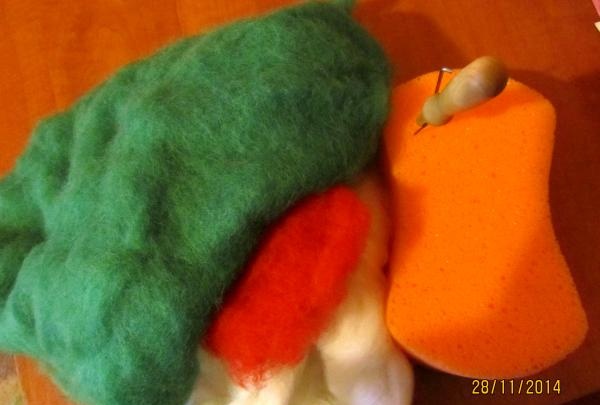
To make this not-so-ordinary Christmas tree we will need:
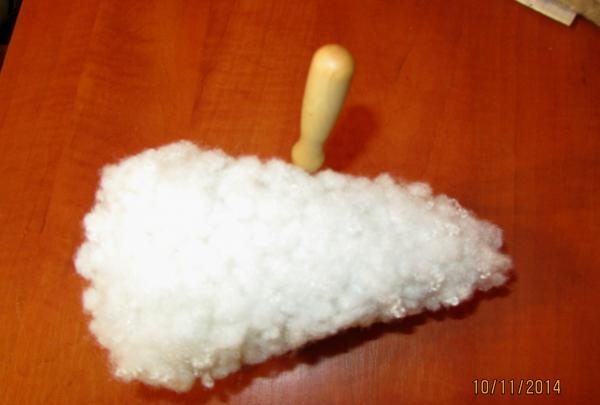
So, let's start felting a merry Christmas tree from wool. To begin, we will make a cone out of centipon and felt it with a needle No. 38 so that it becomes dense enough.
Then we wrap this cone with green wool. We start wrapping from the top. We try to wrap the cone so that there are no gaps and the white sentipon does not show through.
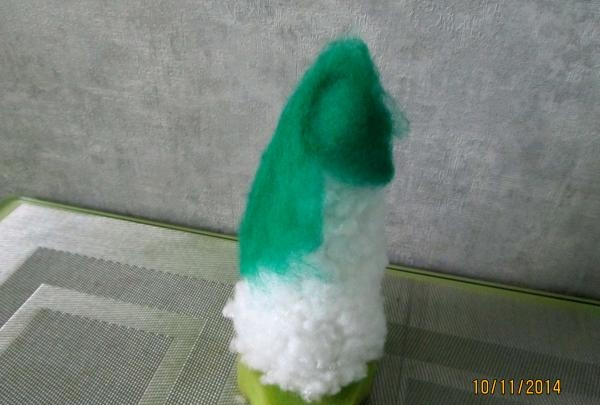
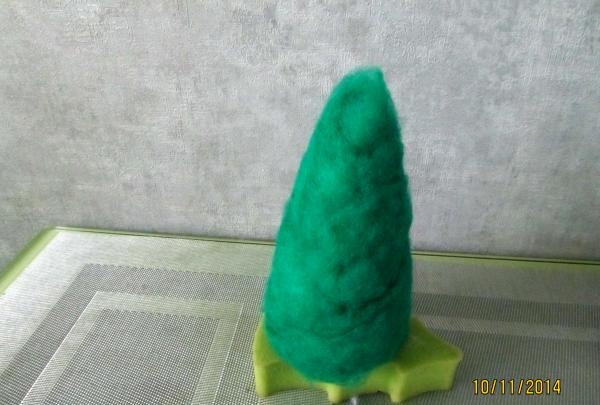
Now let's start felting with a needle No. 38. As we compact, we change the needle to No. 40. We will get a dense green cone of wool. Then we form the top from green wool as in the photo below.
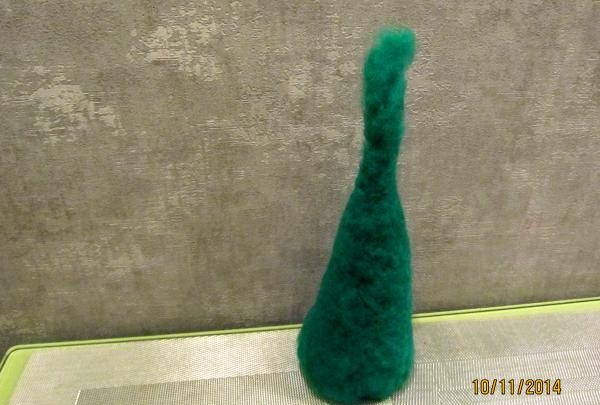
We continue to felt the top itself with a number 40 needle so that it becomes dense. Gradually add wool as needed. This results in a slightly elongated top of the Christmas tree. Then we put a hat on our Christmas tree, wrap a little red wool around the top and felt it again.
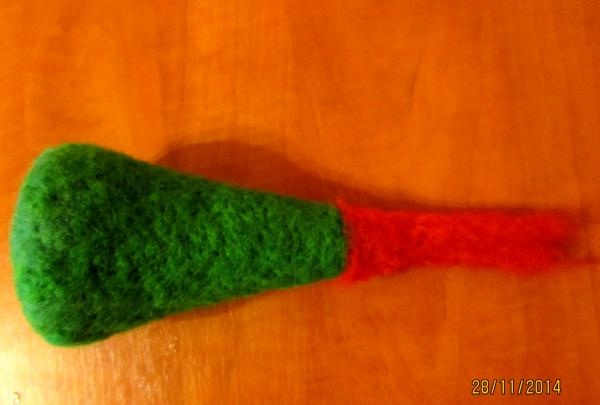
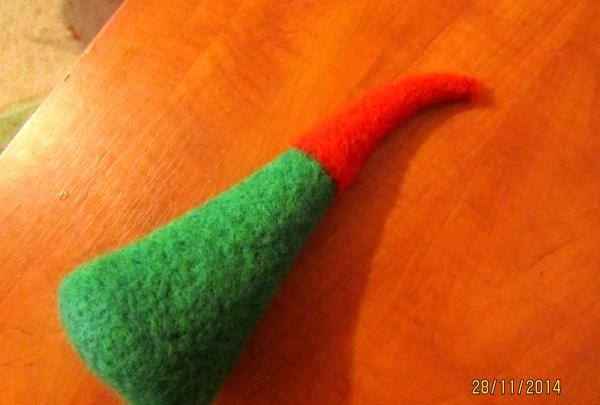
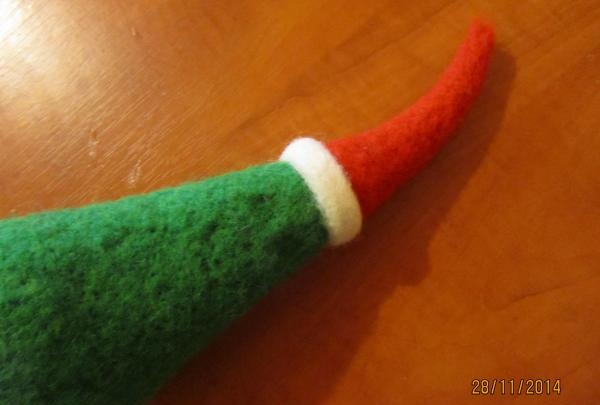
We decorate the hat with a white edge along the edge, that is, a white stripe runs between the green part of the Christmas tree and the red hat as shown in the photo.
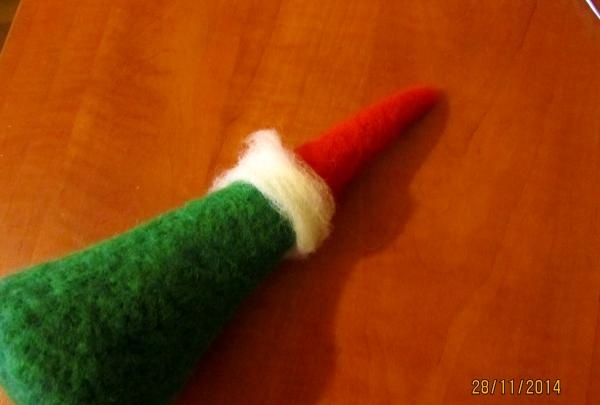
Let's put together the details well. We get a Christmas tree like this.
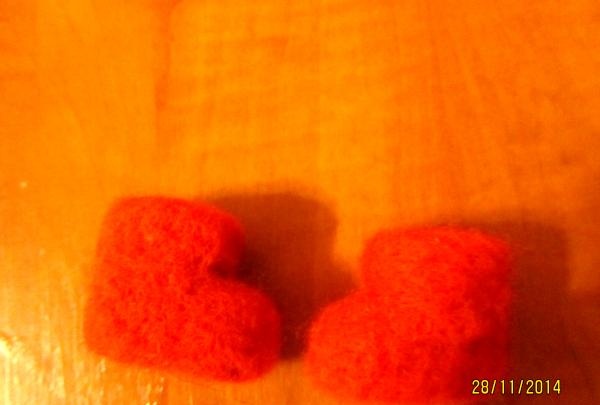
Having made the Christmas tree itself, we put it aside and begin making shoes - felt boots. To do this, we form the felt boots themselves from red wool.
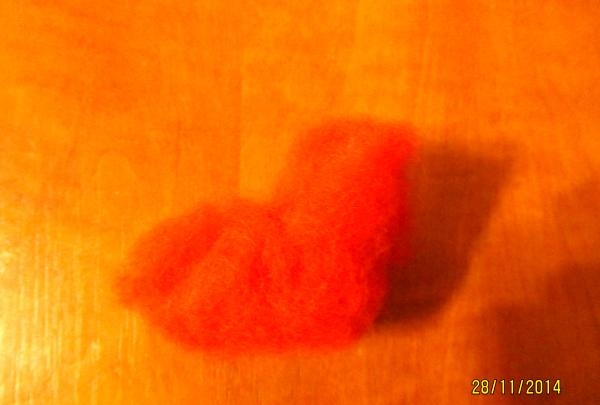
Now let's dump them well.
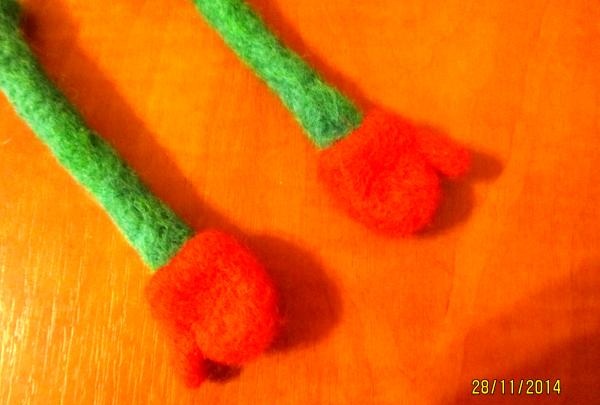
Then we work with green wool. We make two handles from it. We form mittens from red wool. Then we put felted mittens on the handles. We fold all the parts well so that they are dense.
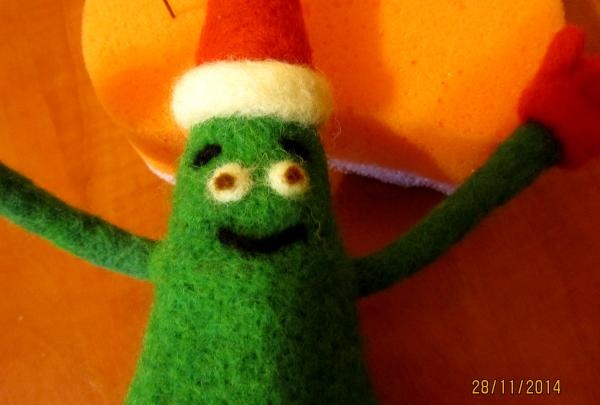
We mark on the green cone where the face of our Christmas tree will be and using a needle No. 38 we knock out a place for the eyes and mouth. Now we make the eyes with white wool using a needle No. 38, and with black wool we make the mouth and eyebrows.
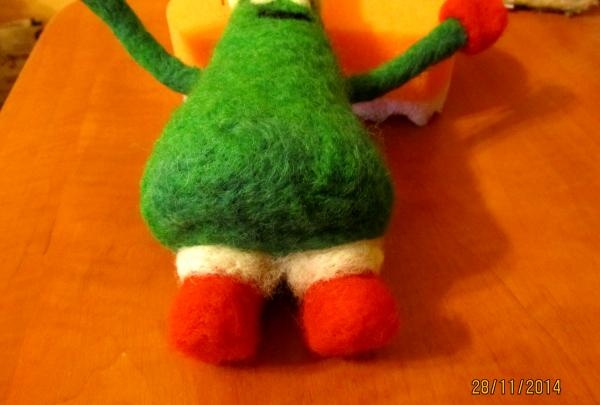
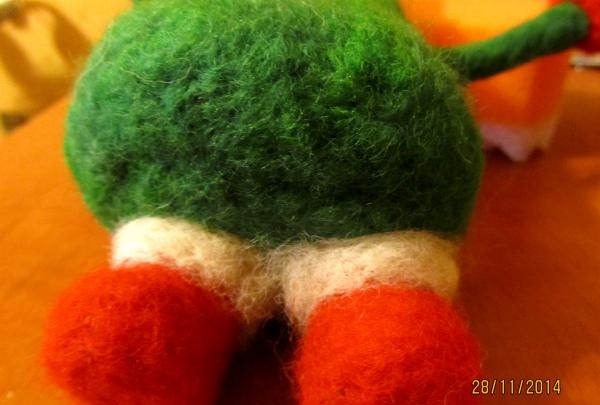
Now we connect all the parts. First of all, we attach felt boots to the Christmas tree, first just using a needle No. 38 vertically, we roll everything down well. Then we make an edge with white wool and also press it with a needle No. 38.
Attach handles to the Christmas tree.
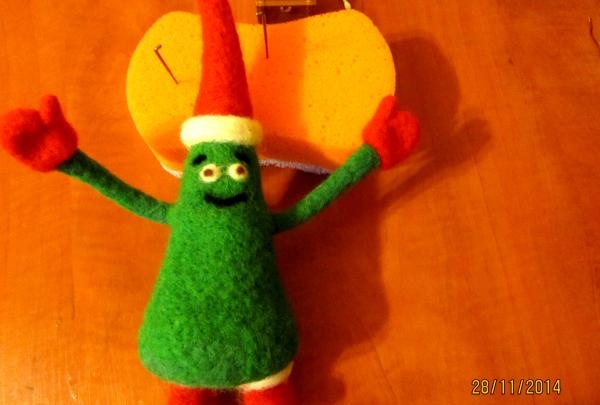
Now the cheerful Christmas tree is completely ready. If desired, you can also make a bend in place of the elbows using a needle. We decorate our Christmas tree with toys. Decorating the Christmas tree depends on your imagination, I came up with the idea of adding toys to it, as in the photo, and you can do it to your taste.
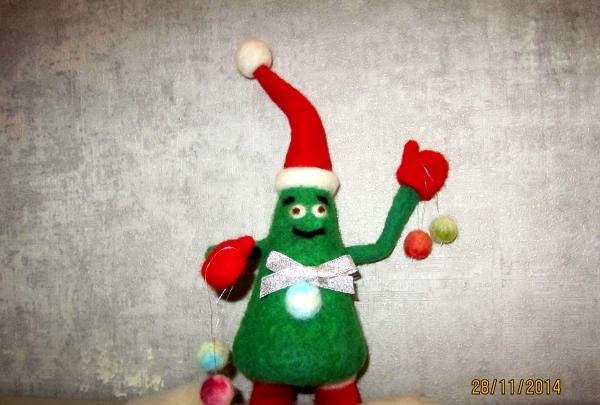
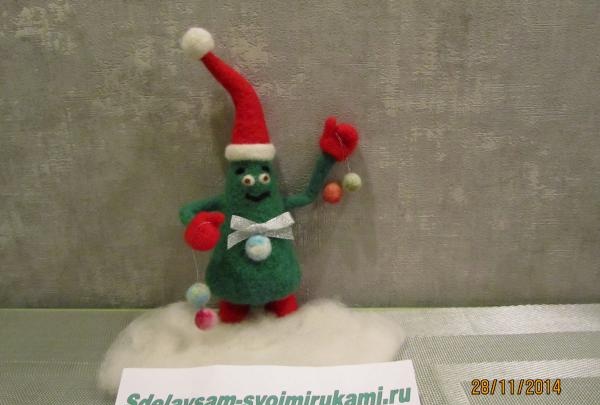
That's all. A cheerful Christmas tree with New Year's toys is ready!
To make this not-so-ordinary Christmas tree we will need:
- wool for felting in different colors - green, white, red, a little black for felting a Christmas tree and for making Christmas tree toys;
- felting needles No. 38, No. 40;
- sentipon.

So, let's start felting a merry Christmas tree from wool. To begin, we will make a cone out of centipon and felt it with a needle No. 38 so that it becomes dense enough.

Then we wrap this cone with green wool. We start wrapping from the top. We try to wrap the cone so that there are no gaps and the white sentipon does not show through.


Now let's start felting with a needle No. 38. As we compact, we change the needle to No. 40. We will get a dense green cone of wool. Then we form the top from green wool as in the photo below.

We continue to felt the top itself with a number 40 needle so that it becomes dense. Gradually add wool as needed. This results in a slightly elongated top of the Christmas tree. Then we put a hat on our Christmas tree, wrap a little red wool around the top and felt it again.


We decorate the hat with a white edge along the edge, that is, a white stripe runs between the green part of the Christmas tree and the red hat as shown in the photo.

Let's put together the details well. We get a Christmas tree like this.

Having made the Christmas tree itself, we put it aside and begin making shoes - felt boots. To do this, we form the felt boots themselves from red wool.

Now let's dump them well.

Then we work with green wool. We make two handles from it. We form mittens from red wool. Then we put felted mittens on the handles. We fold all the parts well so that they are dense.

We mark on the green cone where the face of our Christmas tree will be and using a needle No. 38 we knock out a place for the eyes and mouth. Now we make the eyes with white wool using a needle No. 38, and with black wool we make the mouth and eyebrows.

Now we connect all the parts. First of all, we attach felt boots to the Christmas tree, first just using a needle No. 38 vertically, we roll everything down well. Then we make an edge with white wool and also press it with a needle No. 38.


Attach handles to the Christmas tree.

Now the cheerful Christmas tree is completely ready. If desired, you can also make a bend in place of the elbows using a needle. We decorate our Christmas tree with toys. Decorating the Christmas tree depends on your imagination, I came up with the idea of adding toys to it, as in the photo, and you can do it to your taste.

That's all. A cheerful Christmas tree with New Year's toys is ready!

Similar master classes
Particularly interesting
Comments (1)

