Cardboard bracelet
In the vast ocean of modern jewelry, you can find your own piece of jewelry for every taste and color. However, I really want it to be different from everyone else. And this is where fantasy begins to work, new materials and techniques are sought to fulfill the desires of fashionistas. But today I want to share my experience of making a cardboard bracelet. Why cardboard? Firstly, this is an inexpensive material that can always be found in the house, secondly, the ease of performing the work, and thirdly, it will take approximately 2-3 hours.
For work we will need:
- corrugated cardboard;
- old newspapers;
- PVA glue;
- paint (I used gouache);
- pearlescent paints;
- acrylic lacquer;
- brushes;
- scissors;
- knitting needle No. 4.
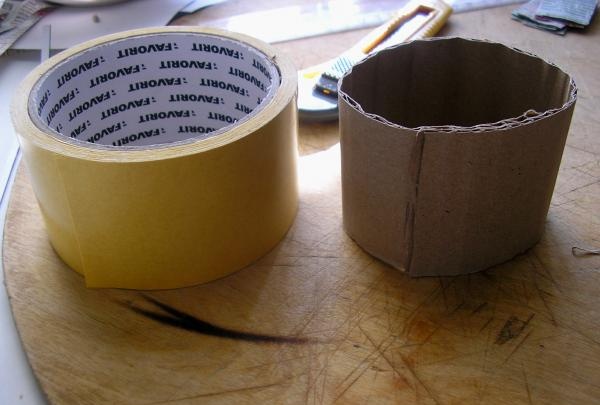
Cut out the shape of a bracelet from cardboard. You can make the width as desired. I love wide bracelets, so my blank is 7 cm in width. Measure the length at your wrist. Important! The bracelet will be worn over your hand, so take into account the width of your cupped palm.
We glue the cardboard using double-sided tape.
Cut the newspaper into strips 2 cm wide and 9-10 cm long.
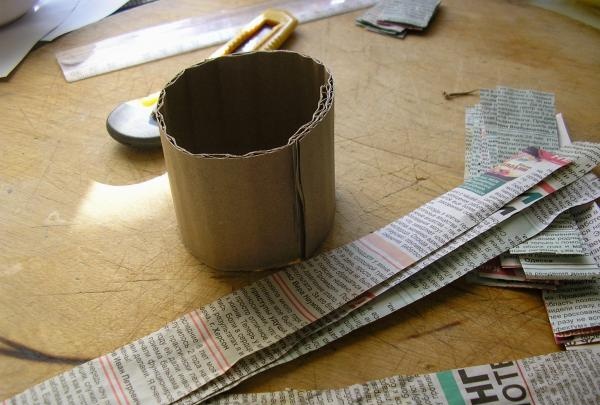
We cover the workpiece with newspapers according to the principle papier mache. Layer by layer, without allowing any gaps, along the bracelet and across it. This will strengthen our semi-finished product and give it the correct shape. Leave to dry.
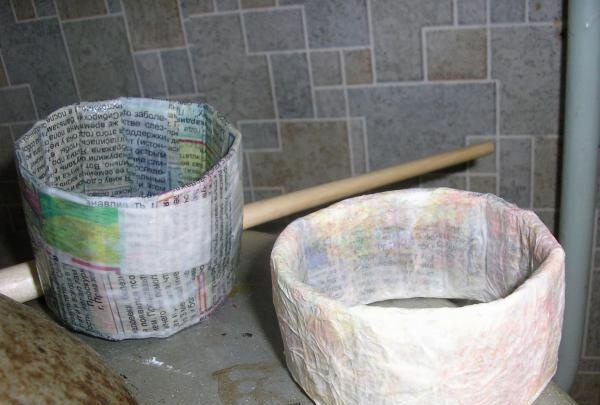
Now let's move on to the finishing elements. We cut newspaper in three ways:
1 – stripes 2 cm wide, 30 cm long;
2 – stripes 10 cm wide, 20 cm long;
3 – stripes 10 cm wide, 50 cm long.
Using a knitting needle we make tubes from newspapers. Place a knitting needle on the corner of a newspaper strip at an angle of 450 and wind the entire strip completely. Fix the edge with glue.
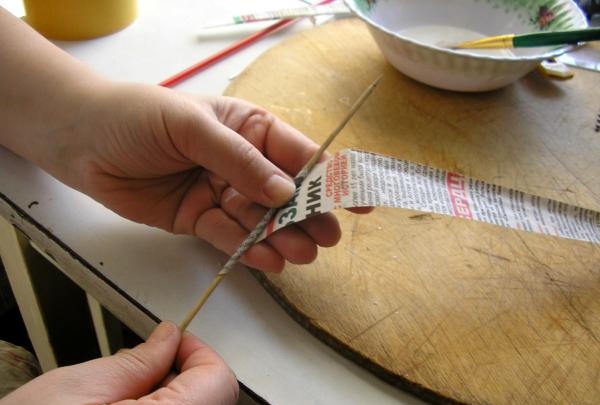
We press the finished tubes, making them flat, and wind them around the tip of the knitting needle, making a “snail”. Glue the edge.
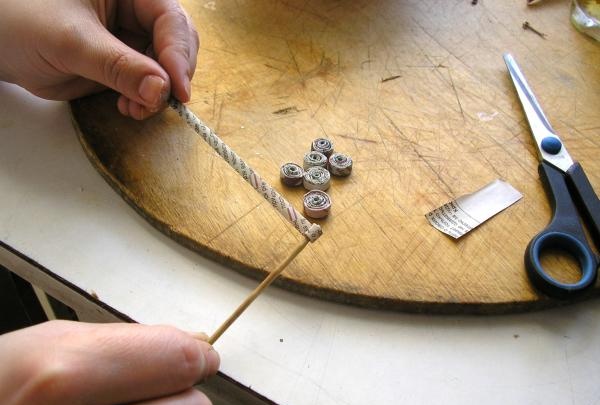
From different newspaper strips we get “snails” of different diameters.
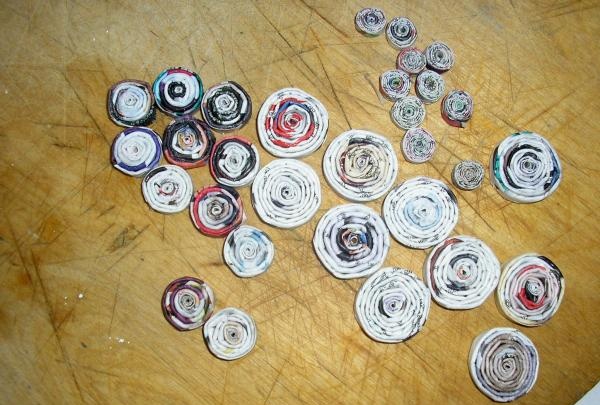
Now we glue the round pieces to the dried bracelet.
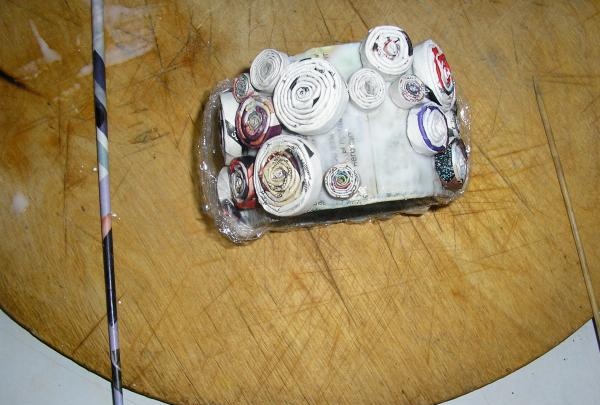
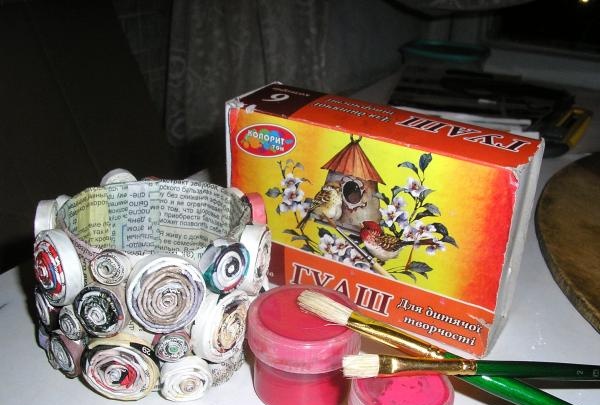
And leave until completely dry. Here is our preparation.
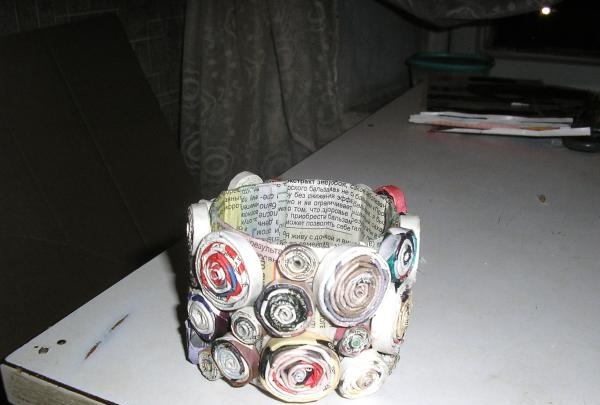
Let's start painting the product. Carefully paint each element and the inside.
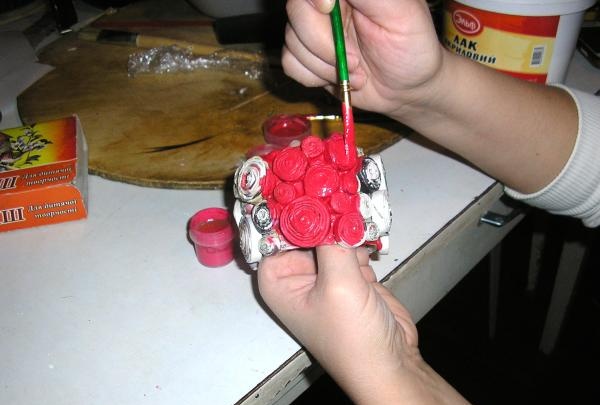
From above, using a dry brush technique, paint the convex parts of the “snails” with pearlescent paint. I used mother-of-pearl to match the paint, but you can create a worn effect.
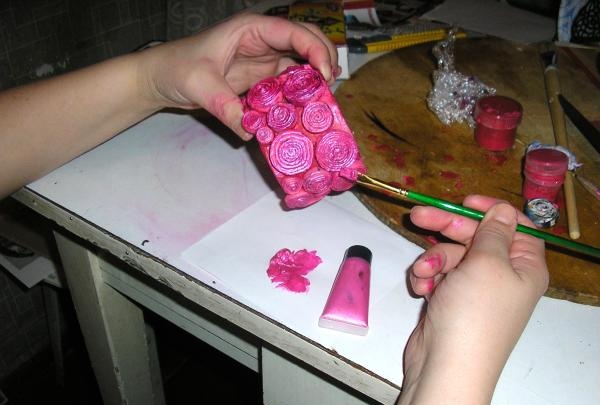
Now we cover the product with a thick layer of acrylic varnish inside and out. Let it dry and this is what we have.
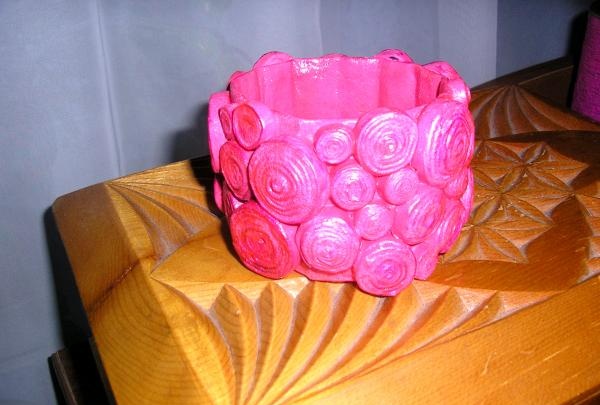
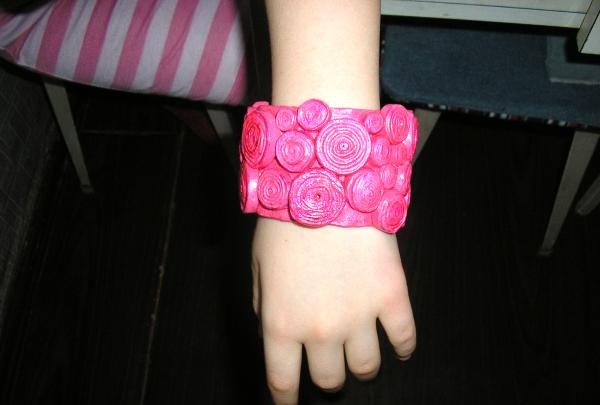
Agree that it’s hard to call such beauty a cardboard bracelet. I hope my experience will help you do something similar or maybe even better.
For work we will need:
- corrugated cardboard;
- old newspapers;
- PVA glue;
- paint (I used gouache);
- pearlescent paints;
- acrylic lacquer;
- brushes;
- scissors;
- knitting needle No. 4.
Cut out the shape of a bracelet from cardboard. You can make the width as desired. I love wide bracelets, so my blank is 7 cm in width. Measure the length at your wrist. Important! The bracelet will be worn over your hand, so take into account the width of your cupped palm.
We glue the cardboard using double-sided tape.

Cut the newspaper into strips 2 cm wide and 9-10 cm long.

We cover the workpiece with newspapers according to the principle papier mache. Layer by layer, without allowing any gaps, along the bracelet and across it. This will strengthen our semi-finished product and give it the correct shape. Leave to dry.

Now let's move on to the finishing elements. We cut newspaper in three ways:
1 – stripes 2 cm wide, 30 cm long;
2 – stripes 10 cm wide, 20 cm long;
3 – stripes 10 cm wide, 50 cm long.
Using a knitting needle we make tubes from newspapers. Place a knitting needle on the corner of a newspaper strip at an angle of 450 and wind the entire strip completely. Fix the edge with glue.

We press the finished tubes, making them flat, and wind them around the tip of the knitting needle, making a “snail”. Glue the edge.

From different newspaper strips we get “snails” of different diameters.

Now we glue the round pieces to the dried bracelet.

And leave until completely dry. Here is our preparation.

Let's start painting the product. Carefully paint each element and the inside.


From above, using a dry brush technique, paint the convex parts of the “snails” with pearlescent paint. I used mother-of-pearl to match the paint, but you can create a worn effect.

Now we cover the product with a thick layer of acrylic varnish inside and out. Let it dry and this is what we have.


Agree that it’s hard to call such beauty a cardboard bracelet. I hope my experience will help you do something similar or maybe even better.
Similar master classes
Particularly interesting
Comments (0)


