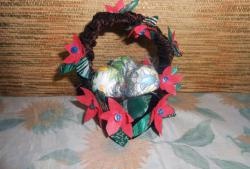
Pincushion “Silhouette”
Good afternoon. I am completely delighted when I see beautiful and original needle cases. If you also like a variety of pincushions, then I welcome you. Today we will make a “Silhouette” pincushion together.
For this we need:
- Paper.
- Pencil.
- Sintepon.
- Scissors.
- Textile.
- Wooden barbecue sticks.
- Needle.
- Threads to match the color of the fabric.
- 1 cup of yogurt.
- Plasticine.
- Decorative decorations.
- Foam rubber.
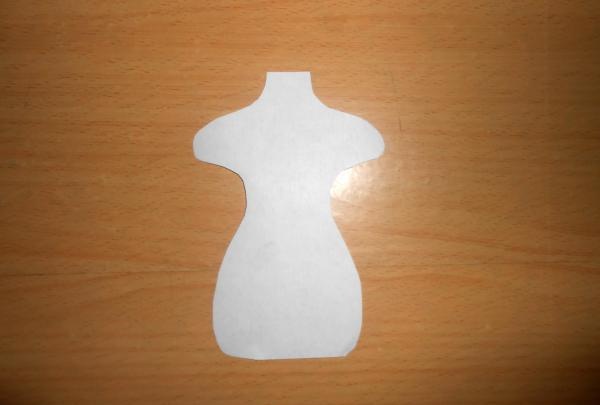
First we will make a paper pattern of our silhouette.
Then take the fabric and fold it in half with the right side inward. Place the pattern on the material, secure it with needles (so that the pattern does not move out of place) and cut according to the pattern, taking into account seam allowances.
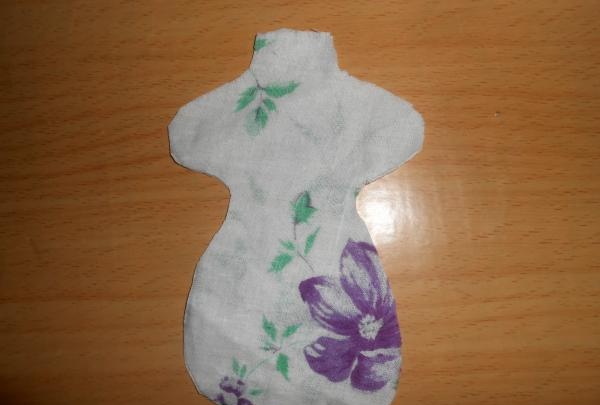
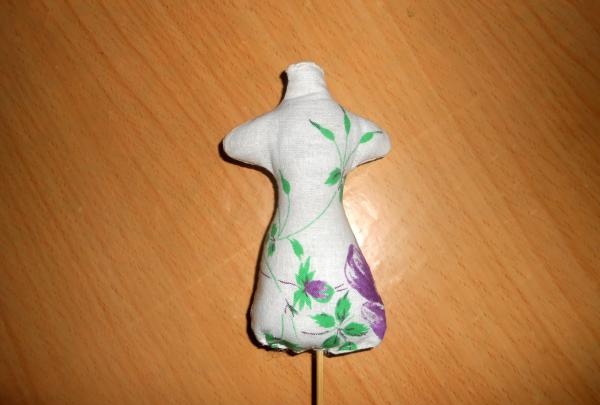
We remove the pattern and sew the blanks; there is no need to sew the bottom yet. We turn our product right side out.
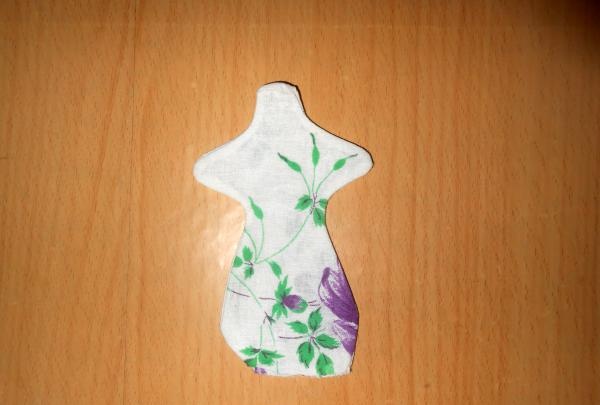
We fill the resulting silhouette with padding polyester. We insert a stick inside and sew it together. If necessary, one end of the stick can be coated with glue.
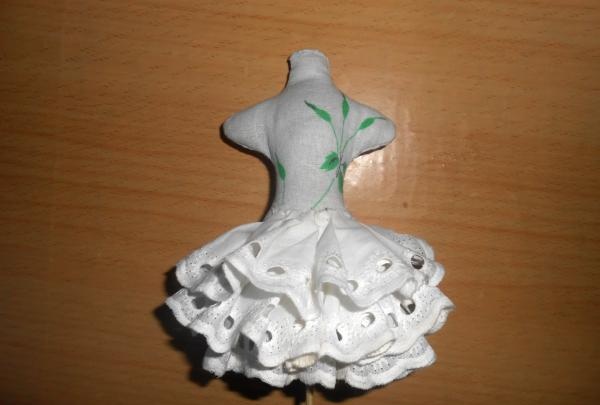
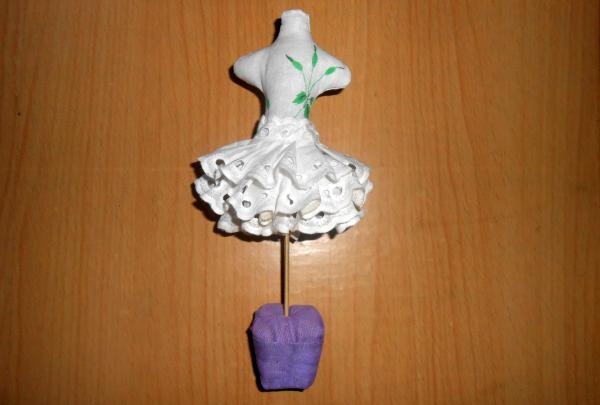
Now you need to make the skirt. For this I took white fabric with a patterned edge. I cut three strips 5 centimeters wide and 12 centimeters long. First we sew the strip to the bottom, not forgetting to make folds. Then we sew the second strip higher and do the same with the third.As a result, we will get a three-tiered skirt.
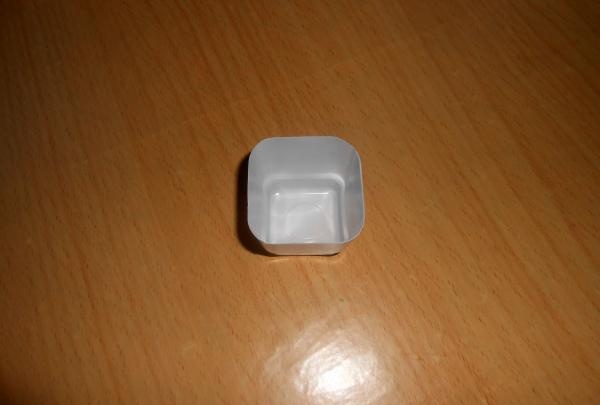
Now let's take a yogurt cup and make a stand for the pincushion out of it. To do this, simply cut off the excess height from the glass.
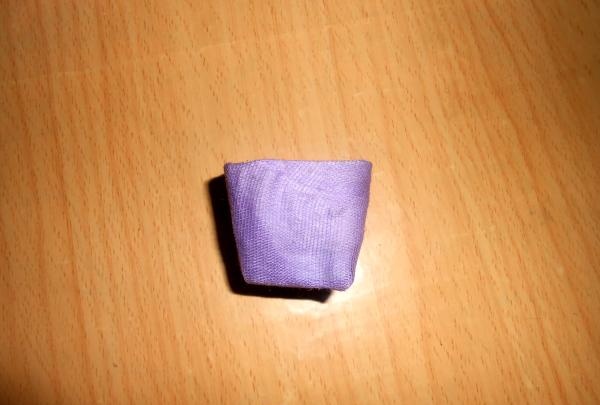
Cover the stand with fabric. Place plasticine inside the glass. At the same time, it must be pressed to the bottom of the cup so that the plasticine holds tightly.
Let's take thick foam rubber and cut out of it a shape that fits our stand, only 0.5 centimeters larger in size. Cover the foam rubber with fabric and insert it into the stand. This is how we got the ottoman.
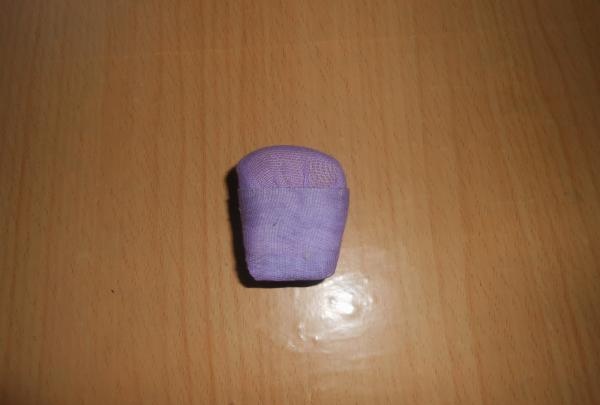
In the middle of the ottoman stick our stick along with the pincushion. You need to stick it so that the stick enters the plasticine for fixation.
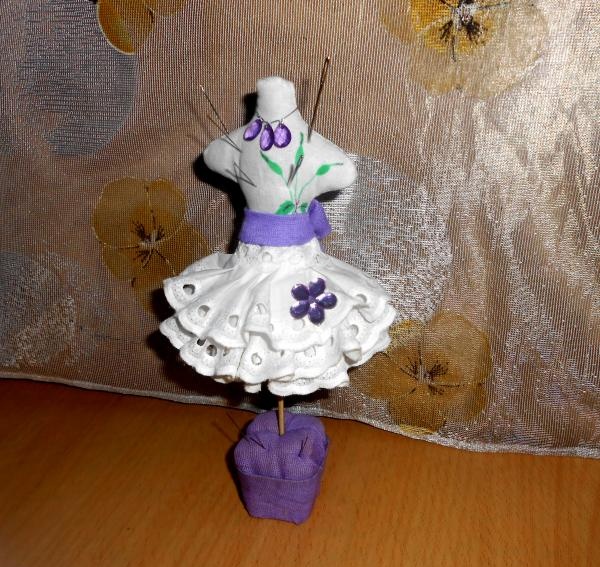
We will make a belt for the skirt from fabric matching the color of the stand. Cut a strip 3 centimeters wide and 12 centimeters long. Fold the strip right side in half widthwise, sew it together, and turn it inside out. We tie it at the mannequin's waist and make a bow at the back. We decorate the pincushion with decorative details. I made beads and glued a flower to the skirt. If desired, you can decorate the stand. Our pincushion is ready.
I wish you success in your creativity.
For this we need:
- Paper.
- Pencil.
- Sintepon.
- Scissors.
- Textile.
- Wooden barbecue sticks.
- Needle.
- Threads to match the color of the fabric.
- 1 cup of yogurt.
- Plasticine.
- Decorative decorations.
- Foam rubber.
First we will make a paper pattern of our silhouette.

Then take the fabric and fold it in half with the right side inward. Place the pattern on the material, secure it with needles (so that the pattern does not move out of place) and cut according to the pattern, taking into account seam allowances.

We remove the pattern and sew the blanks; there is no need to sew the bottom yet. We turn our product right side out.

We fill the resulting silhouette with padding polyester. We insert a stick inside and sew it together. If necessary, one end of the stick can be coated with glue.

Now you need to make the skirt. For this I took white fabric with a patterned edge. I cut three strips 5 centimeters wide and 12 centimeters long. First we sew the strip to the bottom, not forgetting to make folds. Then we sew the second strip higher and do the same with the third.As a result, we will get a three-tiered skirt.

Now let's take a yogurt cup and make a stand for the pincushion out of it. To do this, simply cut off the excess height from the glass.

Cover the stand with fabric. Place plasticine inside the glass. At the same time, it must be pressed to the bottom of the cup so that the plasticine holds tightly.

Let's take thick foam rubber and cut out of it a shape that fits our stand, only 0.5 centimeters larger in size. Cover the foam rubber with fabric and insert it into the stand. This is how we got the ottoman.

In the middle of the ottoman stick our stick along with the pincushion. You need to stick it so that the stick enters the plasticine for fixation.

We will make a belt for the skirt from fabric matching the color of the stand. Cut a strip 3 centimeters wide and 12 centimeters long. Fold the strip right side in half widthwise, sew it together, and turn it inside out. We tie it at the mannequin's waist and make a bow at the back. We decorate the pincushion with decorative details. I made beads and glued a flower to the skirt. If desired, you can decorate the stand. Our pincushion is ready.

I wish you success in your creativity.
Similar master classes
Particularly interesting
Comments (0)

