How to make your own riveter
Like all tools, a factory manual riveter wears out over time and becomes unsuitable for further work. Should I buy a new one? But this is a considerable expenditure of money! Therefore, we will make it with our own hands from scrap materials and continue riveting work with even greater success. To implement your plan, you do not need special knowledge or unique tools.
How to make a homemade riveter
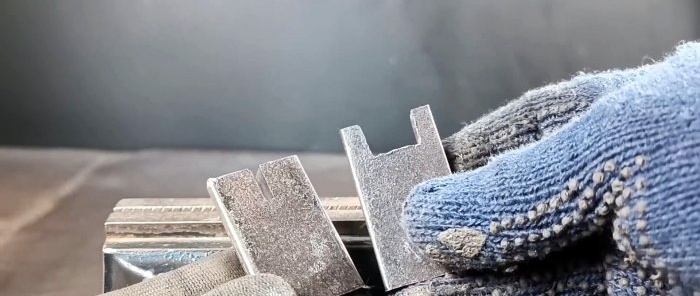
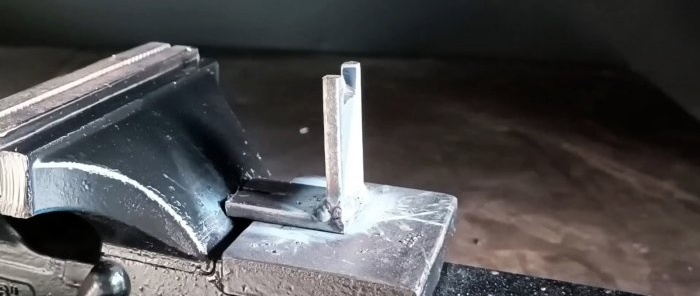
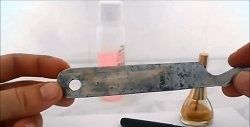
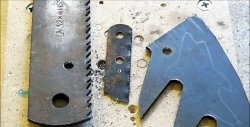
In a small rectangular plate in the center of one narrow side in the longitudinal direction, we make a slot of the required depth and width 2 times the thickness of the grinder disk. In the second similar plate we make a wide slot of approximately the same depth as in the first.
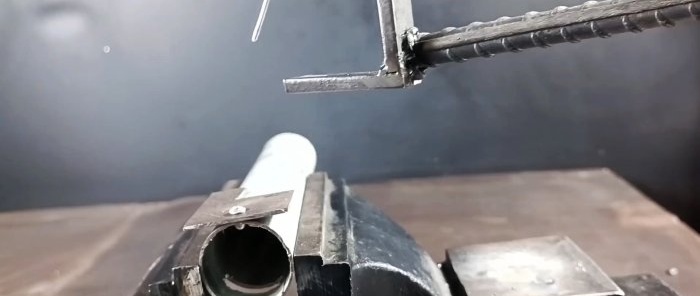
We install the plate with a wide slot at the top vertically on the plate with a narrow slot outward along the edge of the narrow side and weld it in such a position to each other so that they form a right angle.
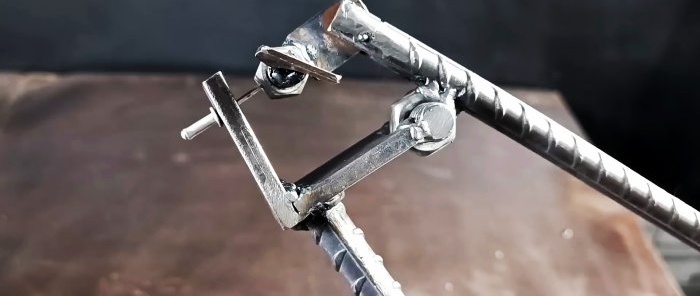
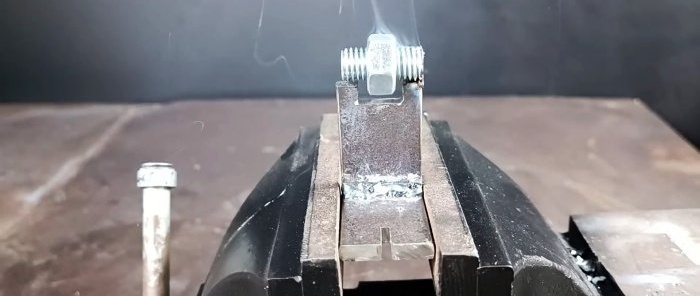
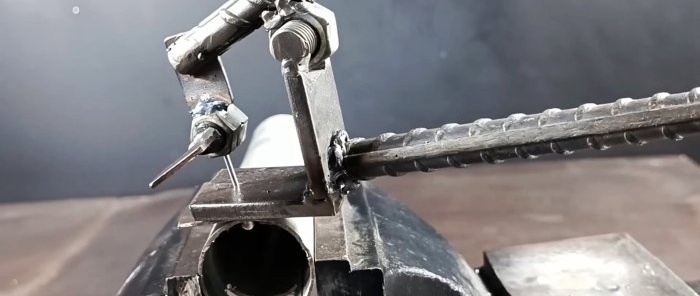
We cut off the head from the bolt, screw the nut onto the rod and place it on a plate with a wide slot so that the nut is in the slot. We weld a threaded rod with a nut on top to the “legs” of the slot so that the nut can rotate on the rod.
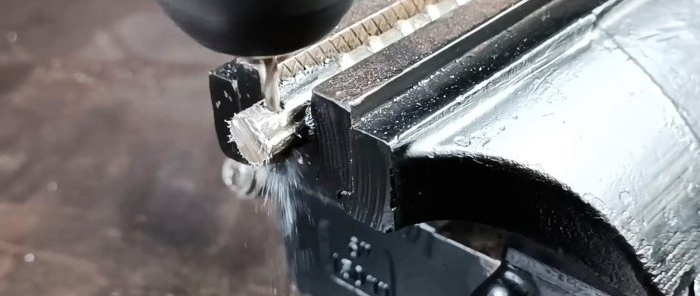
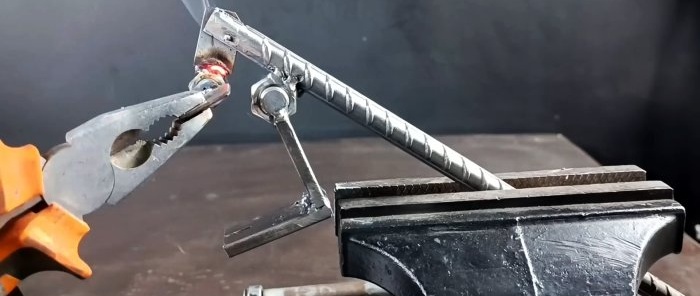
From one edge of the piece of reinforcement we cut off the stiffening ribs with a grinder and drill a through transverse hole in it, and from the end we make a slot with a depth below the hole.
In a thin rectangular plate, drill a hole in the middle from the edge, place it in the reinforcement slot until the holes coincide and pass a nail with a wide head through them. We cut off part of the nail flush from the back side of the reinforcement and weld the rest of the nail with the head to the reinforcement.
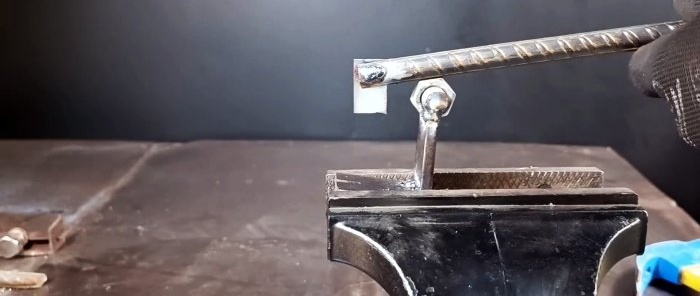
We place the reinforcement in the longitudinal direction on the nut at a point closer to the edge with the plate pointing down, and weld the reinforcement to the nut in this position.
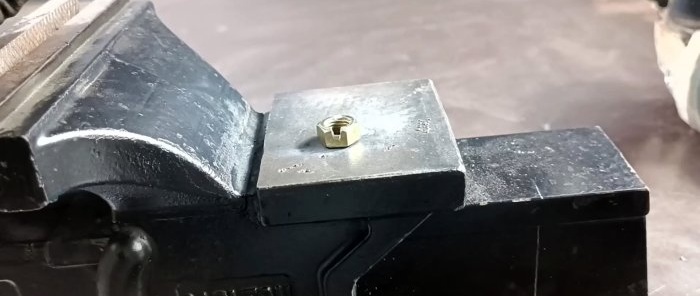
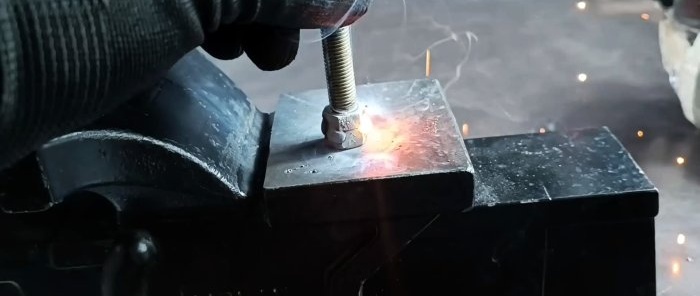
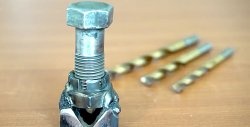
In the nut, in the center of one face, we make a slot approximately to the middle of the height of the nut, press the head of the bolt on top of the nut and weld it without damaging the slot. Cut off the bolt shaft right under the head.
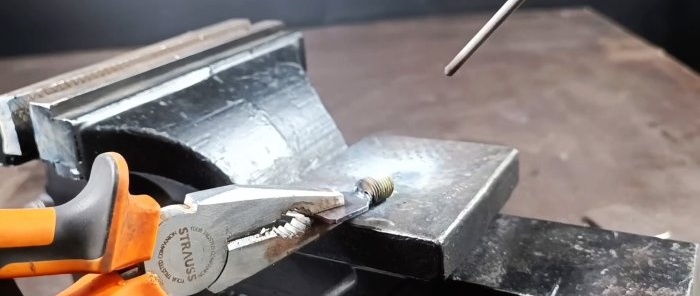
We press the plate with its narrow side to the end of the bolt rod perpendicularly in the center due to the cut corners and weld it in this position.
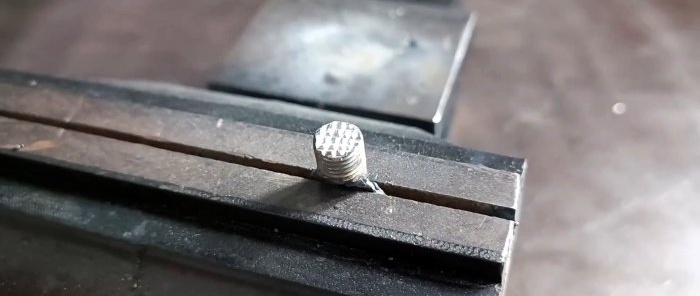
We apply a notch on the free end of the bolt shaft using a Dremel.
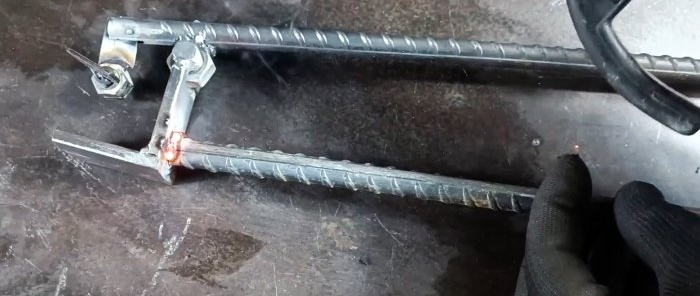
We screw the bolt rod with the plate into the nut with the bolt head and weld this unit by the nut and the bolt head to the plate attached to the end of the reinforcement so that the plate of the welded unit is perpendicular to the plate attached to the reinforcement.
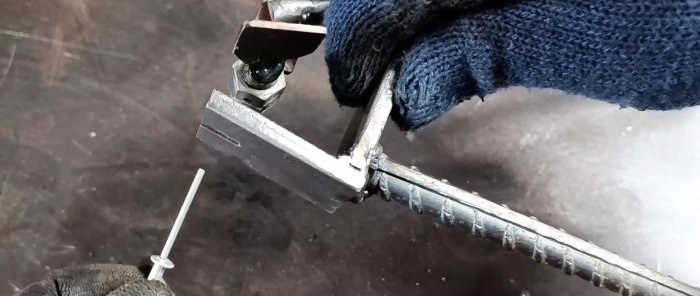
We weld a piece of reinforcement to the back side of the plate welded to the bolt rod. Through the slot in the plate, insert the rivet rod into the hole in the nut and, turning the bolt rod by the plate, fix the rivet.
We insert the rivet into the holes of the parts to be connected and press the handle from the reinforcement.
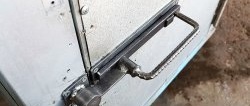
The result is a riveted connection of the parts.
Watch the video
Similar master classes
