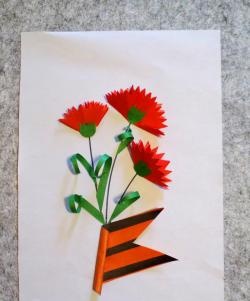
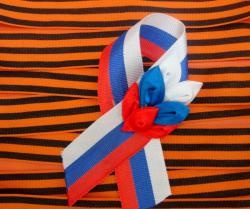
Patriotic ribbon for Victory Day
Traditionally, on May 9, a parade is held in every city. This holiday is special - it not only symbolizes Victory, but on this day people remember the exploits of the older generation. One of the symbols of this special day is the St. George ribbon, which is pinned on the chest. But there is an alternative to such a symbol - a similar ribbon made from the colors of the Russian flag.
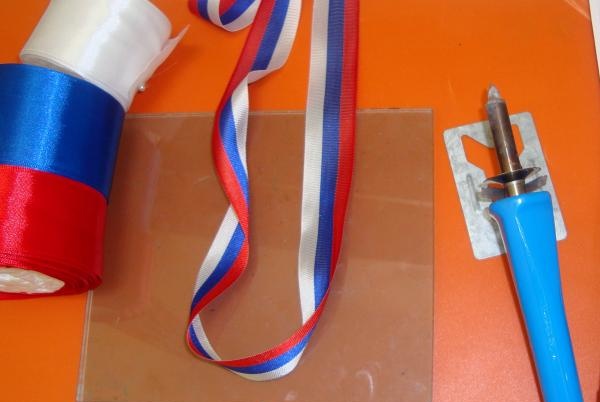
To create a ribbon you will need:
1. A narrow ribbon depicting the tricolor.
2. Satin ribbons 4 or 5 cm wide in three colors - white, blue, red.
3. Burner and glass.
4. Hot glue.
Fold the ribbon in the center to form one loop and glue the ends of the ribbon where they meet.
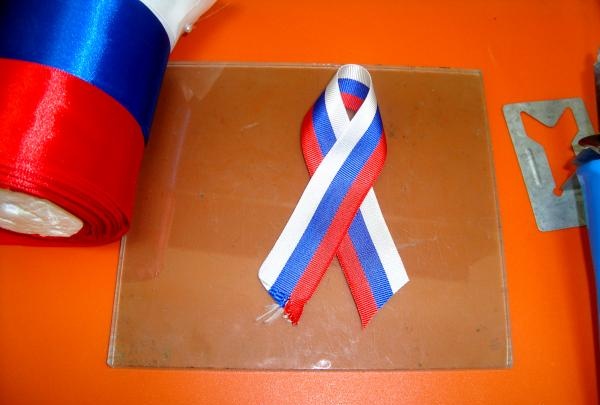
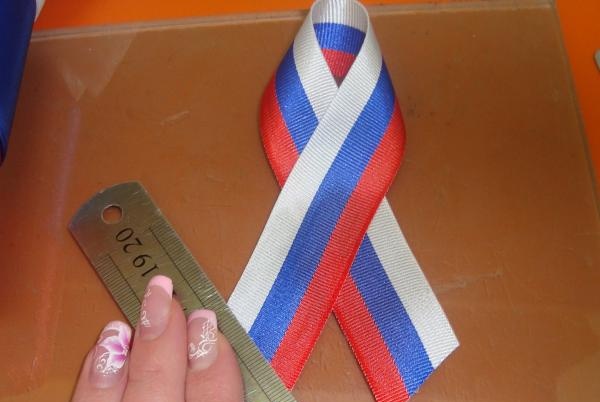
Under the ruler, cut the ends of the tape at an acute angle, as in the photo:
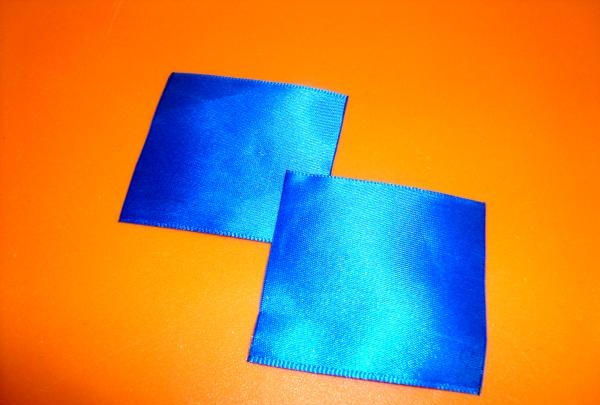
You need to cut squares from each ribbon. The size of the squares is either 5 by 5 cm, or 4 by 4 cm, depending on the width of the ribbon you choose. You will need two blanks of each color, except red. There should be three red squares.
To create a twig on a ribbon, you will need sharp curved petals, which are created using the technique kanzashi. The square element must be bent diagonally to form a large triangle.
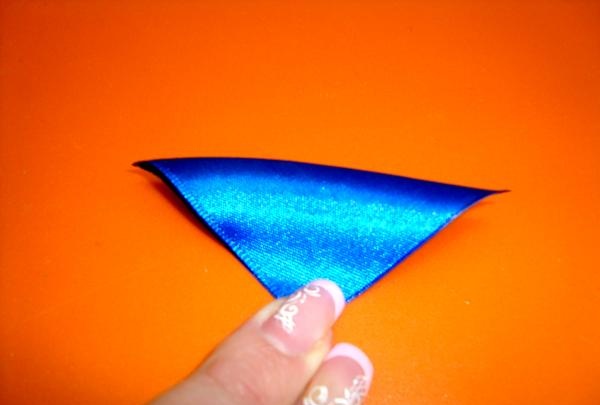
Then, the workpiece is bent again in the center as shown in the photo.
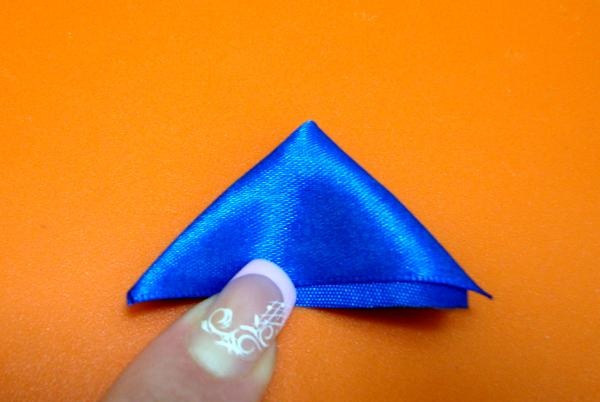
The last fold is carried out along the center line of the triangle and then an acute angle is formed at the top of the element.
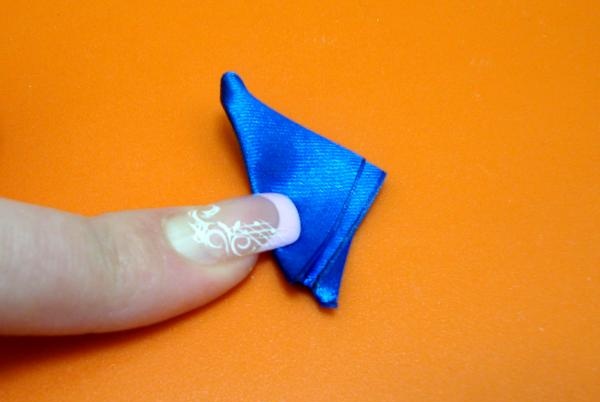
Use a burner to cut off the base of the blue petal. Under the temperature, the layers of the atlas are soldered and the petal is fixed.

Bend the petal in the other direction.
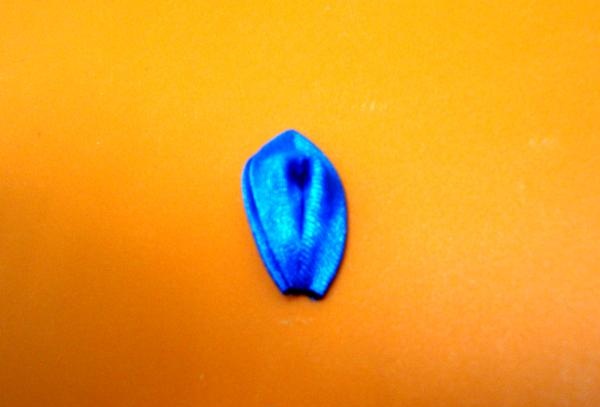
Do similar actions with all the blanks, and you will get the required number of petals for the branch.
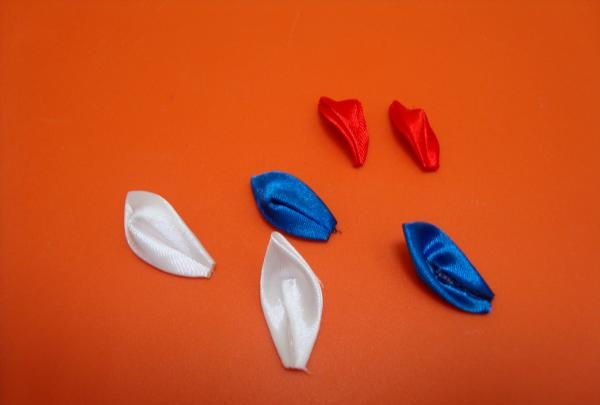
Using hot glue, fix the petals in the center of the main tape.
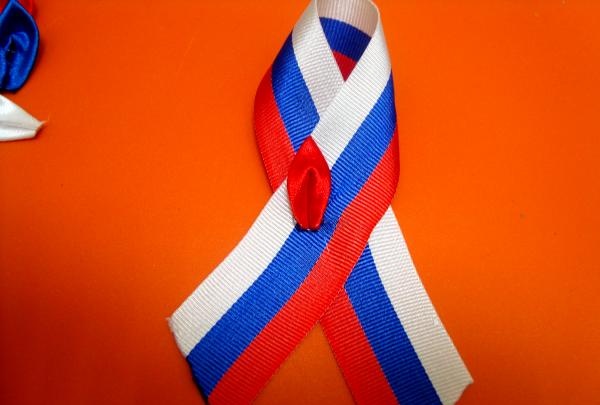
Red and blue colors are glued in pairs directly to the tape.
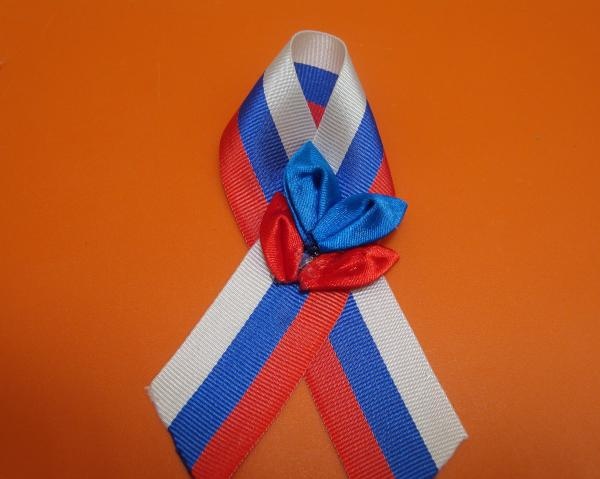
The white pair of leaves are first glued together.
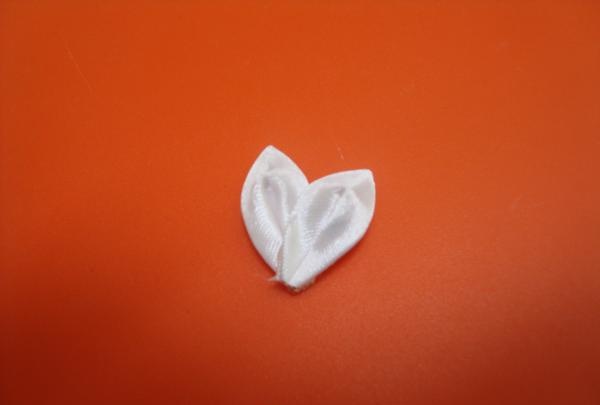
And then complements the twig on top.
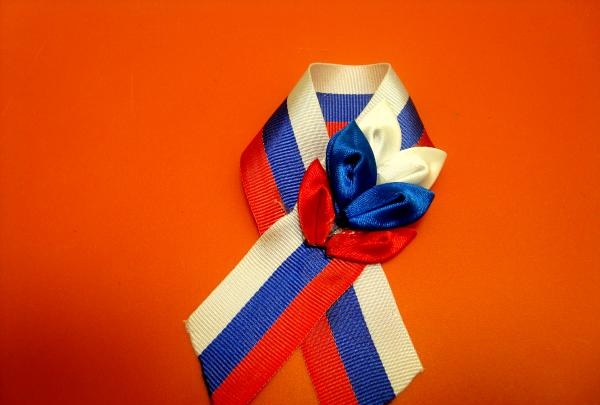
The place where the branch originates is covered with a third red petal.

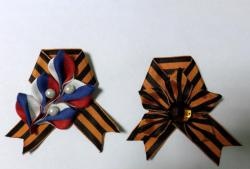
Turn the work over and use glue to secure a pin in the center of the piece. The pin is positioned horizontally.
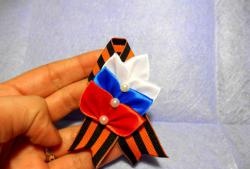
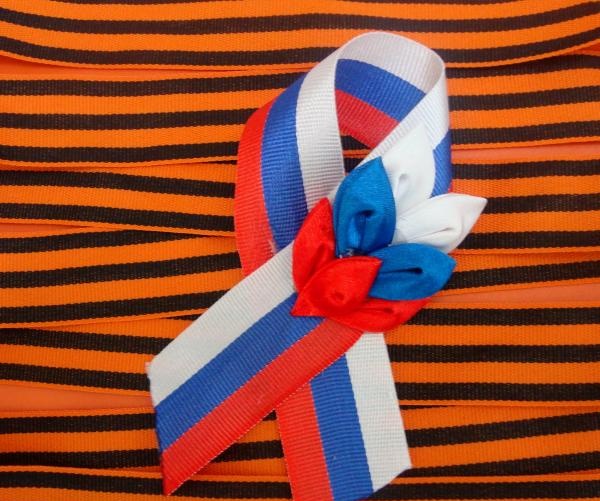
The bright ribbon for the parade is ready!

To create a ribbon you will need:
1. A narrow ribbon depicting the tricolor.
2. Satin ribbons 4 or 5 cm wide in three colors - white, blue, red.
3. Burner and glass.
4. Hot glue.

Fold the ribbon in the center to form one loop and glue the ends of the ribbon where they meet.

Under the ruler, cut the ends of the tape at an acute angle, as in the photo:

You need to cut squares from each ribbon. The size of the squares is either 5 by 5 cm, or 4 by 4 cm, depending on the width of the ribbon you choose. You will need two blanks of each color, except red. There should be three red squares.

To create a twig on a ribbon, you will need sharp curved petals, which are created using the technique kanzashi. The square element must be bent diagonally to form a large triangle.

Then, the workpiece is bent again in the center as shown in the photo.

The last fold is carried out along the center line of the triangle and then an acute angle is formed at the top of the element.

Use a burner to cut off the base of the blue petal. Under the temperature, the layers of the atlas are soldered and the petal is fixed.

Bend the petal in the other direction.

Do similar actions with all the blanks, and you will get the required number of petals for the branch.

Using hot glue, fix the petals in the center of the main tape.

Red and blue colors are glued in pairs directly to the tape.

The white pair of leaves are first glued together.

And then complements the twig on top.

The place where the branch originates is covered with a third red petal.

Turn the work over and use glue to secure a pin in the center of the piece. The pin is positioned horizontally.
The bright ribbon for the parade is ready!
Similar master classes
Particularly interesting
Comments (0)

