Ripped jeans
Ripped jeans have been trending for years now. Probably many people have old jeans on the back shelves of their closets. If you work hard on them, you can make a fashionable item with your own hands. To work you will need:
- jeans;
- nail scissors;
- tweezers;
- chalk;
- cutting board;
- sponge;
- knife;
- grater.
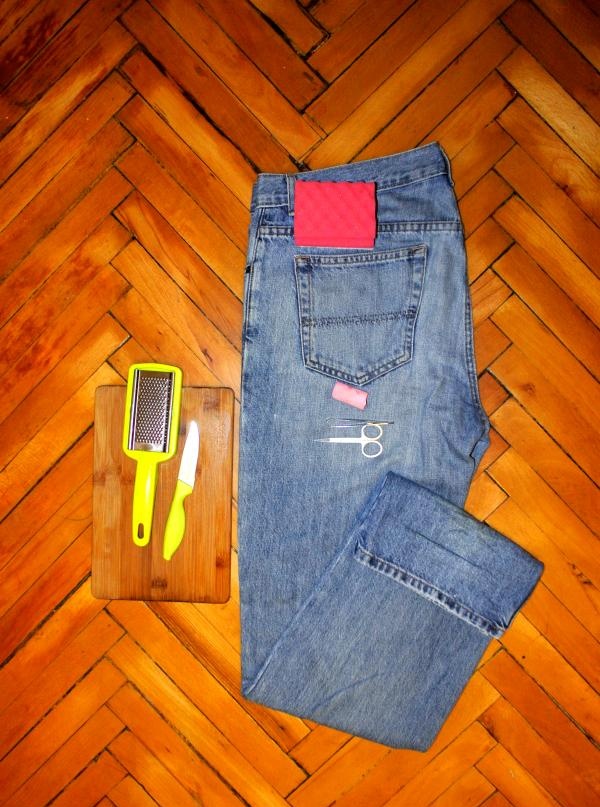
These items can be used to give old jeans a new lease of life. So let's get started:
1. Use chalk to mark the locations of future holes.
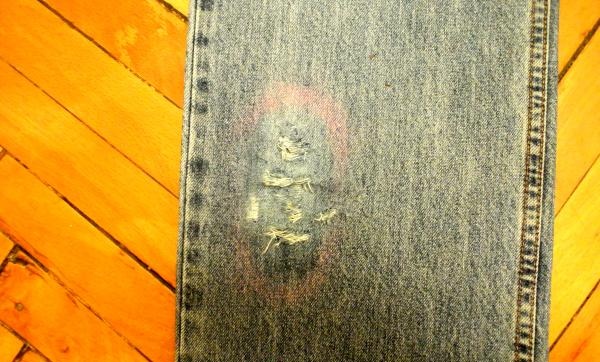
2. Then insert a kitchen board (or any other hard object) into the jeans and cut strips with a knife (or scissors) at any distance from each other. The board must be placed so as not to cut through the bottom of the jeans. The cut areas can be moistened with a damp sponge (this will make cutting easier).
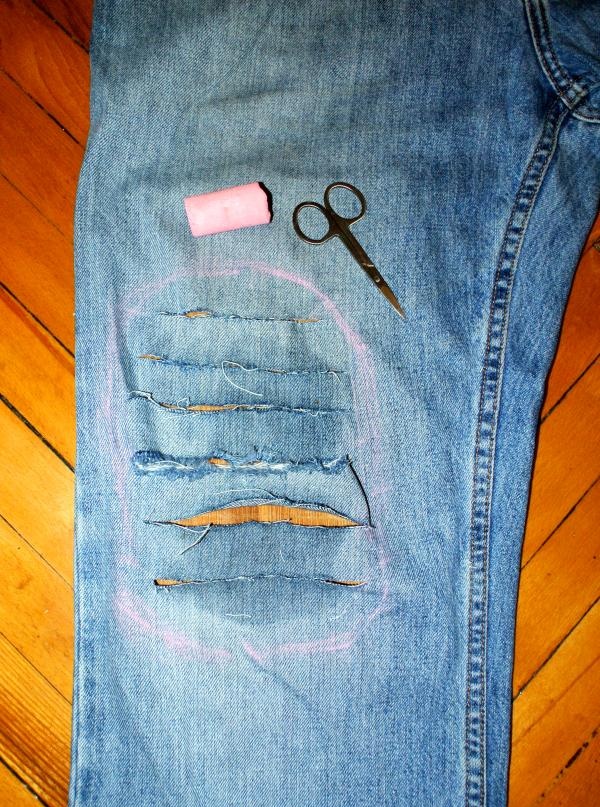
3. Now, using tweezers, separate the transverse threads in each of the resulting strips. This work is painstaking and takes a lot of time.
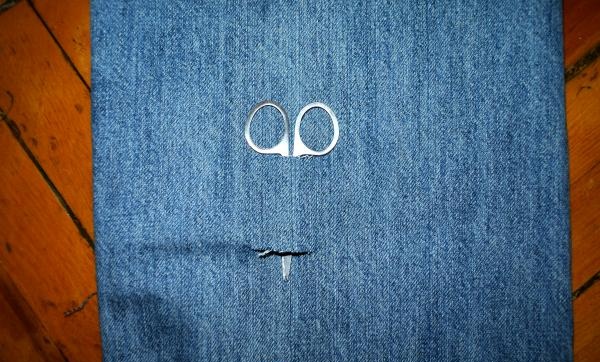
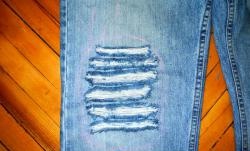
4. This is how future holes are formed. As a result of detaching the threads, a lot of fringe is formed; it must be cut off periodically. At the end you need to leave a little fringe.
5.After all the threads are separated, some of them will not hang very aesthetically. Use scissors to carefully cut off all excess threads.
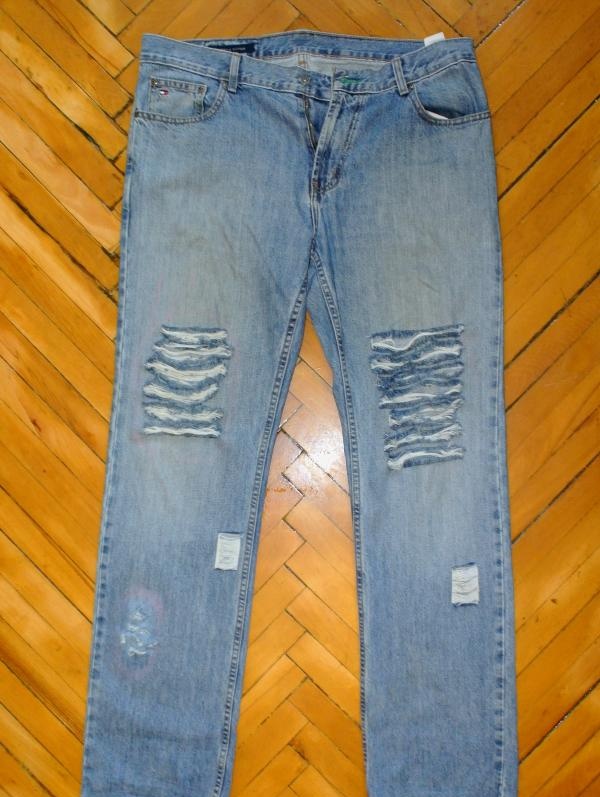
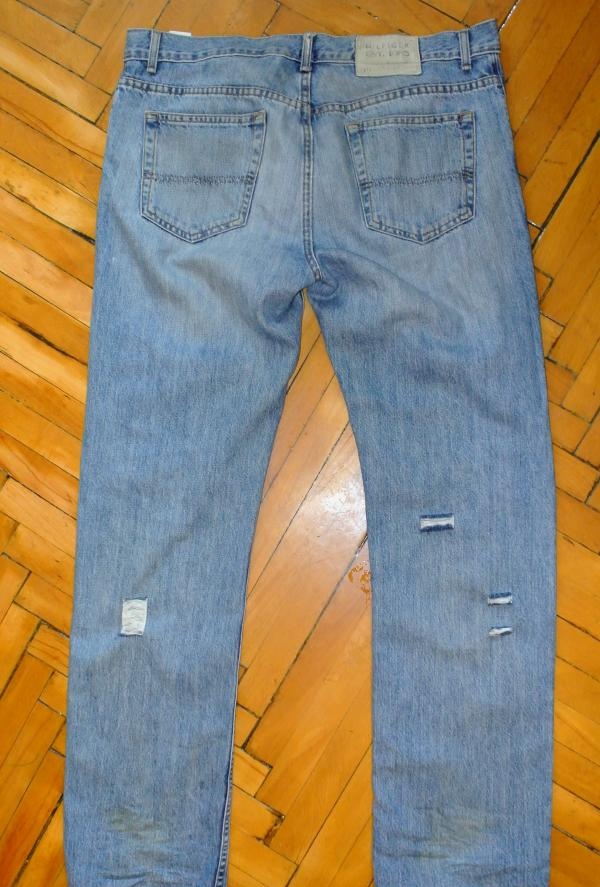
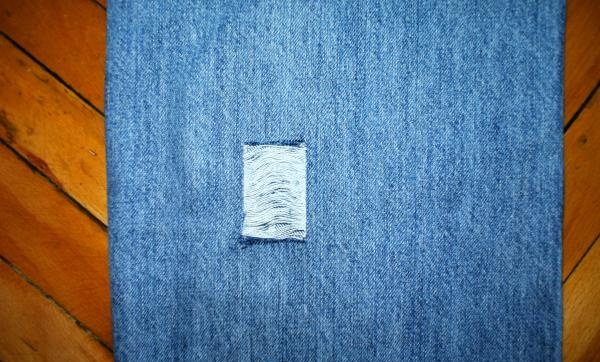
6. You can then create scuff marks using a grater. Use your hands to crumple the area of future abrasions and rub it with a grater. For this process, it is better to take a grater with straight and large holes. The result is chaotic abrasions.
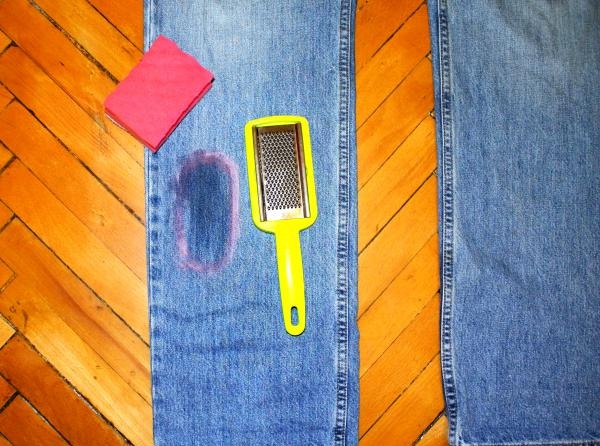
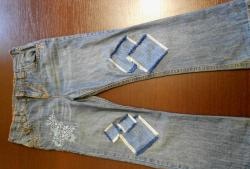
7. Holes can be made in any other places, both front and back. For a square cutout, make two cuts with scissors and carefully separate the threads in this place.
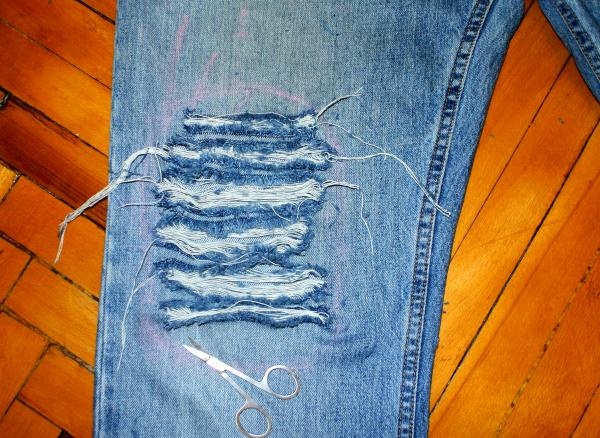
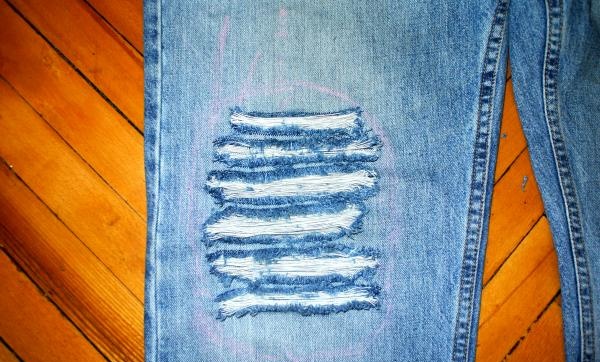
The number of abrasions depends on desire and patience. You can make very few neat holes, but you can, on the contrary, give the jeans a too careless look.
- jeans;
- nail scissors;
- tweezers;
- chalk;
- cutting board;
- sponge;
- knife;
- grater.

These items can be used to give old jeans a new lease of life. So let's get started:
1. Use chalk to mark the locations of future holes.

2. Then insert a kitchen board (or any other hard object) into the jeans and cut strips with a knife (or scissors) at any distance from each other. The board must be placed so as not to cut through the bottom of the jeans. The cut areas can be moistened with a damp sponge (this will make cutting easier).

3. Now, using tweezers, separate the transverse threads in each of the resulting strips. This work is painstaking and takes a lot of time.

4. This is how future holes are formed. As a result of detaching the threads, a lot of fringe is formed; it must be cut off periodically. At the end you need to leave a little fringe.
5.After all the threads are separated, some of them will not hang very aesthetically. Use scissors to carefully cut off all excess threads.


6. You can then create scuff marks using a grater. Use your hands to crumple the area of future abrasions and rub it with a grater. For this process, it is better to take a grater with straight and large holes. The result is chaotic abrasions.

7. Holes can be made in any other places, both front and back. For a square cutout, make two cuts with scissors and carefully separate the threads in this place.


The number of abrasions depends on desire and patience. You can make very few neat holes, but you can, on the contrary, give the jeans a too careless look.
Similar master classes
Particularly interesting
Comments (1)


