How to Make an Adjustable Trowel for Curved Places
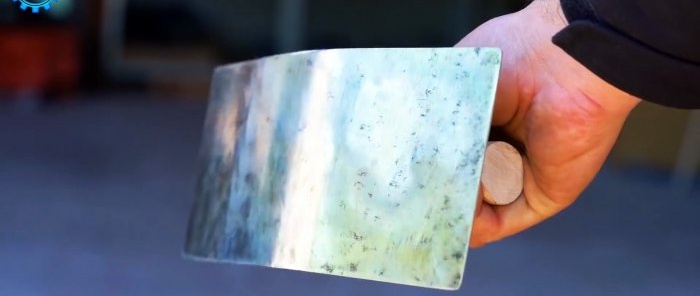
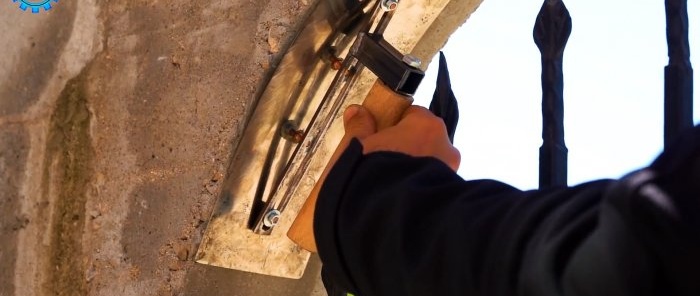
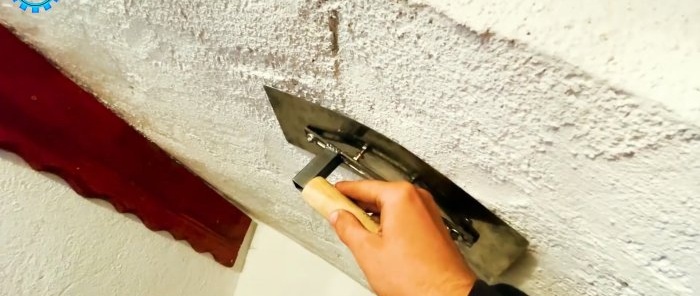
In modern interior decoration, arched and even more complex elements are increasingly used, which are difficult to plaster with conventional tools. But if you have an old trowel with a comb lying around, then you can use it to make a kind of trowel, which will be equally convenient for finishing both convex and concave surfaces.
Will need
To work you will need:- Old trowel with teeth;
- steel square pipe;
- steel strip;
- bolt, nuts and washers;
- round wooden rod.
The process of making a custom trowel
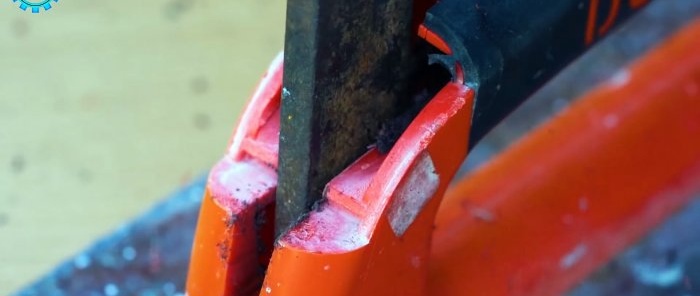
Use a grinder to cut the plastic handle of an unusable trowel lengthwise. We push a steel strip into the cut, shaking it, as a result the handle shatters into pieces.
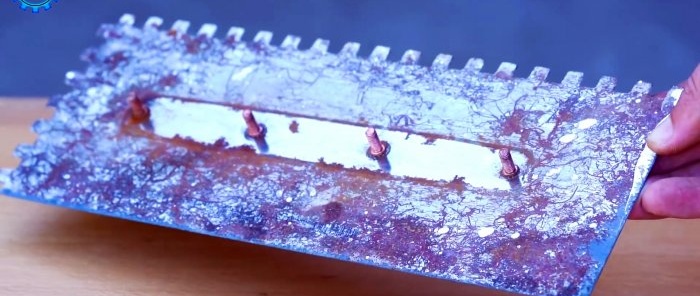
We twist the thickened but damaged fragments of the handle from the threaded rods welded to the working element.
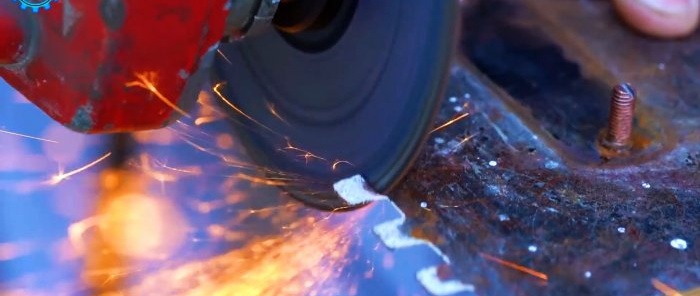
We cut off square teeth on both sides of the steel plate and clean it until it shines, especially the working surface and round the corners.
In accordance with the distance between the outer threaded rods, we mark the steel strip and cut off the excess with a grinder.
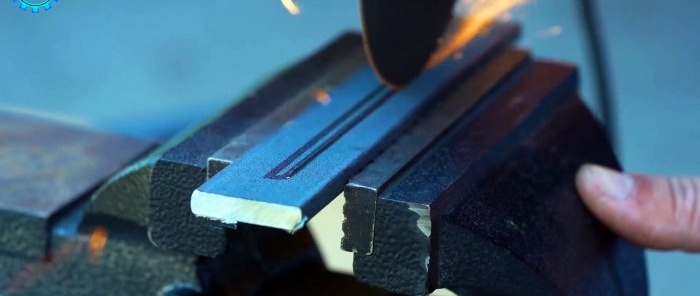
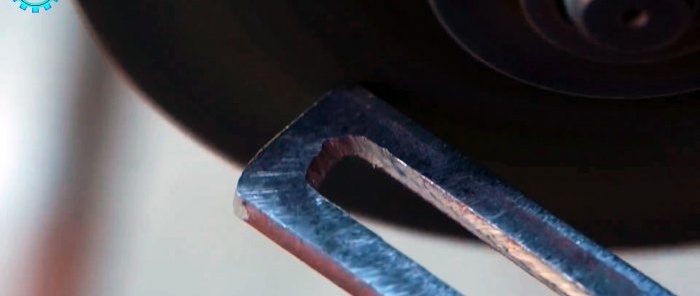
We fix the measured section of the plate in a vice, mark the outline of a longitudinal closed groove in the center and cut it out using a grinder.
We use it to polish all the surfaces of the resulting part and round the corners.
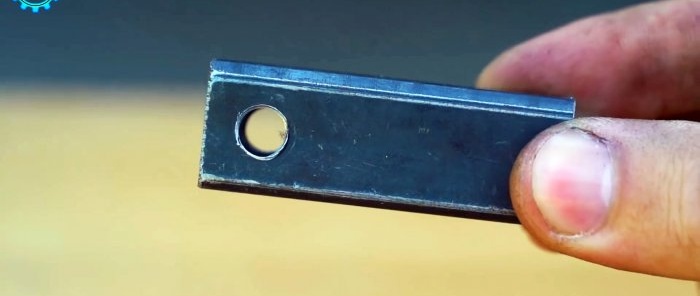
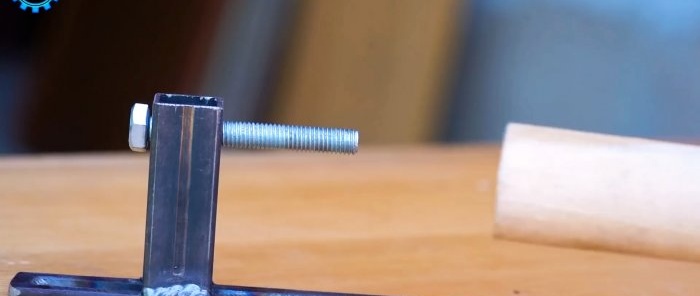
We measure a section from the square pipe and mark it closer to one edge with a countersink and drill a hole in two opposite edges of the rolled profile. Apply lubricant to the outline of the hole and use a tap to make a thread in it.
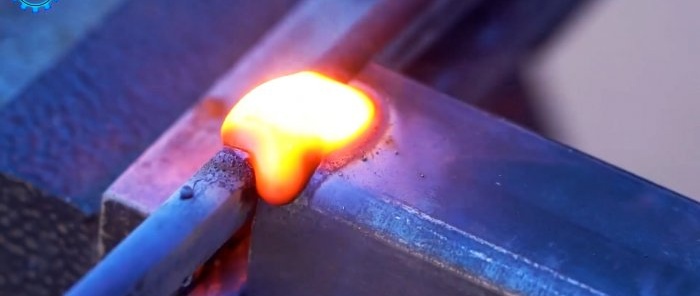
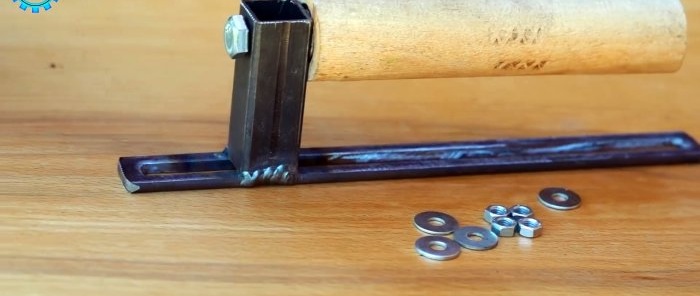
We weld the tube with the end farthest from the hole to the plane of the plate closer to one end.
We screw a bolt into the threaded hole from the outside, which should come out on the other side with a large margin.
In proportion to the length of the bolt, we cut off the required section from the wooden rod and drill a blind hole in the center longitudinally from one end, slightly longer than the bolt rod. Using the same tap, we cut a thread in the wooden element and tighten it onto the bolt with interference.
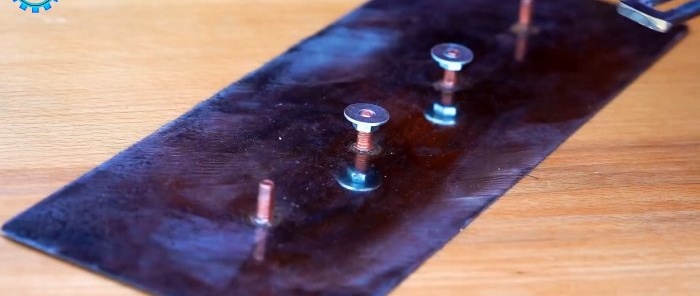
We screw nuts onto the two bolts in the middle and cover them with washers.
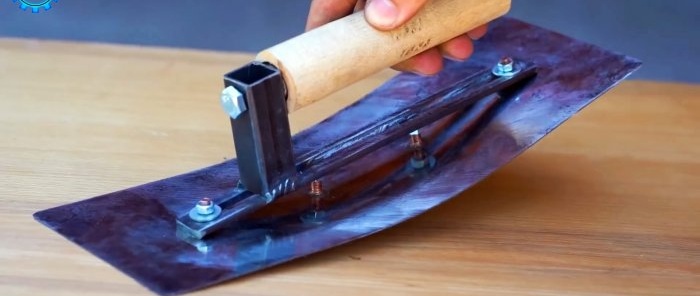
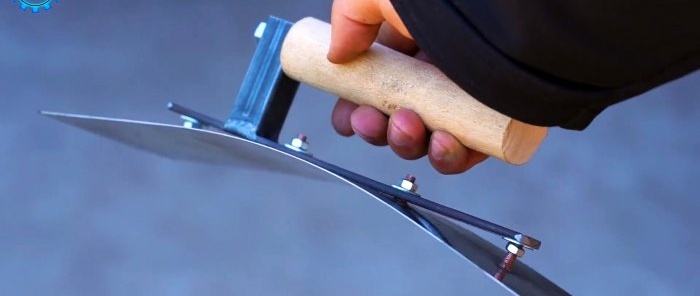
We insert the bolt closest to the handle post into the slot of the steel strip and, putting on the washer, screw on the nut.
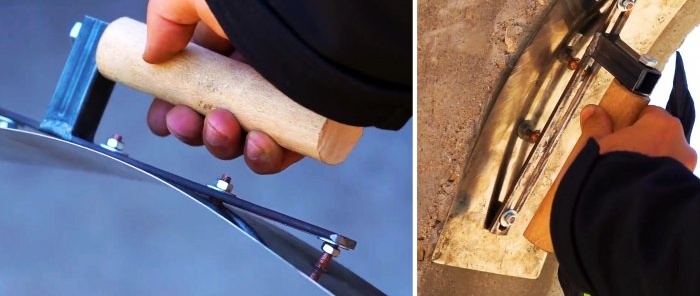
Then we press on the handle, while the working plate bends outward, and the second outermost bolt fits into the slot of the plate, onto which we also screw the nut after the washer. We received a convex working surface of the trowel.
We unscrew all the nuts from the bolts and remove the handle. Now we screw the nuts onto the two rods along the edges and cover them with washers.
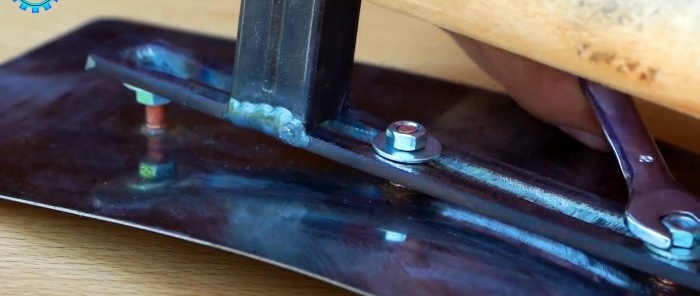
We install a bar with slots on them and bend the working surface in the center so that the two central rods fit into the groove. We put washers on their ends and screw on nuts.
We tighten them with a wrench and get a concave working surface of the trowel.As a result, two different architectural elements can be plastered with one tool.
Watch the video
Similar master classes


Particularly interesting


