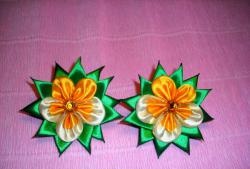
hair clip "Monica"
Every day, girls carefully choose their outfits, complementing them with various accessories. One of them is hairpins, because one small detail can ruin the entire appearance. Each piece of jewelry should be unique and special. This is exactly what the “Monica” clamp is.
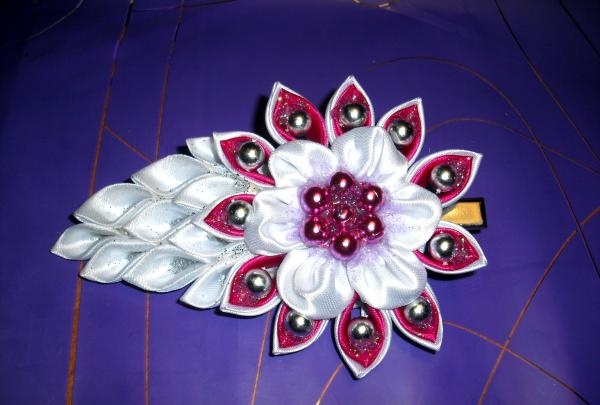
To make it you need:
- glue gun.
- satin ribbons in raspberry and white colors.
- silver and pink sparkles.
- beads of raspberry and silver shades.
- sewing thread and needle.
- scissors.
- hair clip 7 cm long.
- lighter.
Making a hair clip.
For this decoration, you need ribbons 5 cm wide. From them you should prepare identical parts in the form of squares with side lengths of 5 cm. From them you need to fold individual triangles.
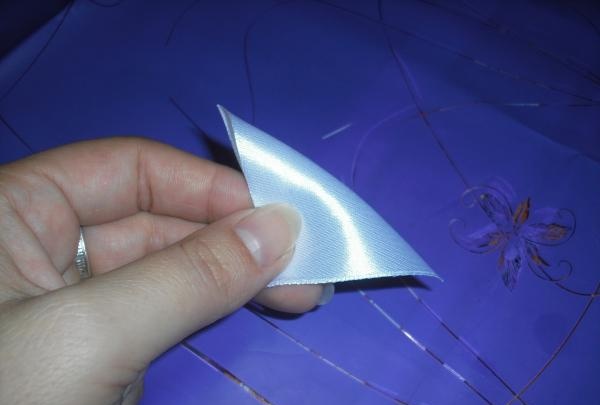
Then fold the parts in half, reducing the size of the triangles.
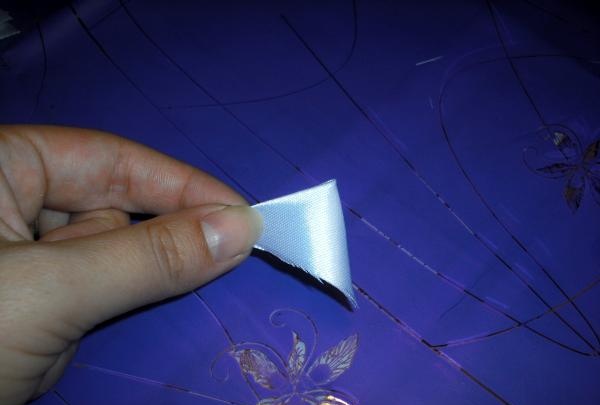
For further actions you will need parts in white and raspberry shades.
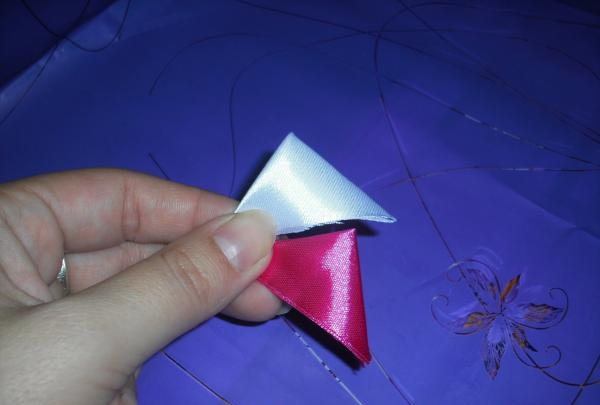
Blanks of white and crimson ribbon need to be folded together. This should be done by placing them one on top of the other, matching the edges. The crimson triangle should be located at the top, covering the white blank.
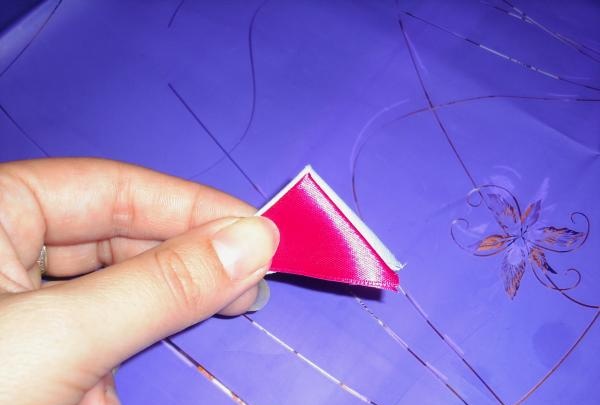
Holding both parts together, the triangles need to be folded in half, covering the inside with a crimson ribbon.
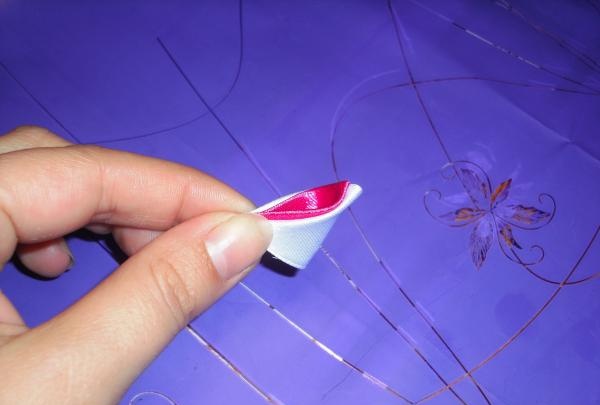
The thin corners of the created part should be carefully cut off, and the resulting edge should be singed to solder all layers.
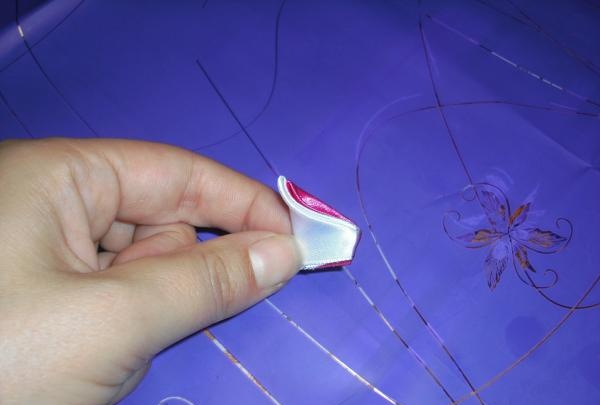
All that remains is to equalize the depth of the parts by cutting off the excess and treating the edges of the two-color workpiece with fire.
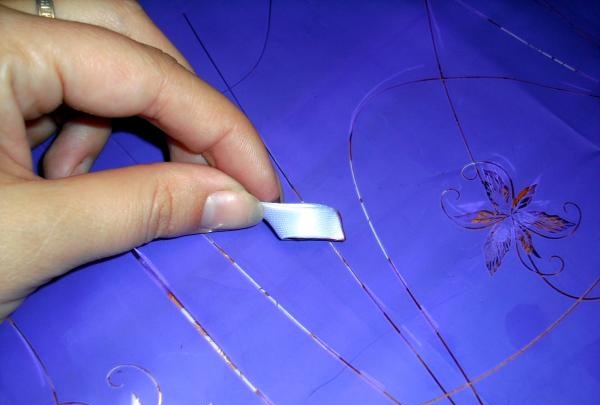
All that remains is to expand the created petal.
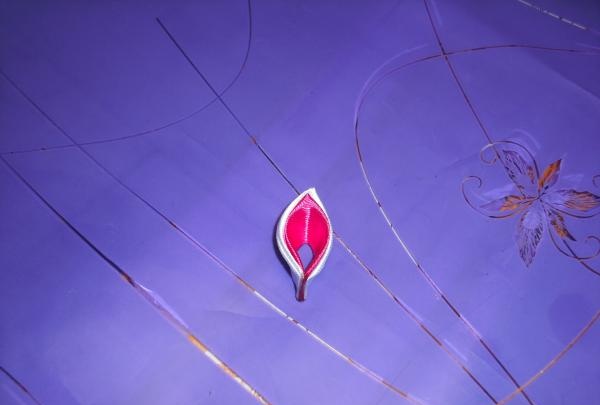
The main flower of this clip will require 11 of these petals. They must be created by completely repeating the sequence of making a two-color petal.
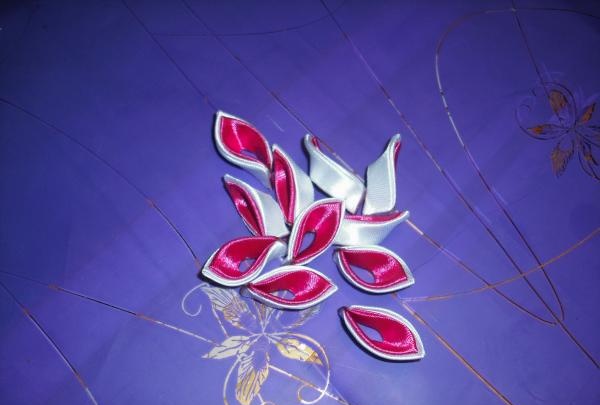
Now we need a center for the flower. It is created from round petals. From the white squares you again need to fold triangles.
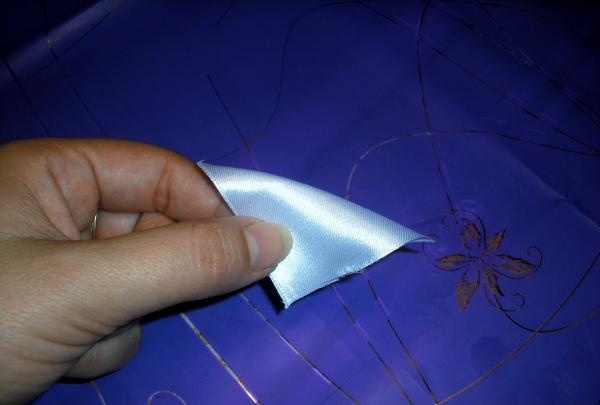
Then, using a sewing needle and thread, you need to sew the sections of the prepared triangle together. The stitching should be placed 3 mm from the edge, and the stitches should be no more than 4 mm.
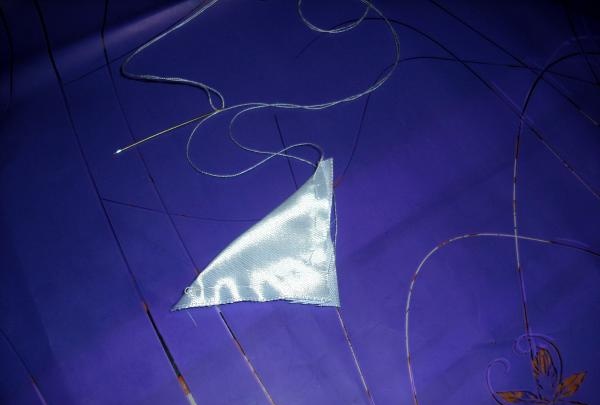
The thread of the seam must be pulled tightly at one point, collecting the fabric in small folds. After making several reinforcing stitches, the thread should be cut off.
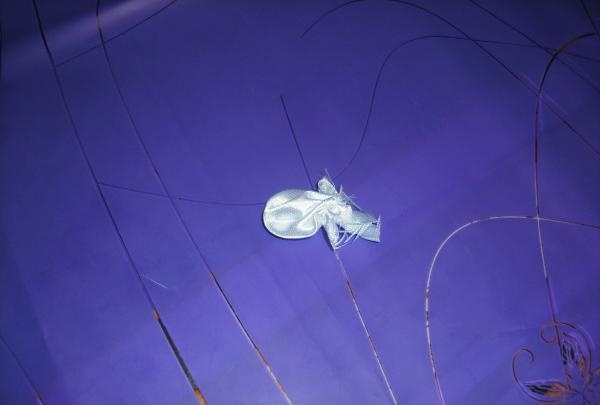
The petal cuts turn out crooked, so they need to be leveled and carefully scorched with fire.
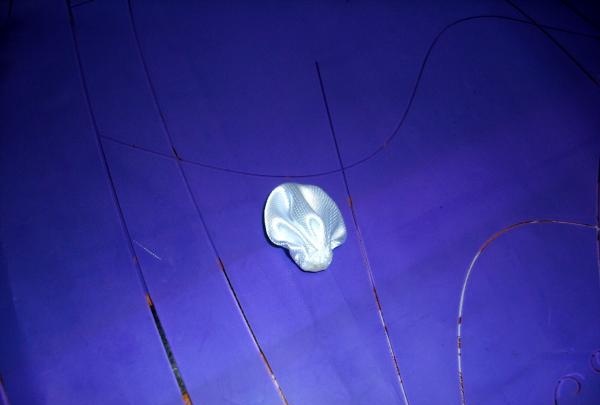
To make the center of the flower, you need to prepare 6 such rounded petals.
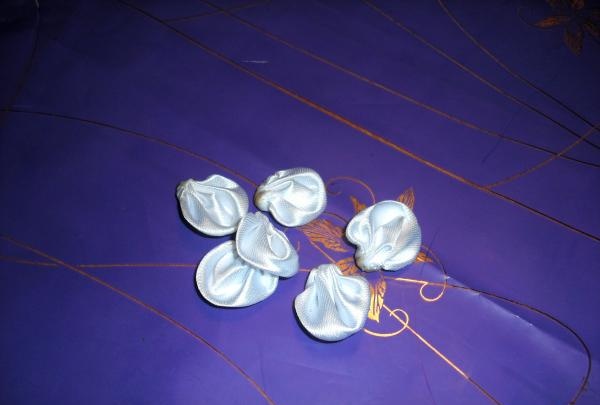
Now, using a glue gun, the rounded parts need to be connected together, placing their bases in a circle.
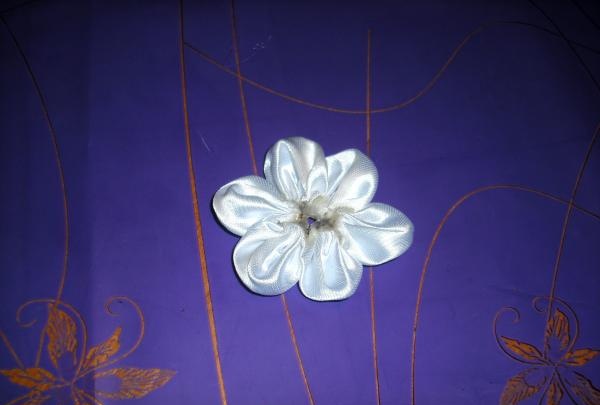
Now you can collect the flower, but this will require a base. It needs to be cut from white tape in the shape of a circle with a diameter of 4.3 cm.
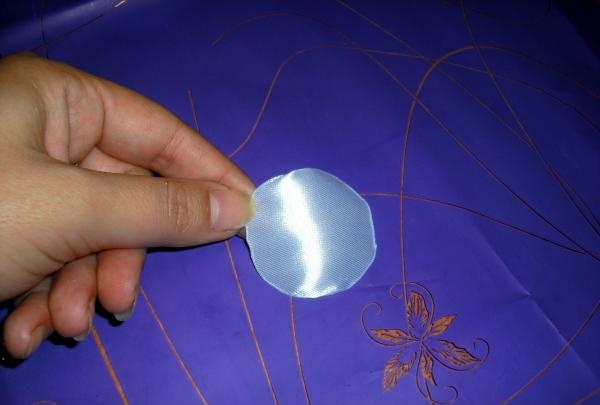
All two-color petals must be glued along the edge of the prepared base.
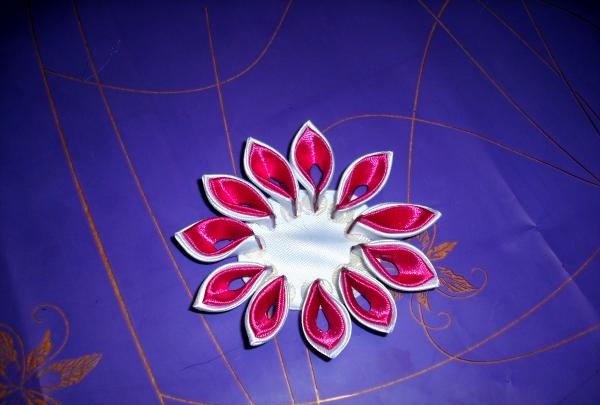
Then the central part needs to be covered with a created center of rounded petals.
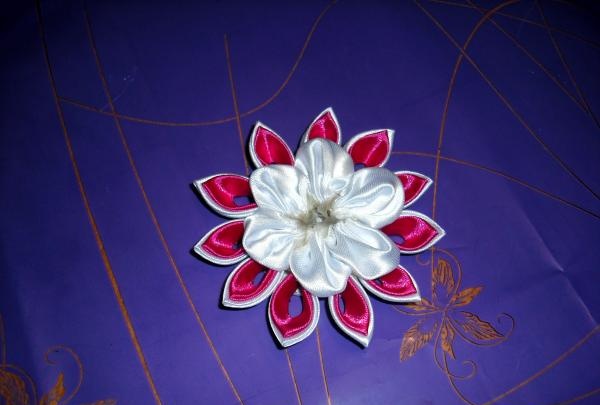
The flower is almost ready, all that remains is to create a branch for it.It is made from separate parts with a pointed upper part, just like the main flower, but without adding crimson parts.
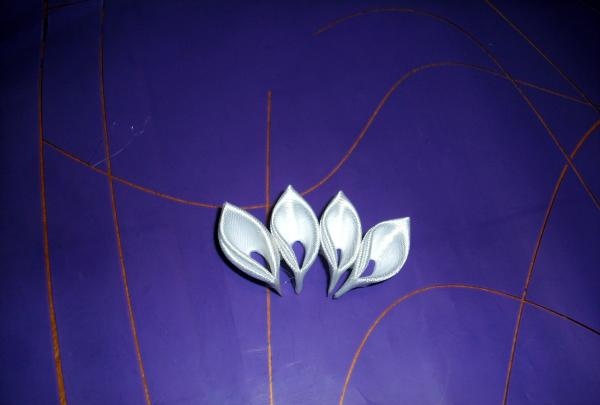
Four of these parts need to be glued in a row, creating the first row of a branch for the flower.
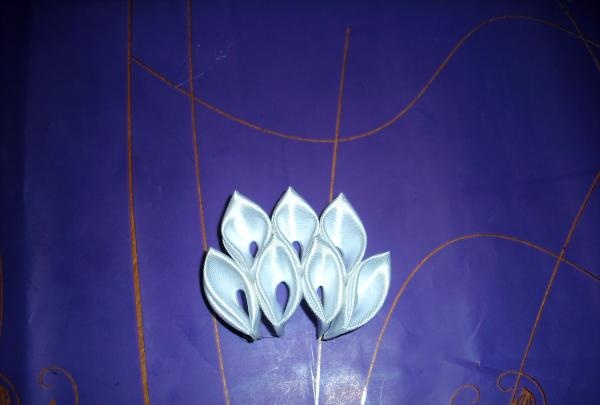
In the next row you need to glue three blanks, attaching them between the parts of the first tier.
In the third row you need to glue two petals.
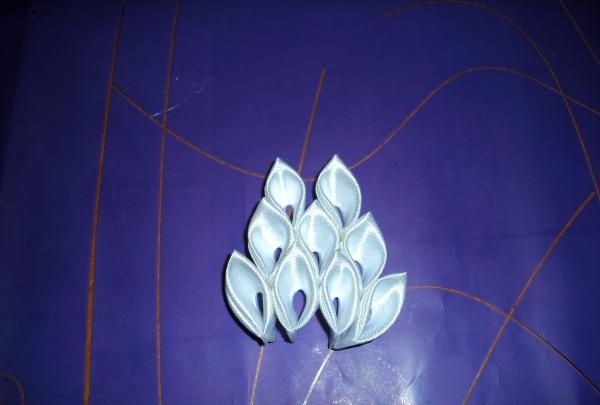
In the latter, one part remains to be secured, completing the branch.
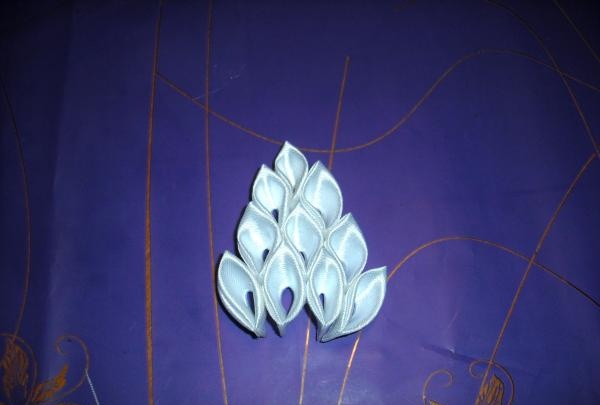
The finished twig must be secured between the petals of the flower.
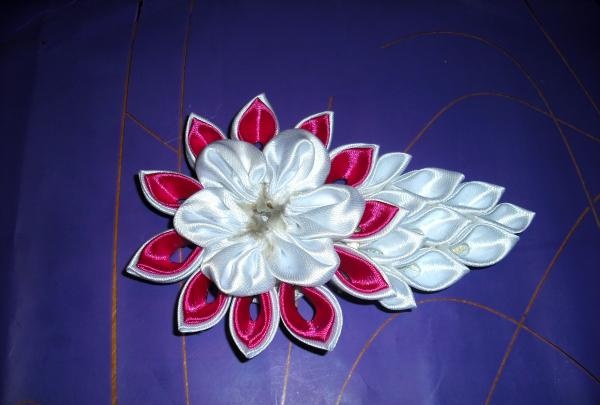
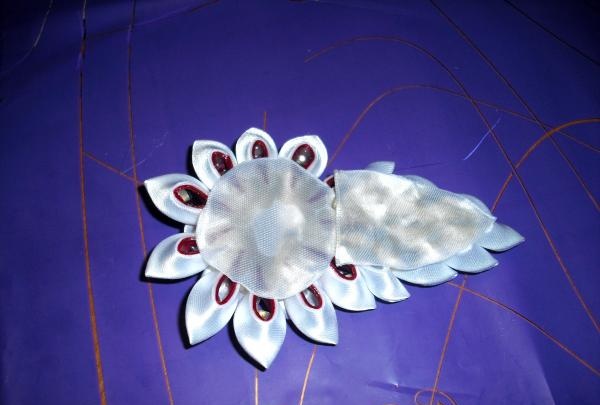
From the bottom of the flower you should glue two pieces of white tape, which will completely cover the places where the petals are attached.
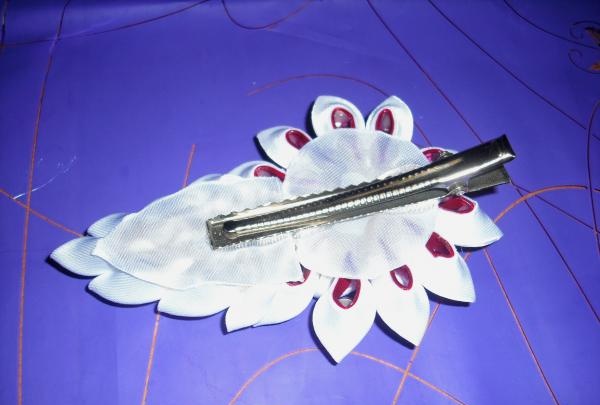
All that remains is to attach a steel clip to the center of the flower and its branch.
The decoration now needs to be supplemented with beads in silver and crimson shades, and the places where the petals meet are treated with sparkles.

The “Monica” clamp is ready!

To make it you need:
- glue gun.
- satin ribbons in raspberry and white colors.
- silver and pink sparkles.
- beads of raspberry and silver shades.
- sewing thread and needle.
- scissors.
- hair clip 7 cm long.
- lighter.
Making a hair clip.
For this decoration, you need ribbons 5 cm wide. From them you should prepare identical parts in the form of squares with side lengths of 5 cm. From them you need to fold individual triangles.

Then fold the parts in half, reducing the size of the triangles.

For further actions you will need parts in white and raspberry shades.

Blanks of white and crimson ribbon need to be folded together. This should be done by placing them one on top of the other, matching the edges. The crimson triangle should be located at the top, covering the white blank.

Holding both parts together, the triangles need to be folded in half, covering the inside with a crimson ribbon.

The thin corners of the created part should be carefully cut off, and the resulting edge should be singed to solder all layers.

All that remains is to equalize the depth of the parts by cutting off the excess and treating the edges of the two-color workpiece with fire.

All that remains is to expand the created petal.

The main flower of this clip will require 11 of these petals. They must be created by completely repeating the sequence of making a two-color petal.

Now we need a center for the flower. It is created from round petals. From the white squares you again need to fold triangles.

Then, using a sewing needle and thread, you need to sew the sections of the prepared triangle together. The stitching should be placed 3 mm from the edge, and the stitches should be no more than 4 mm.

The thread of the seam must be pulled tightly at one point, collecting the fabric in small folds. After making several reinforcing stitches, the thread should be cut off.

The petal cuts turn out crooked, so they need to be leveled and carefully scorched with fire.

To make the center of the flower, you need to prepare 6 such rounded petals.

Now, using a glue gun, the rounded parts need to be connected together, placing their bases in a circle.

Now you can collect the flower, but this will require a base. It needs to be cut from white tape in the shape of a circle with a diameter of 4.3 cm.

All two-color petals must be glued along the edge of the prepared base.

Then the central part needs to be covered with a created center of rounded petals.

The flower is almost ready, all that remains is to create a branch for it.It is made from separate parts with a pointed upper part, just like the main flower, but without adding crimson parts.
Four of these parts need to be glued in a row, creating the first row of a branch for the flower.

In the next row you need to glue three blanks, attaching them between the parts of the first tier.

In the third row you need to glue two petals.

In the latter, one part remains to be secured, completing the branch.

The finished twig must be secured between the petals of the flower.

From the bottom of the flower you should glue two pieces of white tape, which will completely cover the places where the petals are attached.

All that remains is to attach a steel clip to the center of the flower and its branch.

The decoration now needs to be supplemented with beads in silver and crimson shades, and the places where the petals meet are treated with sparkles.

The “Monica” clamp is ready!
Similar master classes
Particularly interesting
Comments (1)


