Master class New Year's "Christmas tree"
Today we will play the role of wizards and turn the most ordinary pine cone into a Christmas tree. For work we will need:
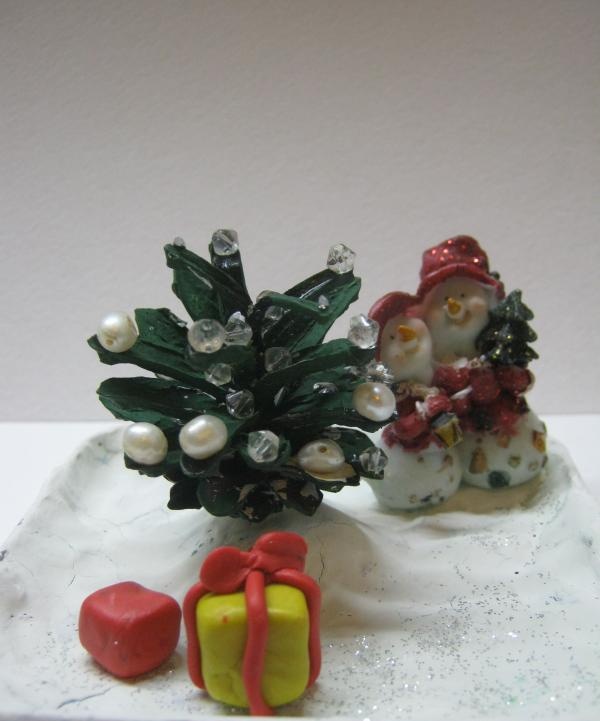
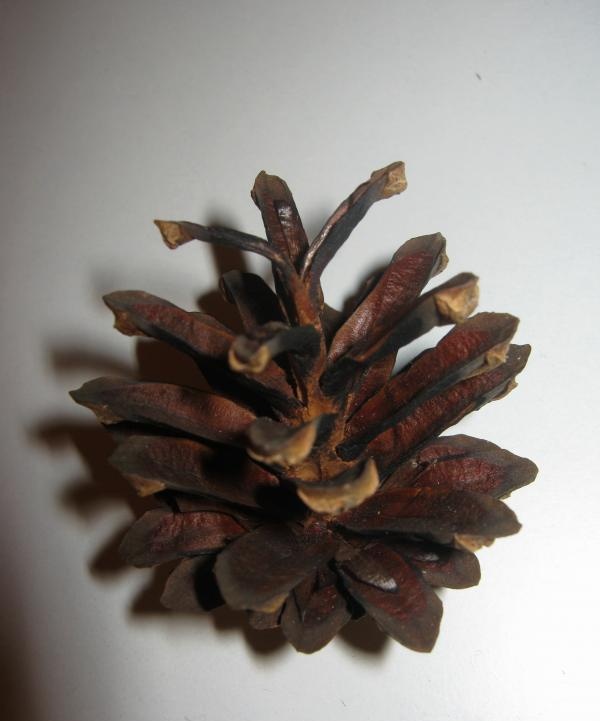
1. Paint the cone thickly with white paint and wait until it dries completely.
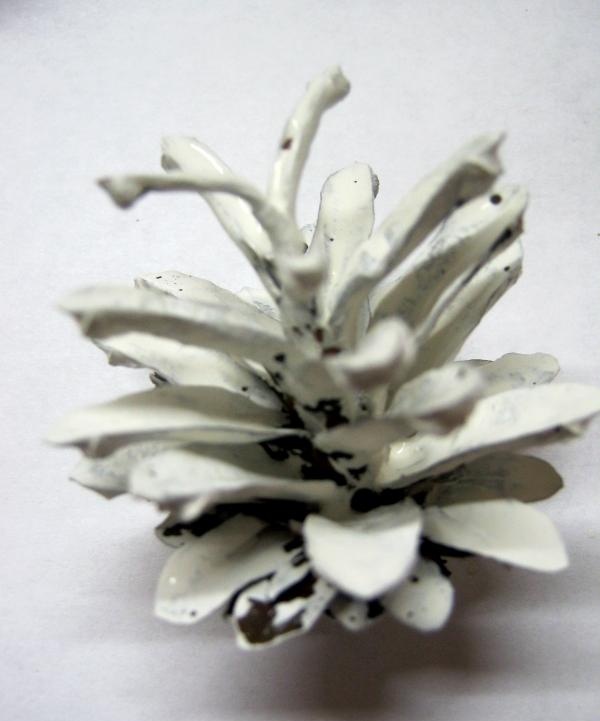
2. Apply green gouache over the white paint.
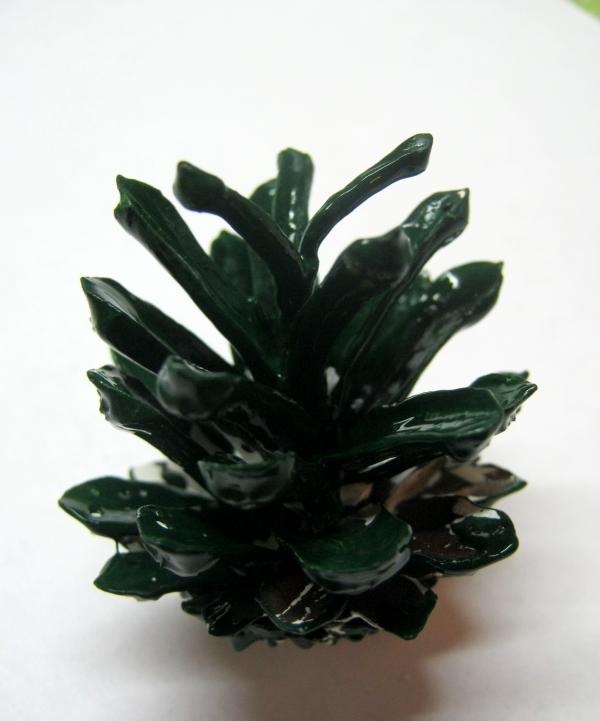
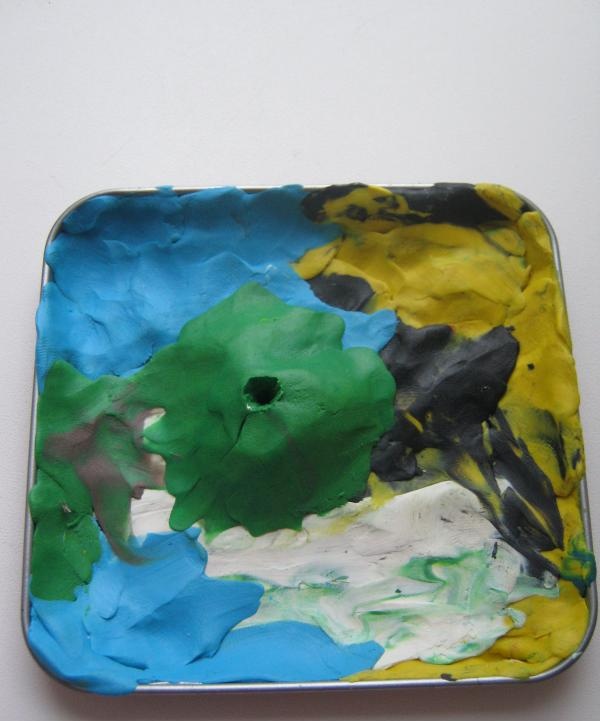
3. Cover the bottom of the Montpensier lid tightly with plasticine. Use a match to make a hole for the pine cone.
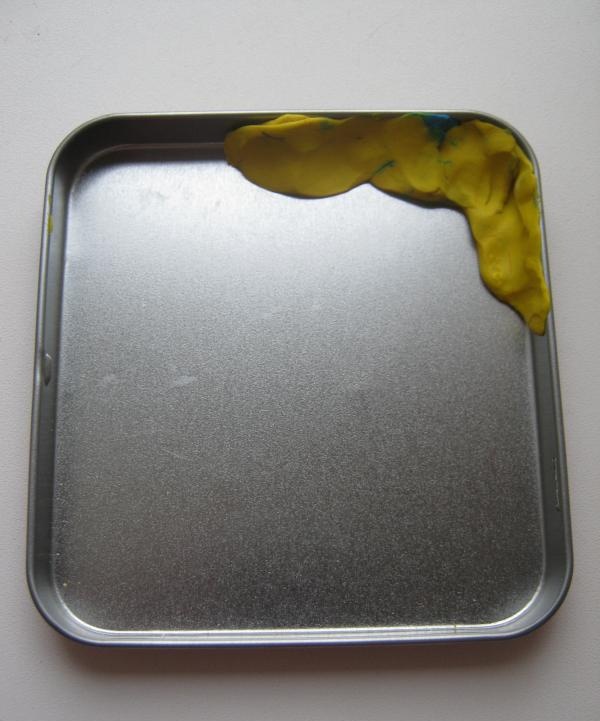
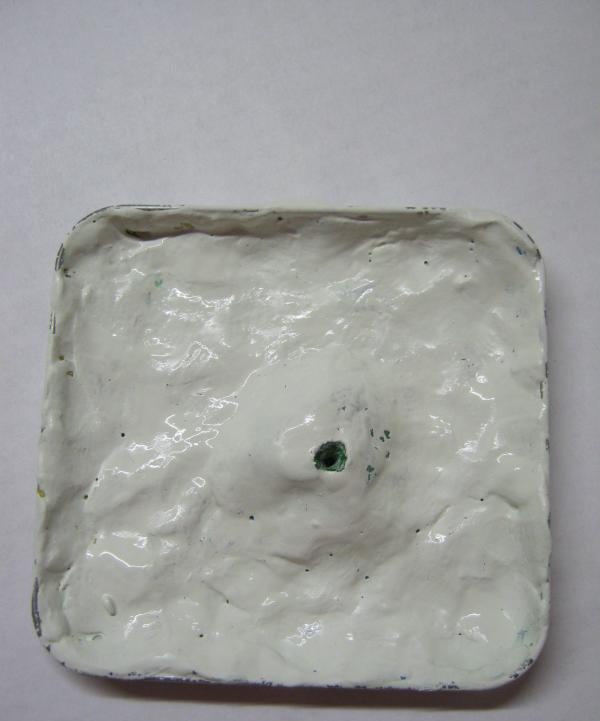
4. Paint the bottom with white gouache, having previously sprinkled it with flour.
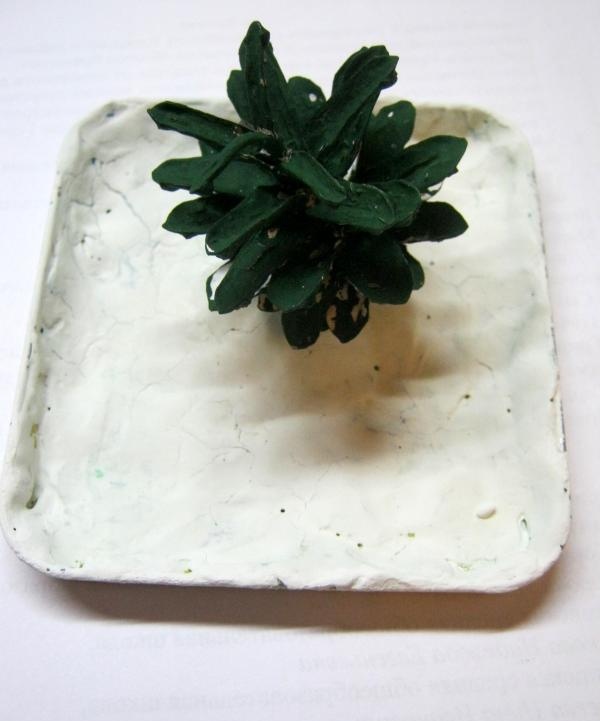
5. Glue the pine cone to the stand.
6. We sculpt miniatures from plasticine present - decorations.
7. Decorate the cone with beads, placing them on Moment glue.
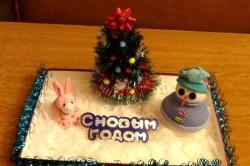
8. Glue the “Snowmen” souvenir and plasticine gifts.
9. Decorate the toy with glitter and sparkles.

Our “Christmas tree” is ready. If desired, the souvenir can be packed in transparent mica. Feel free to put it under the Christmas tree, Happy New Year!
- - cone;
- - cover from the monpensier;
- - gouache paints;
- - plasticine;
- - beads or seed beads;
- - glue moment;
- -glitter;
- - a figurine with a New Year's theme.

Making a Christmas tree from a pine cone
1. Paint the cone thickly with white paint and wait until it dries completely.

2. Apply green gouache over the white paint.

3. Cover the bottom of the Montpensier lid tightly with plasticine. Use a match to make a hole for the pine cone.

4. Paint the bottom with white gouache, having previously sprinkled it with flour.

5. Glue the pine cone to the stand.

6. We sculpt miniatures from plasticine present - decorations.

7. Decorate the cone with beads, placing them on Moment glue.

8. Glue the “Snowmen” souvenir and plasticine gifts.
9. Decorate the toy with glitter and sparkles.

Our “Christmas tree” is ready. If desired, the souvenir can be packed in transparent mica. Feel free to put it under the Christmas tree, Happy New Year!
Similar master classes
Particularly interesting
Comments (0)

