Christmas tree toys made of plaster
Many designers love to use plaster in their work. And for good reason. After all, gypsum is a fairly cheap material, and there are countless options for its use.
Today we will make simple plaster castings with a New Year theme.
We will need:
• gypsum;
• elastic container with water;
• spoon;
• molds for casting.
First you need to prepare all the materials. The container for the solution and the molds for castings must be elastic so that the plaster can be easily removed from them. Ideally, use soft silicone or rubber containers. However, in this master class, a regular disposable cup and plastic soap molds are used.
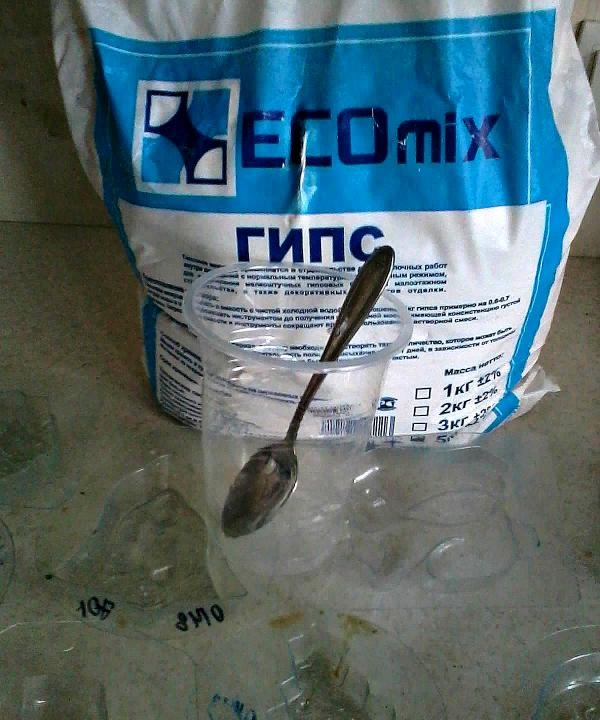
So let's get started:
Pour a little gypsum into a glass of water and stir well.
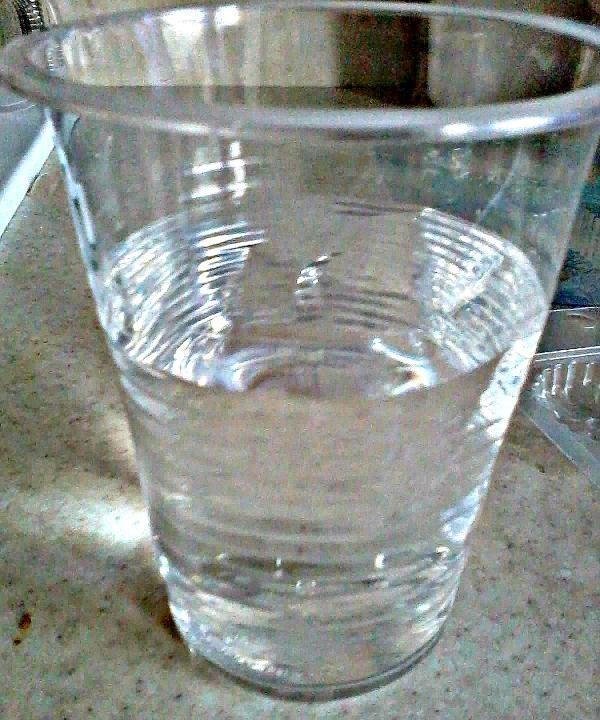
We achieve the consistency of liquid sour cream without lumps.
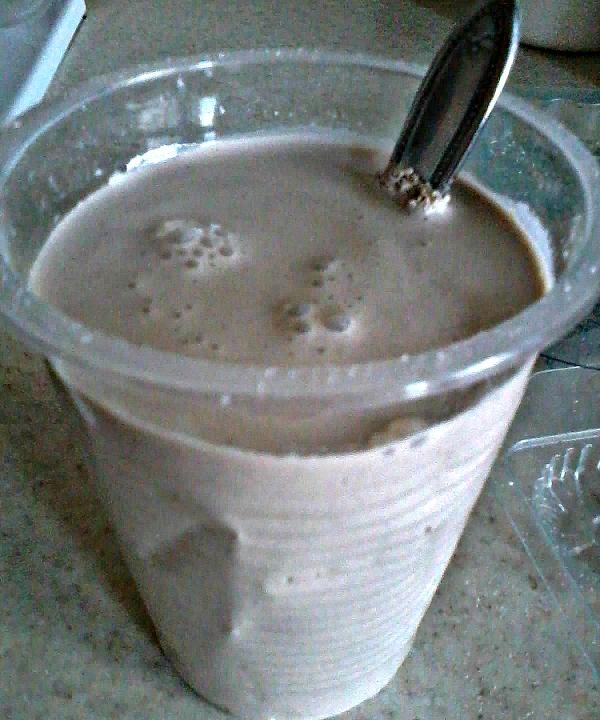
Some write that the consistency should be like thick sour cream, however, the thicker the solution, the faster it hardens. You simply may not have time to pour such a mass into the mold, or it will not fill all the small details.
If you decide to cast a figure that has a plain background and many small details, it would be rational to immediately paint the mixture in the color of the intended background, and paint the small details after the figure hardens.
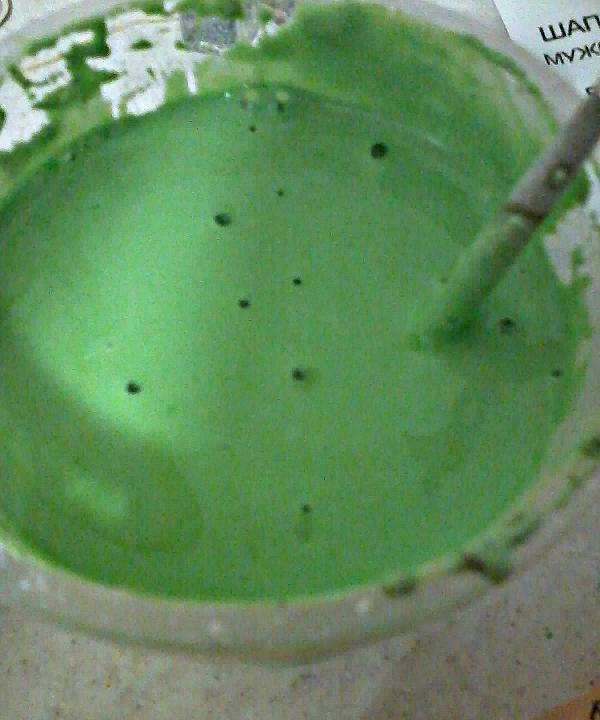
To do this, first color the water, then pour plaster into it. It is very convenient to use powder dyes for this, which, for example, were left over after Easter.
After diluting the solution, quickly pour it into molds and almost immediately, as soon as the plaster begins to set, but is still soft, using a toothpick or any sharp object, we make holes on those products that you plan to hang later.
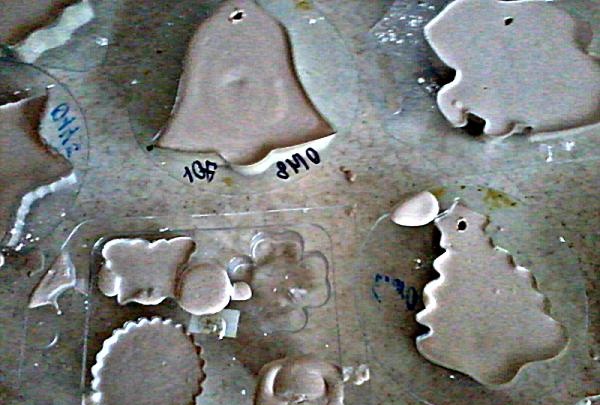
After complete hardening, making a hole will be much more difficult.
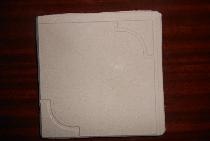
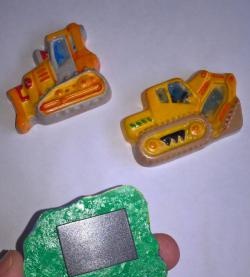
After about 30 minutes, if the product is small, we take out our castings and leave[1.jpg]until dry completely.
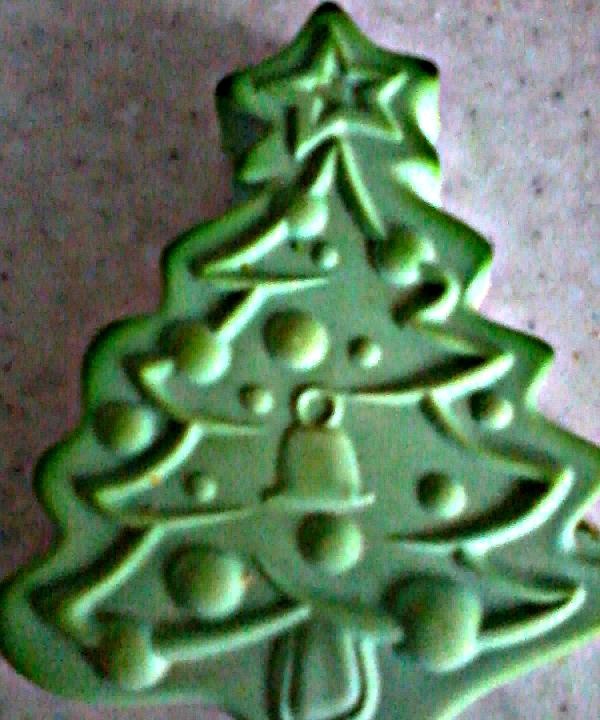
Hardening time depends on the size of the product and the room temperature.
After drying, paint the resulting figures and coat them with varnish. You can paint a plaster product with any available paint, however, it is more convenient to do this with acrylic dyes.
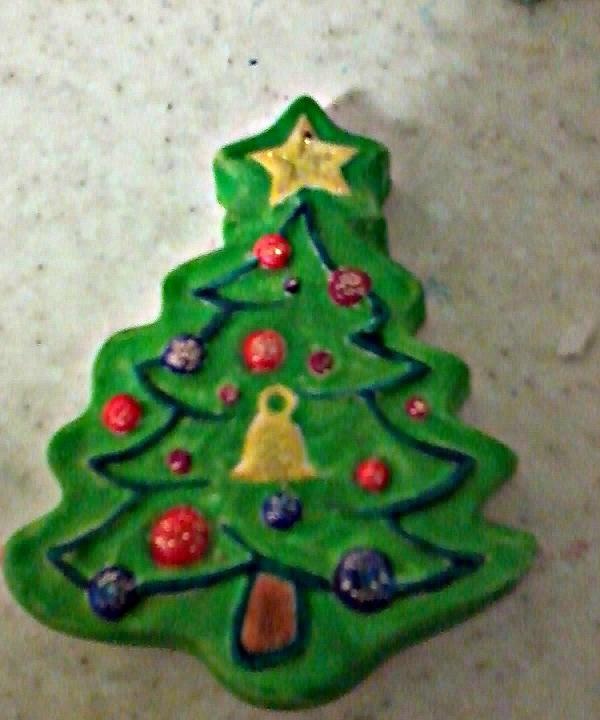
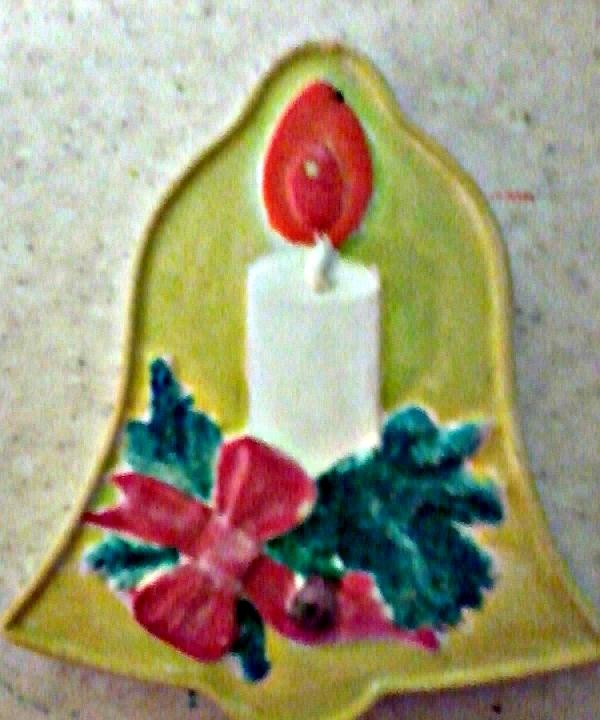
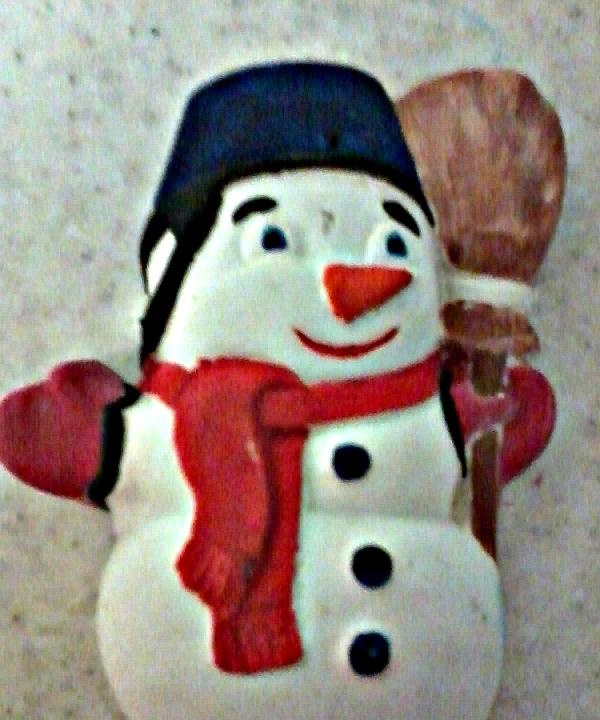
PS: It is better not to wash the glass for preparing the solution, but to leave it until the plaster on its walls hardens. After this, you can easily remove the remaining solution and throw it in the trash. That's why we use an elastic glass. If you wash the residue down the sink, it will clog!
Today we will make simple plaster castings with a New Year theme.
We will need:
• gypsum;
• elastic container with water;
• spoon;
• molds for casting.
First you need to prepare all the materials. The container for the solution and the molds for castings must be elastic so that the plaster can be easily removed from them. Ideally, use soft silicone or rubber containers. However, in this master class, a regular disposable cup and plastic soap molds are used.

So let's get started:
Pour a little gypsum into a glass of water and stir well.

We achieve the consistency of liquid sour cream without lumps.

Some write that the consistency should be like thick sour cream, however, the thicker the solution, the faster it hardens. You simply may not have time to pour such a mass into the mold, or it will not fill all the small details.
If you decide to cast a figure that has a plain background and many small details, it would be rational to immediately paint the mixture in the color of the intended background, and paint the small details after the figure hardens.

To do this, first color the water, then pour plaster into it. It is very convenient to use powder dyes for this, which, for example, were left over after Easter.
After diluting the solution, quickly pour it into molds and almost immediately, as soon as the plaster begins to set, but is still soft, using a toothpick or any sharp object, we make holes on those products that you plan to hang later.

After complete hardening, making a hole will be much more difficult.
After about 30 minutes, if the product is small, we take out our castings and leave[1.jpg]until dry completely.

Hardening time depends on the size of the product and the room temperature.
After drying, paint the resulting figures and coat them with varnish. You can paint a plaster product with any available paint, however, it is more convenient to do this with acrylic dyes.


PS: It is better not to wash the glass for preparing the solution, but to leave it until the plaster on its walls hardens. After this, you can easily remove the remaining solution and throw it in the trash. That's why we use an elastic glass. If you wash the residue down the sink, it will clog!
Similar master classes
Particularly interesting
Comments (1)

