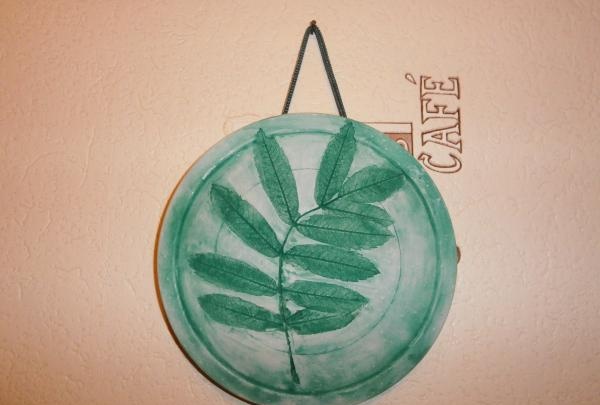
Plaster decoration with floral pattern
Spring weather, flowers and bright green young leaves create a great mood! But you can not only admire flowers and leaves. Using fresh leaves and blades of grass, you can make a new decoration for your home - a plaster picture with a plant pattern.
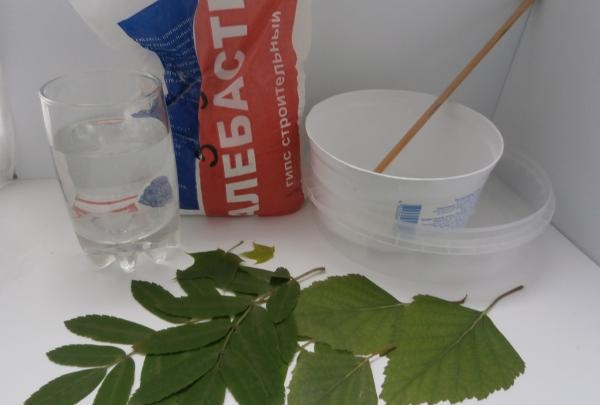
For work you will need: building plaster (alabaster), which can be found in any hardware store, a low round plastic container, another plastic container with high walls for diluting plaster (for example, from cottage cheese), a wooden stick (a long skewer or sushi stick), water, fresh leaves, string, green gouache paint, brush.
Operating procedure
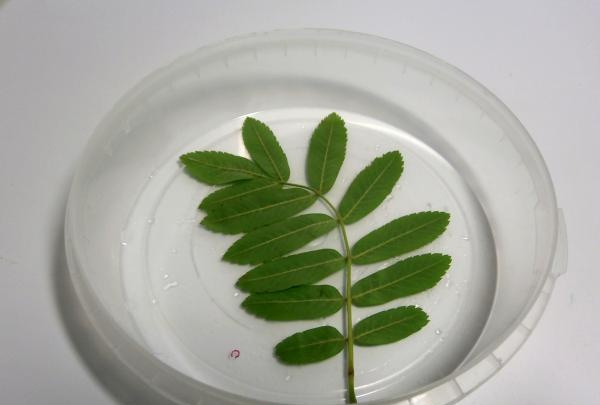
1. Place fresh leaves or blades of grass at the bottom of a short plastic container. You can lay it out in the center, in a circle or in a chaotic order - the way you like best.
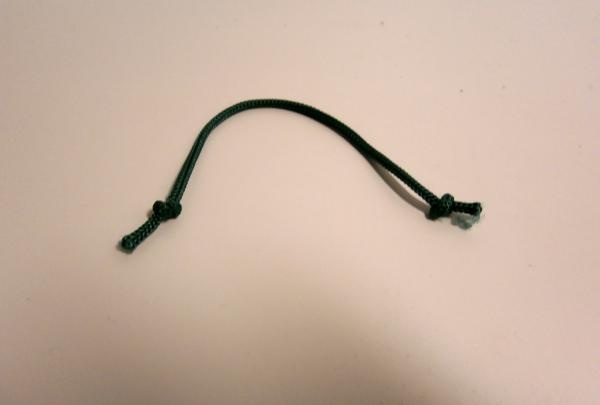
2. Prepare a lace approximately 15 cm long. Tie a knot at each end of the lace.
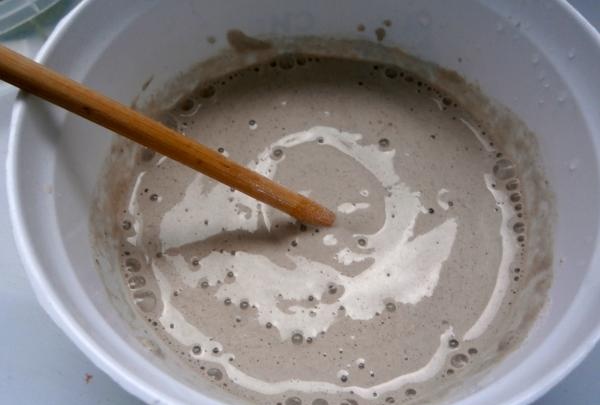
3. Pour plaster into a plastic container with high sides. You need to gradually add water to the plaster and gently stir with a wooden stick.As a result, you need a solution that can be poured into another container, but it should not be too liquid (its thickness should be approximately the same as that of sour cream). There should be enough mass so that it completely covers the bottom of the container in which the leaves are laid out.
4. After this, you need to quickly pour the solution into a plastic container with low sides (in which the leaves are laid out). The gypsum mass begins to thicken very quickly. Immediately place the prepared lace on top. You need to place it so that the knots are dipped into the plaster, and the lace itself remains free. The result will be a loop, by which you can then hang our picture on the wall.
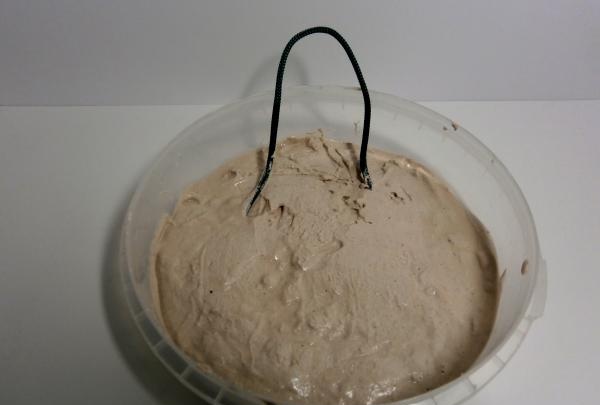
6. Wait until the plaster hardens completely. You need to wait at least half an hour. When the plaster hardens, you need to remove the picture from the plastic container. To do this, slightly bend the walls with your fingers, pull the cord, and the picture will easily come out of the plastic container.
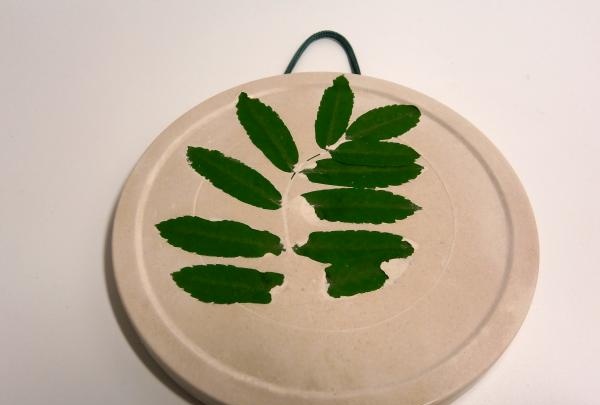
7. Now you need to carefully remove the leaves and blades of grass from the picture. Under the leaves you will see clear imprints of the outlines and veins of the leaves.
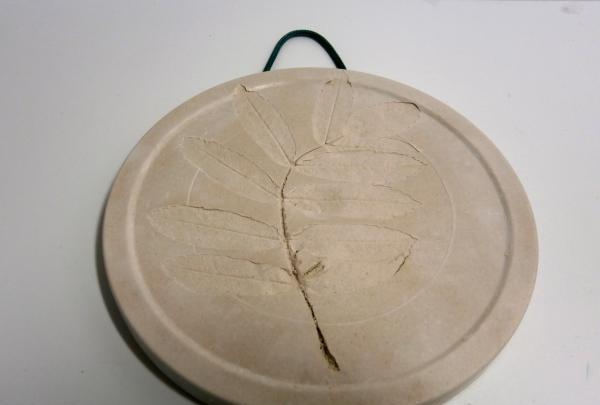
8. You can leave the picture white, but it’s better to color it - take green gouache paint and paint the plaster picture with a brush. Wait until the paint is completely dry.
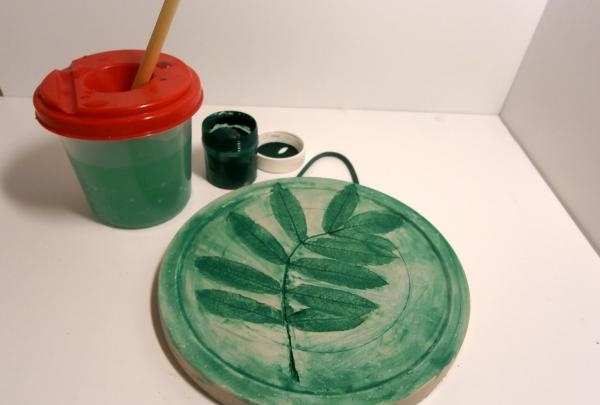
The decoration with a floral pattern is ready!
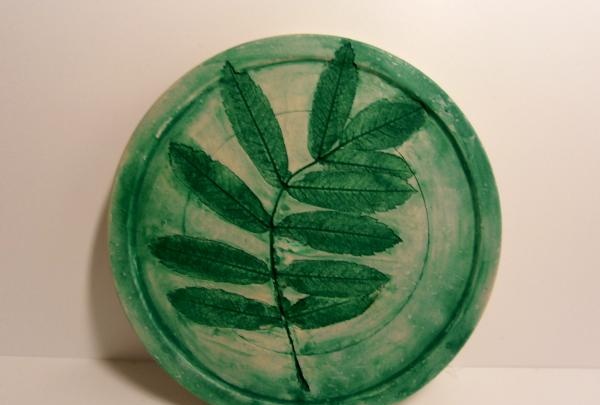
All that remains is to find a suitable place in the apartment, drive a small nail into the wall and hang the decoration on it.
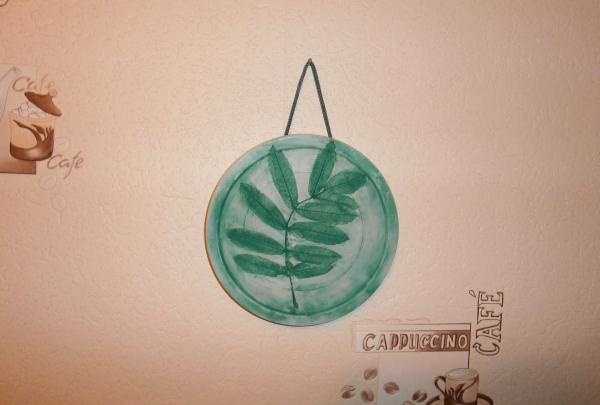
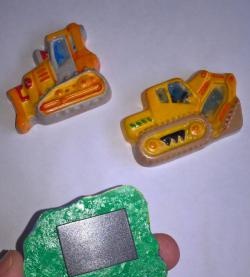
Using the same principle, you can make a refrigerator magnet - take a small container of a round, oval or square shape (for example, from a yogurt container), and instead of a cord, press in the magnet while the plaster is still wet.The design can be made not only from leaves, but also from shells, buttons, small sea pebbles and any other convex objects.

For work you will need: building plaster (alabaster), which can be found in any hardware store, a low round plastic container, another plastic container with high walls for diluting plaster (for example, from cottage cheese), a wooden stick (a long skewer or sushi stick), water, fresh leaves, string, green gouache paint, brush.

Operating procedure
1. Place fresh leaves or blades of grass at the bottom of a short plastic container. You can lay it out in the center, in a circle or in a chaotic order - the way you like best.

2. Prepare a lace approximately 15 cm long. Tie a knot at each end of the lace.

3. Pour plaster into a plastic container with high sides. You need to gradually add water to the plaster and gently stir with a wooden stick.As a result, you need a solution that can be poured into another container, but it should not be too liquid (its thickness should be approximately the same as that of sour cream). There should be enough mass so that it completely covers the bottom of the container in which the leaves are laid out.

4. After this, you need to quickly pour the solution into a plastic container with low sides (in which the leaves are laid out). The gypsum mass begins to thicken very quickly. Immediately place the prepared lace on top. You need to place it so that the knots are dipped into the plaster, and the lace itself remains free. The result will be a loop, by which you can then hang our picture on the wall.

6. Wait until the plaster hardens completely. You need to wait at least half an hour. When the plaster hardens, you need to remove the picture from the plastic container. To do this, slightly bend the walls with your fingers, pull the cord, and the picture will easily come out of the plastic container.

7. Now you need to carefully remove the leaves and blades of grass from the picture. Under the leaves you will see clear imprints of the outlines and veins of the leaves.

8. You can leave the picture white, but it’s better to color it - take green gouache paint and paint the plaster picture with a brush. Wait until the paint is completely dry.

The decoration with a floral pattern is ready!

All that remains is to find a suitable place in the apartment, drive a small nail into the wall and hang the decoration on it.

Using the same principle, you can make a refrigerator magnet - take a small container of a round, oval or square shape (for example, from a yogurt container), and instead of a cord, press in the magnet while the plaster is still wet.The design can be made not only from leaves, but also from shells, buttons, small sea pebbles and any other convex objects.
Similar master classes
Particularly interesting
Comments (0)

