How to make a pink teddy bear?
What a pleasure it is to make toys with your own hands! Moreover, this business does not require any special skills or abilities. You just need to have patience, a little free time, imagination and the desire to make something beautiful.
Consider a master class on making a pink fleece bear.
Let's first decide on the following.
Size of the finished teddy bear: about 20 cm.
Work readiness level: elementary.
Toy making time: 2-3 hours.
To work you need to prepare:
Step one. Pattern.
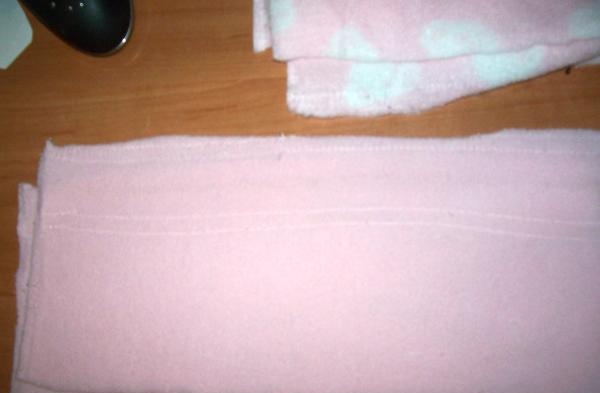
First, let's prepare the material and iron it.
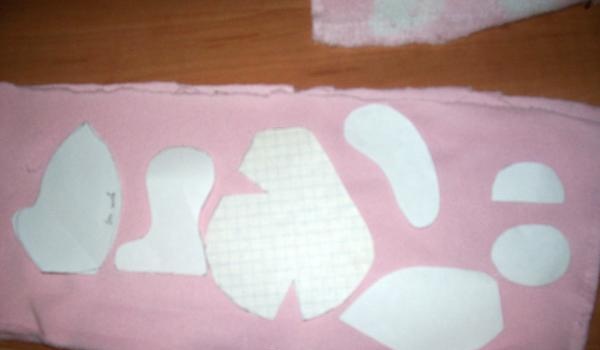
Then we cut out a pattern from paper. It is shown in the figure.
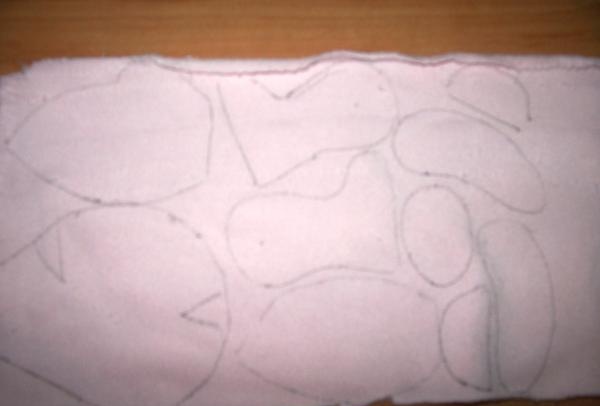
Trace the pattern onto the fabric using a black felt-tip pen.
Then we cut out all the parts and start sewing them together.
Step two. Head.
The head is made of 4 parts. First we sew together the details of the face, and then the details of the back of the head. It turns out the following.
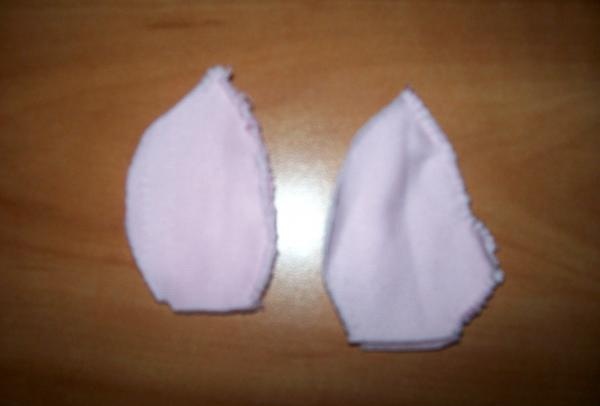
When this work is ready, turn the front parts of the muzzle right side out.And then we proceed to sewing the ears.
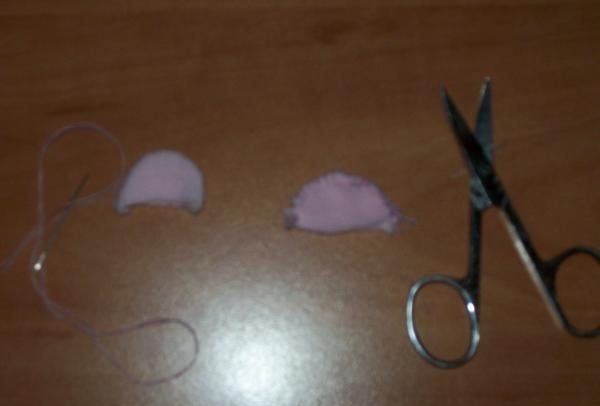
When the ears are ready, sew them on the front side of the muzzle. This is the picture we get.
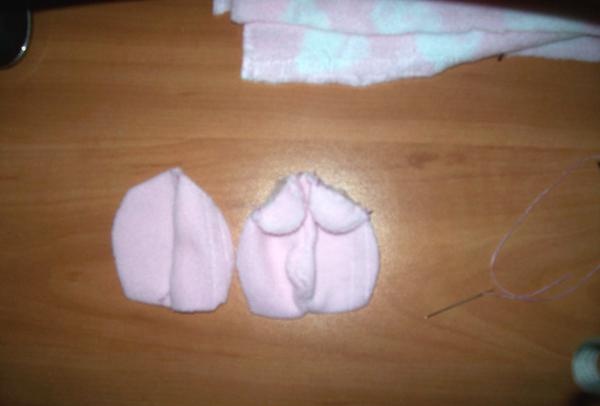
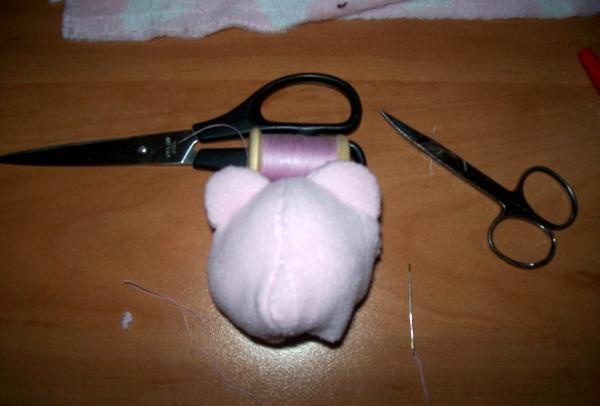
Next, we sew together the details of the face and the back of the head, and stuff the toy. We now have a finished head.
Step three. The body of a bear cub.
Before making the body, you need to stitch together two undercuts on each piece.
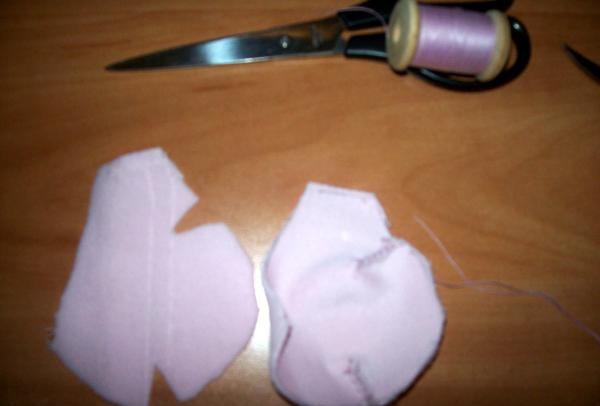
Then we stitch together the two body parts.
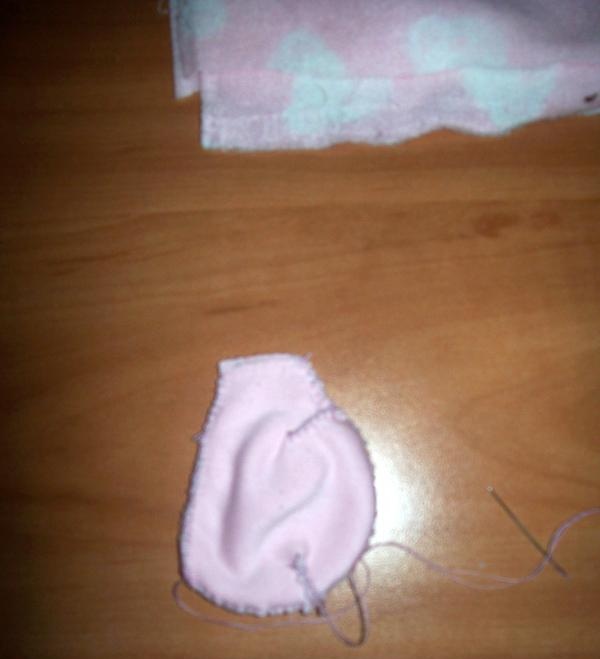
We stuff the bear's body with filler and sew the finished head on top.
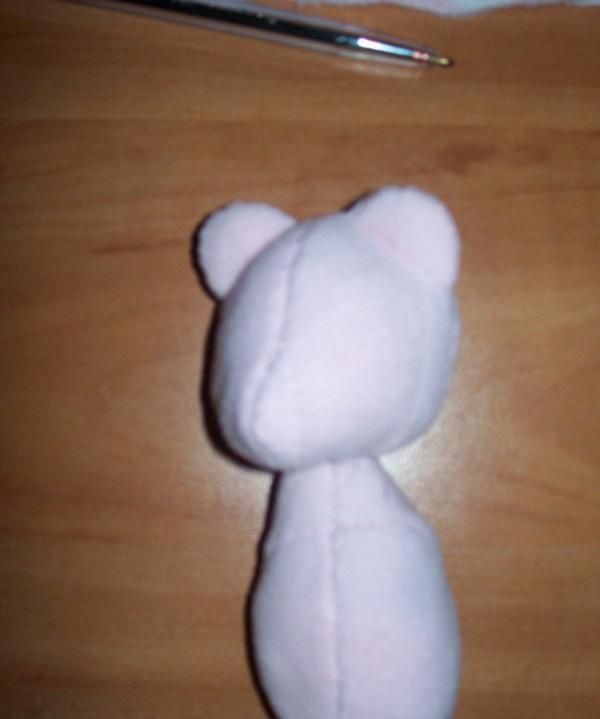
Step four. Paws.
The length of our front legs is approximately 7 cm. In order to make them, we take 2 parts, sew them together and then fill them with holofiber.
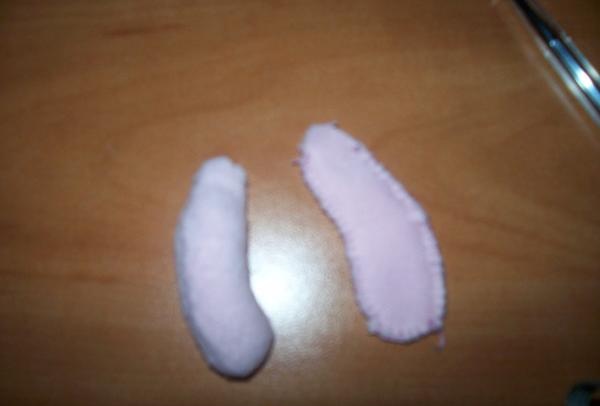
Step five. Legs.
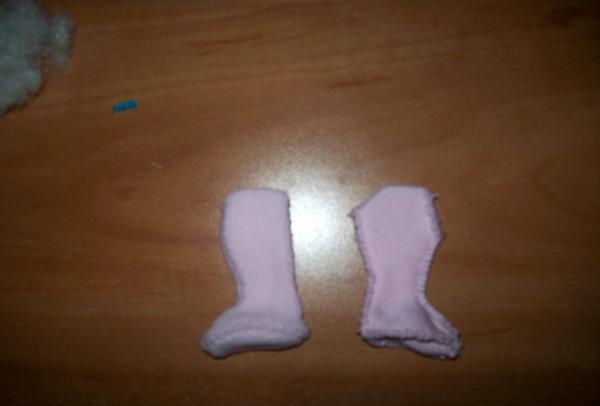
In order to make the legs, you first need to sew 2 parts, and then add the oval foot part down. Without padding, the legs look like this.
Step six. Decorating the product
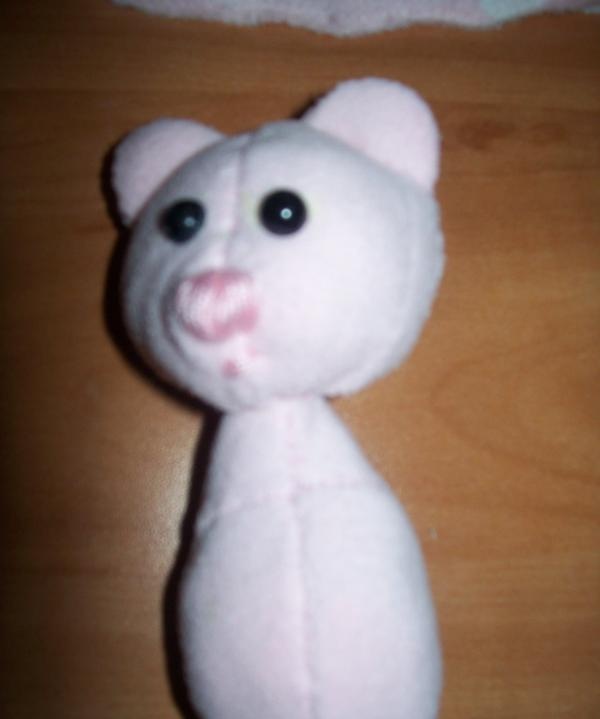
Now we need to make a nose for our little bear using iris threads. Also don't forget to glue the eyes.
This is what happens.
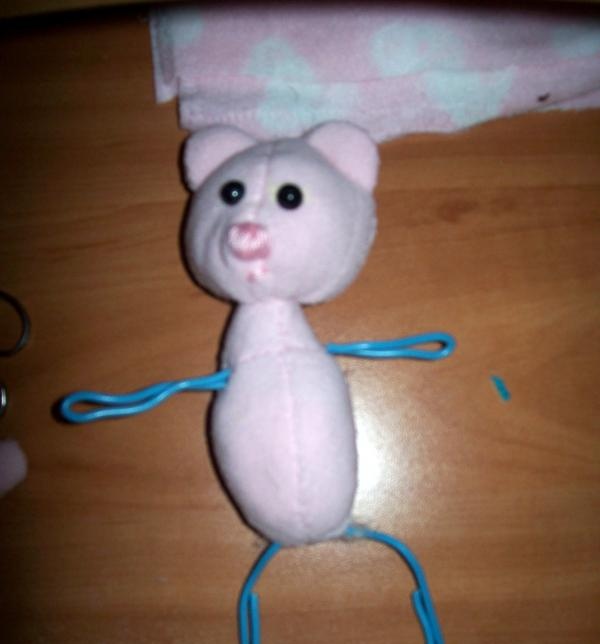
Now we thread the wire through the arms and legs. This will make the arms and legs more flexible.
Sew on the padded legs and arms.
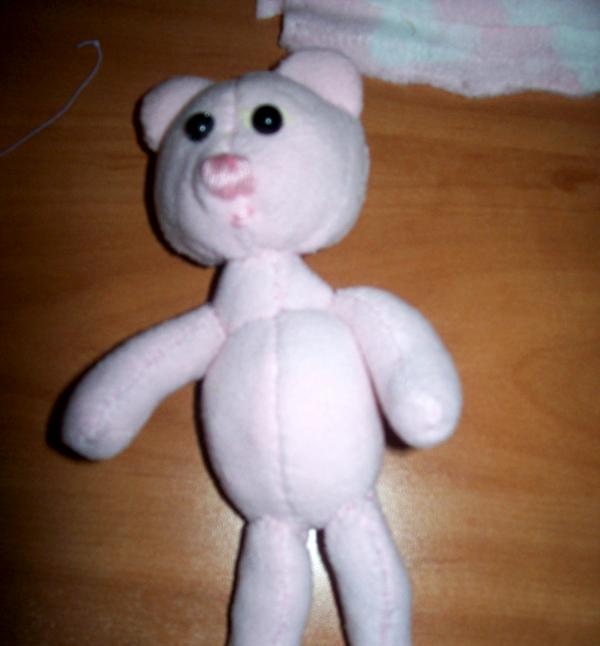
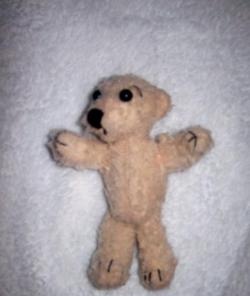
Here our little bear is ready. We ask you to love him and favor him.
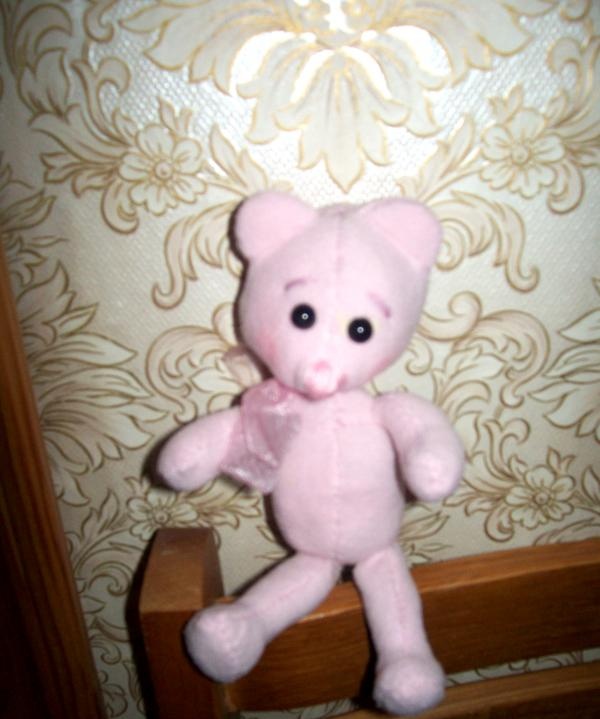
And yet he is cute. Any child will be happy to receive such a toy.
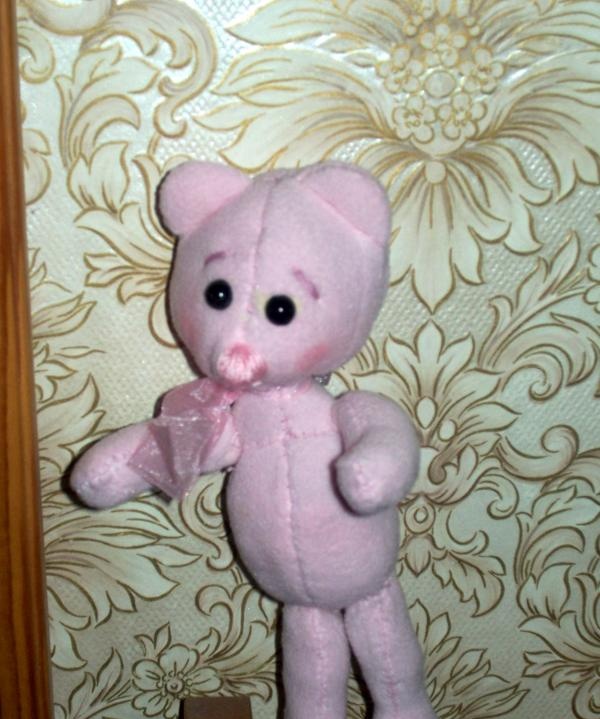
Good luck in your creative search!
Consider a master class on making a pink fleece bear.
Let's first decide on the following.
Size of the finished teddy bear: about 20 cm.
Work readiness level: elementary.
Toy making time: 2-3 hours.
To work you need to prepare:
- a piece of pink fleece;
- wire for limbs,
- filler,
- a needle;
- pinkish threads;
- pink “iris” threads;
- two beads for eyes.
Step one. Pattern.
First, let's prepare the material and iron it.

Then we cut out a pattern from paper. It is shown in the figure.

Trace the pattern onto the fabric using a black felt-tip pen.

Then we cut out all the parts and start sewing them together.
Step two. Head.
The head is made of 4 parts. First we sew together the details of the face, and then the details of the back of the head. It turns out the following.

When this work is ready, turn the front parts of the muzzle right side out.And then we proceed to sewing the ears.

When the ears are ready, sew them on the front side of the muzzle. This is the picture we get.

Next, we sew together the details of the face and the back of the head, and stuff the toy. We now have a finished head.

Step three. The body of a bear cub.
Before making the body, you need to stitch together two undercuts on each piece.

Then we stitch together the two body parts.

We stuff the bear's body with filler and sew the finished head on top.

Step four. Paws.
The length of our front legs is approximately 7 cm. In order to make them, we take 2 parts, sew them together and then fill them with holofiber.

Step five. Legs.
In order to make the legs, you first need to sew 2 parts, and then add the oval foot part down. Without padding, the legs look like this.

Step six. Decorating the product
Now we need to make a nose for our little bear using iris threads. Also don't forget to glue the eyes.
This is what happens.

Now we thread the wire through the arms and legs. This will make the arms and legs more flexible.

Sew on the padded legs and arms.

Here our little bear is ready. We ask you to love him and favor him.

And yet he is cute. Any child will be happy to receive such a toy.

Good luck in your creative search!
Similar master classes
Particularly interesting
Comments (0)


