Paper topiary using quilling technique
In today's master class I would like to tell and show you how to make topiary using the technique quilling. This topiary is very attractive, so it will surely complement the decor of your home. In the article you will find a detailed description and diagram for making topiary.
To make topiary using the quilling technique, you will need the following materials:
Let's start making topiary:
First you need to make a base, for this we form two balls from newsprint, one larger, the other smaller. Carefully coat them with glue and cover them with green office paper. We form a stem from the wire and also cover it with green office paper. We leave our blanks to dry completely for several hours, to speed up the process you can use a hairdryer.
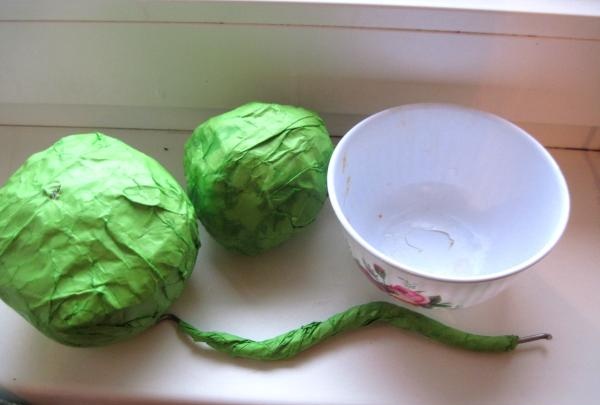
After the parts have dried, we place the larger of the balls in the flower pot and secure it with hot glue.
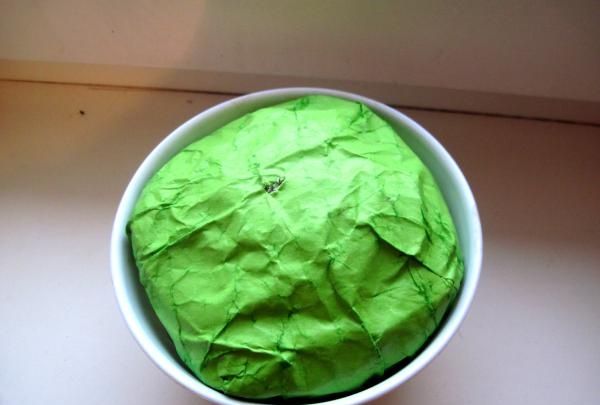
We make a hole in the ball and glue the stem inside, and secure it around with hot glue.
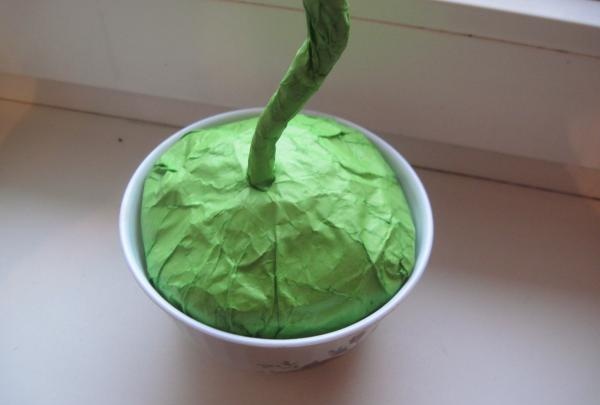
We also make a hole in the second ball and attach it to the stem. At first the craft is very unstable, so we prop it up with something and give it the correct shape.
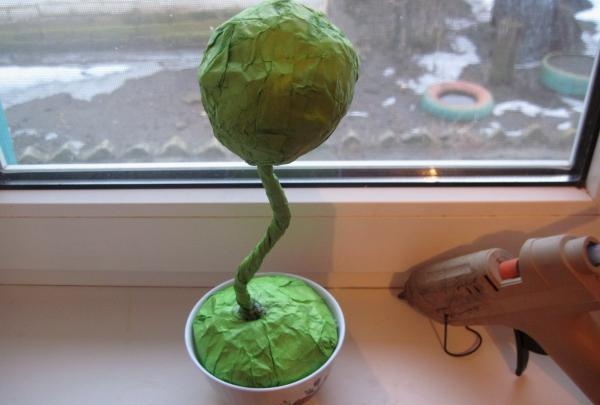
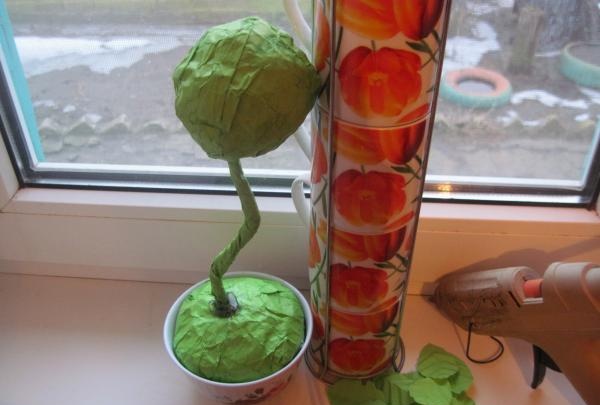
While the glue hardens, we make leaves from green office paper; we will need about a hundred of them.
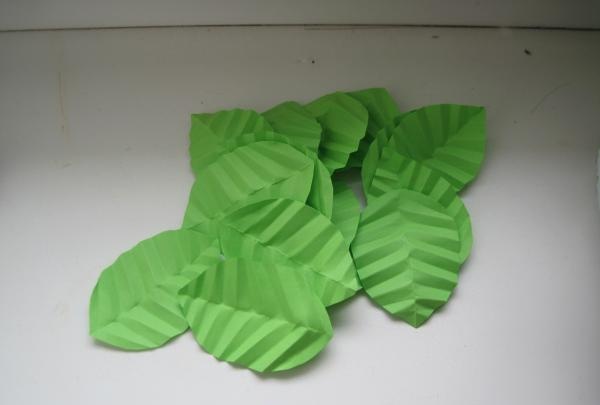
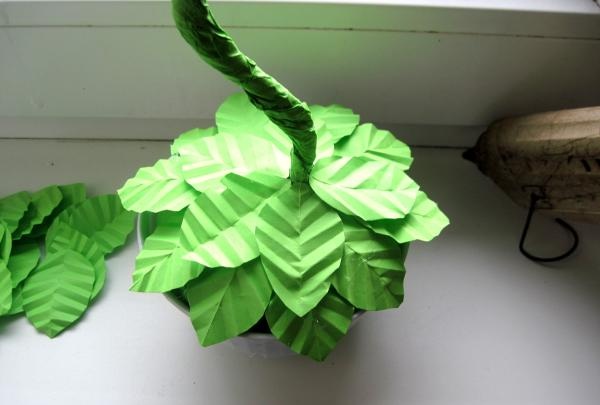
With the first batch of leaves we paste over the pot and the base of our topiary as shown in the photo, in several rows.
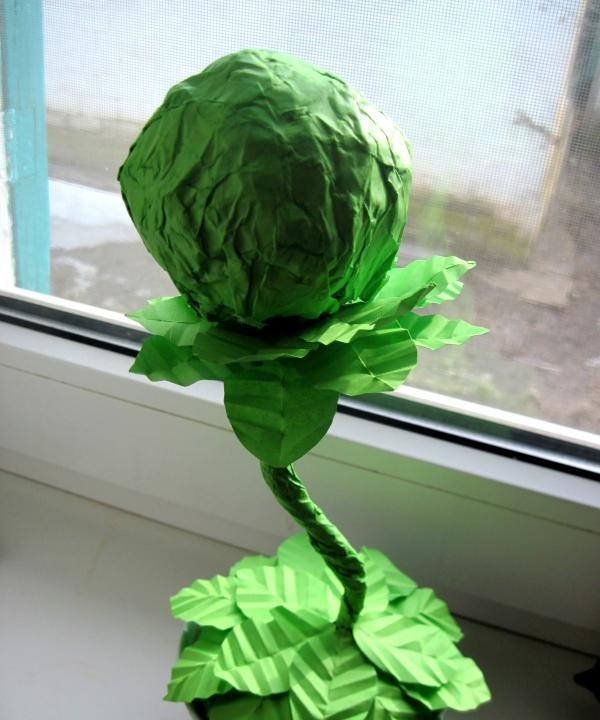
Glue the remaining leaves to the top crafts.
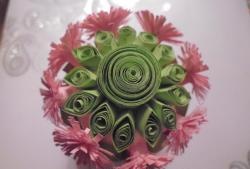
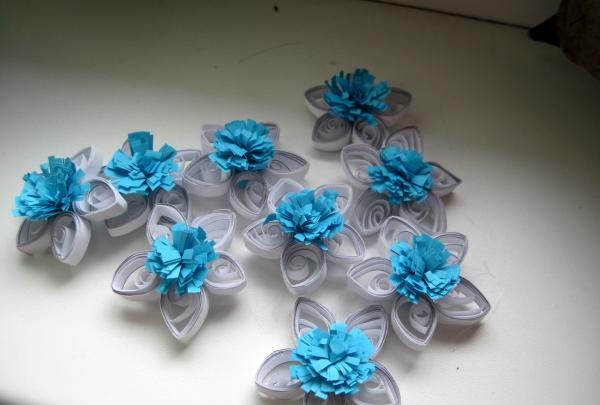
Then we make flowers from office paper or quilling paper. One flower consists of a fluffy center and about five to six petals. You will need about twenty of these flowers. We will also need simple loose spirals made of white paper.
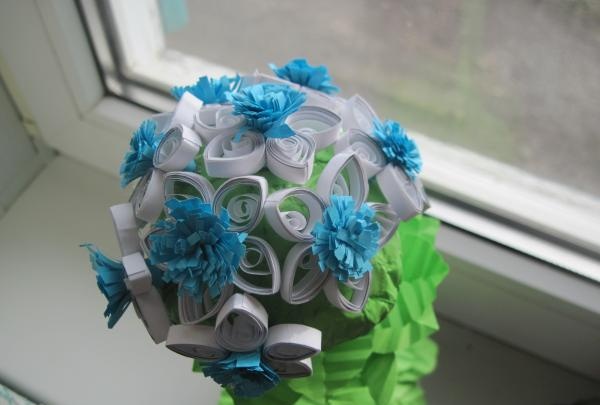
We cover the top part of the topiary with flowers, and close the bottom with spirals.
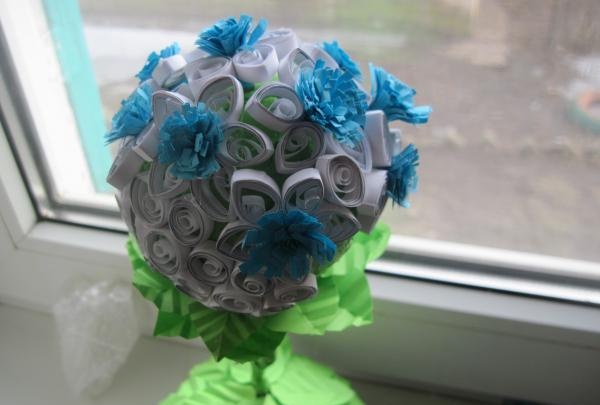
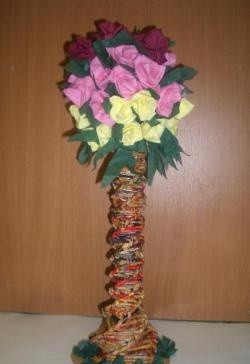
The work is finished, our topiary is ready!!!
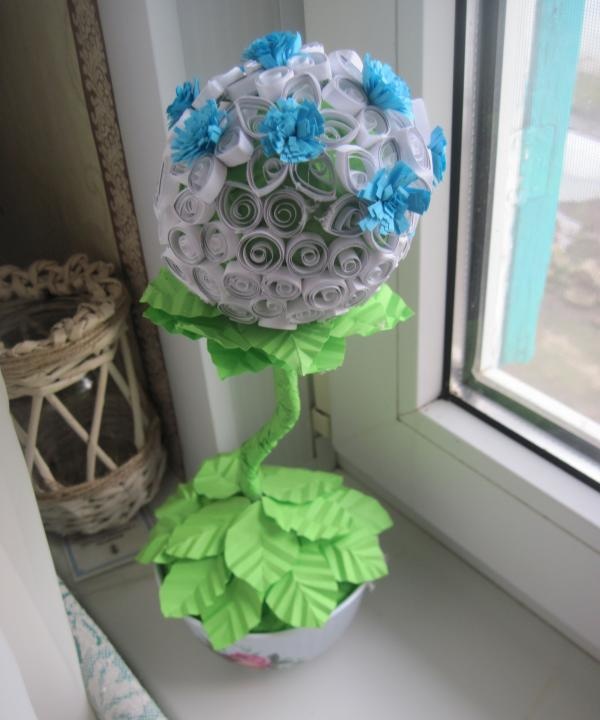
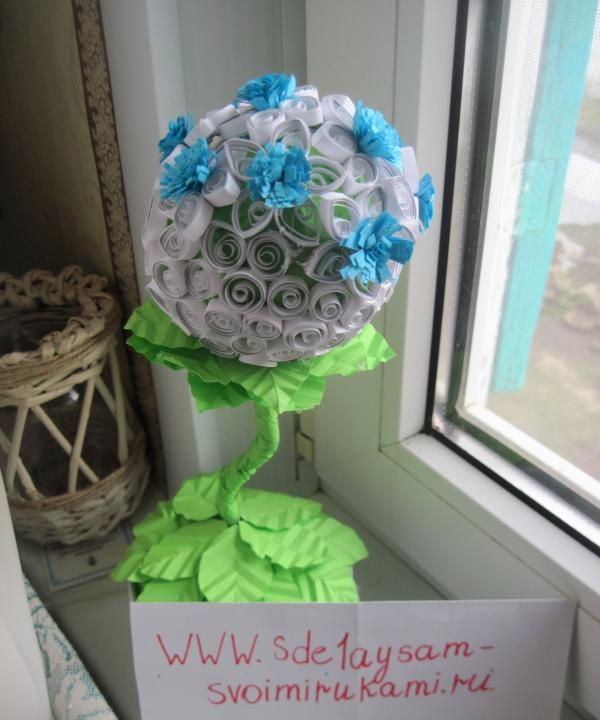
This is such a creative and interesting craft we came up with. You can use it yourself or give it to a loved one.
To make topiary using the quilling technique, you will need the following materials:
- Newspapers.
- PVA glue.
- Hot-melt gun with transparent glue.
- Wire.
- Flower pot.
- Quilling paper or office paper.
- A thread.
- Wire.
Let's start making topiary:
First you need to make a base, for this we form two balls from newsprint, one larger, the other smaller. Carefully coat them with glue and cover them with green office paper. We form a stem from the wire and also cover it with green office paper. We leave our blanks to dry completely for several hours, to speed up the process you can use a hairdryer.

After the parts have dried, we place the larger of the balls in the flower pot and secure it with hot glue.

We make a hole in the ball and glue the stem inside, and secure it around with hot glue.

We also make a hole in the second ball and attach it to the stem. At first the craft is very unstable, so we prop it up with something and give it the correct shape.


While the glue hardens, we make leaves from green office paper; we will need about a hundred of them.

With the first batch of leaves we paste over the pot and the base of our topiary as shown in the photo, in several rows.

Glue the remaining leaves to the top crafts.

Then we make flowers from office paper or quilling paper. One flower consists of a fluffy center and about five to six petals. You will need about twenty of these flowers. We will also need simple loose spirals made of white paper.

We cover the top part of the topiary with flowers, and close the bottom with spirals.


The work is finished, our topiary is ready!!!


This is such a creative and interesting craft we came up with. You can use it yourself or give it to a loved one.
Similar master classes
Particularly interesting
Comments (0)

