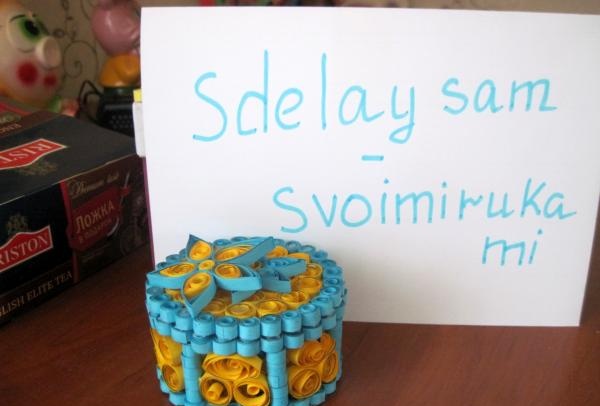
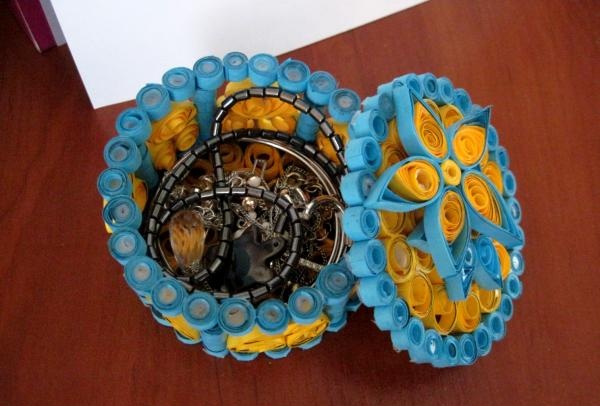
Box made using quilling technique
A charming paper box can be a decoration for your dressing table or a good gift for your friend, aunt, or grandmother.
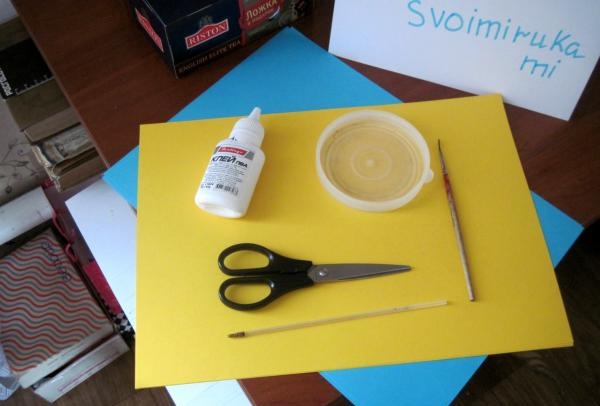
To make a paper box you will need:
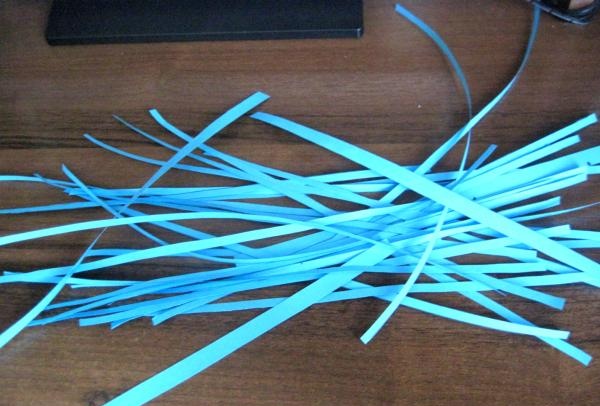
You need to cut strips of paper of the same size. I do this using Microsoft Office Word. I create a document and insert a table (1-column, 42 rows), then stretch it to the entire sheet and print. The result is strips of 5 mm and two outer strips of 1 cm.
Let's get started:
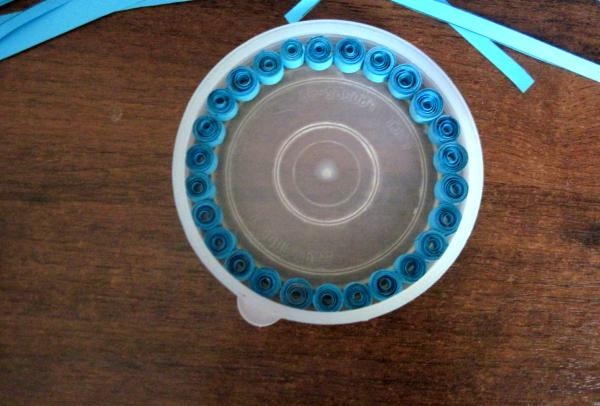
Making the base of the box. From the paper of the color you need (I chose blue), we twist a free spiral - 26 pcs.
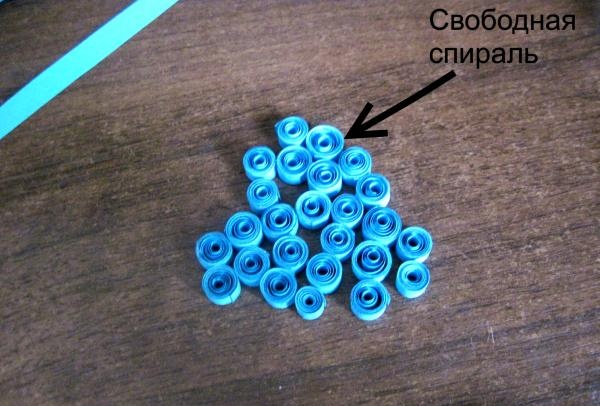
Lubricate with glue and let the parts dry, so they will become denser. After this, we insert them into the lid and give them the shape of a circle.
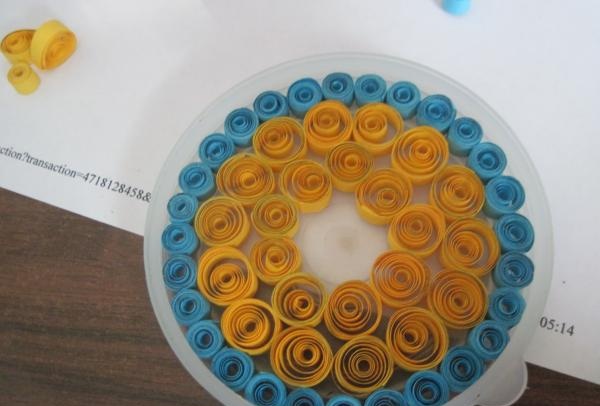
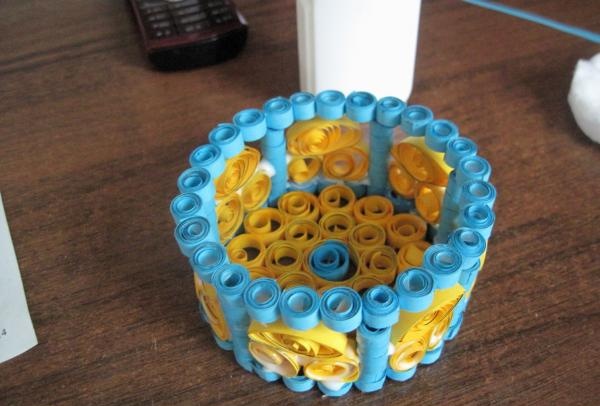
Then we make more free spirals of a different color. The size should be a little larger. Place the parts in the mold in two rows.
We are left with the middle. To do this, I glued two strips of different colors and twisted a large free spiral.
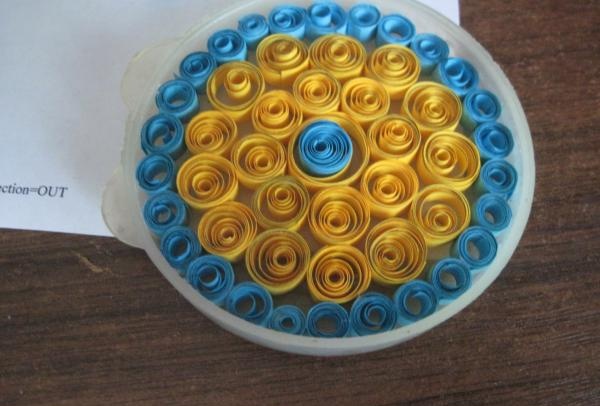
The lower part of the box is ready. We use the same method to make the lid of our box.Now let's start making the walls of the box. I twisted the loose spirals in advance and glued columns from them.
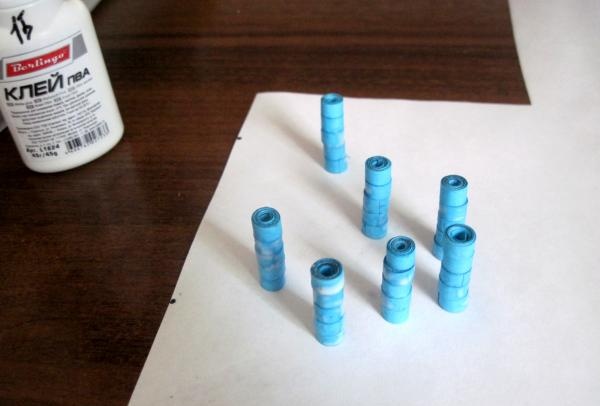
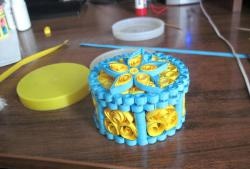
To do this, I needed 35 free spirals, that is, 5 spirals per column. There are 7 columns in total. You can make more or less. When the posts were dry, I began gluing them to the bottom of the box. At first it is very difficult because they come off and therefore you have to press and hold them.
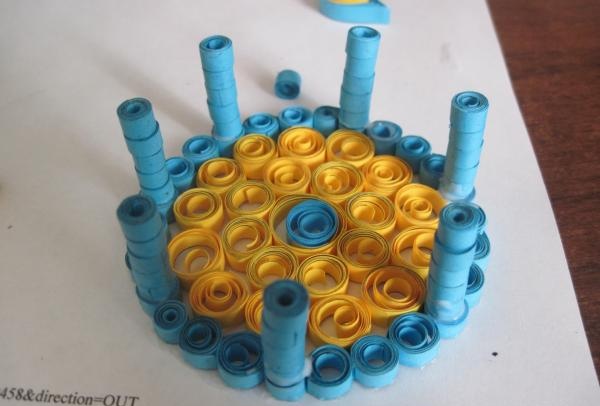
Again, coat the box with glue and let it dry. After this, we begin assembly. We twist the loose yellow spirals and insert them into the walls of the box.
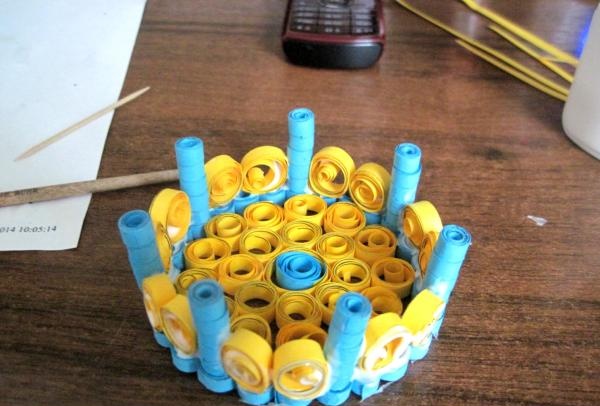
Glue another large spiral on top, but only compress it a little so that it takes the shape of an oval.
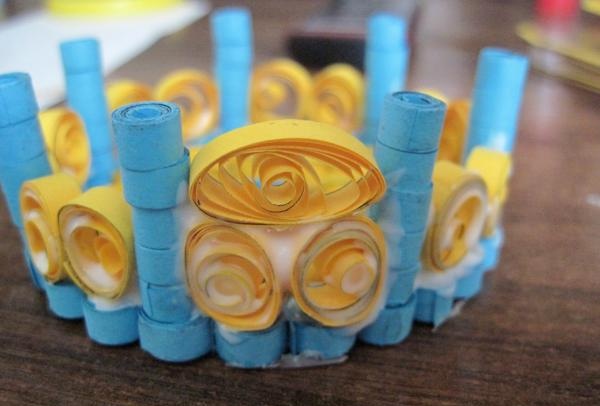
Now we glue the rim for the box, for this we also use free blue spirals.
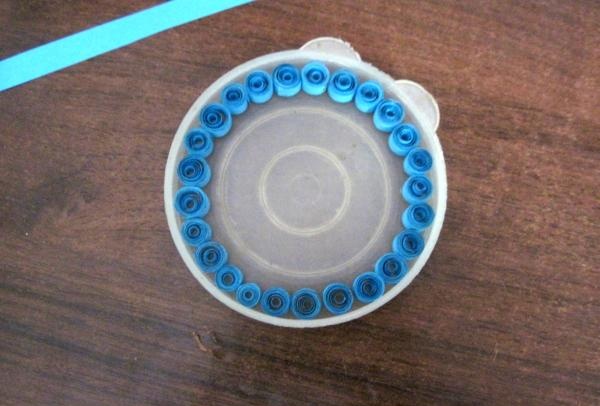
We coat it with glue, let it dry and glue it to the box.
Now we decorate the lid of the box. Here you can dream up. I made two flowers, one of which was made by gluing two strips of different colors.
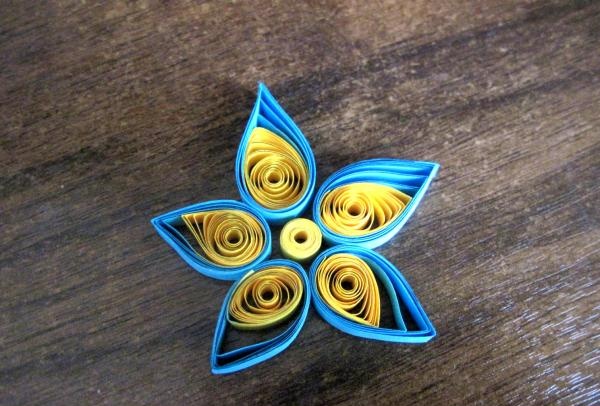
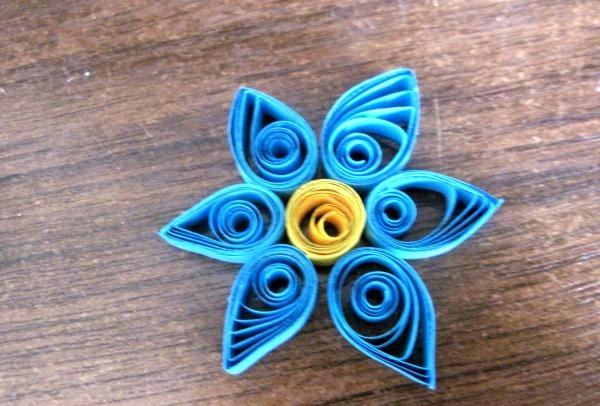
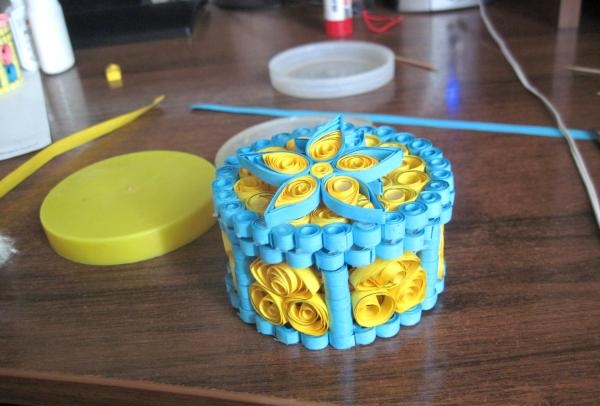
Now our box is ready, all that remains is to coat it with glue a couple more times and you can use it.

To make a paper box you will need:
- Office paper of different colors
- Scissors
- Glue
- Brush
- Pen rod (for twisting)
- Lid (mold for box)

You need to cut strips of paper of the same size. I do this using Microsoft Office Word. I create a document and insert a table (1-column, 42 rows), then stretch it to the entire sheet and print. The result is strips of 5 mm and two outer strips of 1 cm.

Let's get started:
Making the base of the box. From the paper of the color you need (I chose blue), we twist a free spiral - 26 pcs.

Lubricate with glue and let the parts dry, so they will become denser. After this, we insert them into the lid and give them the shape of a circle.

Then we make more free spirals of a different color. The size should be a little larger. Place the parts in the mold in two rows.

We are left with the middle. To do this, I glued two strips of different colors and twisted a large free spiral.

The lower part of the box is ready. We use the same method to make the lid of our box.Now let's start making the walls of the box. I twisted the loose spirals in advance and glued columns from them.

To do this, I needed 35 free spirals, that is, 5 spirals per column. There are 7 columns in total. You can make more or less. When the posts were dry, I began gluing them to the bottom of the box. At first it is very difficult because they come off and therefore you have to press and hold them.

Again, coat the box with glue and let it dry. After this, we begin assembly. We twist the loose yellow spirals and insert them into the walls of the box.

Glue another large spiral on top, but only compress it a little so that it takes the shape of an oval.

Now we glue the rim for the box, for this we also use free blue spirals.

We coat it with glue, let it dry and glue it to the box.

Now we decorate the lid of the box. Here you can dream up. I made two flowers, one of which was made by gluing two strips of different colors.


Now our box is ready, all that remains is to coat it with glue a couple more times and you can use it.


Similar master classes
Particularly interesting
Comments (1)

