Clamp "Bead"
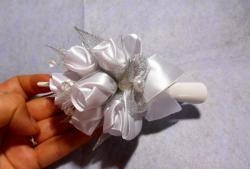
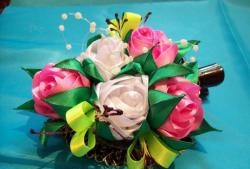
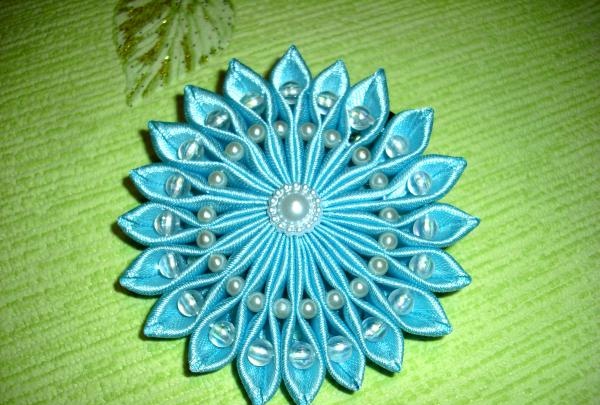
By using ribbon and large beads you can get a luxurious decoration, perfect for festive hairstyles.
To make the Bead clip you will need:
- clamp.
- blue tape, no more than 25 mm wide.
- scissors.
- center for flowers.
- lighter.
- glue gun.
- beads with a diameter of 4 mm.
Creation of the “Bead” decoration.
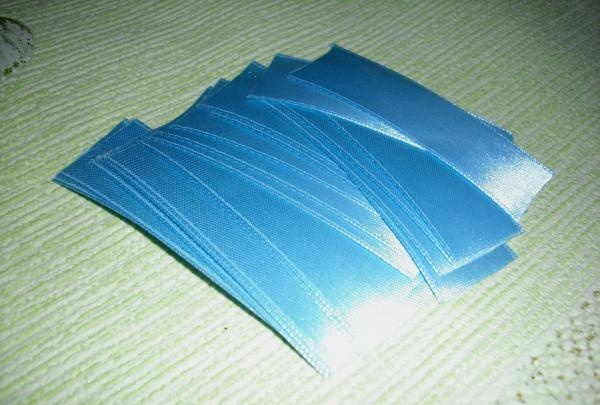
The decoration is one large flower, consisting of narrow petals with beads. You need to start creating this decoration by preparing the petals. To do this, you will need pieces of blue tape 9 cm long. In total, 19 such pieces need to be made.
Exactly in the center of all segments it is necessary to make a mark on the edge line.
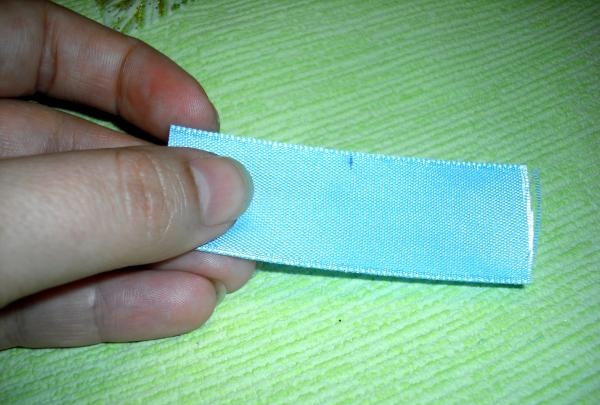
You need to bend the edge of the segment on the right side to the marked mark.
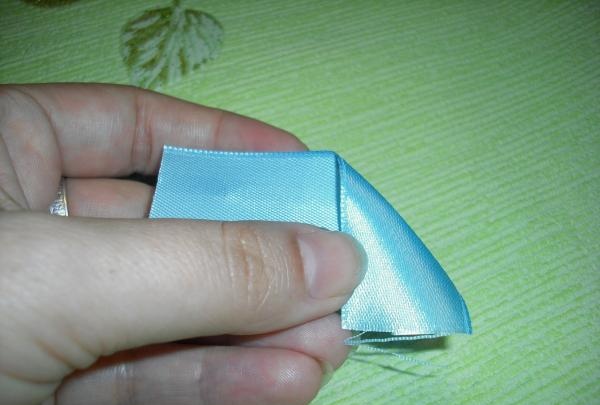
Then do the same on the left side, but be sure to ensure that the edge lines are parallel to each other.
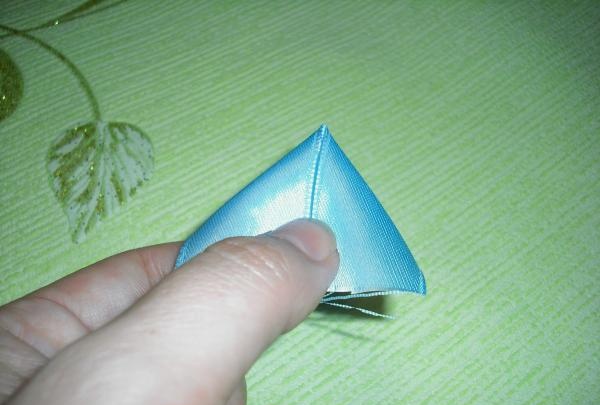
The resulting triangular parts should be folded in half along the edge lines.
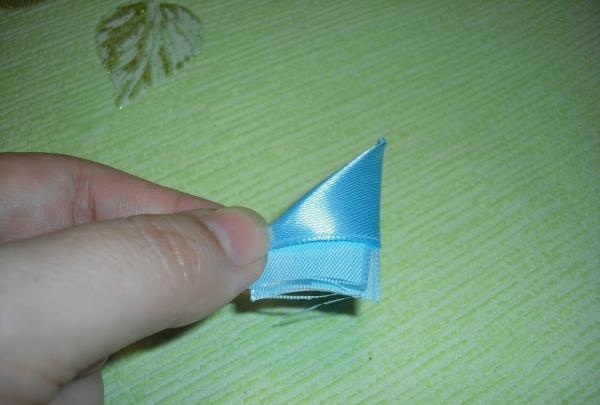
The edges, held with your fingers, should be trimmed with scissors and singed to secure the ribbons together.
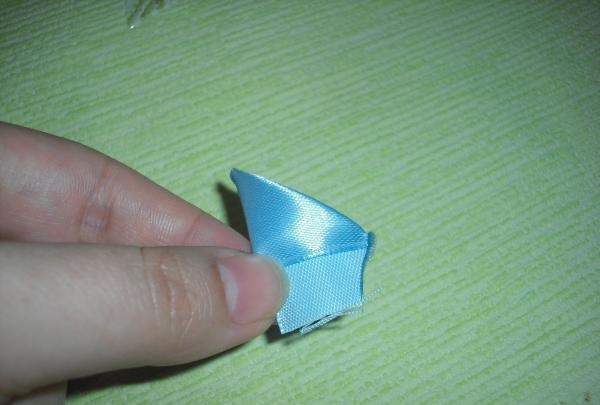
Based on the fold lines running along the top, measure down 5 mm and cut off the remaining part of the tape. The resulting sections must be immediately treated with fire to secure them.
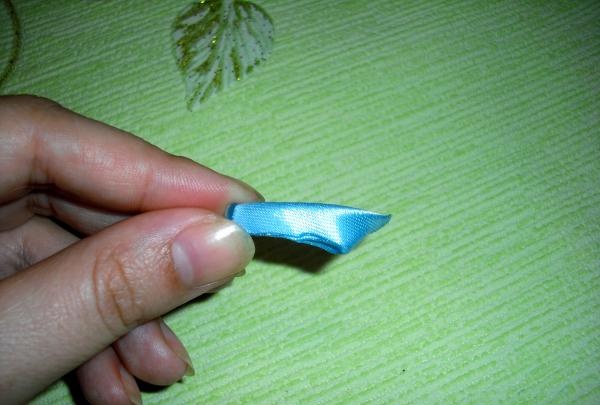
The result is long petals.
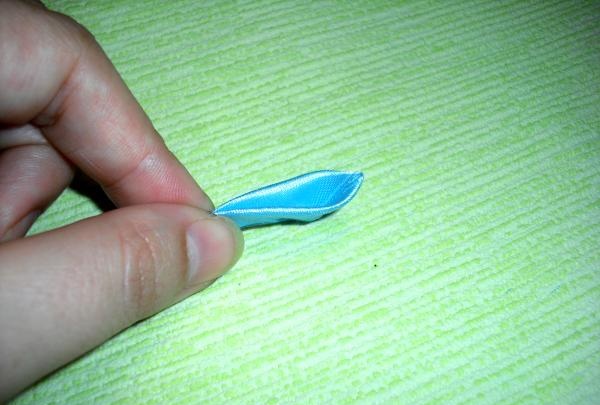
There will be 19 of them in total.
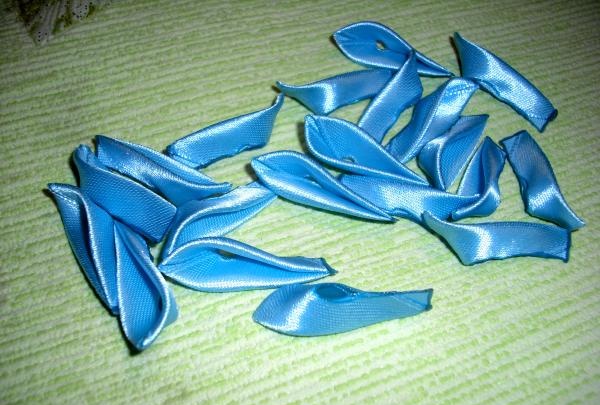
The created parts must be combined together, forming an even circle.
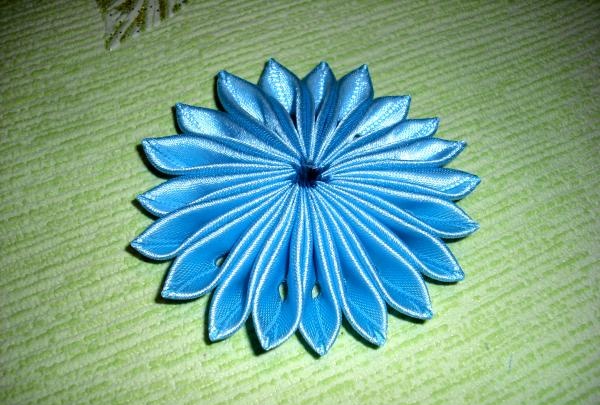
One transparent bead should be sewn in the center of each petal, placing them closer to the edge.
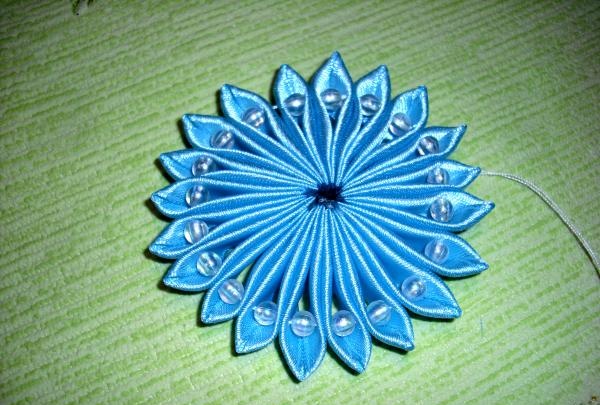
The second row of beads must be sewn 5 mm further, but placing them between the petals. As a result, the petals are curved.
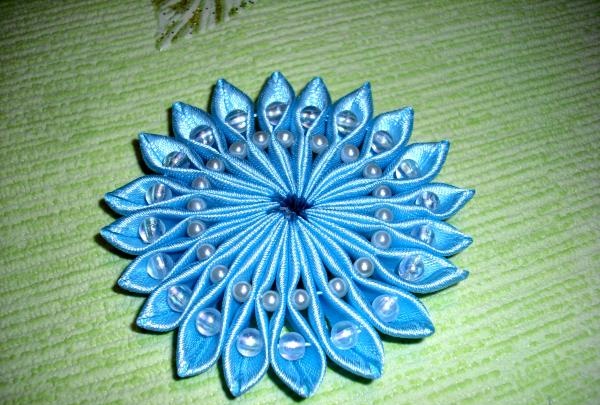
From the remaining amount of tape, it remains to prepare a small circle, reaching a diameter of 5 cm. Its edge needs to be scorched.
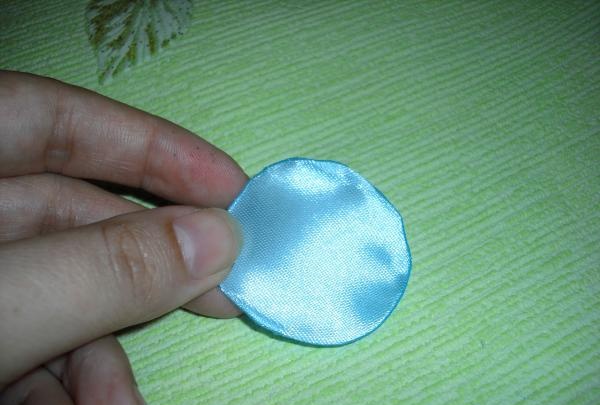
This detail will be the basis for decoration. It must be glued to the underside of the flower, positioned strictly in the center.
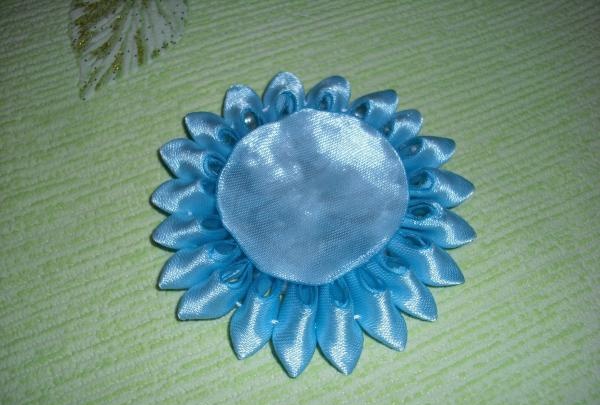
You need to attach the clamp to the resulting base, carefully lubricating it with glue.
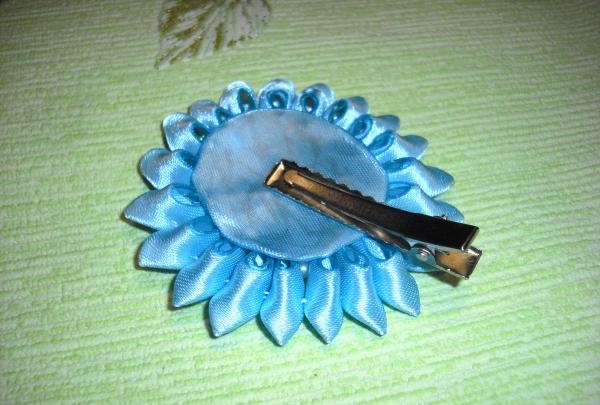
All that remains is to straighten the petals and attach the center for the flowers, covering the center of the intersection of the parts.

The “Bead” decoration is ready!

To make the Bead clip you will need:
- clamp.
- blue tape, no more than 25 mm wide.
- scissors.
- center for flowers.
- lighter.
- glue gun.
- beads with a diameter of 4 mm.
Creation of the “Bead” decoration.
The decoration is one large flower, consisting of narrow petals with beads. You need to start creating this decoration by preparing the petals. To do this, you will need pieces of blue tape 9 cm long. In total, 19 such pieces need to be made.

Exactly in the center of all segments it is necessary to make a mark on the edge line.

You need to bend the edge of the segment on the right side to the marked mark.

Then do the same on the left side, but be sure to ensure that the edge lines are parallel to each other.

The resulting triangular parts should be folded in half along the edge lines.

The edges, held with your fingers, should be trimmed with scissors and singed to secure the ribbons together.

Based on the fold lines running along the top, measure down 5 mm and cut off the remaining part of the tape. The resulting sections must be immediately treated with fire to secure them.

The result is long petals.

There will be 19 of them in total.

The created parts must be combined together, forming an even circle.

One transparent bead should be sewn in the center of each petal, placing them closer to the edge.

The second row of beads must be sewn 5 mm further, but placing them between the petals. As a result, the petals are curved.

From the remaining amount of tape, it remains to prepare a small circle, reaching a diameter of 5 cm. Its edge needs to be scorched.

This detail will be the basis for decoration. It must be glued to the underside of the flower, positioned strictly in the center.

You need to attach the clamp to the resulting base, carefully lubricating it with glue.

All that remains is to straighten the petals and attach the center for the flowers, covering the center of the intersection of the parts.

The “Bead” decoration is ready!
Similar master classes
Particularly interesting
Comments (0)


