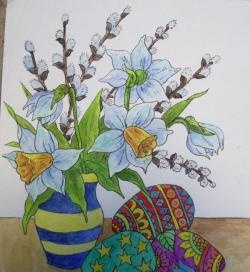
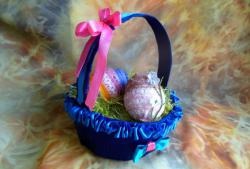
Easter basket
Spring always brings with it many bright and joyful holidays, including the feast of the resurrection of our Most High Jesus Christ, the Feast of Easter. This is one of the greatest church holidays, on the day of which, in fact, many centuries ago the resurrection of the Lord God took place. Well, there are some customs and traditions of this holiday. People exchange colored eggs, baked Easter cakes, souvenirs and much more with each other. This is a big and bright holiday, so you can give each other whatever your heart desires. You can even take the same paints, you can’t just hand them over, but you need to somehow give them beautifully in the original packaging, here you can take advantage of the educational master class, use your imagination and make beautiful baskets for eggs using the technique scrapbooking. It will look great and it will be nice to give it as a gift.
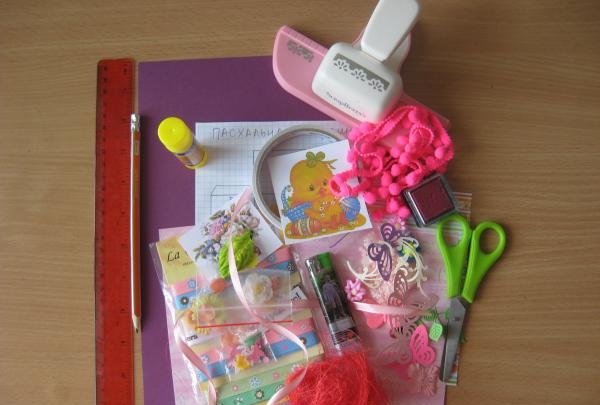
For the master class we need to take:
• Burgundy-purple cardboard sheet;
• Basket diagram;
• Scrappaper size 15*15 cm in pink;
• The inscription “Congratulations”;
• Curb hole punch;
• Pink floral grosgrain ribbon;
• Red sisal;
• God's box;
• Pink ribbon with pompoms;
• Cutting down two green leaves;
• Paper hydrangea flowers 25 mm in diameter;
• Two pink and white paper forget-me-not flowers;
• Paper small butterflies;
• Pencil, scissors, glue stick, ruler, double-sided tape, heat gun.
The first thing we need and where we start is to cut out the base of the basket from burgundy-violet cardboard according to the diagram.
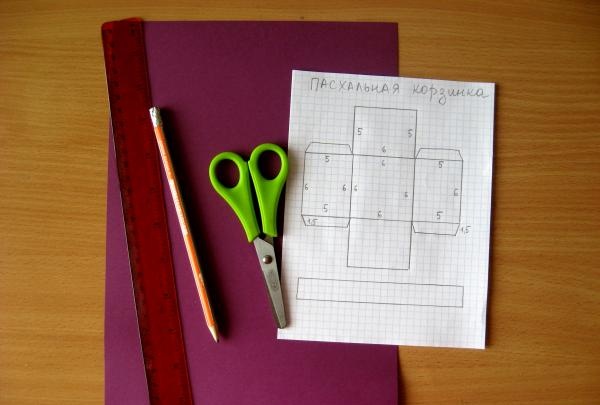
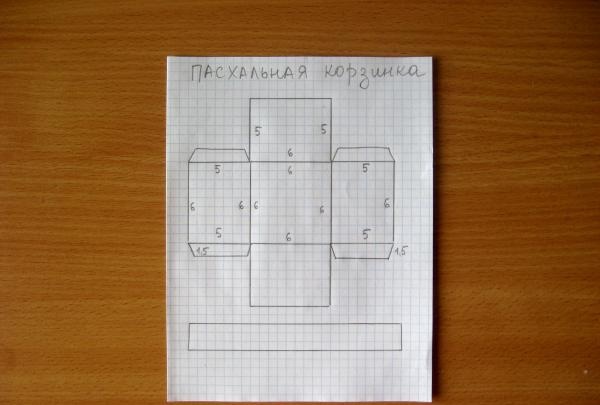
First, we need to cut out a square 16*16 cm and a strip for the handle 3.5*18 cm. Now we divide the large square into three parts on all sides and draw bend lines where necessary.
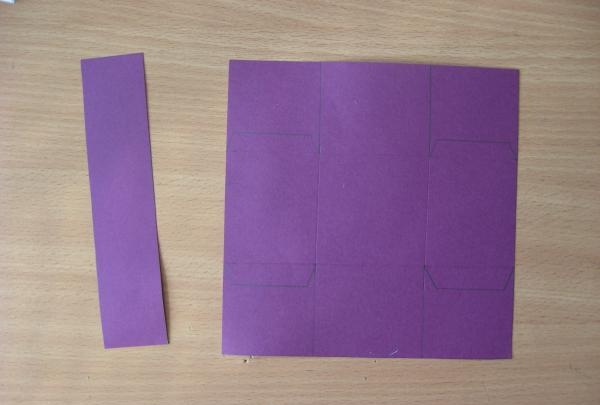
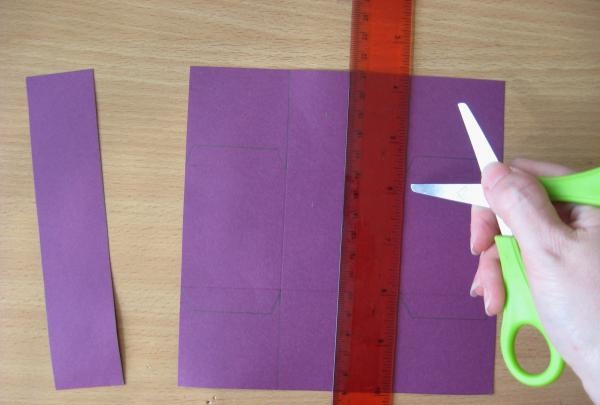
Cut out the prepared base. We also bend the tails, along which we will glue and assemble the basket.
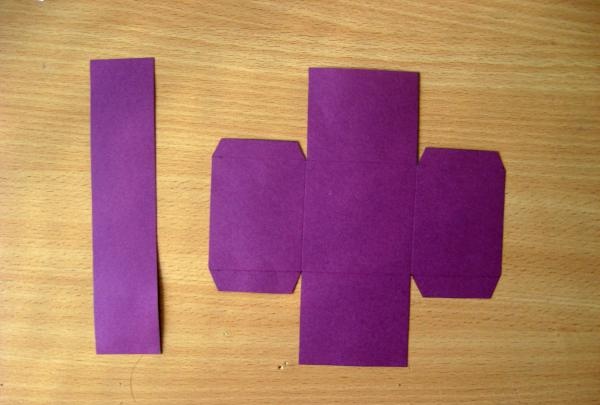
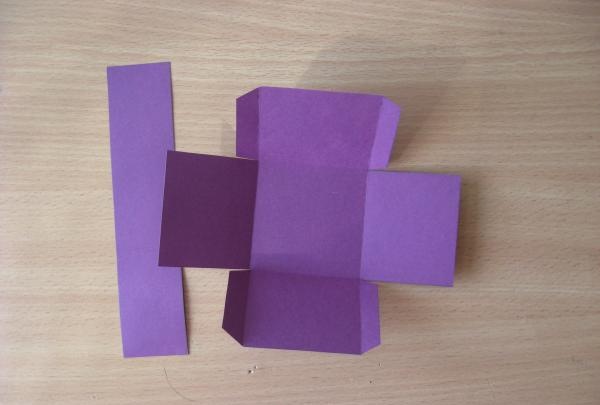
The handle on both sides must be passed through with a curb hole punch. We also need to punch holes in the strips, which we will then use to decorate the scrap workpieces.
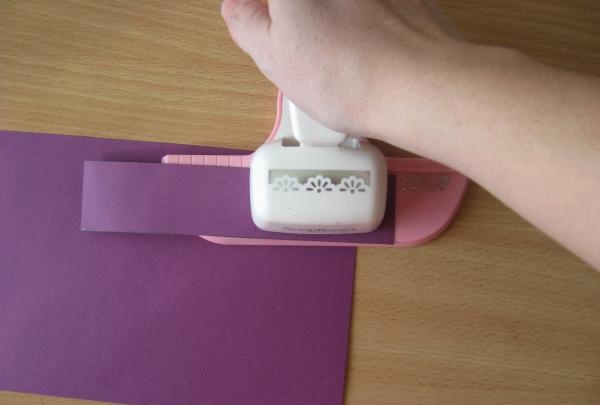
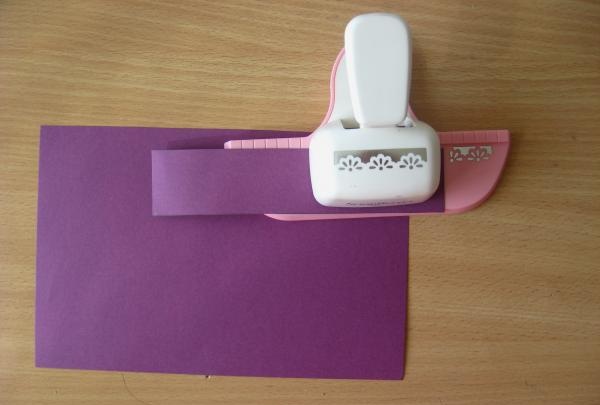
We take scrap paper and from it we need to cut out rectangles for external decoration.
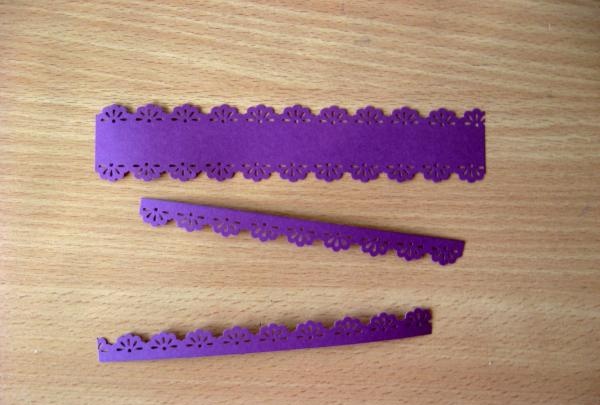
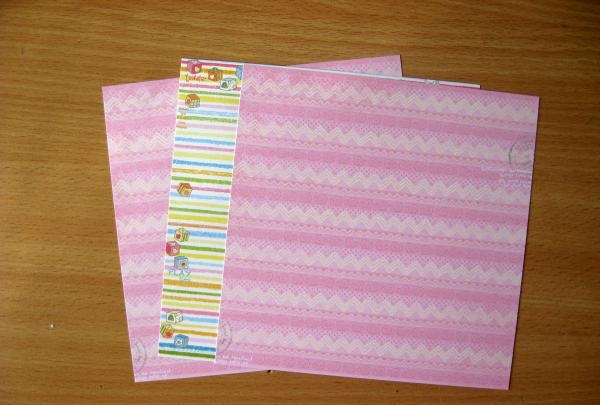
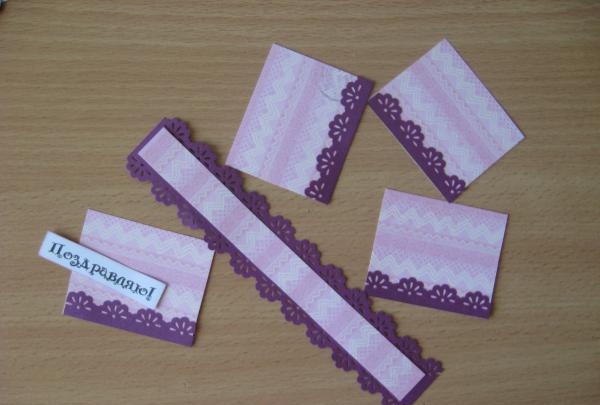
One strip measuring 1.6*15 cm, four rectangles 5.5*4.5 cm. Glue the strip onto the handle. Now we glue openwork strips made from cardboard onto the rectangles on one side.
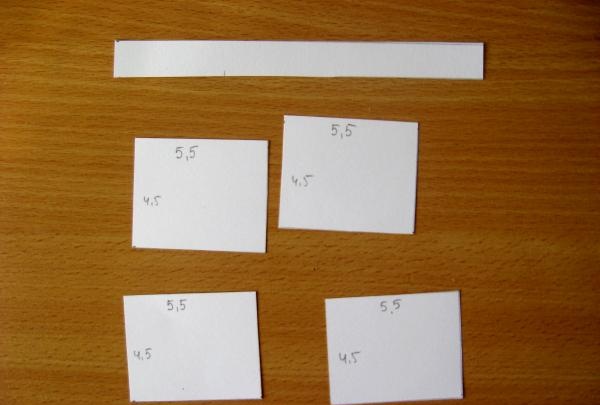
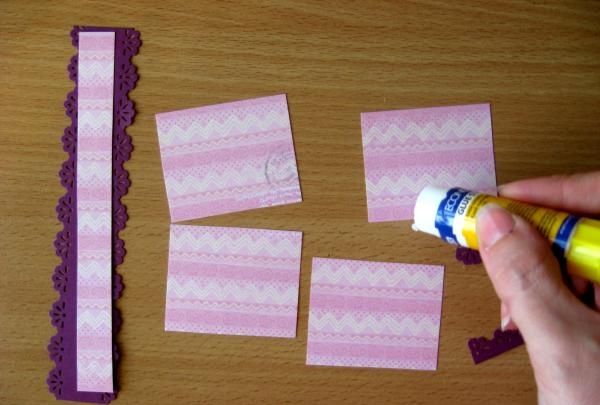
We have everything prepared, now we glue all these four rectangles to the base with pieces of double-sided tape. We also glue the inscription “Congratulations” onto the handle.
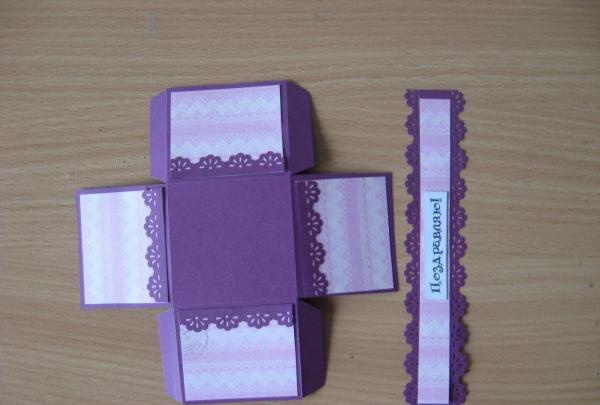
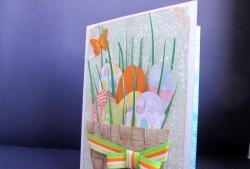
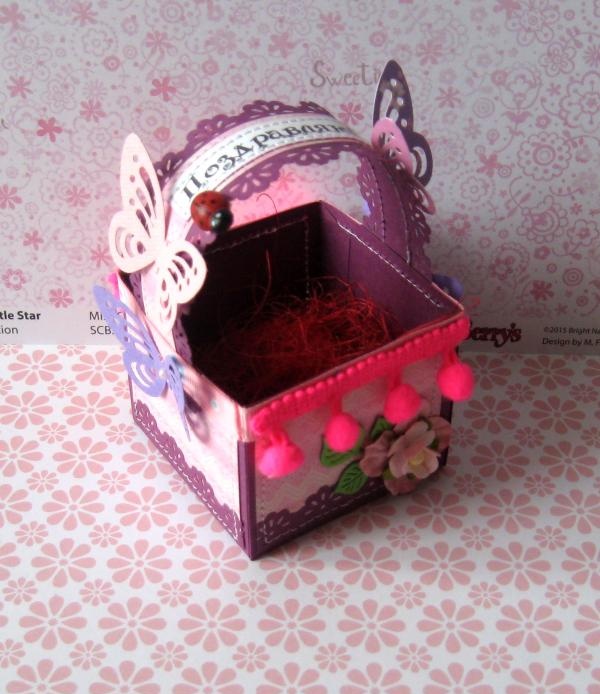
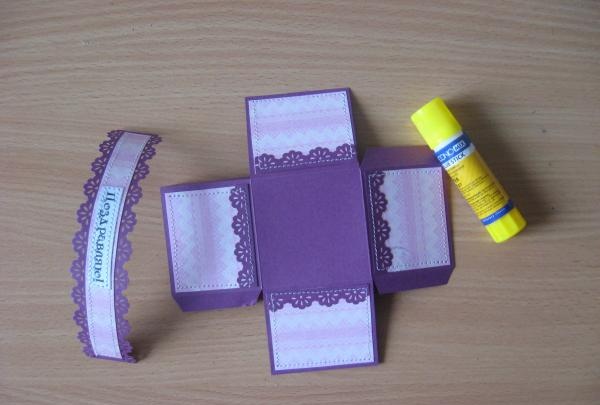
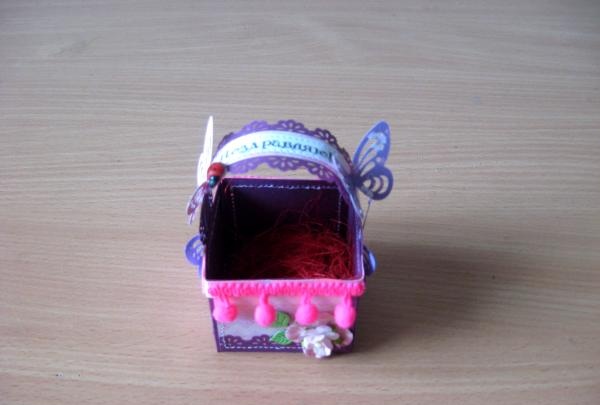
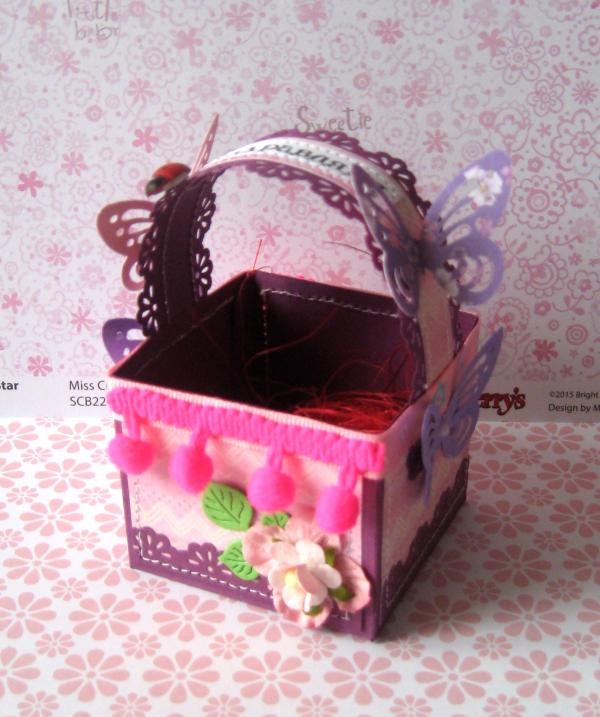
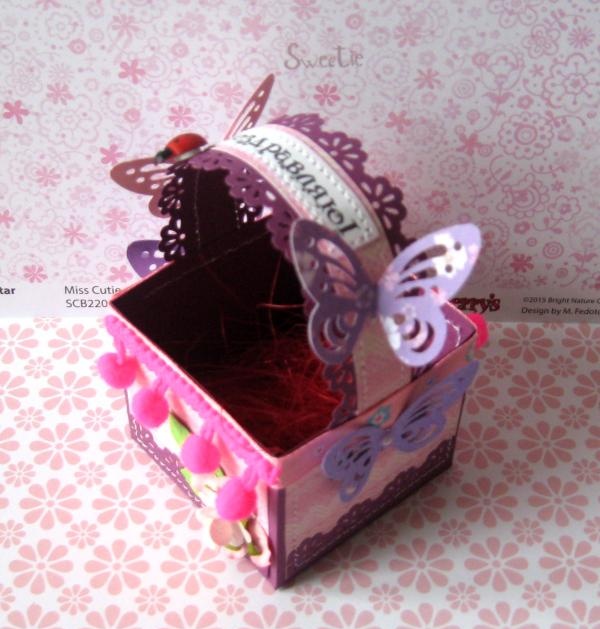
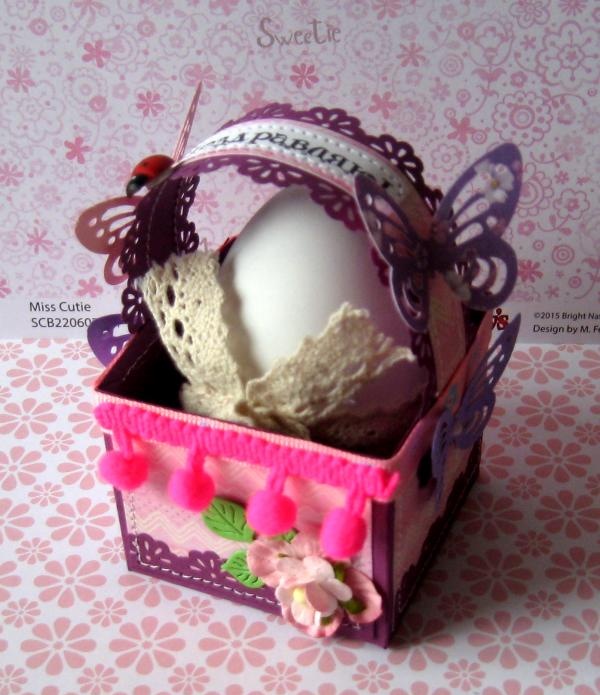
We stitch the handle and then the inscription. We also sew on each edge of the basket. Now, using a glue stick, we assemble the basket, to do this we smear the tails and glue the basket. We also glue the handle. Now let's decorate. We twist the sisal into a bundle and place it on the bottom of the basket, glue butterflies and a ladybug along the edges and on the handle. We glue a grosgrain ribbon around the entire basket, and a ribbon with pom-poms on both sides. We also glue leaves with flowers on both sides.
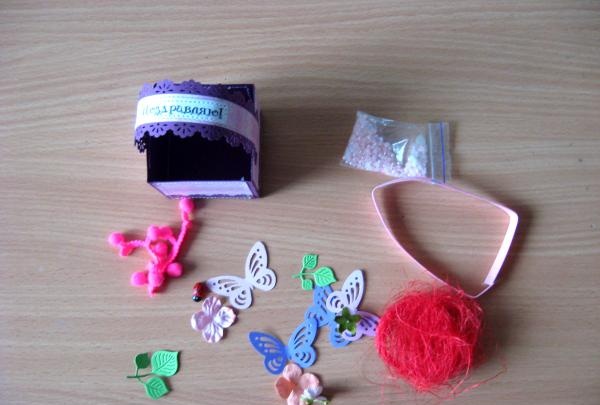
The result is such a beautiful mini-basket for one egg. And cool, and unusual, and beautiful! Thank you for your attention and good luck to everyone!

For the master class we need to take:
• Burgundy-purple cardboard sheet;
• Basket diagram;
• Scrappaper size 15*15 cm in pink;
• The inscription “Congratulations”;
• Curb hole punch;
• Pink floral grosgrain ribbon;
• Red sisal;
• God's box;
• Pink ribbon with pompoms;
• Cutting down two green leaves;
• Paper hydrangea flowers 25 mm in diameter;
• Two pink and white paper forget-me-not flowers;
• Paper small butterflies;
• Pencil, scissors, glue stick, ruler, double-sided tape, heat gun.


The first thing we need and where we start is to cut out the base of the basket from burgundy-violet cardboard according to the diagram.


First, we need to cut out a square 16*16 cm and a strip for the handle 3.5*18 cm. Now we divide the large square into three parts on all sides and draw bend lines where necessary.


Cut out the prepared base. We also bend the tails, along which we will glue and assemble the basket.


The handle on both sides must be passed through with a curb hole punch. We also need to punch holes in the strips, which we will then use to decorate the scrap workpieces.


We take scrap paper and from it we need to cut out rectangles for external decoration.


One strip measuring 1.6*15 cm, four rectangles 5.5*4.5 cm. Glue the strip onto the handle. Now we glue openwork strips made from cardboard onto the rectangles on one side.


We have everything prepared, now we glue all these four rectangles to the base with pieces of double-sided tape. We also glue the inscription “Congratulations” onto the handle.


We stitch the handle and then the inscription. We also sew on each edge of the basket. Now, using a glue stick, we assemble the basket, to do this we smear the tails and glue the basket. We also glue the handle. Now let's decorate. We twist the sisal into a bundle and place it on the bottom of the basket, glue butterflies and a ladybug along the edges and on the handle. We glue a grosgrain ribbon around the entire basket, and a ribbon with pom-poms on both sides. We also glue leaves with flowers on both sides.


The result is such a beautiful mini-basket for one egg. And cool, and unusual, and beautiful! Thank you for your attention and good luck to everyone!


Similar master classes
Particularly interesting
Comments (0)


