Three-story shelf
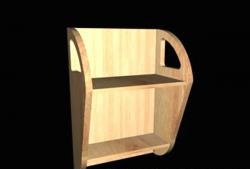
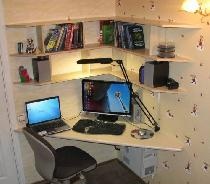
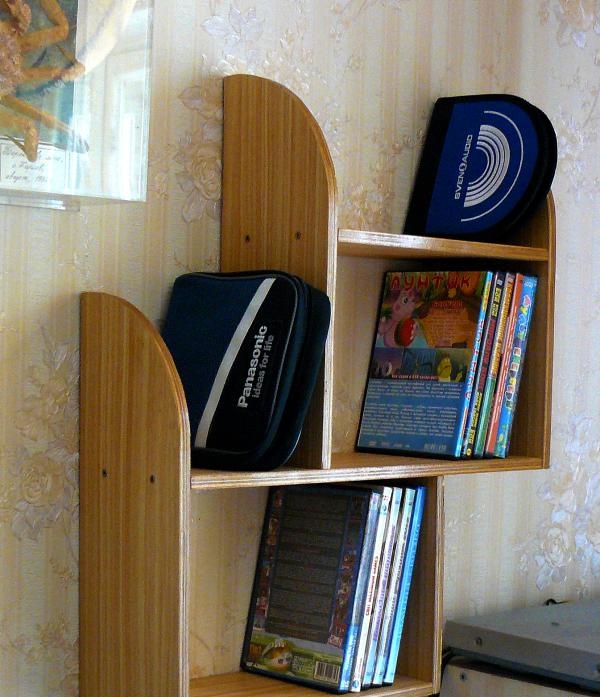
The computer usually stands on a table near the wall. Various little things are usually used with the computer, which it is advisable to store within easy reach. For such little things, I propose to build a compact, spacious three-story shelf, which can be conveniently hung on the wall next to the computer.
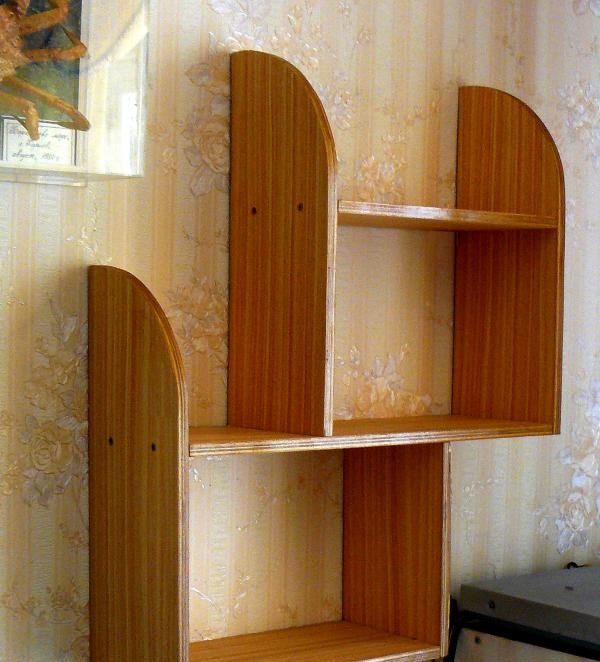
For this you will need:
- plywood 10 mm thick;
- jigsaw;
- drill, drill bits;
- screws (self-tapping screws) - 16 pieces;
- dowel-hook - 2 pieces;
- sanding paper;
- varnish;
- self-adhesive film;
- pencil, compass, ruler.
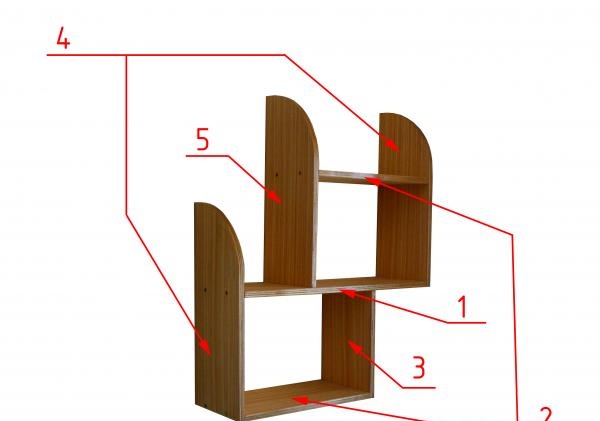
The shelf consists of seven parts, two of them are identical in pairs.
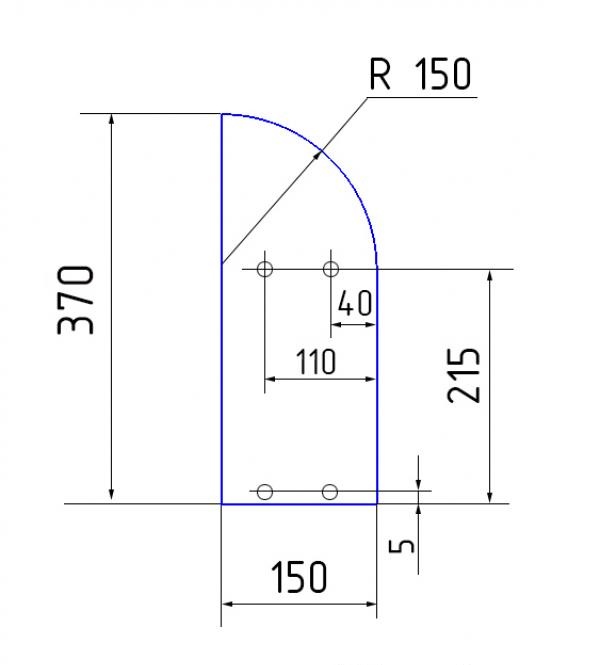
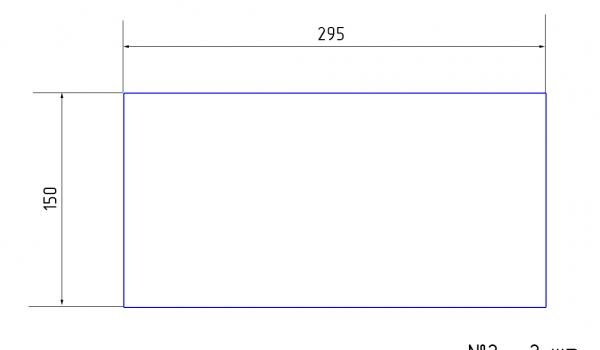
All parts are cut with a jigsaw with a fine-toothed file from multi-layer plywood 10 mm thick. The parts are fastened with 3.5x40 yellow (golden) screws with a countersunk head. Places for screws are marked only on planes.
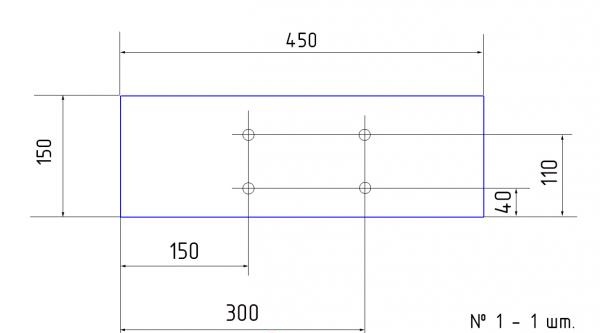
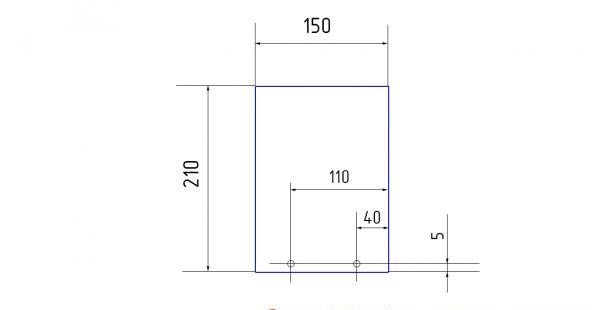
We drill holes so that the screw can pass freely, and we countersink the holes. We drill holes in the ends in the middle of the thickness of the plywood; the location of the holes is easy to calculate yourself.To attach the shelf to the wall, drill holes for the dowel-hook approximately 1 cm from the edge in the corners of the upper horizontal and large horizontal shelves.
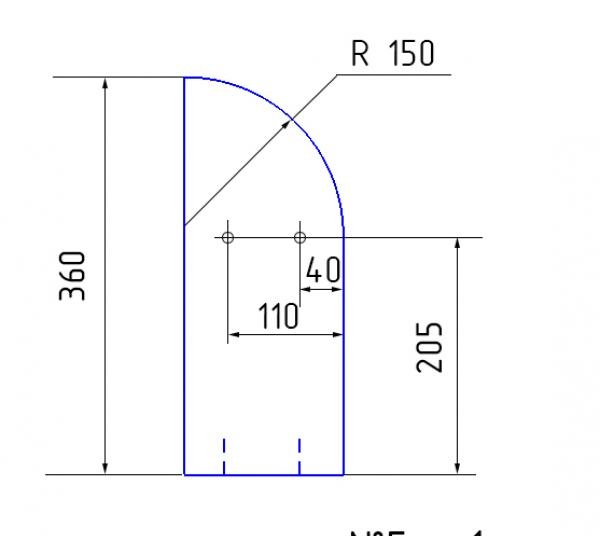
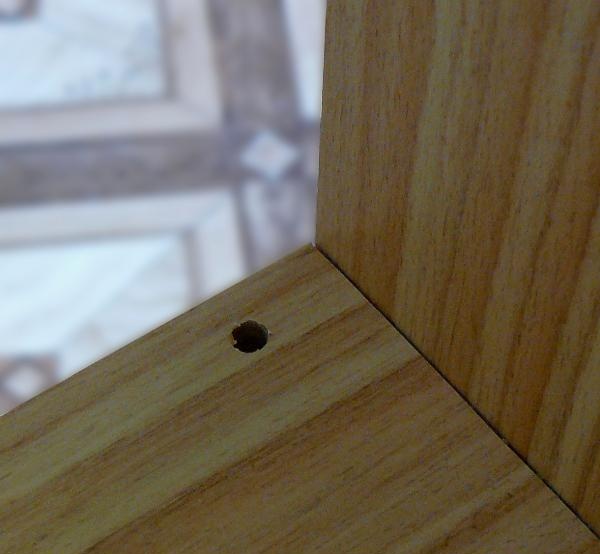
After all the parts are ready, we clean them. We smoothly clean the radial areas. If there are defects on the plywood, we putty and clean it. We coat it with varnish on all sides. To make the surface decorative, we cover it with film. Don't forget to mark the holes. The parts are ready for assembly. Assembly order. We attach all vertical elements to the longest horizontal part No. 1. Then we screw in the remaining horizontal ones. We attach the shelf to the wall. We mark the installation locations of the dowel hooks. We install hooks. We hang a shelf. All.

For this you will need:
- plywood 10 mm thick;
- jigsaw;
- drill, drill bits;
- screws (self-tapping screws) - 16 pieces;
- dowel-hook - 2 pieces;
- sanding paper;
- varnish;
- self-adhesive film;
- pencil, compass, ruler.

The shelf consists of seven parts, two of them are identical in pairs.


All parts are cut with a jigsaw with a fine-toothed file from multi-layer plywood 10 mm thick. The parts are fastened with 3.5x40 yellow (golden) screws with a countersunk head. Places for screws are marked only on planes.


We drill holes so that the screw can pass freely, and we countersink the holes. We drill holes in the ends in the middle of the thickness of the plywood; the location of the holes is easy to calculate yourself.To attach the shelf to the wall, drill holes for the dowel-hook approximately 1 cm from the edge in the corners of the upper horizontal and large horizontal shelves.


After all the parts are ready, we clean them. We smoothly clean the radial areas. If there are defects on the plywood, we putty and clean it. We coat it with varnish on all sides. To make the surface decorative, we cover it with film. Don't forget to mark the holes. The parts are ready for assembly. Assembly order. We attach all vertical elements to the longest horizontal part No. 1. Then we screw in the remaining horizontal ones. We attach the shelf to the wall. We mark the installation locations of the dowel hooks. We install hooks. We hang a shelf. All.

Similar master classes
Particularly interesting
Comments (1)

