Photo collage of children's photographs
Over the years, children's photographs become the most valuable property in the house, especially for loving parents. Children grow up very quickly and sometimes it is so difficult to remember their earlier childhood. Only photos will help to revive all these past moments and the brightest feelings.
Anyone can create a “corner of memories” in their home. This is both pleasant and very memorable, because there is no better decoration for your native walls than the story of your own life.
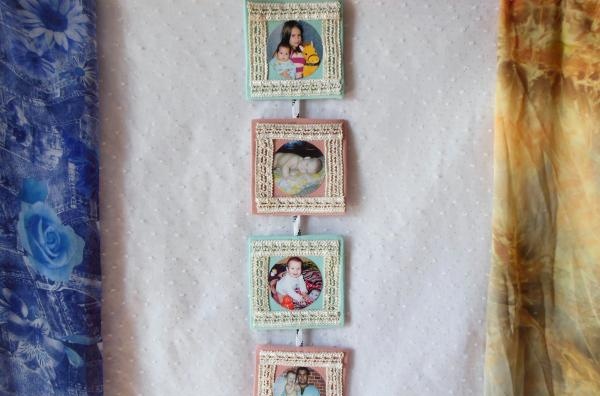
These photo frames are divided into two color zones, which in real life refer to two different children (or more precisely, genders) - a boy and a girl. The “blue zone” is reserved for the son, and the “pink” zone for the daughter. Therefore, the selection of materials here is appropriate: pink + blue stretch fabrics and white openwork braid for the outline of the frames. It is better to use a piece of linoleum as a base. This is a very elastic and pliable material, but at the same time it is very elastic and durable.
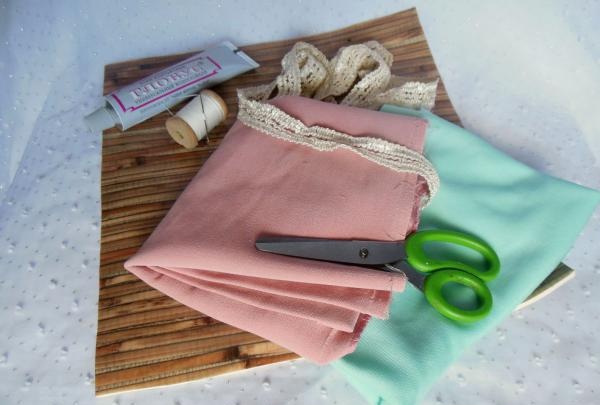
We make 4 small squares (12x12 cm) from linoleum, marking them with a marker or felt-tip pen on the front surface of the material.
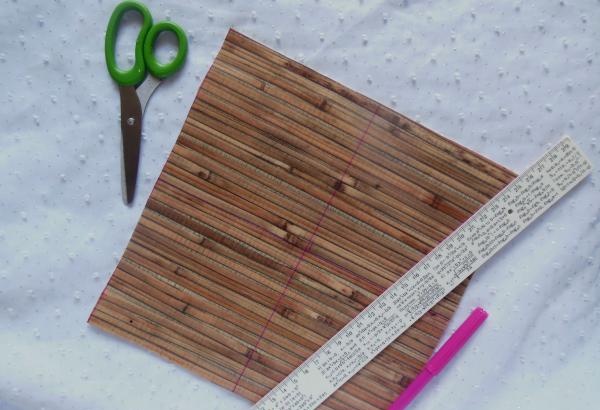
Then we cut out each square and cover it with fabric, sewing it along the contour with a regular needle and strong thread.
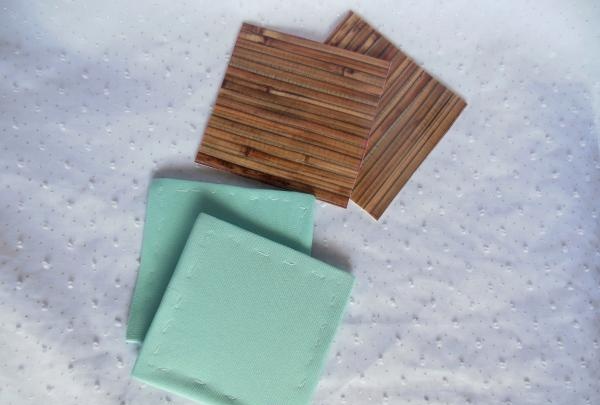
Linoleum is quite easy to pierce, and the elastic fabric lays flat and does not bunch up in the corners. In total you need to make 2 pink and 2 blue squares.
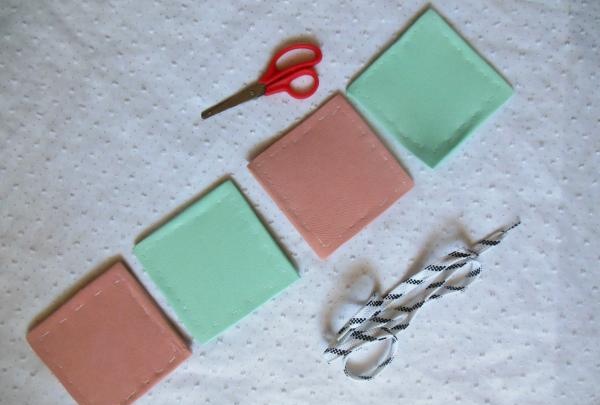
The frames can be connected either in series or in parallel, crosswise or T-shaped. And an ordinary shoe lace can also serve as a holding base.
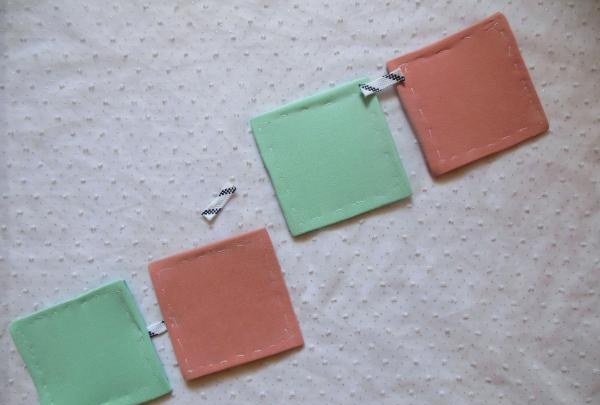
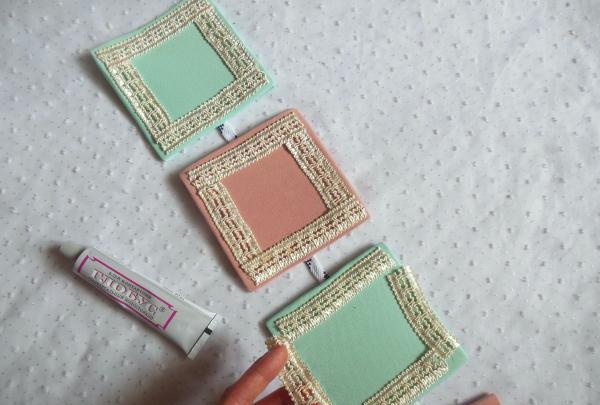
Now the stitched frames need to be decorated with braid. It is better to glue it using any polymer waterproof glue.
Round photographs will look very impressive in square frames. Firstly, the circle will not cover the entire colored background, and secondly, it will create a certain contrast of shapes (circle-square).
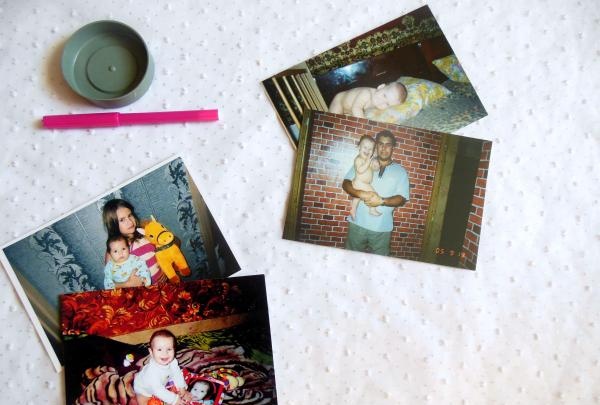
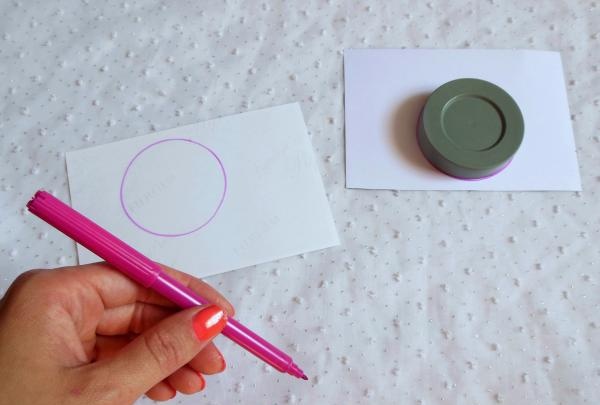
Therefore, we outline any round template on the back of the selected photos, and then cut out each individual image.
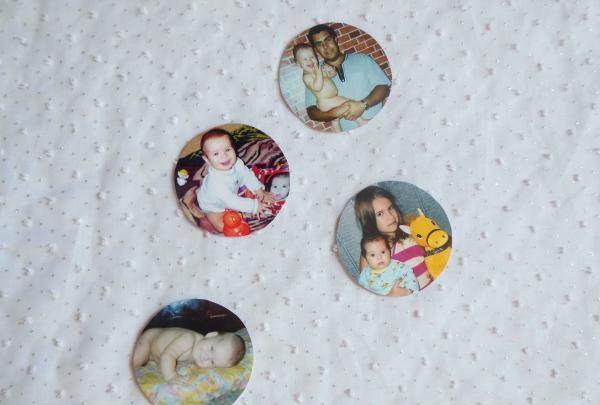
All that remains is to distribute the pictures in their places and carefully glue them.
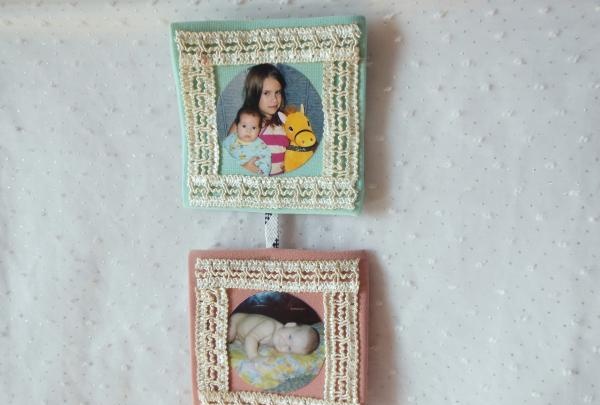
And to hang the composition on the wall, you just need to attach a loop at the back.
And now our photo decoration is completely ready!
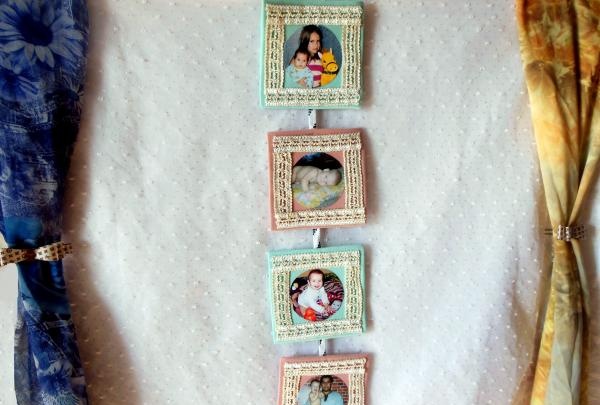
Happy memories to everyone in a warm family circle!
Anyone can create a “corner of memories” in their home. This is both pleasant and very memorable, because there is no better decoration for your native walls than the story of your own life.

These photo frames are divided into two color zones, which in real life refer to two different children (or more precisely, genders) - a boy and a girl. The “blue zone” is reserved for the son, and the “pink” zone for the daughter. Therefore, the selection of materials here is appropriate: pink + blue stretch fabrics and white openwork braid for the outline of the frames. It is better to use a piece of linoleum as a base. This is a very elastic and pliable material, but at the same time it is very elastic and durable.

We make 4 small squares (12x12 cm) from linoleum, marking them with a marker or felt-tip pen on the front surface of the material.

Then we cut out each square and cover it with fabric, sewing it along the contour with a regular needle and strong thread.

Linoleum is quite easy to pierce, and the elastic fabric lays flat and does not bunch up in the corners. In total you need to make 2 pink and 2 blue squares.

The frames can be connected either in series or in parallel, crosswise or T-shaped. And an ordinary shoe lace can also serve as a holding base.

Now the stitched frames need to be decorated with braid. It is better to glue it using any polymer waterproof glue.

Round photographs will look very impressive in square frames. Firstly, the circle will not cover the entire colored background, and secondly, it will create a certain contrast of shapes (circle-square).

Therefore, we outline any round template on the back of the selected photos, and then cut out each individual image.


All that remains is to distribute the pictures in their places and carefully glue them.

And to hang the composition on the wall, you just need to attach a loop at the back.
And now our photo decoration is completely ready!

Happy memories to everyone in a warm family circle!
Similar master classes
Particularly interesting
Comments (1)

