Basket for children's toys
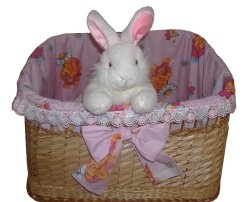
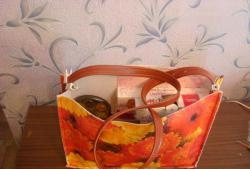
When there are small children in the house, all the rooms turn into a warehouse for a wide variety of toys. There are so many of them that there is no longer enough space to store them. Therefore, we have to periodically go through toys, throw away broken ones, donate them, give them to kindergartens and clinics. And what remains is put into boxes or baskets for toys. In order not to spend money on a basket, you can sew it yourself.
To make such a basket you need things that every housewife has:
- Centimeter or pancake ruler for cutting
- Fabric, preferably thick and not bright colors
- Pins and scissors
- Needle and thread. And if you have a sewing machine, then that’s great.
- Iron and ironing board
- For the template, any large round-shaped object. This could be a lid from a large saucepan or a plate.
Cutting fabric and making a basket.
1) Place the fabric wrong side out on the table.
2) Place a template on it.
3) Trace the template in a circle with a dotted line.
4) Cut out a circle and measure its circumference.
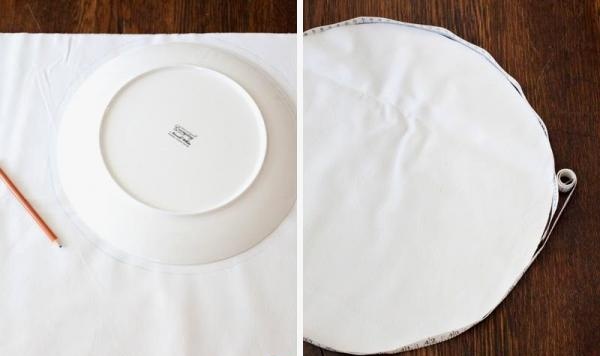
5) The length of the fabric for the walls of the basket must correspond to the length of the cut out circle (bottom).Don't forget about the seams, so add another five centimeters.
6) The width of the fabric depends on your desire. If you want a tall basket, make the width larger; if you want a low one, then make the width smaller.
7) Leave an allowance for the edge. The wider it is, the more times the fabric can be folded, which means the basket will be stiffer.
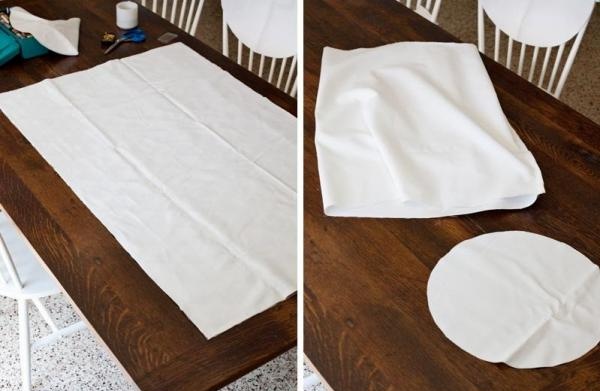
8) With the wrong side out, fold the fabric in half and pin it together. Attach to the bottom. Everything should fit together. If everything goes well, stitch the fabric for the walls where they are pinned together.
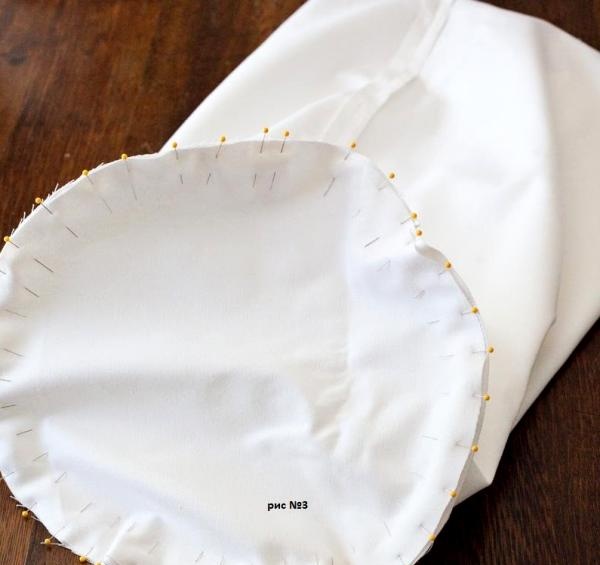
9)Now secure the bottom to the walls with pins. Sew around the circumference.
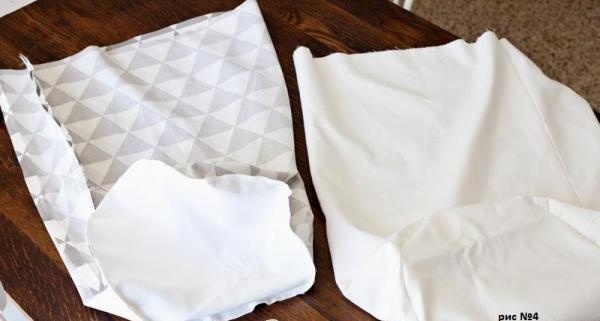
10) To make the basket denser, you can sew another cover and place it inside the basket, connect their edges and stitch them.
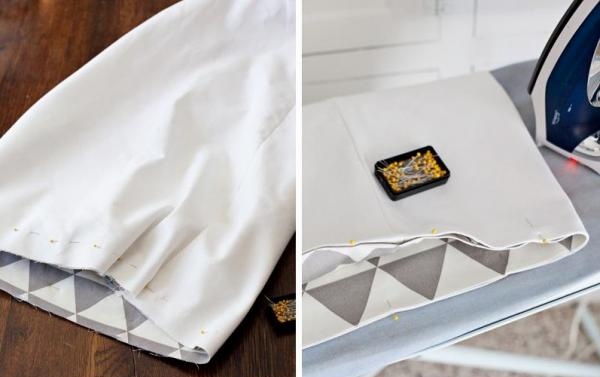
11) Iron all the seams and the basket itself and it is ready for use.
To make such a basket you need things that every housewife has:
- Centimeter or pancake ruler for cutting
- Fabric, preferably thick and not bright colors
- Pins and scissors
- Needle and thread. And if you have a sewing machine, then that’s great.
- Iron and ironing board
- For the template, any large round-shaped object. This could be a lid from a large saucepan or a plate.
Cutting fabric and making a basket.
1) Place the fabric wrong side out on the table.
2) Place a template on it.
3) Trace the template in a circle with a dotted line.
4) Cut out a circle and measure its circumference.

5) The length of the fabric for the walls of the basket must correspond to the length of the cut out circle (bottom).Don't forget about the seams, so add another five centimeters.
6) The width of the fabric depends on your desire. If you want a tall basket, make the width larger; if you want a low one, then make the width smaller.
7) Leave an allowance for the edge. The wider it is, the more times the fabric can be folded, which means the basket will be stiffer.

8) With the wrong side out, fold the fabric in half and pin it together. Attach to the bottom. Everything should fit together. If everything goes well, stitch the fabric for the walls where they are pinned together.

9)Now secure the bottom to the walls with pins. Sew around the circumference.

10) To make the basket denser, you can sew another cover and place it inside the basket, connect their edges and stitch them.

11) Iron all the seams and the basket itself and it is ready for use.
Similar master classes
Particularly interesting
Comments (0)

