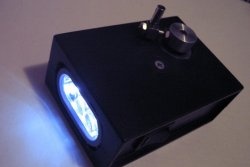
Drill for circuit boards
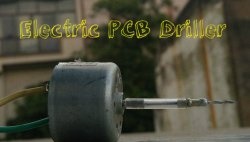
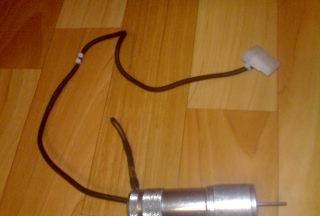
Many novice radio amateurs often experience problems with drilling printed circuit boards. To solve this problem, I can recommend making this device. This is nothing more than a homemade mini drill for circuit boards.
Surely you have already noticed that the body is made of an unnecessary LED flashlight. In general, I did this: first I disassembled the flashlight and pulled out all the insides.
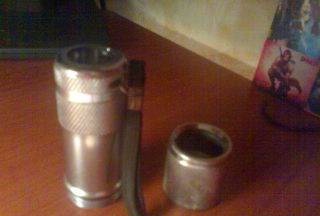
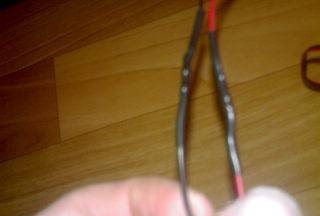
The first and last thing we need is an engine. You can take it out of a CD recorder, for example, as I did. His power supply turned out to be 12 volts. Then you need to solder wires to it, through the flashlight switch, respectively, so that you can turn it on and off.
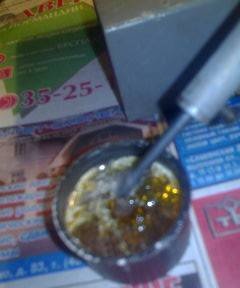
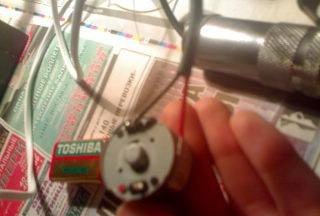
Now we fix the motor in place LEDs, I put the motor on glue. What you glue it to is a matter of taste.
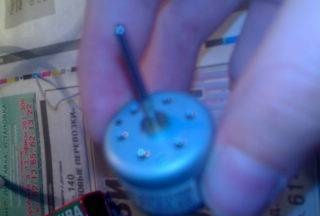
I would like to give you one advice on what to drill and how to attach the drill: you need to select a drill according to the diameter of the motor shaft. And they are connected with a piece of paste from a ballpoint pen about two centimeters long. If you don't have a drill, no problem! You can use a sewing needle after breaking off the tip.
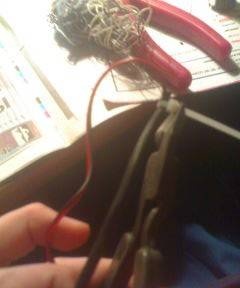
and so now let’s start decorating the project, for example, I wrapped the entire cord in a beautiful tube and now so that all your efforts don’t go to waste, secure the tube with ties, you can buy it at the nearest hardware store, here’s how I tightened the ties
Now let's assemble everything into the flashlight body! All is ready! I supply power from the same CD tape recorder.
Good luck!
Similar master classes
Particularly interesting
Comments (4)

