DIY mini drill
A mini drill can be used to drill holes in textolite boards for the output of radio elements. I personally built a mini drill for this purpose, but you can use it for other purposes as well.
The electric motor for such a mini drill can be removed from an old printer (not a stepper one) or a tape recorder.
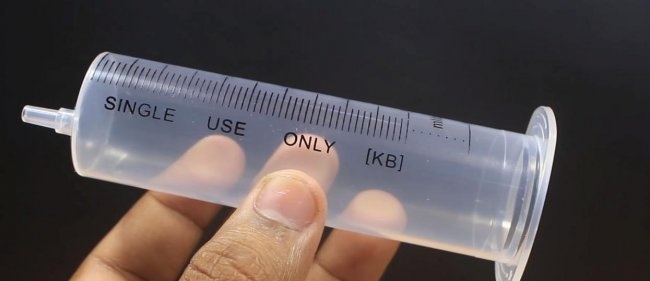
We need a large syringe, 50 milliliters.
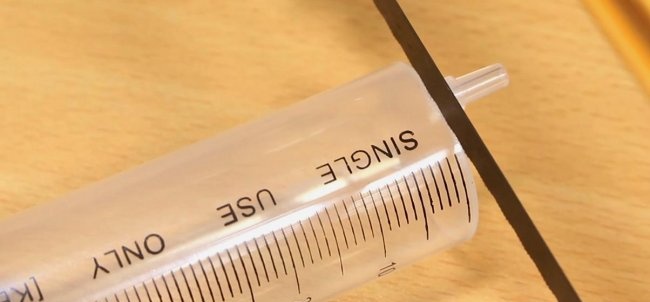
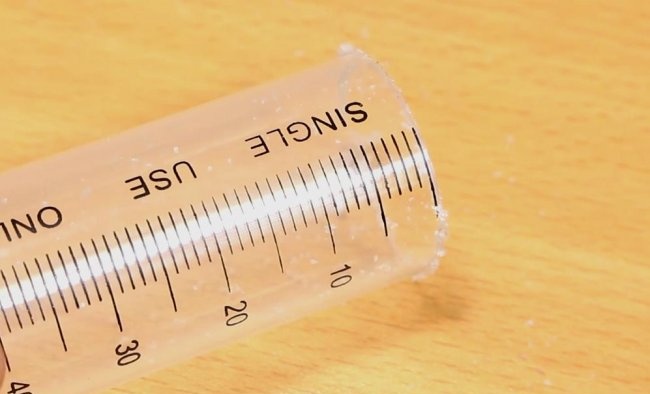
It is necessary to cut off or saw off the upper part.
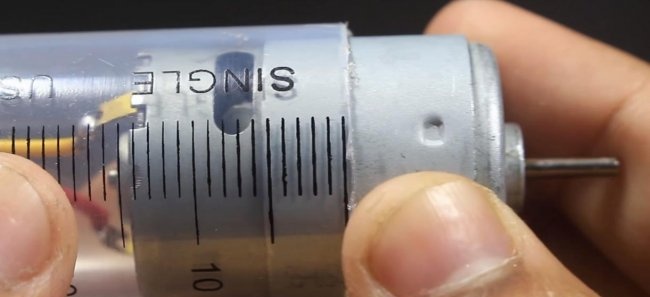
Next, we take a low-voltage motor that matches the diameter of the syringe. Or vice versa: if you have a motor, then select a syringe of the required diameter for it in advance.
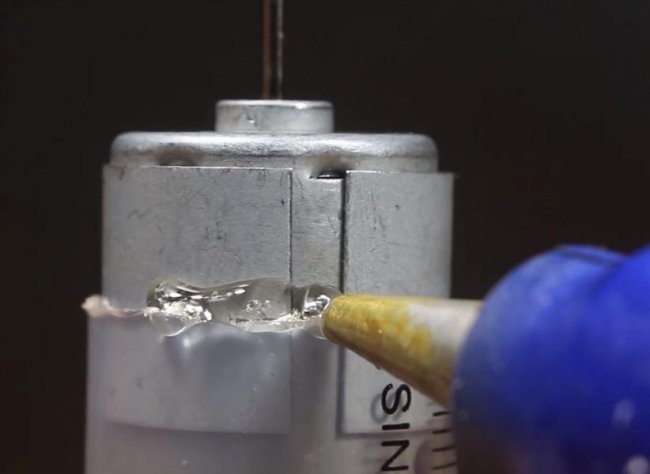
We insert the motor into the syringe. And fix it with hot glue.
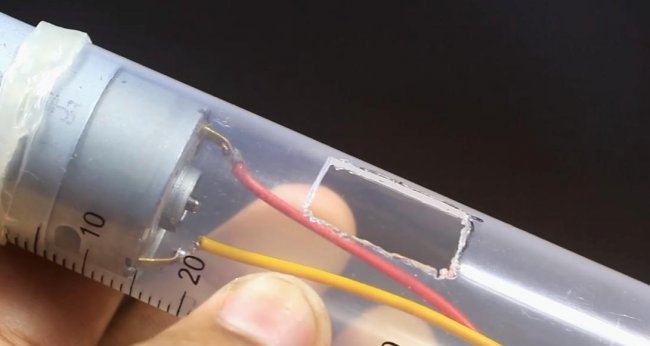
Then we saw a rectangular hole for the switch, with which we will turn our drill on and off.
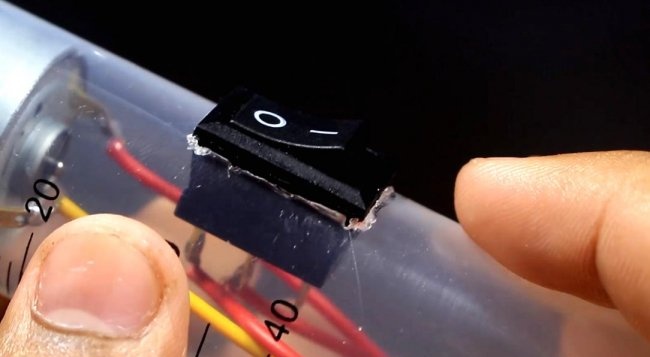
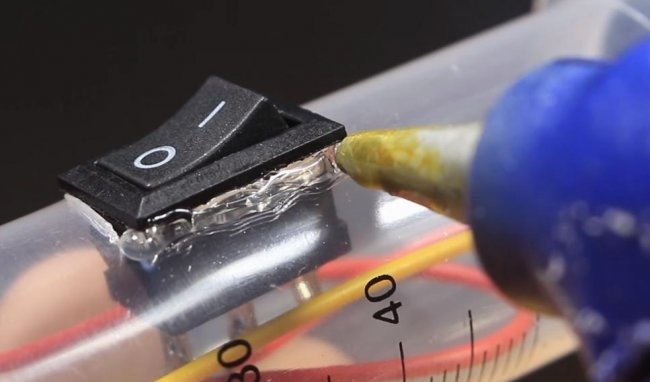
Solder the wires to the switch. We install it in the groove and also fix it with hot glue.
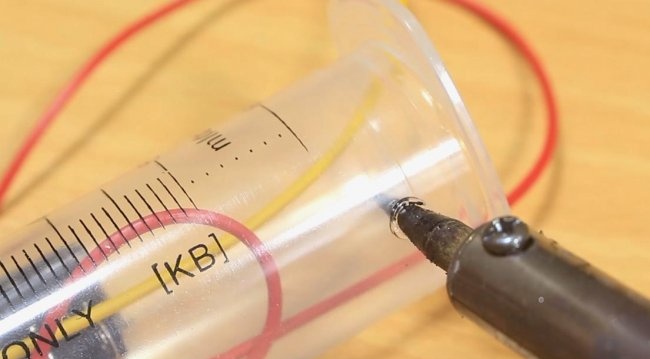
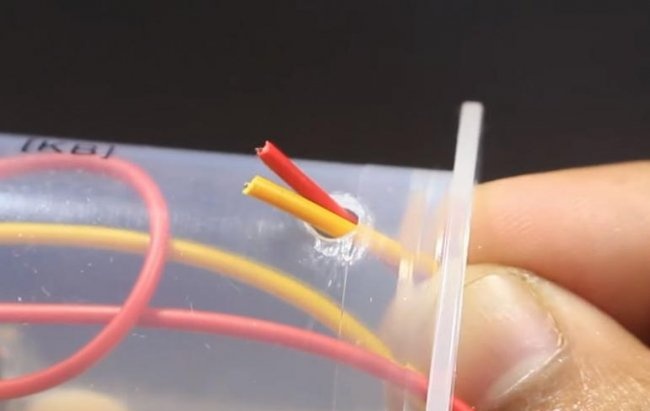
Use a soldering iron to make a hole on the side closer to the bottom. And we pass the wires from the motor.
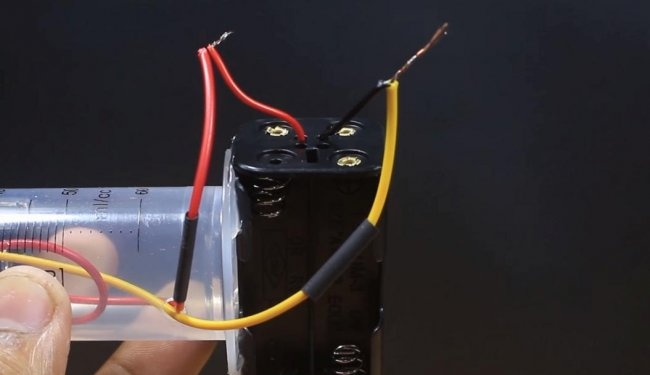
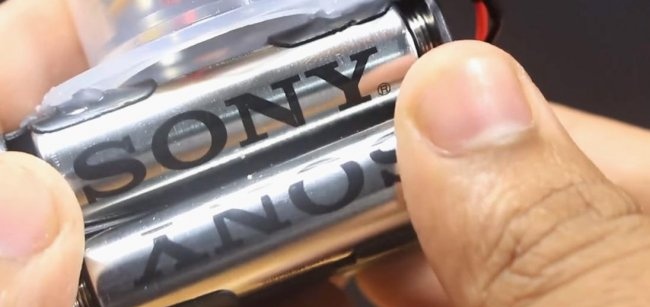
We glue the battery compartment to the end of the syringe with hot glue. The battery compartment for four AA batteries will give us a total of six volts of power for the motor.
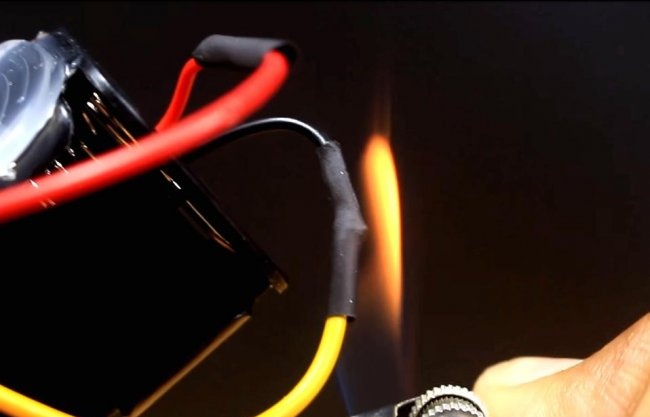
We connect the wires and insulate them with heat shrink tube.
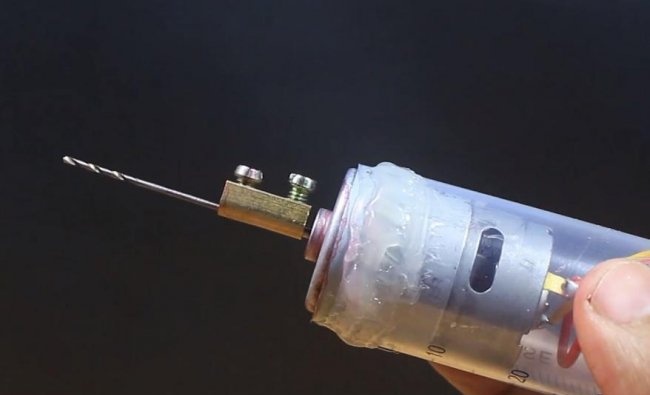
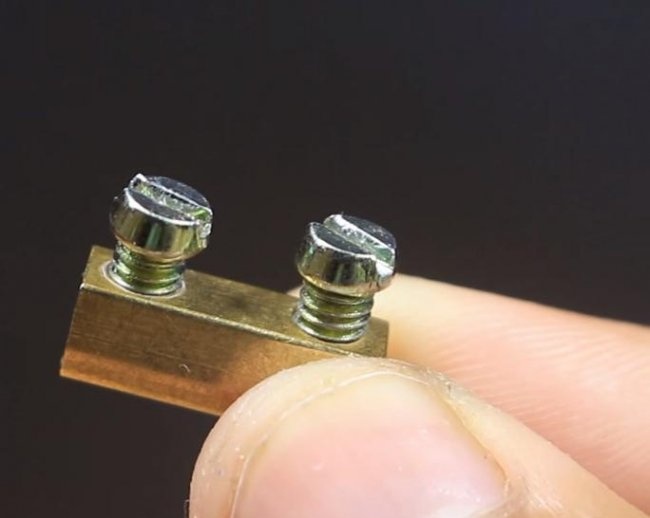
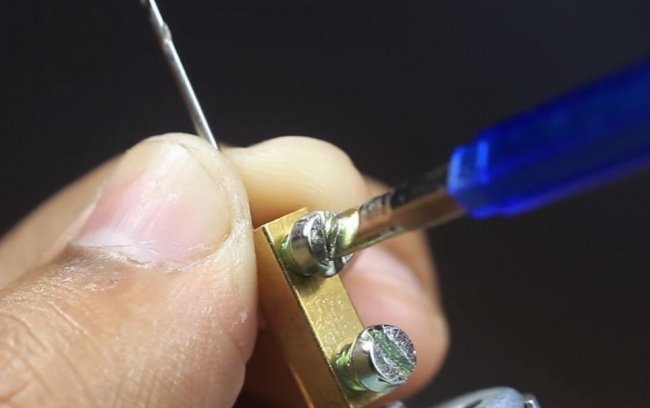
Since we have a budget version of the drill and you probably won’t have a special chuck for drills, we take the connecting terminal from the connecting block. This can be found in any electrical store.
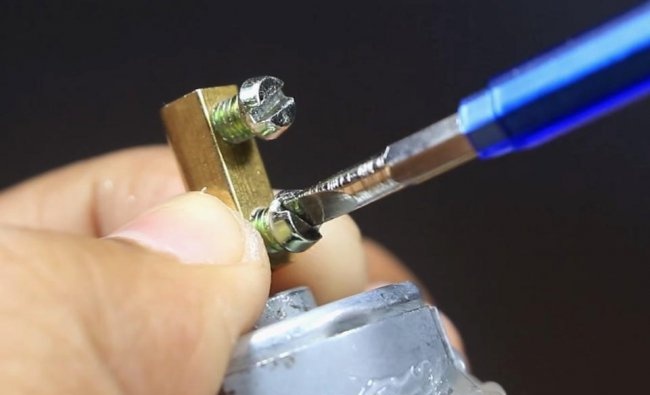
We put the terminal on the motor shaft and tighten it with a screw. We insert the drill and also fix it with a screw. Works fine. Drill runout is minimal.
It drills perfectly, even textolite boards, even plastic, even thin metal.
PS: Instead of a connecting terminal, you can use thick insulation from a wire of the appropriate diameter. Pull it tightly onto the shaft and onto the drill. But it is advisable to use this method as a last resort, since the connection will not be as strong.
Mini drill from a syringe and not only in the video:
Similar master classes
Particularly interesting

Cable antenna for digital TV in 5 minutes

A selection of simple and effective schemes.

Three-phase voltage from single-phase in 5 minutes

Starting a three-phase motor from a single-phase network without a capacitor

Eternal flashlight without batteries

How to make an inexpensive but very powerful LED lamp
Comments (4)

