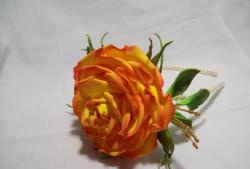
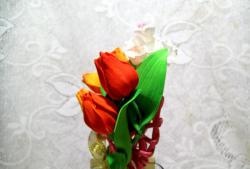
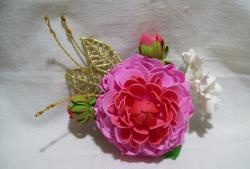
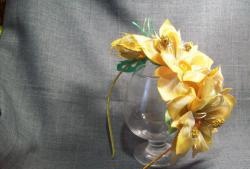
Headband with flowers made of foamiran
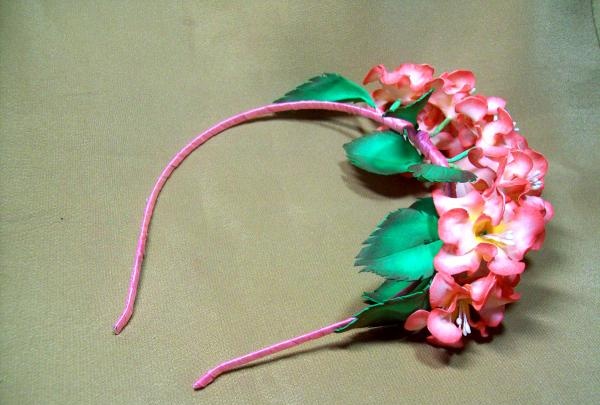
Along the rim, small flowers are located on one half, made of plastic suede without special tools.
To work on the decoration we take the following materials:
- headband.
- acrylic paints.
- scissors.
- wire.
- plastic suede in pink and green colors.
- thin satin ribbon.
- sponge or foam rubber.
- pencil with attached eraser.
- hair curling iron.
- plastic sheet for imprinting texture.
- stamens for flowers.
- toothpick.
- lighter.
- thin green paper.
- “Moment” transparent glue.
The composition will have 11 flowers, each with 2 rows of petals. Therefore, from pink suede you need to cut 22 squares with a side of 4 cm. And from green material you will need 8 rectangles 5 x 3 cm.
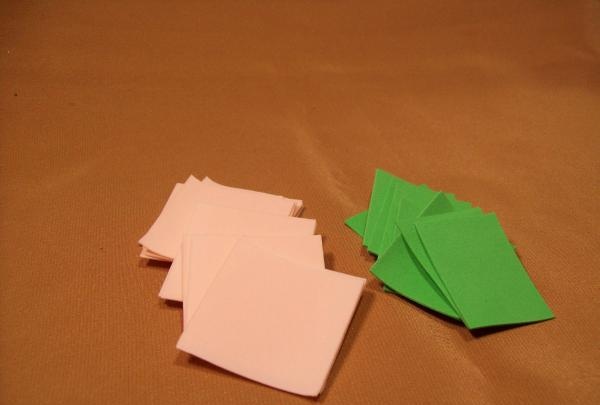
Now on these bases we will make petal circles and leaves.
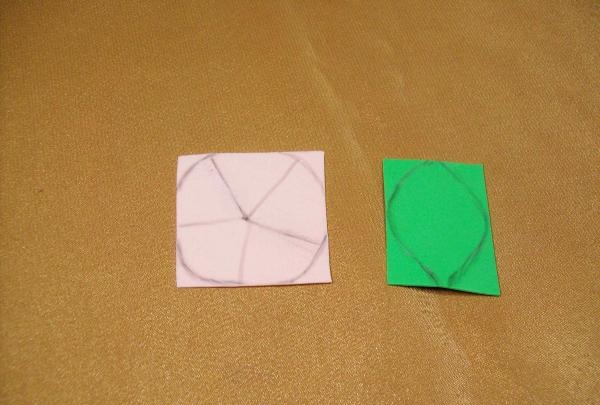
From the green parts we make a leaf shape. And from the pink parts, first cut out a circle, rounding the corners. Then randomly, from the center, divide it into 5 petals, and cut out only along the upper roundings. Next, we trim the edge of each petal towards the center, leaving the middle with a diameter of 1.5 cm intact.
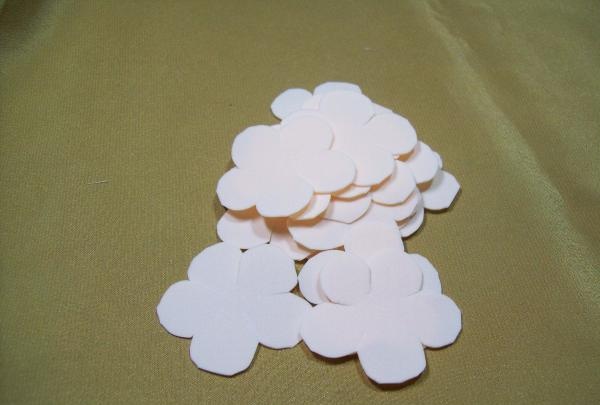
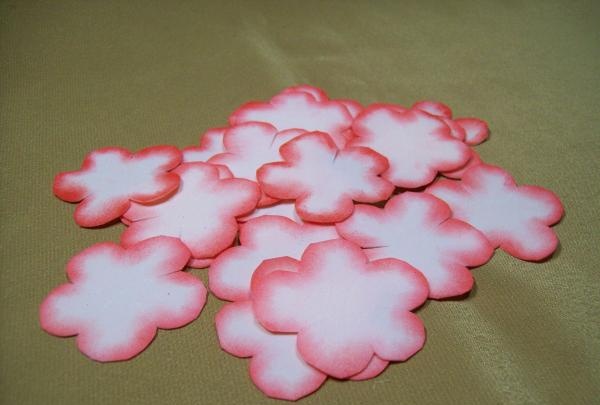
Now let's move on to coloring. We take yellow and red acrylic paint and, using a piece of foam rubber, apply the color to the edges of the petal circles on both sides.
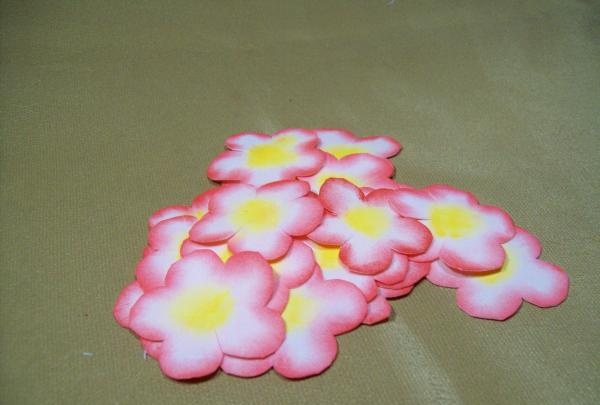
And the yellow center should be applied only on one side.
Leave the petals until completely dry and move on to the leaves. First you need to make veins on them. The first way is to simply draw on the sheet itself with a toothpick. And in the second method, you can use a plastic sheet with a convex structure. But to do this, the leaf itself should be warmed up a little by applying it to a hair curling iron.
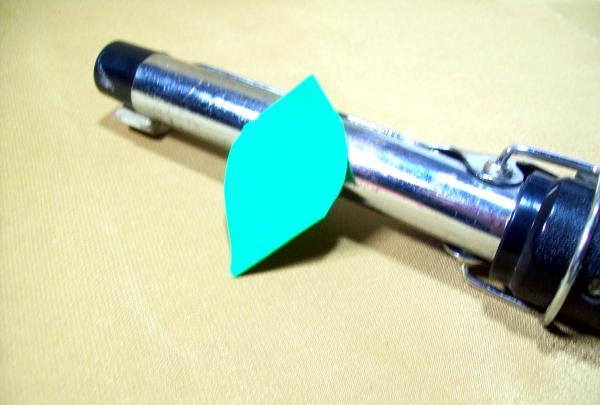
And immediately apply the warm template to the texture, pressing it well.
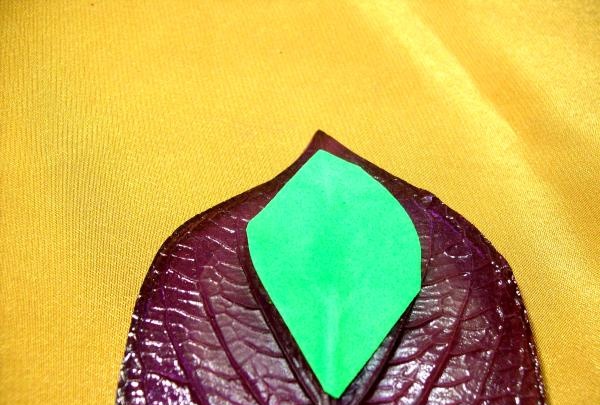
The leaves should have a clear imprint of veins.
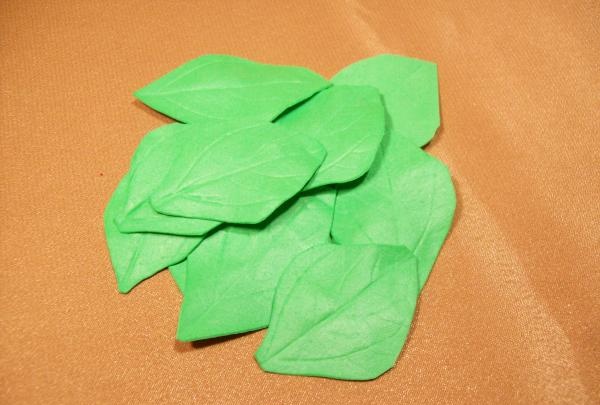
Now these blanks should be painted a little red only along the edges on both sides.
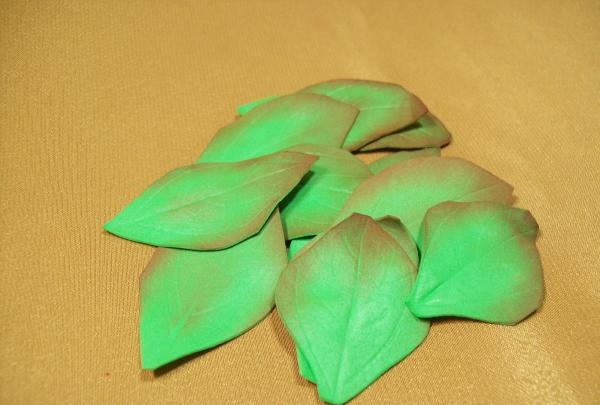
But processing is not complete. Next, you need to trim the shape of the sheet with scissors so that the main vein is in the middle of the workpiece. Then we make small teeth along the edge. Now fold the sheet in half and touch the fold to a warm curling iron for a few seconds, and then press it with your fingers, you get an interesting fold.
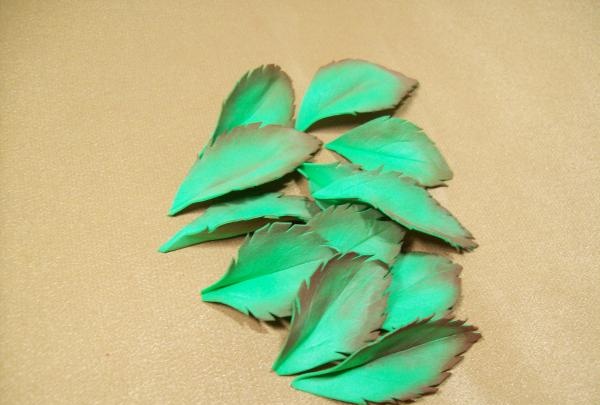
For now, set the leaves aside. Let's return to flowers. Additionally, you will need a pencil with an eraser and a sponge. The petals need to be given a new shape. We heat the circle on the curling iron, place it on the sponge and use an eraser to press the middle of the petal circle deep into the foam.
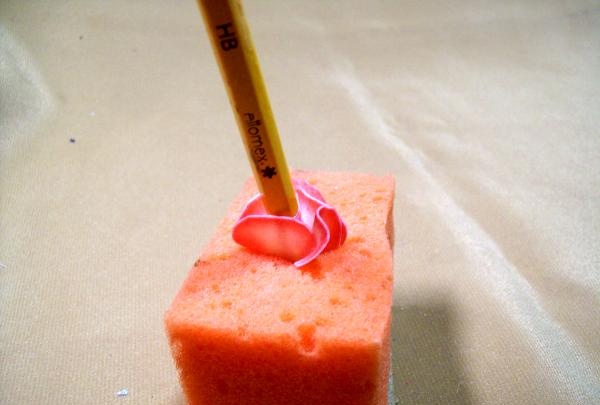
We get a cup-shaped piece. Please note that the yellow part must remain inside.
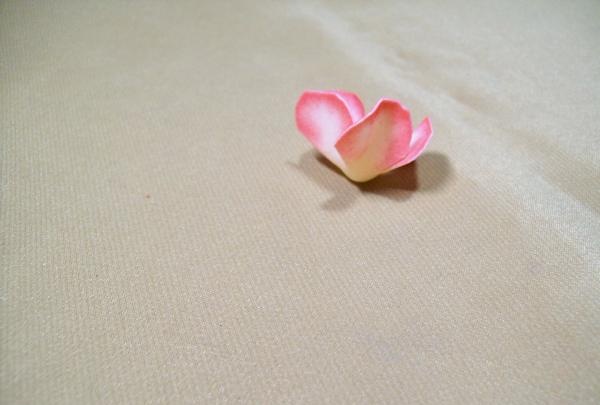
We process all the petals with these movements.
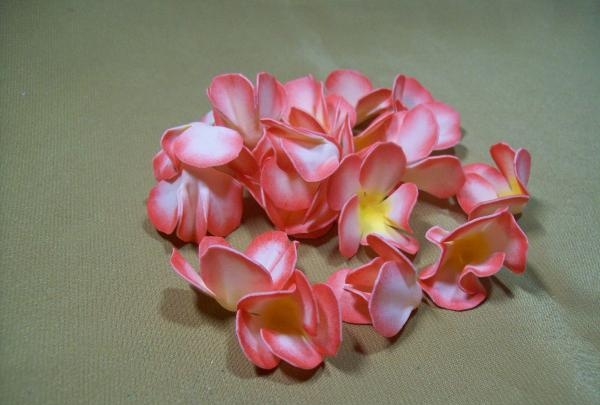
But the beauty of the circles lies in the different treatment. Now you should separately treat each petal of the flower circle with a lighter. On a small part we make two folds. We heat it with a lighter and, while the suede is warm, form a bend with our fingers. This will need to be done on both sides.
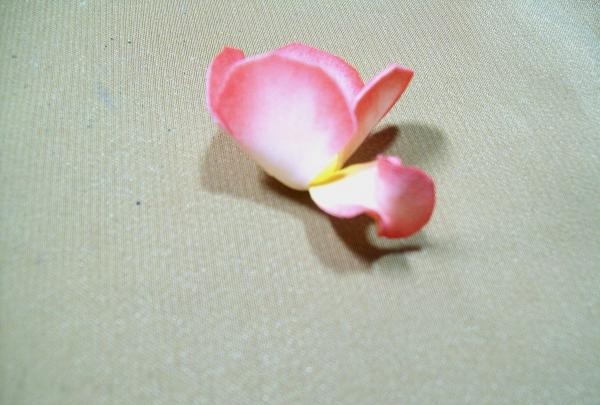
We process all 5 parts of the petal circle.
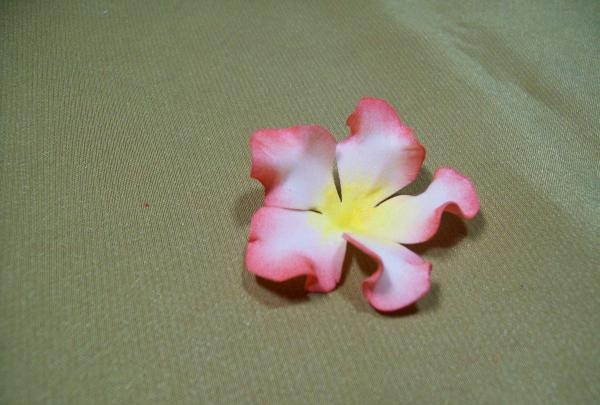
This shape allows the flower to be lush.
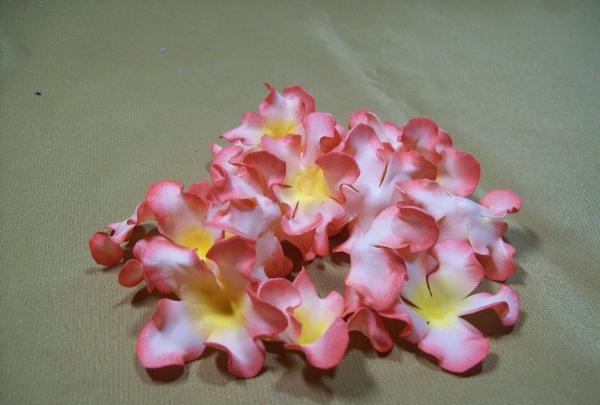
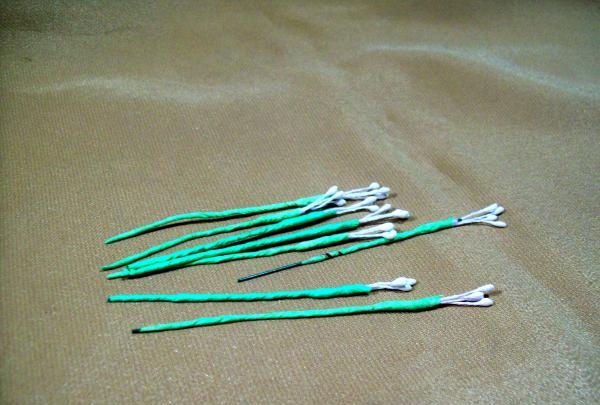
Now let's move on to the stamens. We use a pair of double blanks for one flower. Cut 11 pieces of wire 5 cm long. On one edge of the segment we place the stamens, folded in half, 1 cm above the wire. And secure it a little by winding the thread.
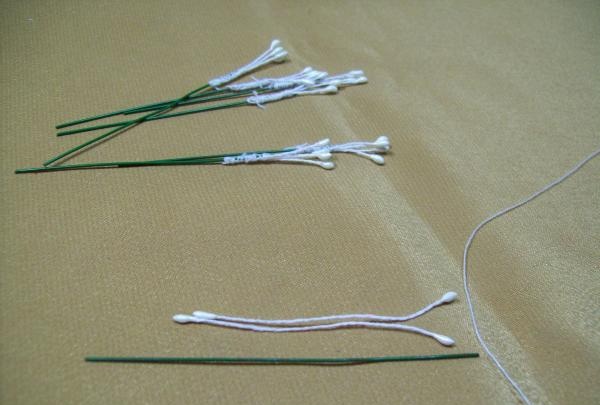
When the stamens are ready, you should immediately cover the entire wire with strips of thin green paper.
Let's move on to the dried leaves. For them, you should also prepare pieces of wire 6 cm long. Then we attach the sheet to the wire, piercing the bottom of the sheet several times.
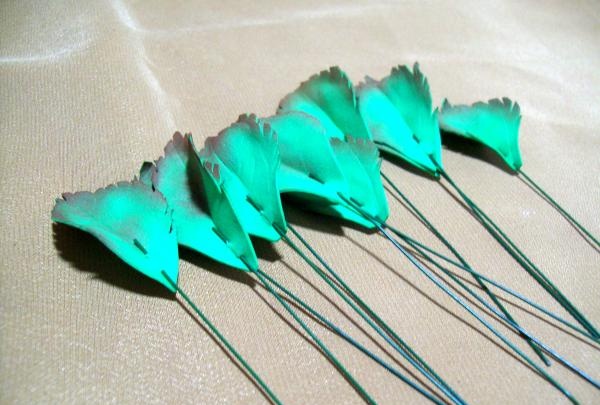
Then you need to smear glue on the front side of the sheet and wire and press it well on the fold. Now we take the petal circles and put them in pairs, two together, gluing them together a little in the center. Then we pierce it in the middle with a toothpick, making a hole.
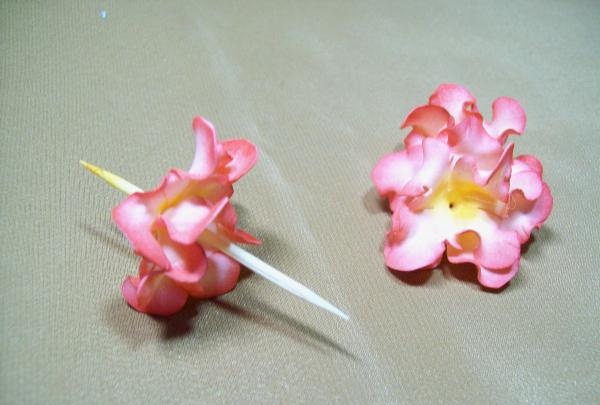
And then we insert the stamens there and again glue the joints.
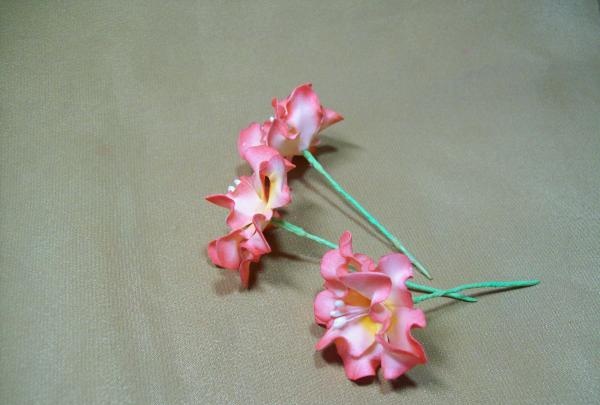
On the finished flowers you need to make wire bends. We retreat 1.5 cm from the workpiece and make a 90-degree bend on the green stems. And we move on to the assembly on the rim.
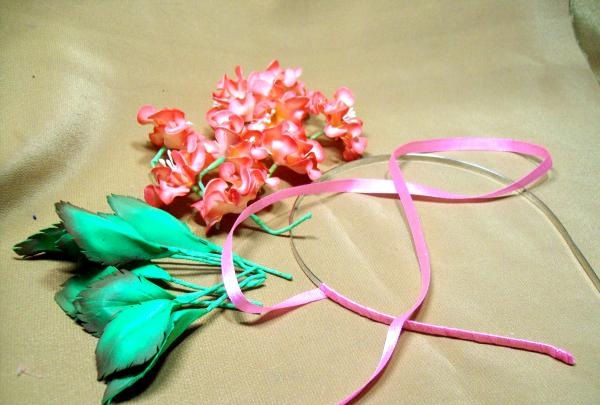
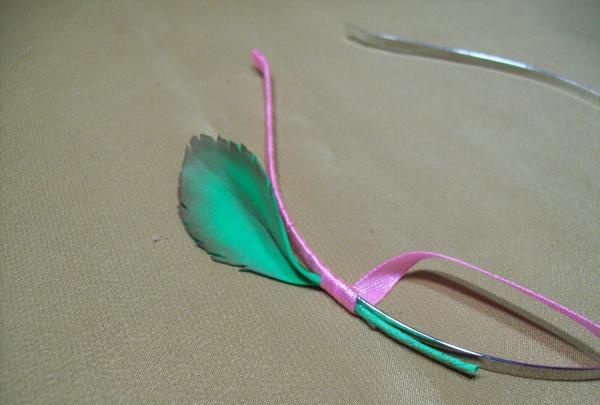
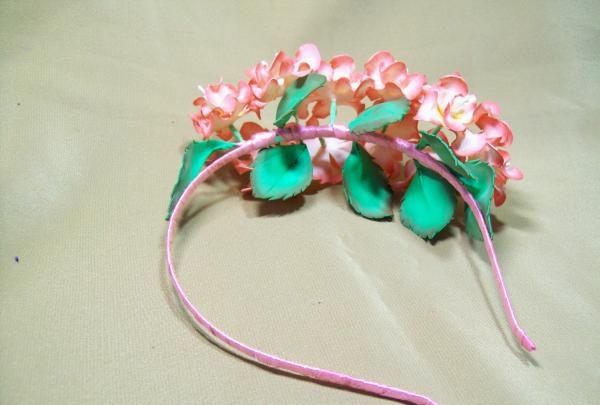
We start wrapping with a thin tape from one edge of the rim, smearing it with glue at small intervals. Having passed the ribbon 10 cm from the edge, we apply the leaf, tilting the corner to the bottom of the rim, and make several turns with the ribbon along the stem.
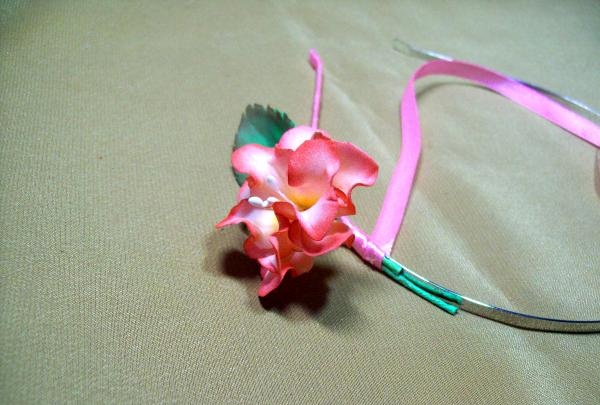
Next we place the flower with the bent part on the rim and also secure it with tape.
We place the following flowers in a checkerboard pattern on the rim.
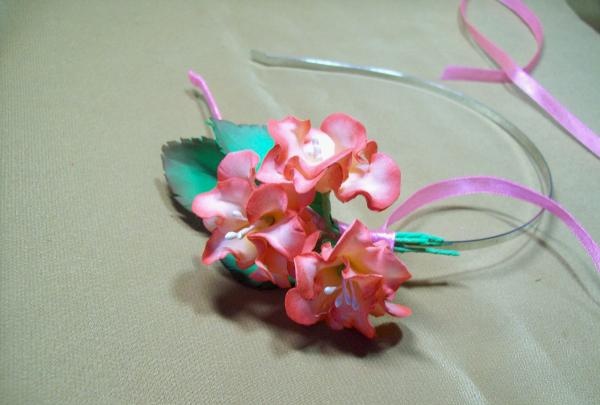
Then you should put a leaf. Next, arrange all the flowers and leaves one by one. And turn the last flower with a leaf to the middle of the rim.
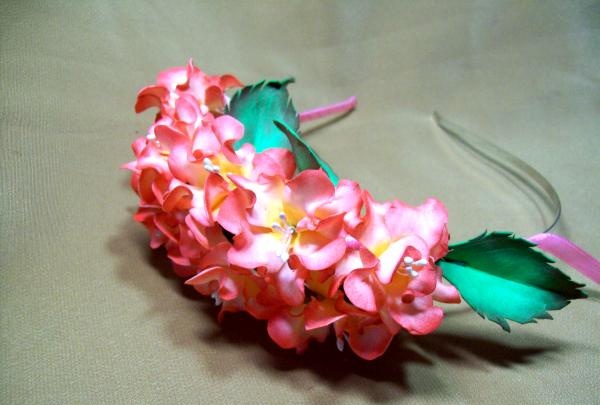
All that remains is to glue the tape to the remaining part of the rim. And the decoration is ready.Thanks to the wire, the flowers can be adjusted at your discretion.
Good luck to all!

To work on the decoration we take the following materials:
- headband.
- acrylic paints.
- scissors.
- wire.
- plastic suede in pink and green colors.
- thin satin ribbon.
- sponge or foam rubber.
- pencil with attached eraser.
- hair curling iron.
- plastic sheet for imprinting texture.
- stamens for flowers.
- toothpick.
- lighter.
- thin green paper.
- “Moment” transparent glue.
The composition will have 11 flowers, each with 2 rows of petals. Therefore, from pink suede you need to cut 22 squares with a side of 4 cm. And from green material you will need 8 rectangles 5 x 3 cm.

Now on these bases we will make petal circles and leaves.

From the green parts we make a leaf shape. And from the pink parts, first cut out a circle, rounding the corners. Then randomly, from the center, divide it into 5 petals, and cut out only along the upper roundings. Next, we trim the edge of each petal towards the center, leaving the middle with a diameter of 1.5 cm intact.

Now let's move on to coloring. We take yellow and red acrylic paint and, using a piece of foam rubber, apply the color to the edges of the petal circles on both sides.

And the yellow center should be applied only on one side.

Leave the petals until completely dry and move on to the leaves. First you need to make veins on them. The first way is to simply draw on the sheet itself with a toothpick. And in the second method, you can use a plastic sheet with a convex structure. But to do this, the leaf itself should be warmed up a little by applying it to a hair curling iron.

And immediately apply the warm template to the texture, pressing it well.

The leaves should have a clear imprint of veins.

Now these blanks should be painted a little red only along the edges on both sides.

But processing is not complete. Next, you need to trim the shape of the sheet with scissors so that the main vein is in the middle of the workpiece. Then we make small teeth along the edge. Now fold the sheet in half and touch the fold to a warm curling iron for a few seconds, and then press it with your fingers, you get an interesting fold.

For now, set the leaves aside. Let's return to flowers. Additionally, you will need a pencil with an eraser and a sponge. The petals need to be given a new shape. We heat the circle on the curling iron, place it on the sponge and use an eraser to press the middle of the petal circle deep into the foam.

We get a cup-shaped piece. Please note that the yellow part must remain inside.

We process all the petals with these movements.

But the beauty of the circles lies in the different treatment. Now you should separately treat each petal of the flower circle with a lighter. On a small part we make two folds. We heat it with a lighter and, while the suede is warm, form a bend with our fingers. This will need to be done on both sides.

We process all 5 parts of the petal circle.

This shape allows the flower to be lush.

Now let's move on to the stamens. We use a pair of double blanks for one flower. Cut 11 pieces of wire 5 cm long. On one edge of the segment we place the stamens, folded in half, 1 cm above the wire. And secure it a little by winding the thread.

When the stamens are ready, you should immediately cover the entire wire with strips of thin green paper.

Let's move on to the dried leaves. For them, you should also prepare pieces of wire 6 cm long. Then we attach the sheet to the wire, piercing the bottom of the sheet several times.

Then you need to smear glue on the front side of the sheet and wire and press it well on the fold. Now we take the petal circles and put them in pairs, two together, gluing them together a little in the center. Then we pierce it in the middle with a toothpick, making a hole.

And then we insert the stamens there and again glue the joints.

On the finished flowers you need to make wire bends. We retreat 1.5 cm from the workpiece and make a 90-degree bend on the green stems. And we move on to the assembly on the rim.

We start wrapping with a thin tape from one edge of the rim, smearing it with glue at small intervals. Having passed the ribbon 10 cm from the edge, we apply the leaf, tilting the corner to the bottom of the rim, and make several turns with the ribbon along the stem.

Next we place the flower with the bent part on the rim and also secure it with tape.

We place the following flowers in a checkerboard pattern on the rim.

Then you should put a leaf. Next, arrange all the flowers and leaves one by one. And turn the last flower with a leaf to the middle of the rim.

All that remains is to glue the tape to the remaining part of the rim. And the decoration is ready.Thanks to the wire, the flowers can be adjusted at your discretion.

Good luck to all!
Similar master classes
Particularly interesting
Comments (1)


