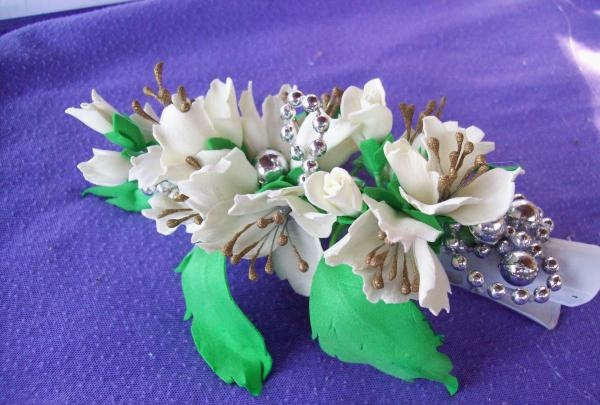
Hairpin made of foamiran “Jasmine”
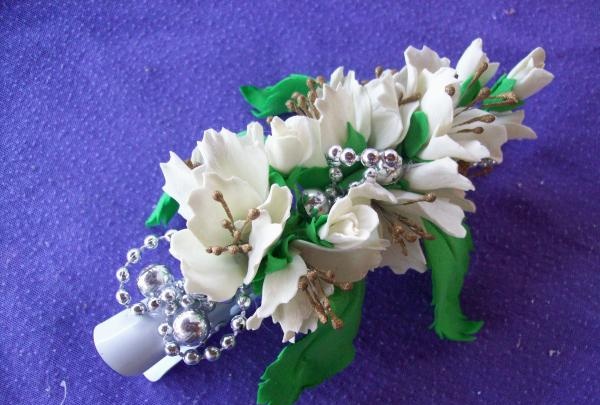
This hairpin will be a great decoration for your hair in the summer.
For production we will need the following materials:
- green corrugated paper.
- plastic suede in white and green.
- lighter.
- scissors.
- stamens for flowers.
- some beads.
- glue gun.
- hair clip.
- floral wire.
Let's prepare a petal template - this will be a blank of four petals with a diameter of 5 cm.
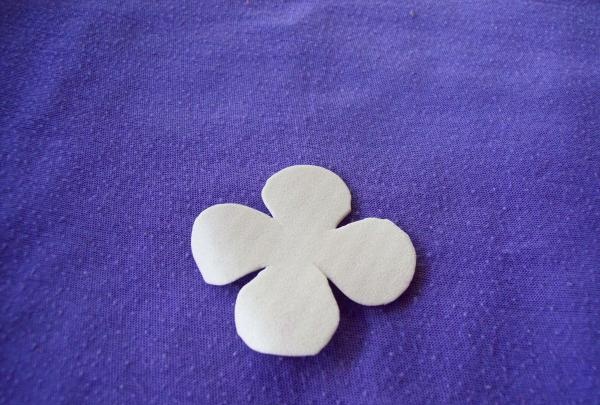
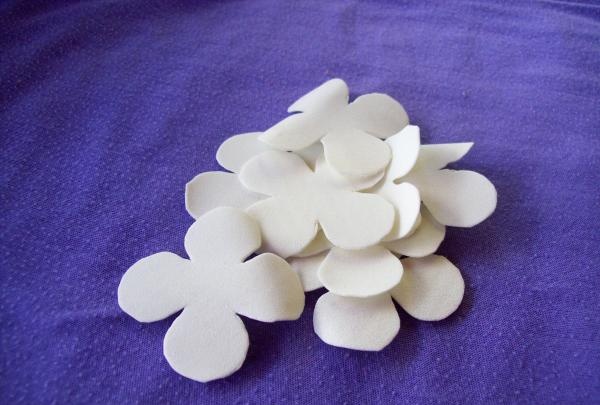
We need to make 8 such blanks.
Now you need to cut teeth into all the petals, along the top edge of each piece.
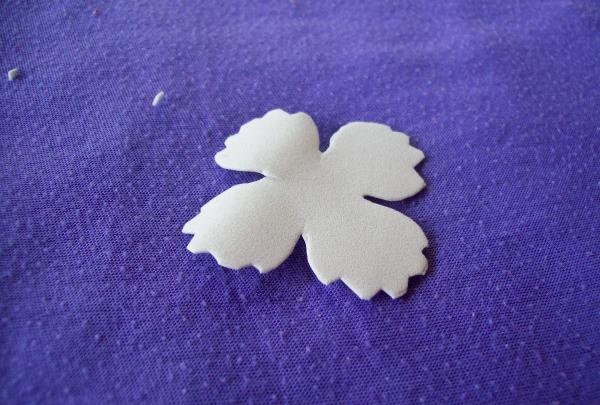
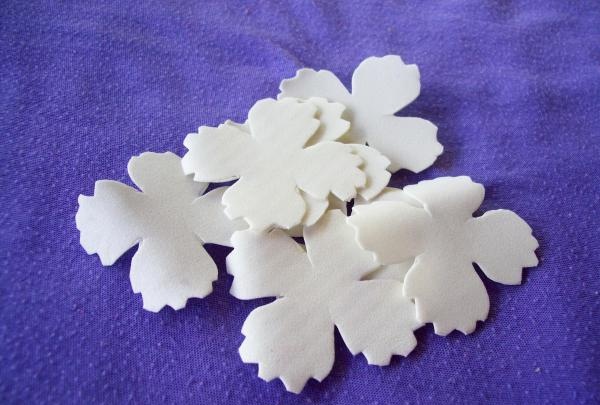
For further work, you need to process the flower petals and knead them with your fingers. Take the petals one by one. And we put its 4 parts on top of each other.
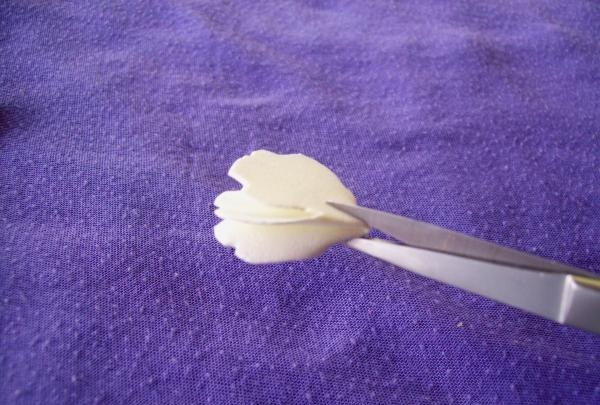
And we twist them together, turning them with our fingers.
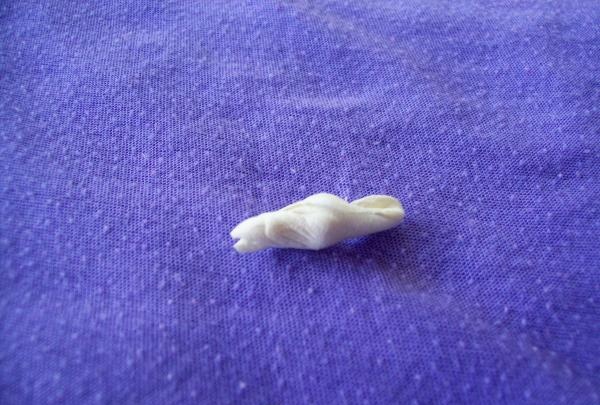
Then we unwind it a little back and with our fingers we stretch each part of the petal, in the middle.
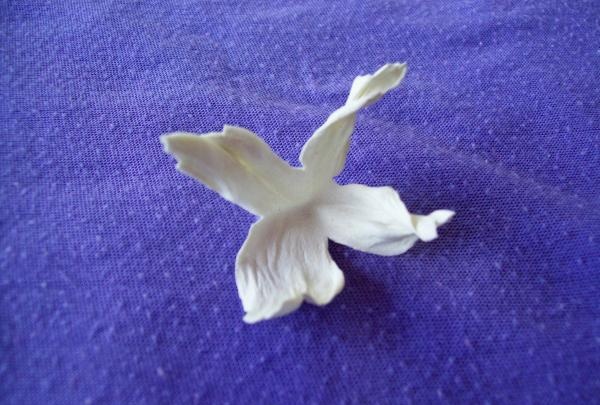
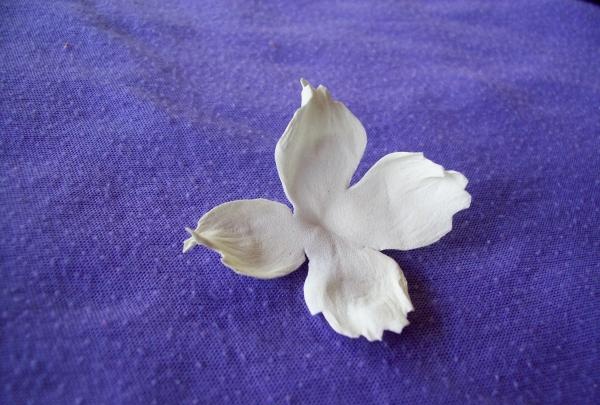
And then we warm up the middle of the petal with a lighter, and use some kind of stick with a rounded edge to create a recess in the workpiece. The recess will be from the inside.
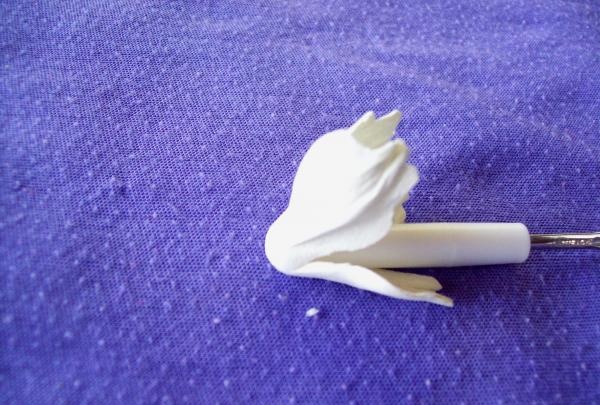
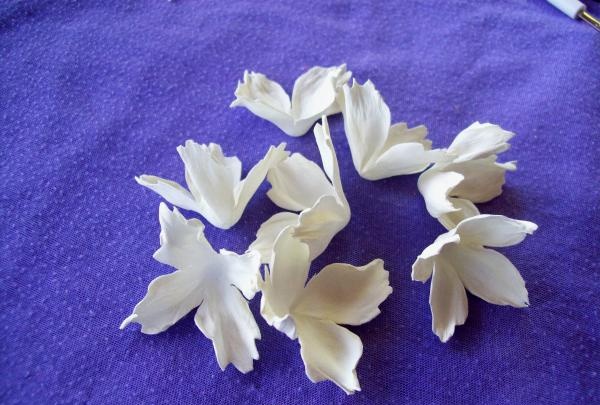
The bases for the flowers are ready. Let's take the stamens. You can use ready-made ones, purchased, or you can make them yourself from beads.
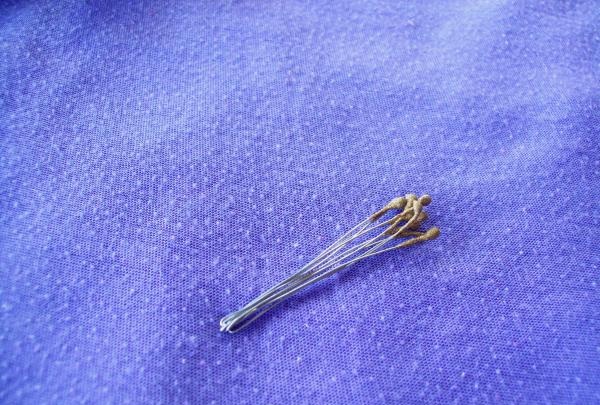
Glue the stamens into the finished flowers with a glue gun.
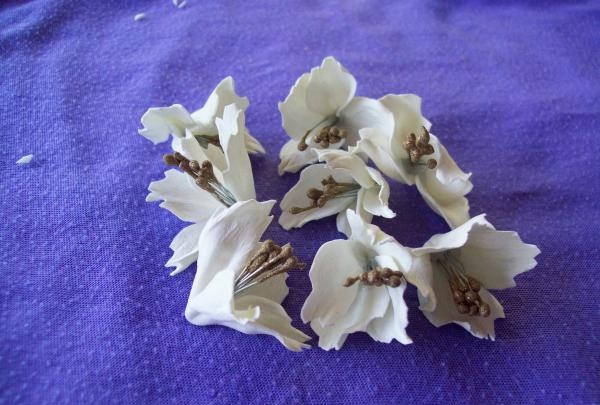
The sepals remained for the flowers. We cut them out from 2x2 cm squares. From them we cut out blanks in the form of a petal with 4 leaves. You need 8 of them.
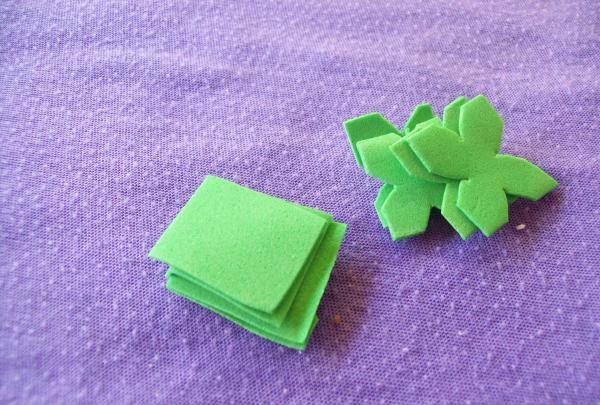
When we cut it out, we also roll the edges with our fingers.
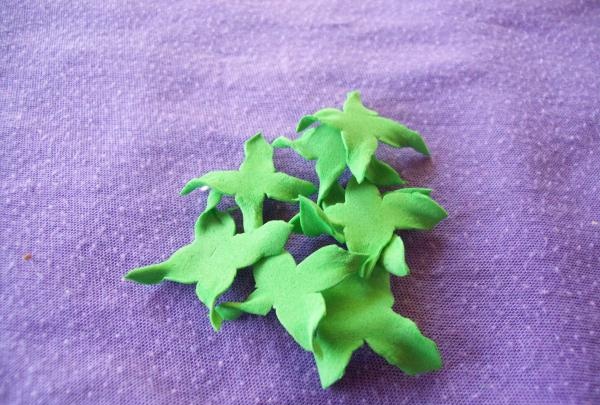
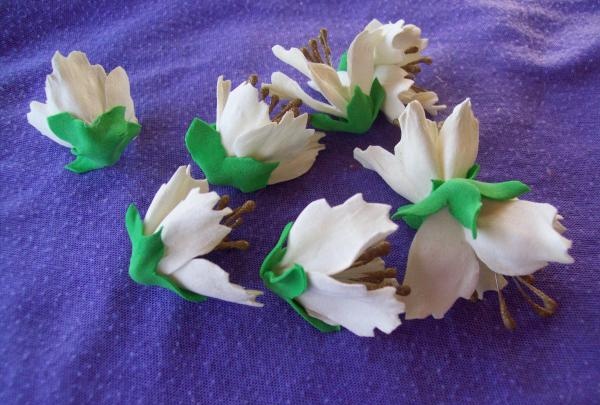
And glue them to the flowers.
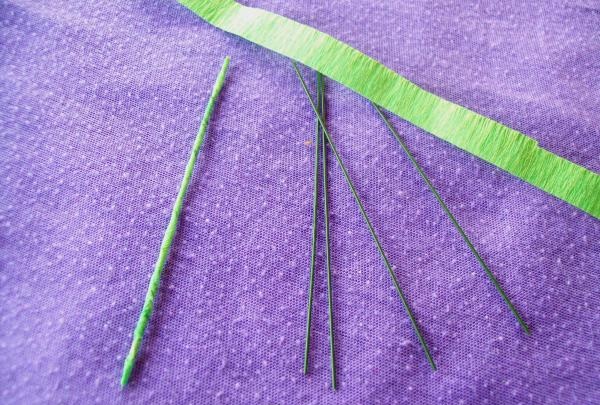
To make a twig, cut the wire 0.8 mm. For the branch itself, 1 piece 8 cm long. For leaves and buds, 10 pieces 5 cm long. And cut thin strips from corrugated paper for gluing this wire.
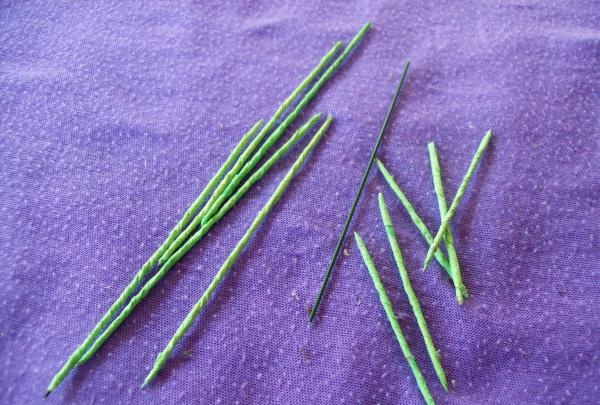
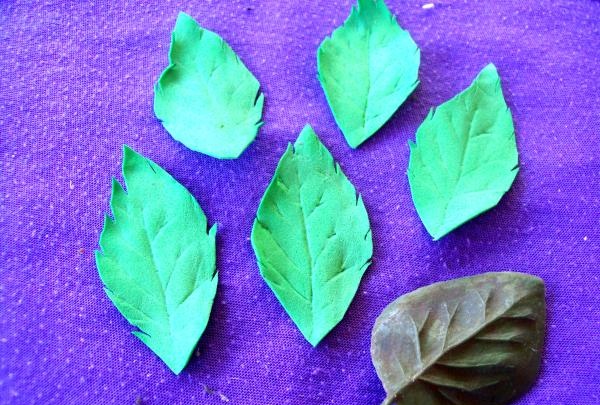
Now we take leaf blanks and also cut out sepals from 0.8x0.8 cm squares for the buds. In the same way as for flowers. And the leaves will be 4x3 cm in size. Cut out 5 of them. We make sharp cuts along the edges.
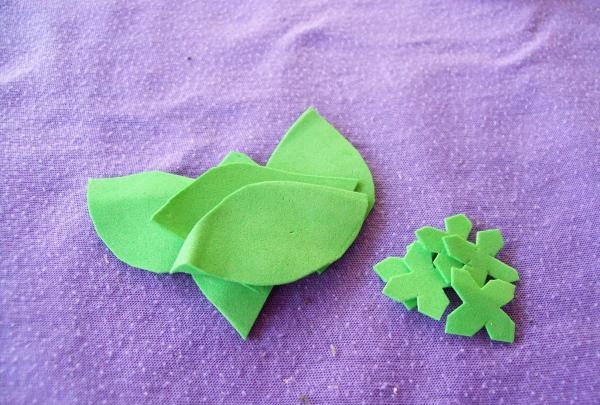
We also scroll them with our fingers and straighten them in the middle.
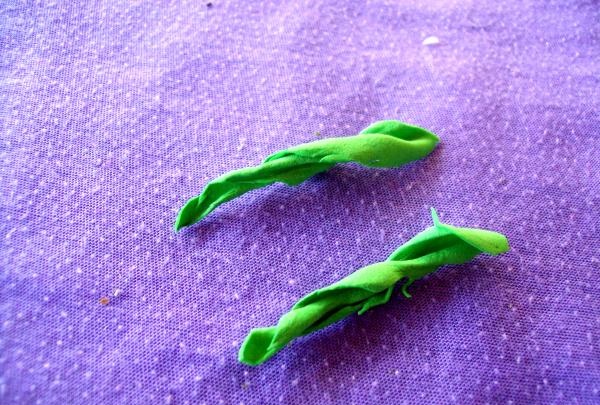
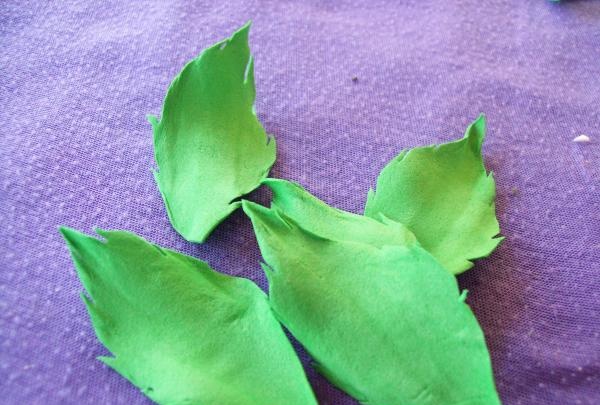
We take a plastic sheet, you can use a bay leaf, and with its help we will make veins in the leaves. You can heat the sheet with a lighter and immediately place it on the plastic base, pressing it well together. The results are beautiful prints. Now, on the reverse side, we glue a 5 cm long glued wire to each sheet. There will be 5 leaves with wires.
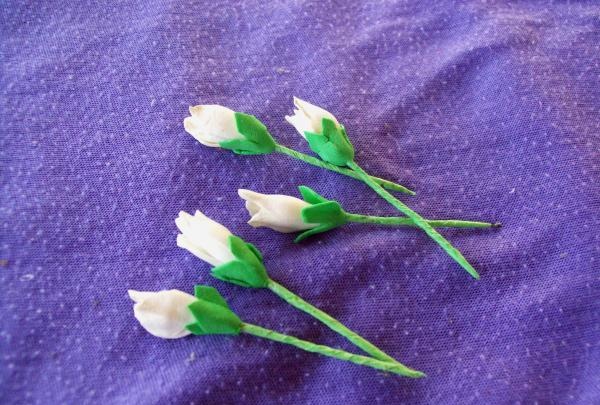
Now let's move on to the buds. The sepals are ready, cut out the white petals from plastic suede. For them we use trimmings after cut flowers. And we cut them out in the shape of small droplets, 5 pieces per 1 bud.
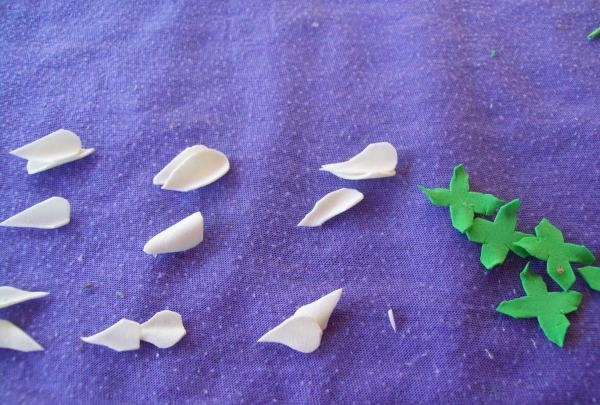
We take the glued wire and attach the white petals to its edge with a glue gun.
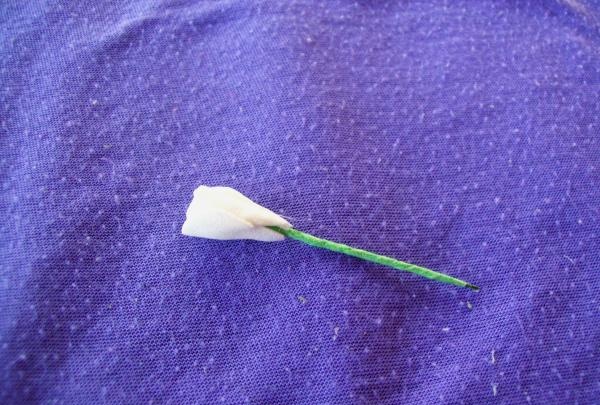
And then we fix the sepals.
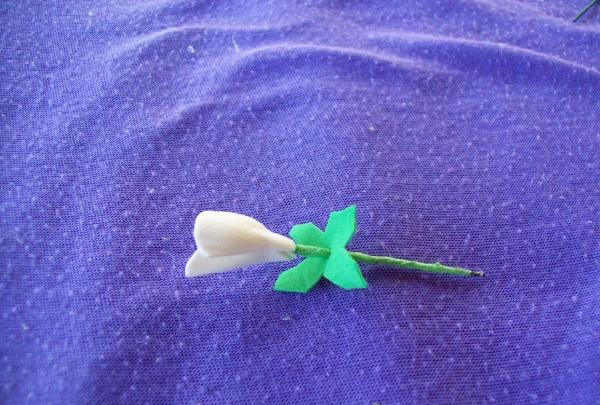
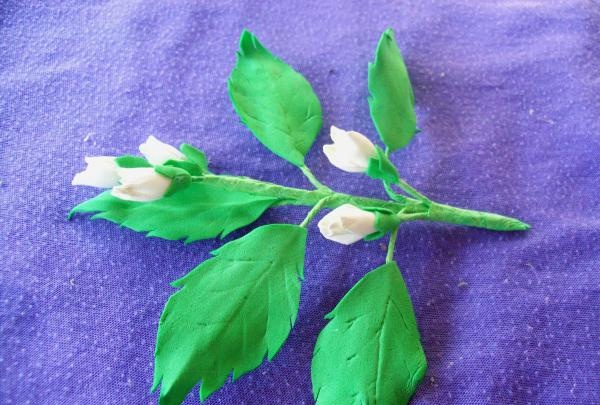
It's time to assemble the branch. We take a main wire 8 cm long and attach a bundle of 3 buds and 1 leaf to the top edge. We cover the connections with corrugated paper.Going lower by 2 cm, we attach 2 more sheets, and after 3 cm we again attach a bunch of two buds and 2 leaves, and wrap the paper around the entire main wire to the edge.
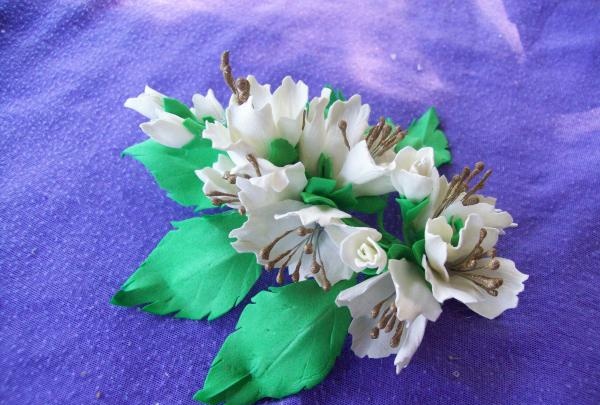
Now we take the finished flowers and fix them on the branch, placing them along the entire length.
Using a glue gun, attach a large hair clip to the wrong side. The decoration is ready. All that remains is to decorate with beads. This can be done as desired.
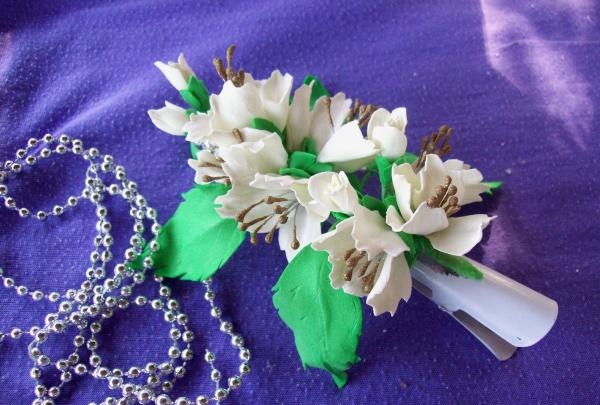
Well, the branch is all decorated, the hairpin is ready.
Good luck to all.

For production we will need the following materials:
- green corrugated paper.
- plastic suede in white and green.
- lighter.
- scissors.
- stamens for flowers.
- some beads.
- glue gun.
- hair clip.
- floral wire.
Let's prepare a petal template - this will be a blank of four petals with a diameter of 5 cm.

We need to make 8 such blanks.

Now you need to cut teeth into all the petals, along the top edge of each piece.


For further work, you need to process the flower petals and knead them with your fingers. Take the petals one by one. And we put its 4 parts on top of each other.

And we twist them together, turning them with our fingers.

Then we unwind it a little back and with our fingers we stretch each part of the petal, in the middle.


And then we warm up the middle of the petal with a lighter, and use some kind of stick with a rounded edge to create a recess in the workpiece. The recess will be from the inside.


The bases for the flowers are ready. Let's take the stamens. You can use ready-made ones, purchased, or you can make them yourself from beads.

Glue the stamens into the finished flowers with a glue gun.

The sepals remained for the flowers. We cut them out from 2x2 cm squares. From them we cut out blanks in the form of a petal with 4 leaves. You need 8 of them.

When we cut it out, we also roll the edges with our fingers.

And glue them to the flowers.

To make a twig, cut the wire 0.8 mm. For the branch itself, 1 piece 8 cm long. For leaves and buds, 10 pieces 5 cm long. And cut thin strips from corrugated paper for gluing this wire.


Now we take leaf blanks and also cut out sepals from 0.8x0.8 cm squares for the buds. In the same way as for flowers. And the leaves will be 4x3 cm in size. Cut out 5 of them. We make sharp cuts along the edges.

We also scroll them with our fingers and straighten them in the middle.


We take a plastic sheet, you can use a bay leaf, and with its help we will make veins in the leaves. You can heat the sheet with a lighter and immediately place it on the plastic base, pressing it well together. The results are beautiful prints. Now, on the reverse side, we glue a 5 cm long glued wire to each sheet. There will be 5 leaves with wires.

Now let's move on to the buds. The sepals are ready, cut out the white petals from plastic suede. For them we use trimmings after cut flowers. And we cut them out in the shape of small droplets, 5 pieces per 1 bud.

We take the glued wire and attach the white petals to its edge with a glue gun.

And then we fix the sepals.


It's time to assemble the branch. We take a main wire 8 cm long and attach a bundle of 3 buds and 1 leaf to the top edge. We cover the connections with corrugated paper.Going lower by 2 cm, we attach 2 more sheets, and after 3 cm we again attach a bunch of two buds and 2 leaves, and wrap the paper around the entire main wire to the edge.

Now we take the finished flowers and fix them on the branch, placing them along the entire length.

Using a glue gun, attach a large hair clip to the wrong side. The decoration is ready. All that remains is to decorate with beads. This can be done as desired.

Well, the branch is all decorated, the hairpin is ready.

Good luck to all.
Similar master classes
Particularly interesting
Comments (0)

