Beautiful and cheap: How to make a Christmas tree toy from glitter foamiran “Shell”
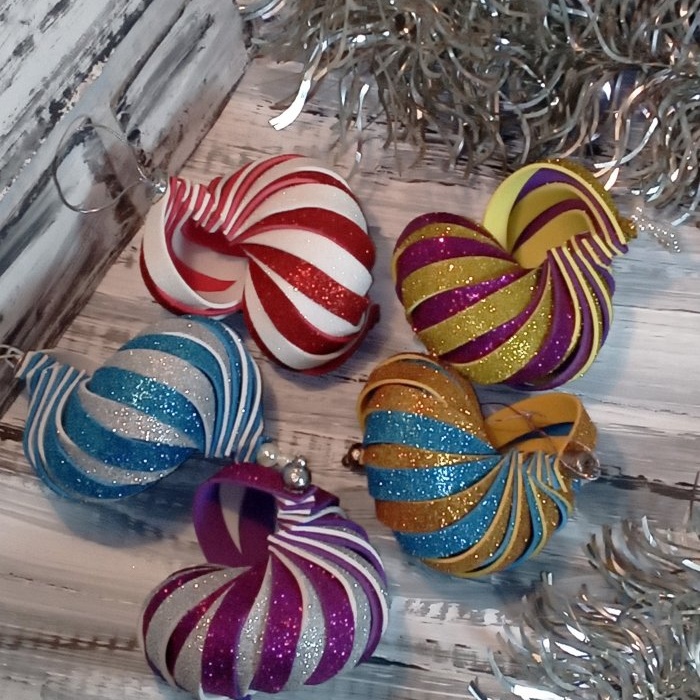
Good afternoon. Everyone's favorite holiday, New Year, is just around the corner. Of course, all people decorate their home for the holiday and approach it with imagination. The stores are full of various New Year's decorations. As they say, for every taste and color. But I want to invite you to make a Christmas tree toy in the shape of a shell with your own hands. You definitely won’t find such a toy on the shelves, because you will make it yourself. It is done easily and quickly.
Deciding on the color of the glitter foamiran. Fortunately, there is a large selection of it in craft stores. I chose silver and blue.
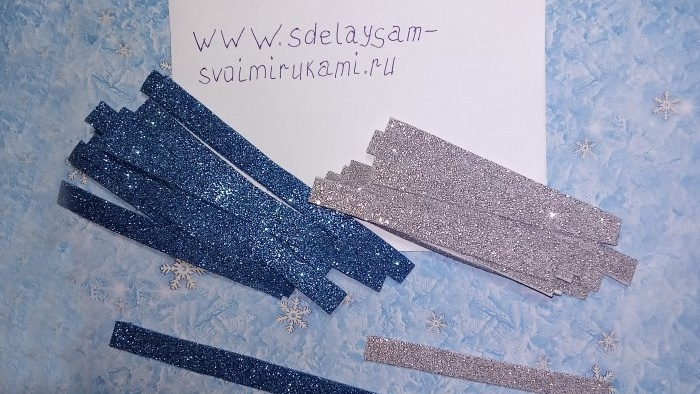
Cut strips measuring 1cm by 10cm. 12 pieces of each color. The result should be 24 strips.
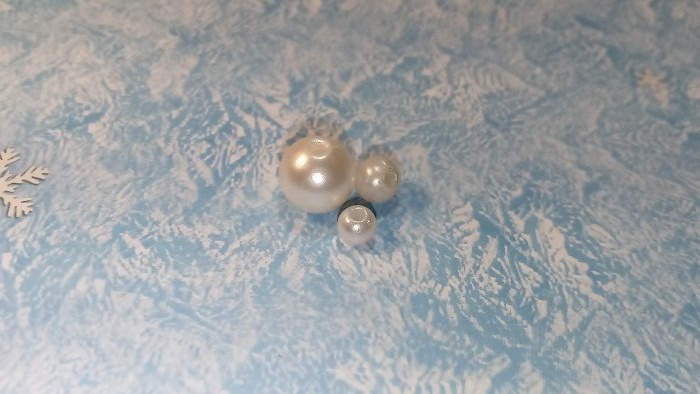
Take 3 beads of different sizes.
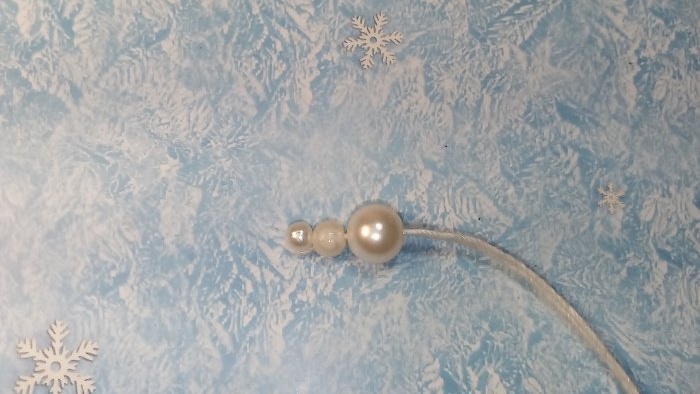
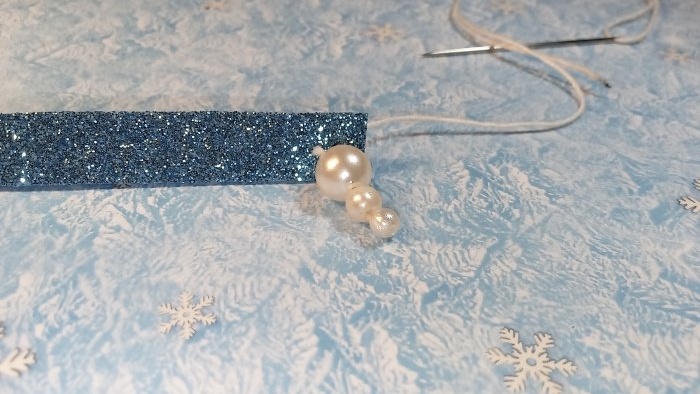
We need a strong thread. We insert the thread into the smallest bead.Make one end of the thread longer than the other. We connect both ends of the thread together and insert it into a bead of larger diameter. Next we put on the largest bead. It should look like this.
This will be the bottom part of the toy.
Tie a knot and cut a short thread. And we insert a long thread into the needle.
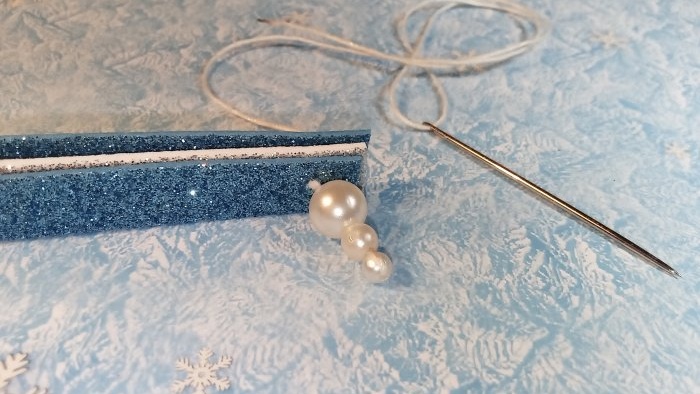
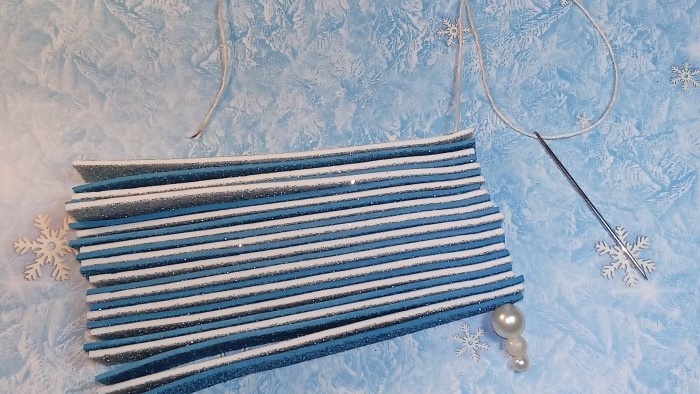
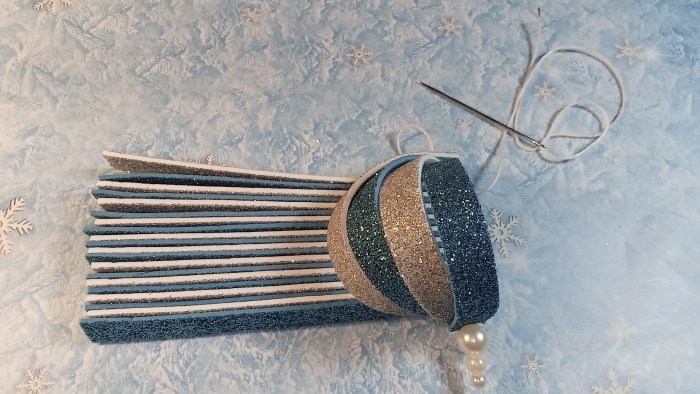
We take a strip of foamiran, step back a few millimeters from the edge and pierce it with a needle. We insert the thread. Alternating colors, we string all the blanks.
The strips should be turned with sparkles towards the beads.
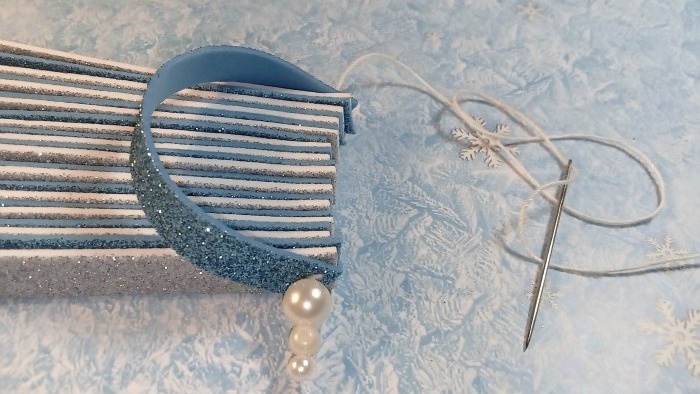
We tighten the thread, but do not cut it. We lay our strips horizontally. We take the first strip from the bottom, bend it up and thread it on the needle again. As a result, we get the shiny side on top.
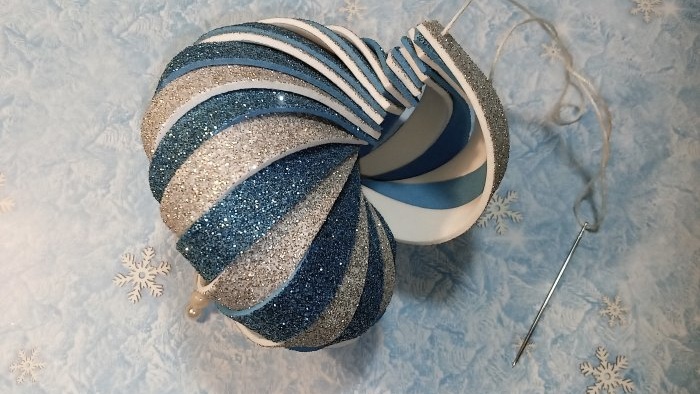
We do the same with all strips. In this case, you must immediately correct the stripes so that a shell is formed.
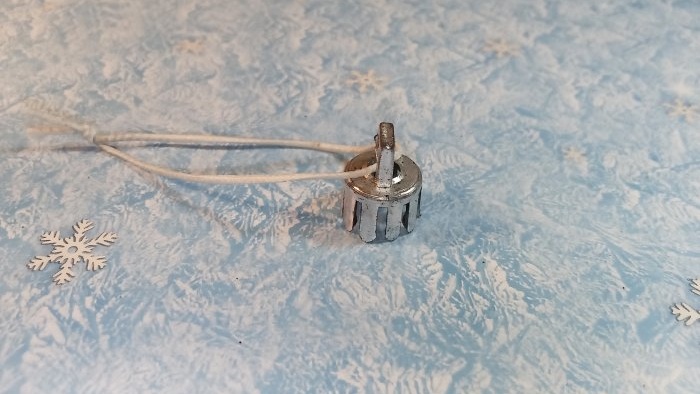
After all the strips are strung, we adjust the toy again and give it the desired shape. We tighten the thread and carefully tie a knot. For reliability, it is better to lubricate the knot with glue so that it does not slip back. Our toy is almost ready. All that remains is to glue the mount for the Christmas tree decorations. I took a plastic mount from an old toy.
I cut off the teeth so that it would fit better to the shell.
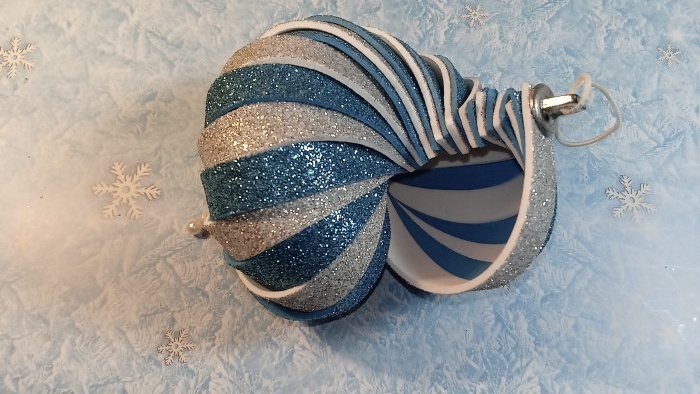
I glued it to the top of the toy.
If there is no fastening, then you can glue a ribbon or make a thread with beads. You can also add a small bow. It will look very beautiful and festive.
The toy is ready.
By changing the colors of the foamiran and the sizes of the stripes, you can make a whole series of such colorful toys.
And the material consumption is not great.
If you make toys according to my sizes, then 4 shells come out of 2 A4 sheets. And considering that 1 sheet of glitter foamiran costs an average of 30 rubles.- the price of one toy will be only 15 rubles.
As a result, we get a beautiful and at the same time cheap toy, which is no less important. Another plus is that such a toy will not break. This is especially true when there are small children in the house. If you make a larger toy, keep in mind that you need to add not only the length of the strip, but also the width. Large shells look very impressive and unusual.
Happy New Year to you.
What we need for this:
- Glitter foamiran in two colors.
- Ruler.
- Scissors or utility knife.
- Strong threads for sewing.
- Sewing needle.
- Glue (second)
- Rope.
- 3 beads of different sizes.
- Mount or clip for Christmas tree decorations.
So. Shall we begin?!
Deciding on the color of the glitter foamiran. Fortunately, there is a large selection of it in craft stores. I chose silver and blue.
Cut strips measuring 1cm by 10cm. 12 pieces of each color. The result should be 24 strips.
Take 3 beads of different sizes.
We need a strong thread. We insert the thread into the smallest bead.Make one end of the thread longer than the other. We connect both ends of the thread together and insert it into a bead of larger diameter. Next we put on the largest bead. It should look like this.
This will be the bottom part of the toy.
Tie a knot and cut a short thread. And we insert a long thread into the needle.
We take a strip of foamiran, step back a few millimeters from the edge and pierce it with a needle. We insert the thread. Alternating colors, we string all the blanks.
The strips should be turned with sparkles towards the beads.
We tighten the thread, but do not cut it. We lay our strips horizontally. We take the first strip from the bottom, bend it up and thread it on the needle again. As a result, we get the shiny side on top.
We do the same with all strips. In this case, you must immediately correct the stripes so that a shell is formed.
After all the strips are strung, we adjust the toy again and give it the desired shape. We tighten the thread and carefully tie a knot. For reliability, it is better to lubricate the knot with glue so that it does not slip back. Our toy is almost ready. All that remains is to glue the mount for the Christmas tree decorations. I took a plastic mount from an old toy.
I cut off the teeth so that it would fit better to the shell.
I glued it to the top of the toy.
If there is no fastening, then you can glue a ribbon or make a thread with beads. You can also add a small bow. It will look very beautiful and festive.
The toy is ready.
By changing the colors of the foamiran and the sizes of the stripes, you can make a whole series of such colorful toys.
And the material consumption is not great.
If you make toys according to my sizes, then 4 shells come out of 2 A4 sheets. And considering that 1 sheet of glitter foamiran costs an average of 30 rubles.- the price of one toy will be only 15 rubles.
Do you agree that this is beneficial?!
As a result, we get a beautiful and at the same time cheap toy, which is no less important. Another plus is that such a toy will not break. This is especially true when there are small children in the house. If you make a larger toy, keep in mind that you need to add not only the length of the strip, but also the width. Large shells look very impressive and unusual.
Happy New Year to you.
Similar master classes
Particularly interesting
Comments (0)

