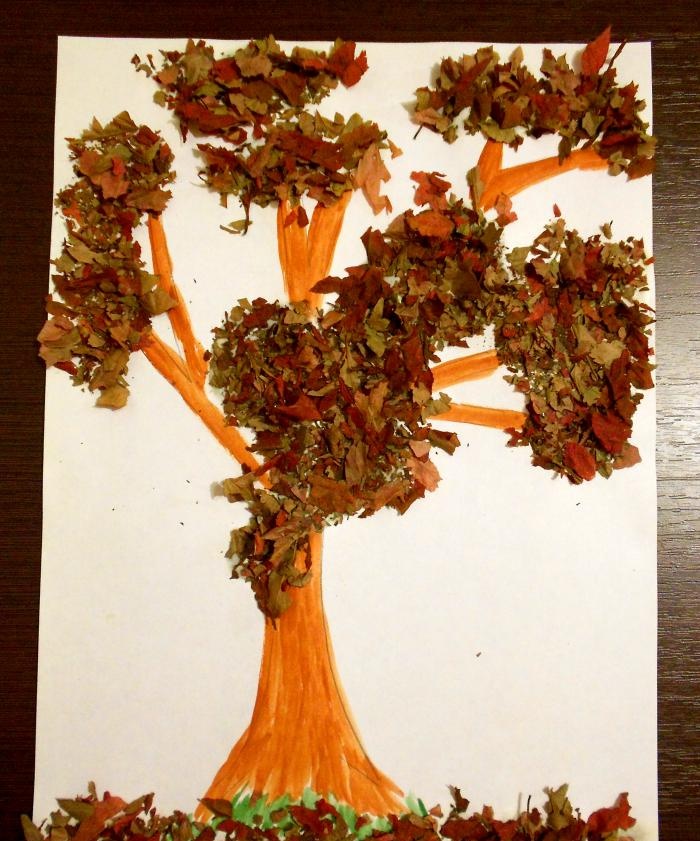
Autumn tree
In autumn it is more beautiful than ever. And a very large number of crafts can be made from natural materials in the fall. Anything will do: seeds, nuts, leaves, chestnuts.
An amazing and very realistic tree can be made, for example, using dry autumn leaves.
For this crafts Any leaves will do, but those in bright red or yellow colors will work especially well.
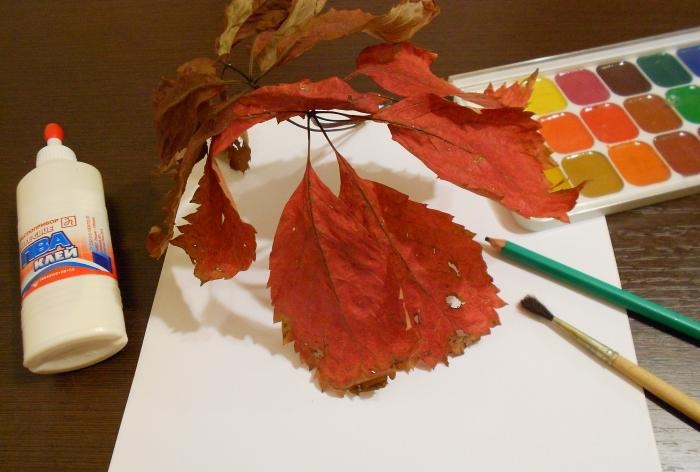
You can collect leaves from near your home. The main thing is to choose clean and unspoiled ones. Then they should be placed at home on a flat surface or placed in a vase in the form of a bouquet.
After a few days, the leaves will dry out without losing their bright colors. Now you need to handle them very carefully. With the slightest effort they can become wrinkled and even completely collapse. And we will do this a little later and over a spacious plate.
Materials:
Operating procedure
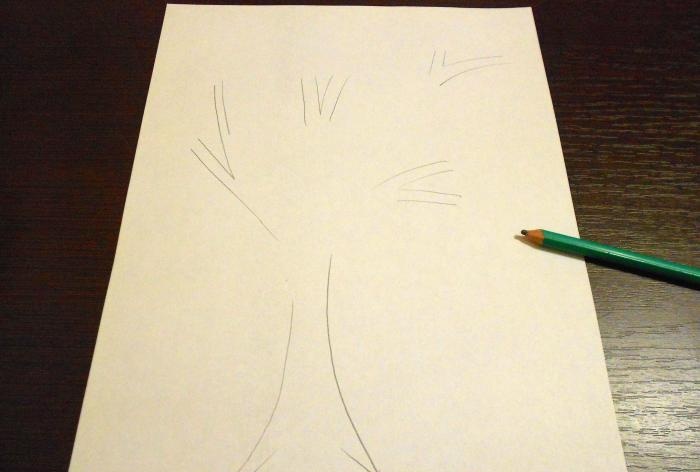
For this craft, it is preferable to take a landscape sheet. It is denser and will serve better as a base for our tree. We outline with a simple pencil where the branches will be. Only those that are visible among the leaves of the tree.
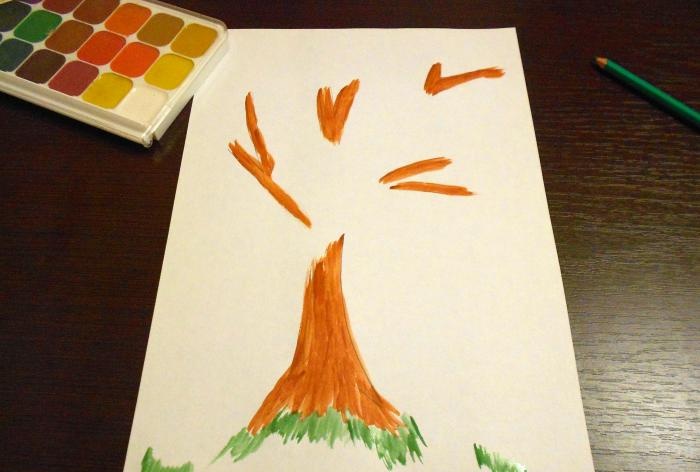
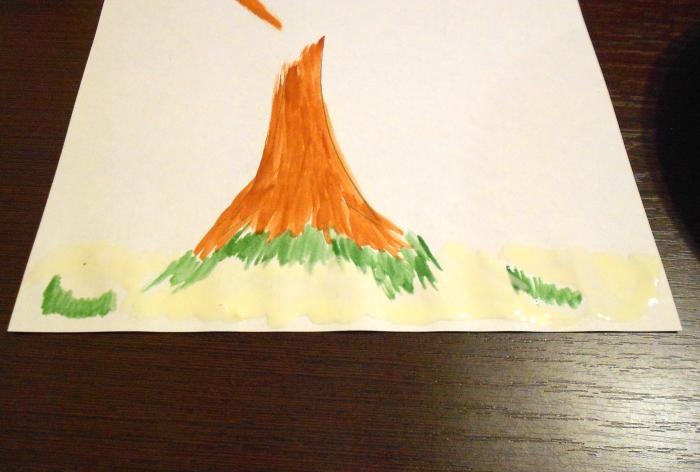
We paint the branches with brown paint. Under the tree we paint the grass with green paint.We remember that it will be partially hidden under fallen leaves.
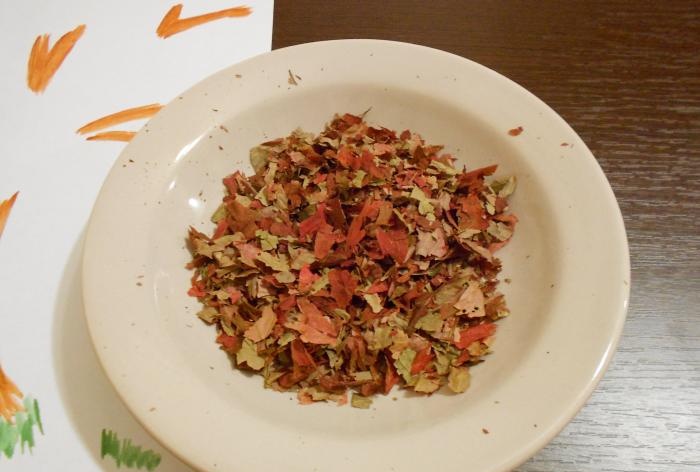
Grind the dry leaves with your fingers in a flat plate.
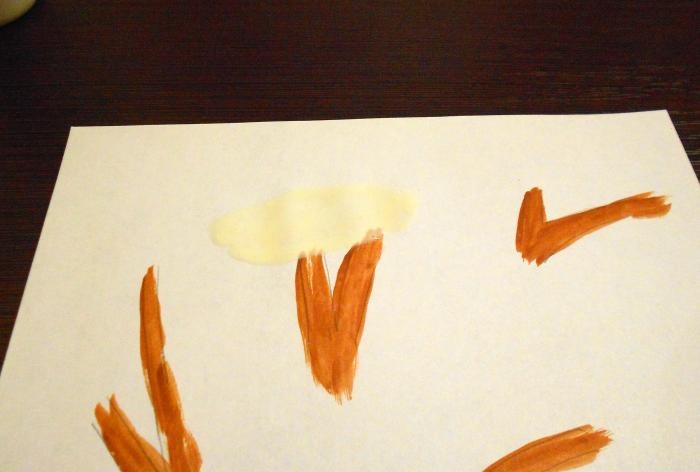
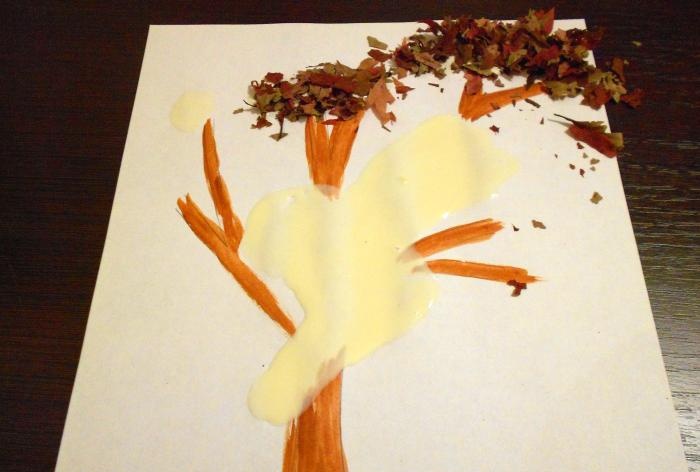
Let's return to the sheet of paper. Lubricate the place where the leaves should be located with PVA glue. We do not allow spaces.
While the glue is not dry, sprinkle this area generously with leaf crumbs.
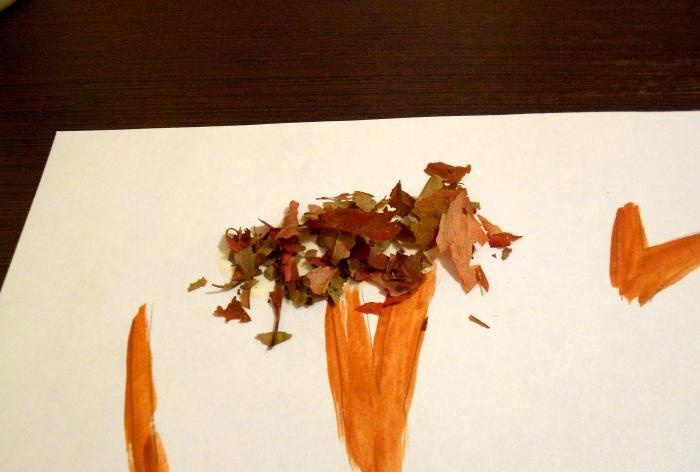
In this way we fill all the areas between the visible parts of the branches.
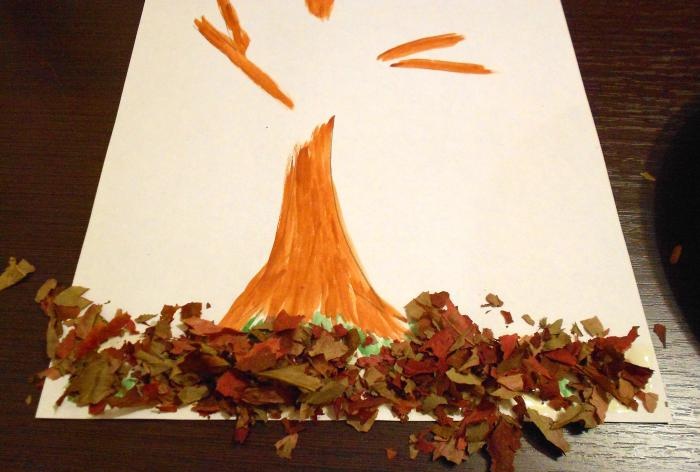
Under the tree you need to depict fallen leaves. To do this, apply glue between sections of green grass.
Sprinkle the glue with crushed leaves.
When we are satisfied with the appearance of the wood, we leave it to dry. Best of all - for the whole night. Then we tilt the sheet over the table, shaking off excess.
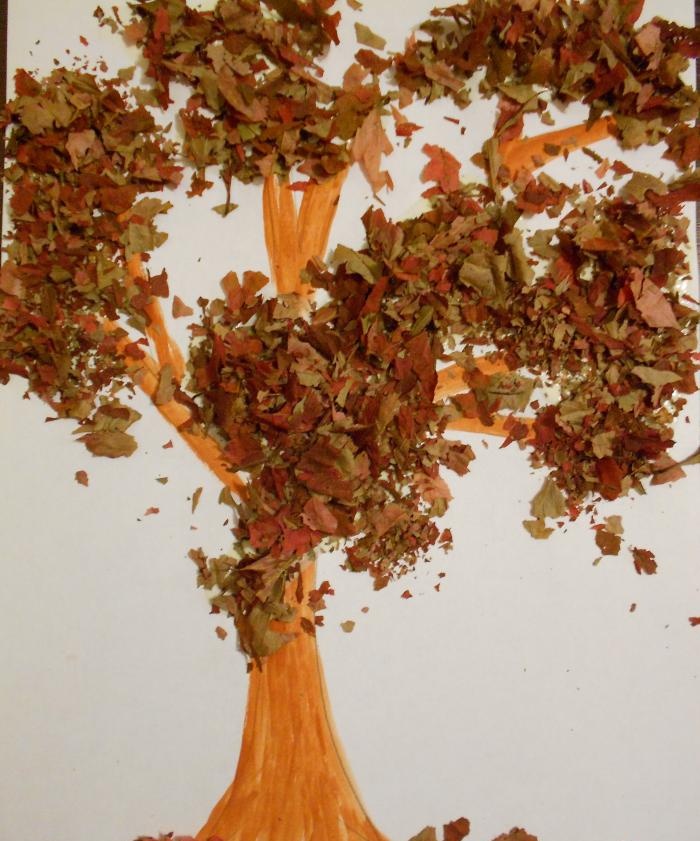
An amazing and very realistic tree can be made, for example, using dry autumn leaves.
For this crafts Any leaves will do, but those in bright red or yellow colors will work especially well.

You can collect leaves from near your home. The main thing is to choose clean and unspoiled ones. Then they should be placed at home on a flat surface or placed in a vase in the form of a bouquet.
After a few days, the leaves will dry out without losing their bright colors. Now you need to handle them very carefully. With the slightest effort they can become wrinkled and even completely collapse. And we will do this a little later and over a spacious plate.
Materials:
- leaves from trees;
- PVA glue;
- sheet A4;
- pencil;
- paints and brush.

Operating procedure
For this craft, it is preferable to take a landscape sheet. It is denser and will serve better as a base for our tree. We outline with a simple pencil where the branches will be. Only those that are visible among the leaves of the tree.

We paint the branches with brown paint. Under the tree we paint the grass with green paint.We remember that it will be partially hidden under fallen leaves.

Grind the dry leaves with your fingers in a flat plate.

Let's return to the sheet of paper. Lubricate the place where the leaves should be located with PVA glue. We do not allow spaces.

While the glue is not dry, sprinkle this area generously with leaf crumbs.

In this way we fill all the areas between the visible parts of the branches.

Under the tree you need to depict fallen leaves. To do this, apply glue between sections of green grass.

Sprinkle the glue with crushed leaves.

When we are satisfied with the appearance of the wood, we leave it to dry. Best of all - for the whole night. Then we tilt the sheet over the table, shaking off excess.

Similar master classes
Particularly interesting
Comments (0)

