New Year's candlestick made of pine cones
New Year is a magical holiday. Therefore, I want a good mood, a new fabulous environment. Let's create a cozy festive atmosphere at the New Year's table. This can be done using a candlestick you made yourself. We will need a little patience and, of course, a New Year's mood! Can't wait to get started!
To make a candlestick we will need:
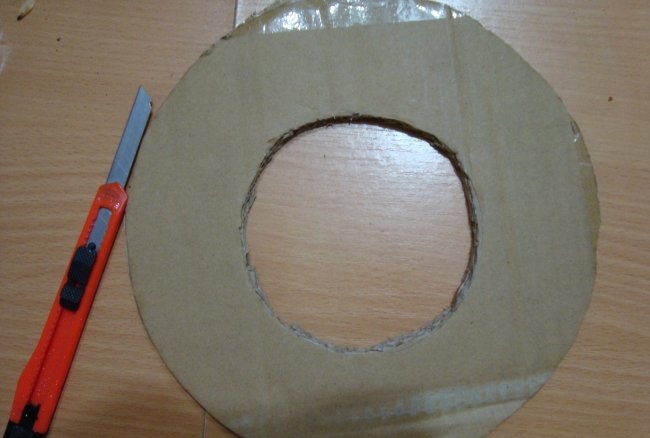
Step 1. Using a compass, draw a circle with a diameter of 20 cm on the cardboard. Inside it, draw a smaller circle with a diameter of 10 cm. Using scissors or a stationery knife, cut it out. It is better to take thicker cardboard, this will give strength to our candlestick.
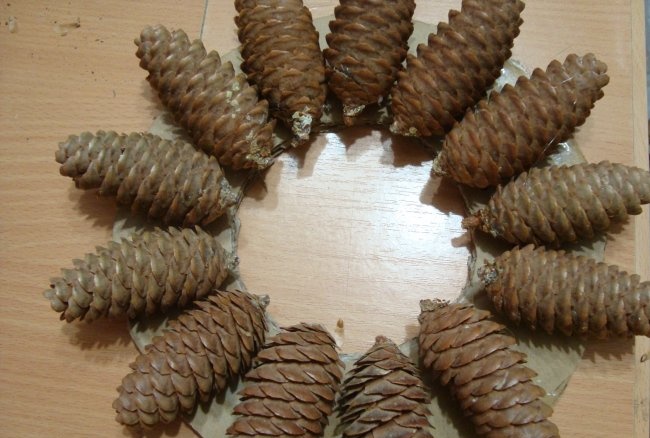
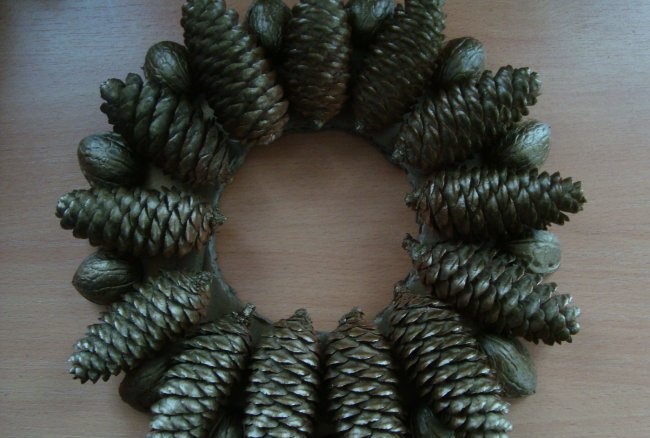
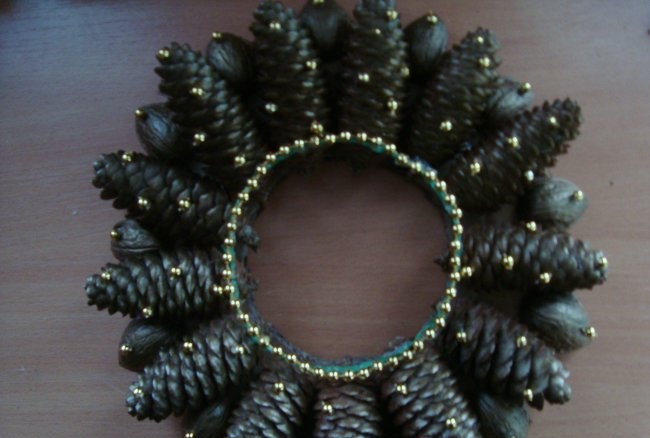
Step 2. Glue the cones onto the resulting candlestick base using a glue gun.I needed 13, but you may need more or less depending on the size of the buds.
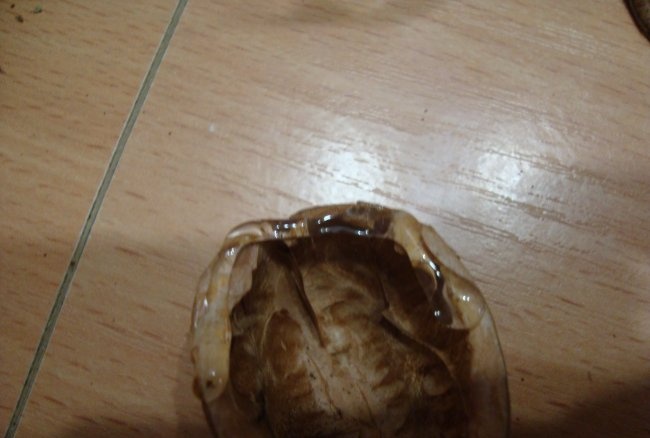
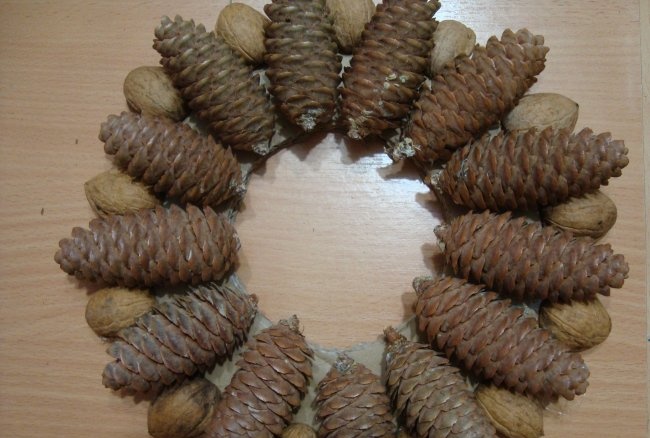
Step 3. Take the halves of walnut shells, coat them with glue and glue them between the cones. I needed 13 pieces. Try to glue carefully.
Step 4. Using a can of gold paint, we cover our candlestick; for convenience, it is better to do this on newspaper and in a well-ventilated area. We wait for everything to dry (about 2-3 hours). After drying, the pine cones will turn out to be a beautiful golden hue, and this will add more glamor to our candlestick.
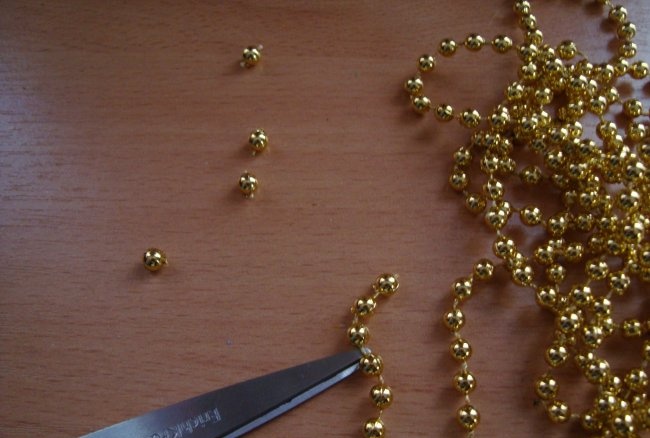
Step 5. Now take the New Year's beads and cut off each bead. If you have separate beads, you can use them. In order for the beads to harmonize with the candlestick, I also took them in a golden color.
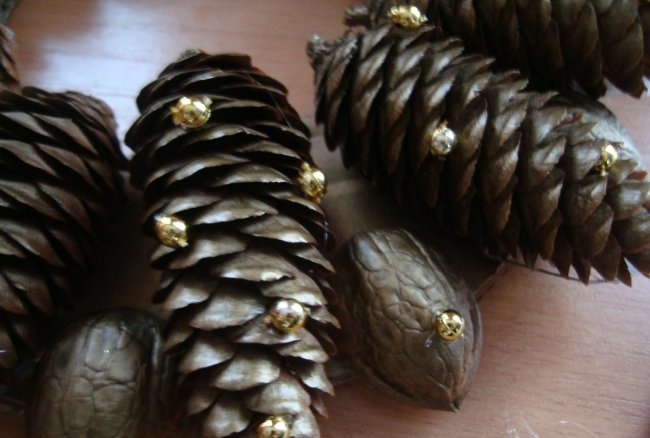
Step 6. Glue several beads to each cone. For reliability, it is better to use Moment glue.
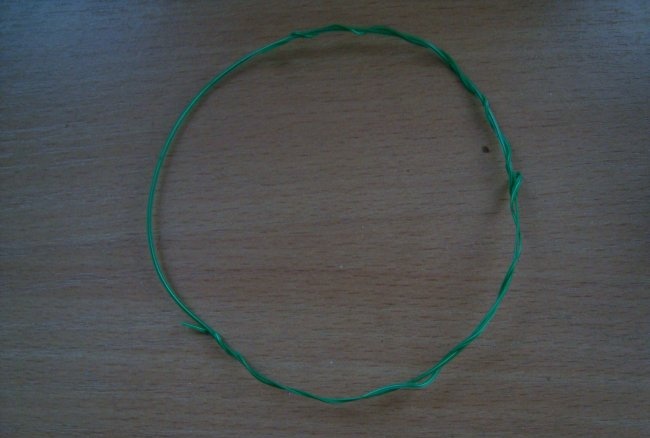
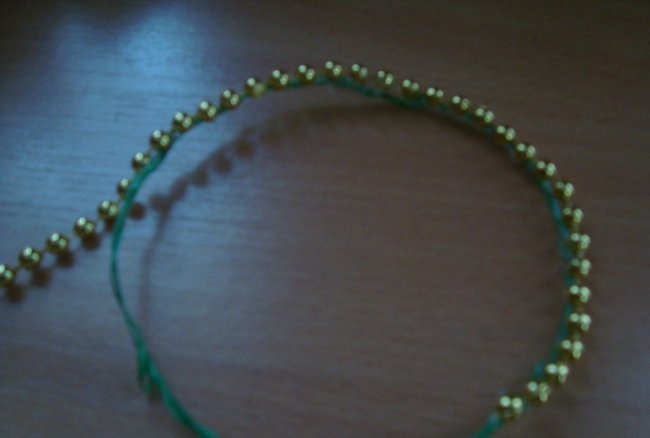
Step 7. Make a circle with a diameter of 10 cm from the wire. Wrap it with beads and glue it to the base of the candlestick.
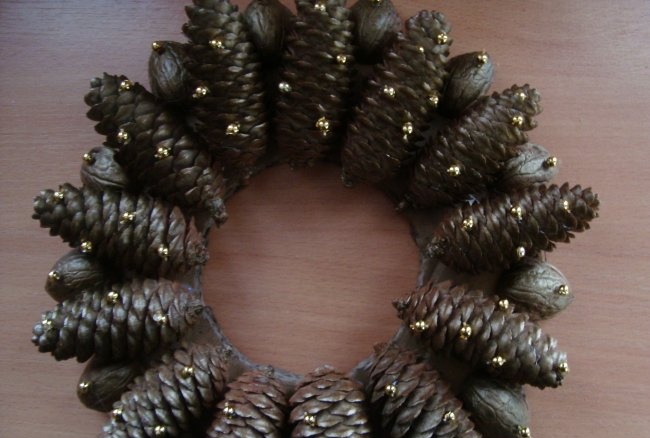
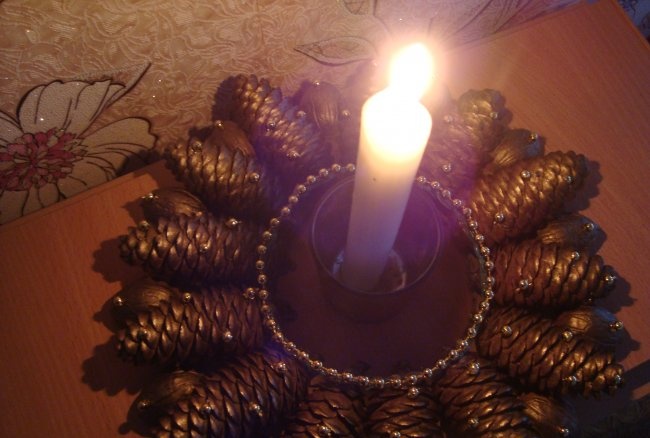
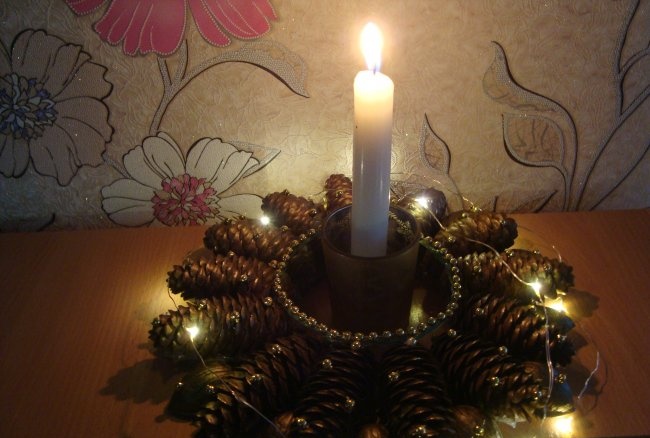
All you have to do is light the candle and you're done! This is how the original candlestick turned out, which will perfectly decorate the interior for the New Year and create a festive mood!
To make a candlestick we will need:
- - cones;
- - New Year's beads or small beads (golden);
- - cardboard (suitable from a regular cardboard box);
- - scissors or stationery knife;
- - compass;
- - pencil;
- - wire;
- - Moment glue;
- - glue gun;
- - walnut shells;
- - a can of gold paint.
Step 1. Using a compass, draw a circle with a diameter of 20 cm on the cardboard. Inside it, draw a smaller circle with a diameter of 10 cm. Using scissors or a stationery knife, cut it out. It is better to take thicker cardboard, this will give strength to our candlestick.
Step 2. Glue the cones onto the resulting candlestick base using a glue gun.I needed 13, but you may need more or less depending on the size of the buds.
Step 3. Take the halves of walnut shells, coat them with glue and glue them between the cones. I needed 13 pieces. Try to glue carefully.
Step 4. Using a can of gold paint, we cover our candlestick; for convenience, it is better to do this on newspaper and in a well-ventilated area. We wait for everything to dry (about 2-3 hours). After drying, the pine cones will turn out to be a beautiful golden hue, and this will add more glamor to our candlestick.
Step 5. Now take the New Year's beads and cut off each bead. If you have separate beads, you can use them. In order for the beads to harmonize with the candlestick, I also took them in a golden color.
Step 6. Glue several beads to each cone. For reliability, it is better to use Moment glue.
Step 7. Make a circle with a diameter of 10 cm from the wire. Wrap it with beads and glue it to the base of the candlestick.
All you have to do is light the candle and you're done! This is how the original candlestick turned out, which will perfectly decorate the interior for the New Year and create a festive mood!
Similar master classes
Particularly interesting
Comments (0)

