Snowman made from socks
There is very little left before the New Year 2017. This wonderful magical holiday is eagerly awaited not only by children, but also by adults. Of course, many are already doing New Year's crafts and Christmas tree toys. This time my eldest son and I decided to make a snowman out of socks. Since the snowman is a very famous New Year's character and is even one of the main characters of our favorite fairy tales.
To make our snowman we will need:
1. Cut out a small circle from cardboard. I just circled the glass, so the circle turned out even and the size I needed. Its size directly depends on the size of the sock. I'll explain why next.
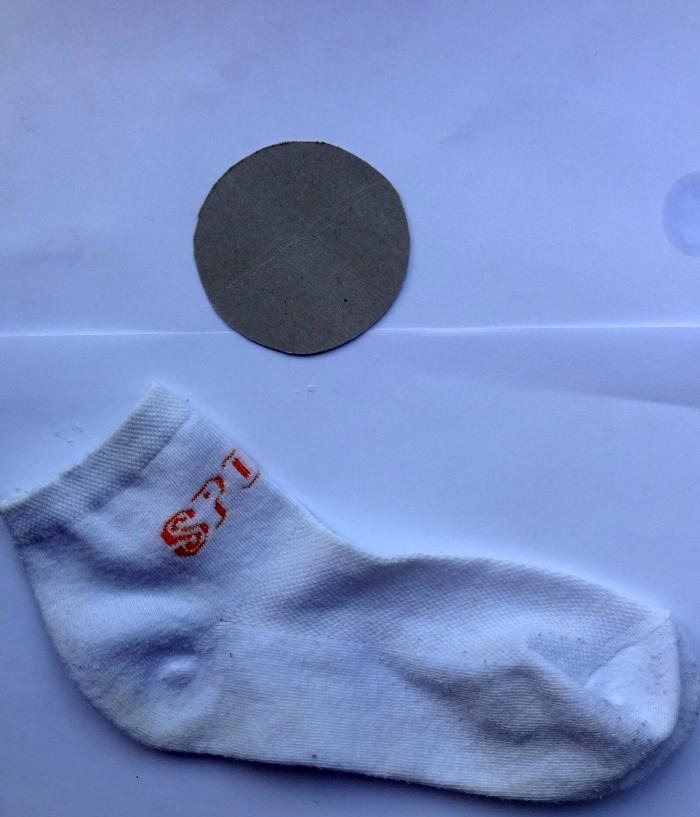
2. Take a medium-sized white sock and insert a cardboard circle into it, so that our future snowman stands steadily and does not sway from side to side, much less fall.
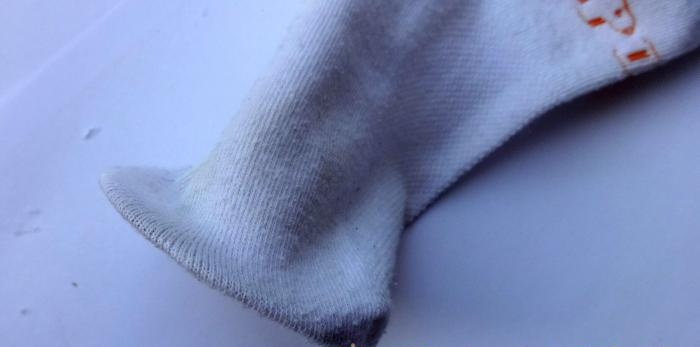
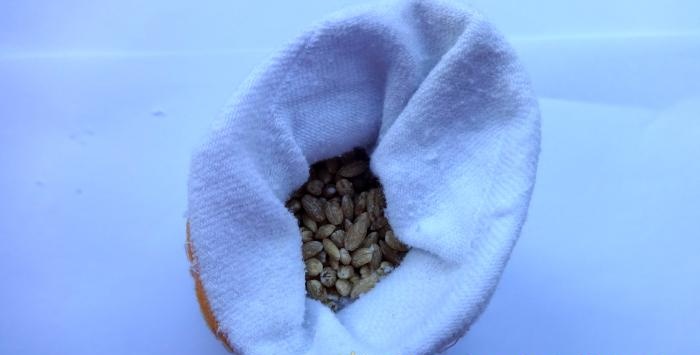
3. Place the sock and carefully pour the cereal into it.We used pearl barley because of its low cost compared to other cereals, but millet, rice, and even buckwheat are also quite suitable. To prevent worms from appearing in the cereal later, it is advisable to add a little coarse salt.
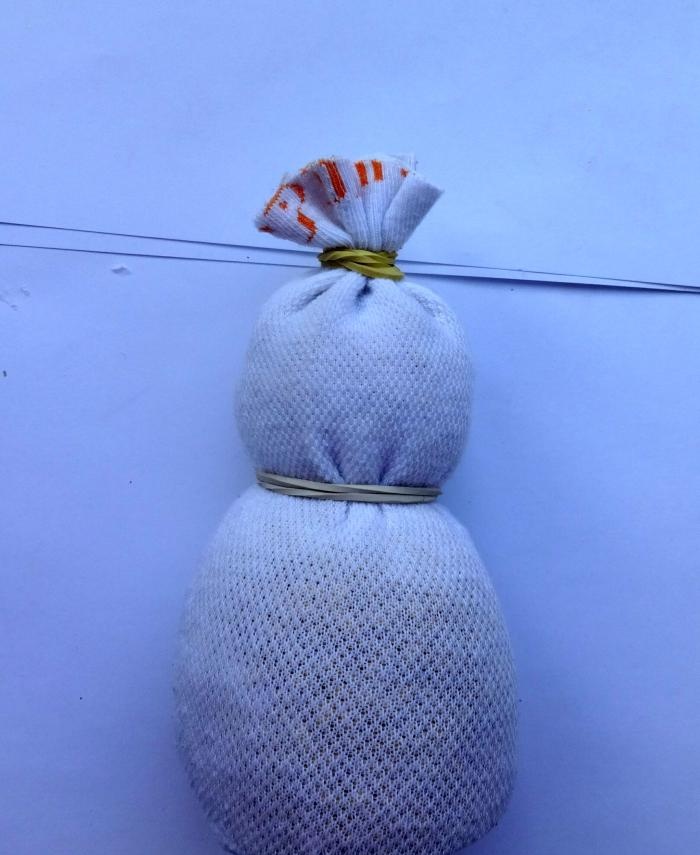
4. Now, using thin rubber bands, we make the snowman’s torso and head. We used rubber bands from banknotes. In principle, you can use thick threads instead of elastic bands. And use scissors to cut off the excess fabric from the top of the sock.
5. Next, take the second medium-sized sock and cut off the upper part - where the elastic is. My sisters and I used to make skirts for dolls like this when we were kids. And for a snowman it will be a jacket-fur coat. It is better to take the third sock in a small size, that is, for children, since we will use it to make a snowman’s hat. On the contrary, we cut off space for the fingers.
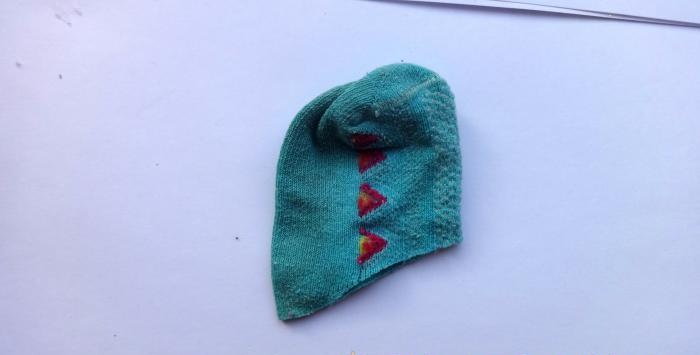
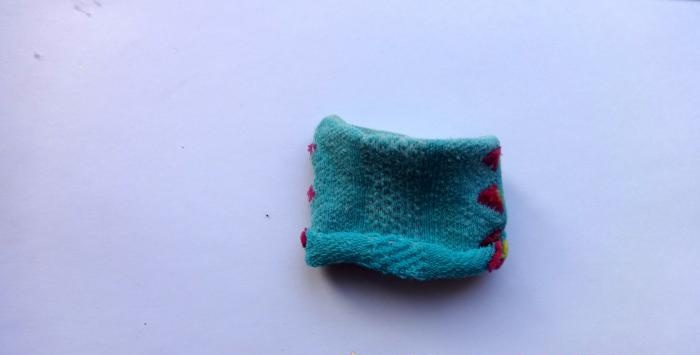
And bending it a little inward from the top, we make a hat, which can later be decorated a little on one side with a shiny button.
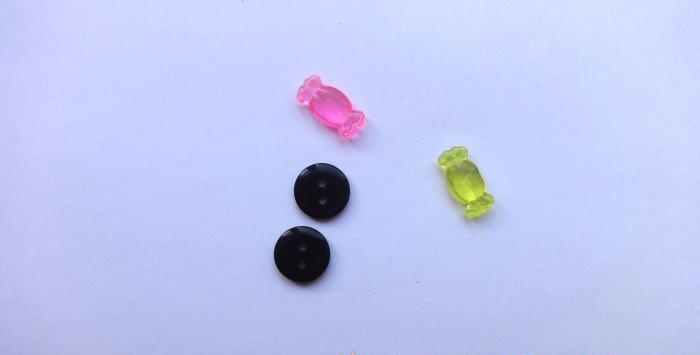
6. Then take the buttons. From two black ones we make eyes, and from two colored ones (we took them in the form of candies) we make a decoration for a jacket, gluing them with super glue.
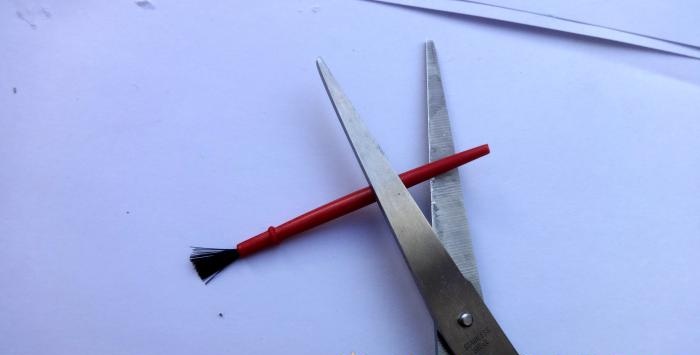
7. Well, what would a snowman be without a nose? We made the nose from a brush, or rather from its handle. She accidentally caught my eye when I was thinking about what to make a snowman’s nose out of. The fact is that our brush is made of brown plastic. And we easily cut off a piece with scissors and, using super glue, attached a nose to the snowman.
But you can make a nose from a brown or orange colored pencil lead.
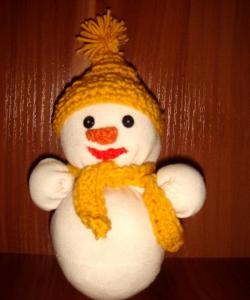
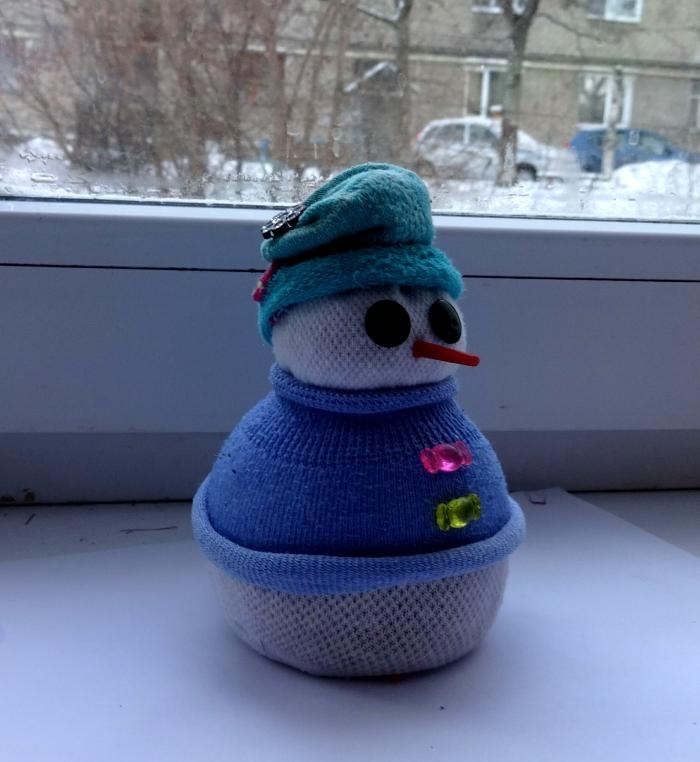
Here we have such a cute snowman.
You can put it under the New Year tree or add it as an element to a New Year's craft.
To make our snowman we will need:
- socks 3 pcs. (1 white and 2 colored);
- buttons 4 pcs. (2 black and 2 colored);
- thin elastic bands 2 pcs.;
- cereals and salt;
- Super glue;
- cardboard;
- scissors.
1. Cut out a small circle from cardboard. I just circled the glass, so the circle turned out even and the size I needed. Its size directly depends on the size of the sock. I'll explain why next.

2. Take a medium-sized white sock and insert a cardboard circle into it, so that our future snowman stands steadily and does not sway from side to side, much less fall.

3. Place the sock and carefully pour the cereal into it.We used pearl barley because of its low cost compared to other cereals, but millet, rice, and even buckwheat are also quite suitable. To prevent worms from appearing in the cereal later, it is advisable to add a little coarse salt.

4. Now, using thin rubber bands, we make the snowman’s torso and head. We used rubber bands from banknotes. In principle, you can use thick threads instead of elastic bands. And use scissors to cut off the excess fabric from the top of the sock.

5. Next, take the second medium-sized sock and cut off the upper part - where the elastic is. My sisters and I used to make skirts for dolls like this when we were kids. And for a snowman it will be a jacket-fur coat. It is better to take the third sock in a small size, that is, for children, since we will use it to make a snowman’s hat. On the contrary, we cut off space for the fingers.

And bending it a little inward from the top, we make a hat, which can later be decorated a little on one side with a shiny button.

6. Then take the buttons. From two black ones we make eyes, and from two colored ones (we took them in the form of candies) we make a decoration for a jacket, gluing them with super glue.

7. Well, what would a snowman be without a nose? We made the nose from a brush, or rather from its handle. She accidentally caught my eye when I was thinking about what to make a snowman’s nose out of. The fact is that our brush is made of brown plastic. And we easily cut off a piece with scissors and, using super glue, attached a nose to the snowman.

But you can make a nose from a brown or orange colored pencil lead.
Here we have such a cute snowman.

You can put it under the New Year tree or add it as an element to a New Year's craft.
Similar master classes
Particularly interesting
Comments (0)

