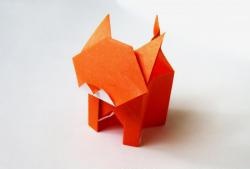
Paper puppy
Paper makes wonderful children's crafts. This material can bring any creative fantasy to life. Colored or white sheets turn into beautiful flowers, interesting animals or birds. The main thing is to always have scissors, glue and free time at hand.
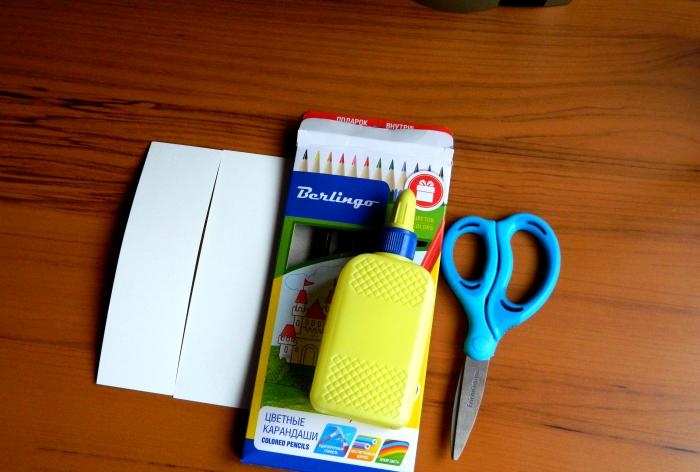
Actually, this is the entire list of materials that will be useful to us for today’s paper crafts. The photo shows pencils. Yes, initially we planned to draw the dog’s face, but then we decided to replace the pencils with colored paper. We hope everyone will like the result.
The paper craft is based on two cardboard rectangles. We need to bend the edges of one of them in different directions as shown in the collage. In one case, the fold line is 1.5 cm from the edge, in the other - 4.5 cm.
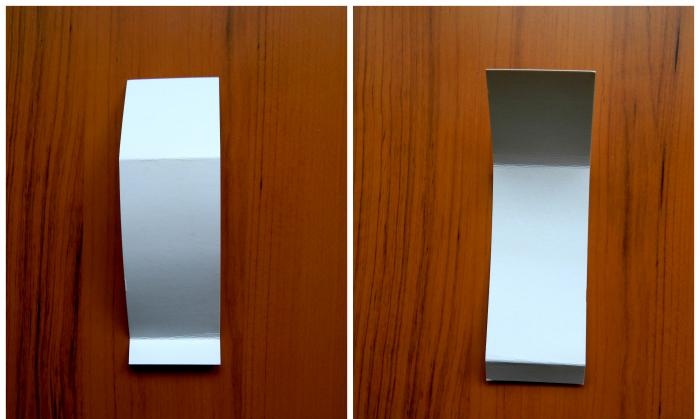
Glue the edges of the cardboard rectangle together to create a stable horizontal surface on which the dog will stand. Actually, this is the torso.
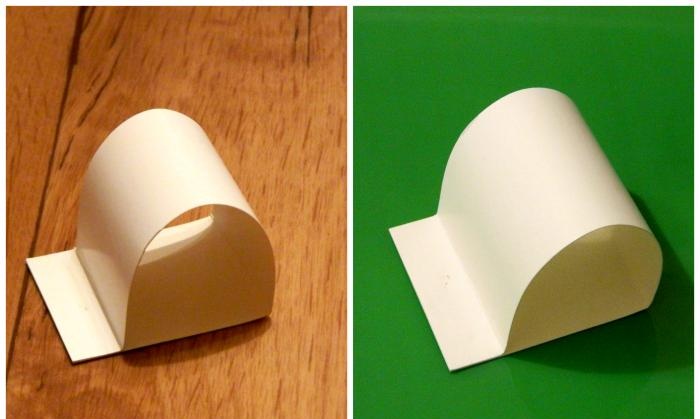
At the next stage, we form the paws for the craft. First, we round the corners of the paper body by analogy with the figure shown below.
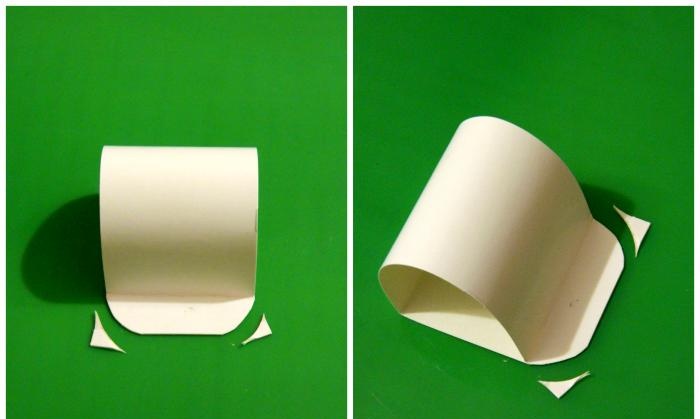
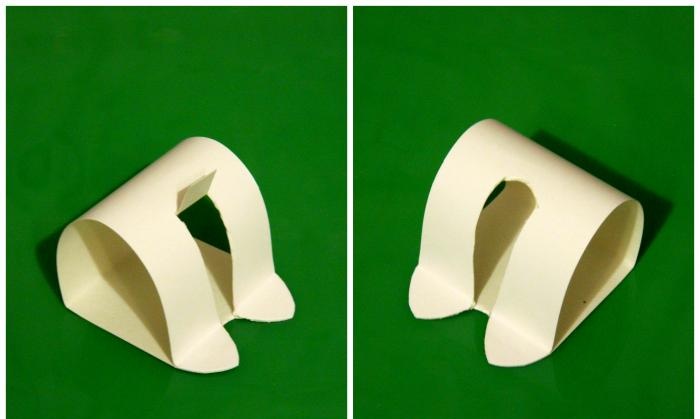
Next, using scissors, we determine the length and width of the dog’s paws. At the end of the work, you can relax, the torso is finished. Let's put it aside for now.
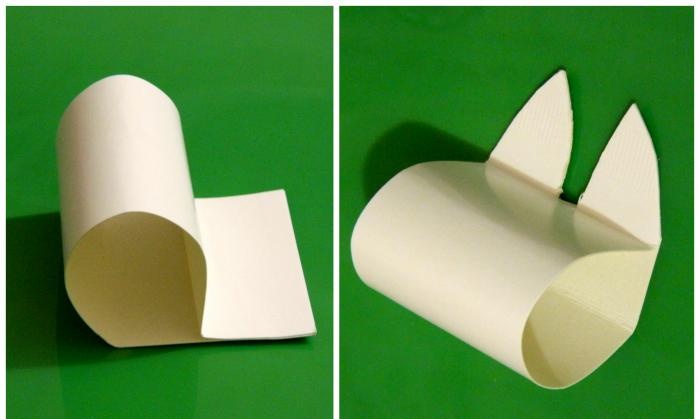
We make the base of the animal’s head by analogy with the body. We bend the cardboard and glue the edges. After the PVA has dried, cut out the pointed ears.
The dog's face can be drawn with paints, felt-tip pens or pencils, but we decided to make it out of colored paper.
Based on the size of the head of the craft, we will cut out oval eyes, a nose and a mouth in the form of a droplet. It seems to have worked out well.
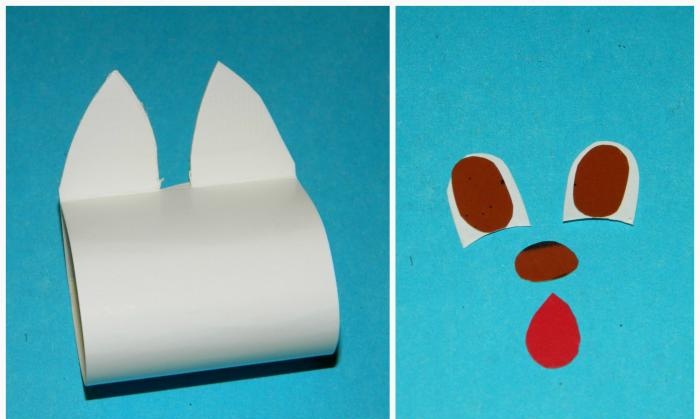
Next, we will connect the dog’s body with the head and only after that we will attach the parts made of colored paper.
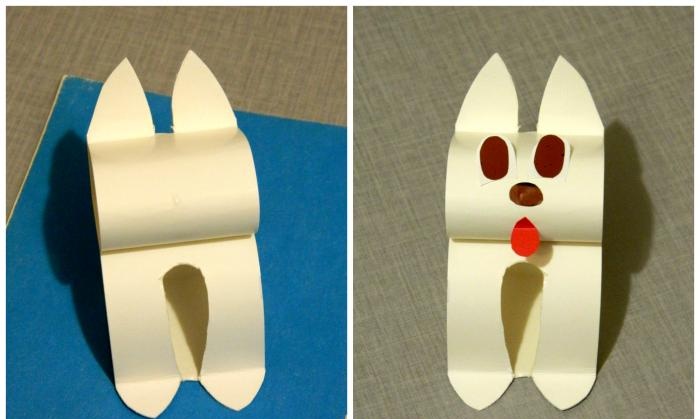
The puppy is almost ready. The tail is missing.
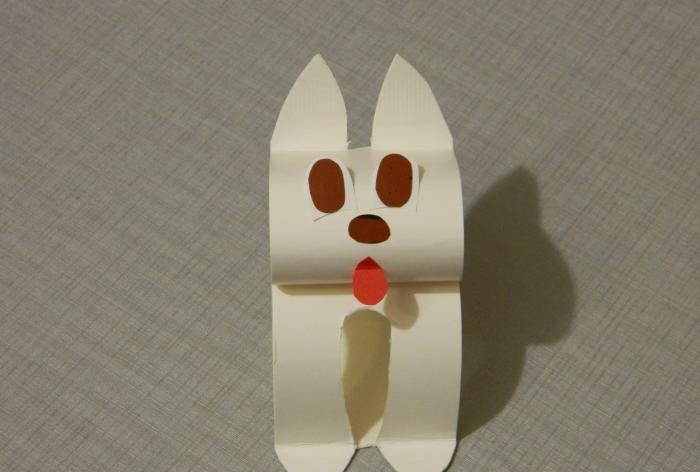
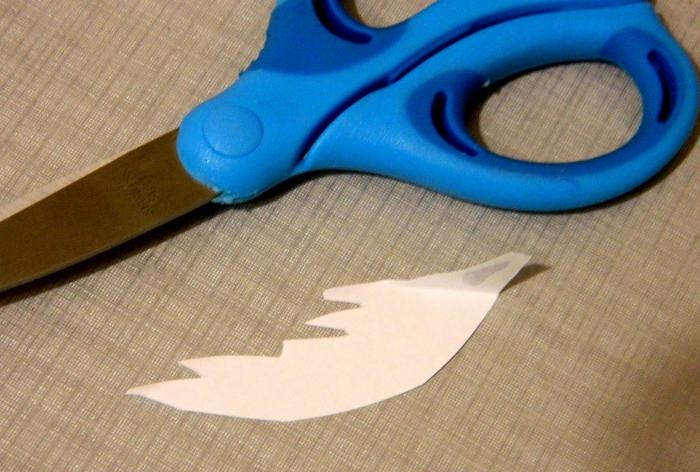
Let's cut out the missing organ from white paper. The shape and length of the tail is at the discretion of the master.
Now you can safely announce the completion of the work. It turned out to be a wonderful paper craft.
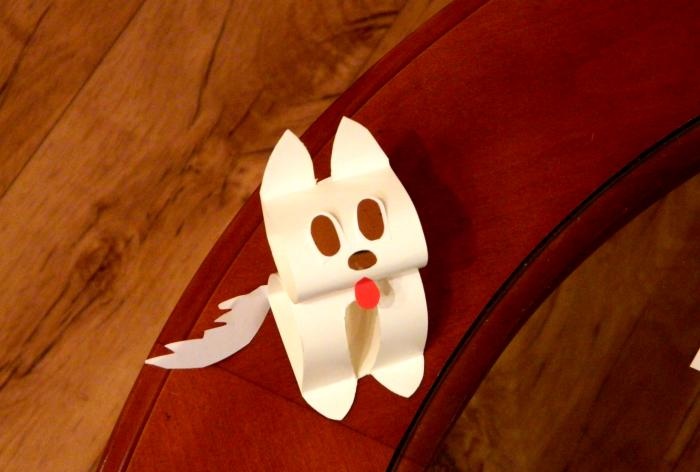
One gets the impression that the puppy will now stand on its hind legs in front of its owner. He wags his tail when greeting guests.
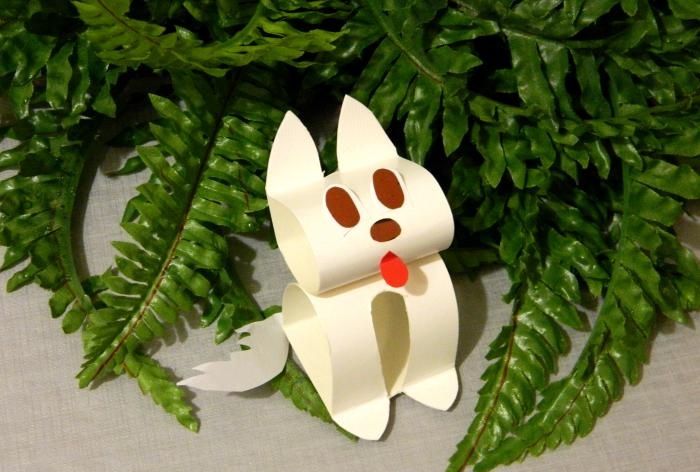
Let's show the dog close-up against the background of an artificial flower.
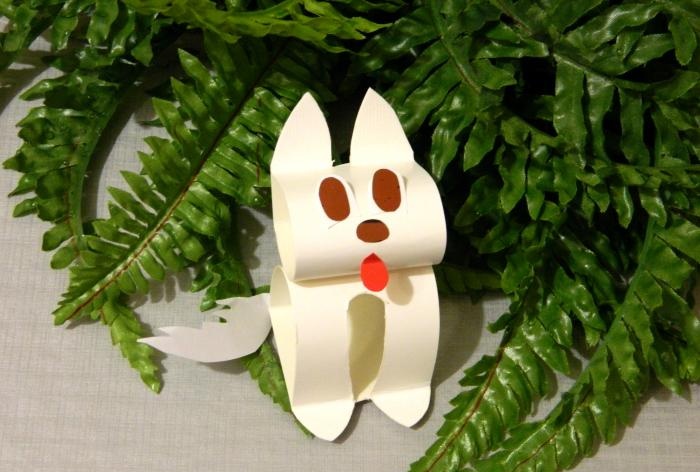
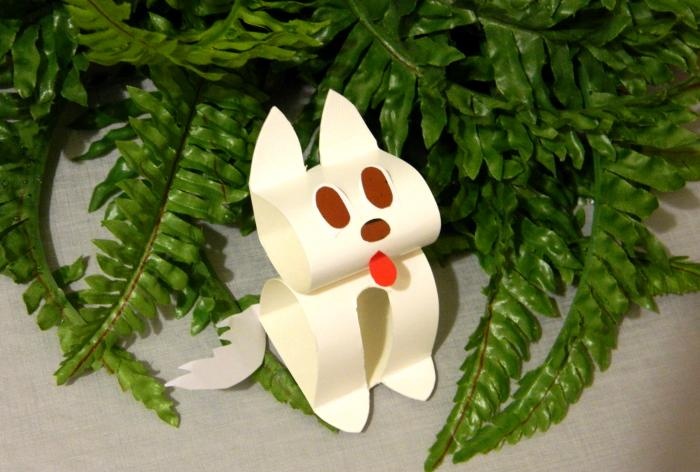
The master class is over. We hope the kids will find the idea of making a paper pet useful. The craft can be taken to kindergarten or left at home as a toy.
Well, let's say goodbye. See you again!

Actually, this is the entire list of materials that will be useful to us for today’s paper crafts. The photo shows pencils. Yes, initially we planned to draw the dog’s face, but then we decided to replace the pencils with colored paper. We hope everyone will like the result.
The paper craft is based on two cardboard rectangles. We need to bend the edges of one of them in different directions as shown in the collage. In one case, the fold line is 1.5 cm from the edge, in the other - 4.5 cm.

Glue the edges of the cardboard rectangle together to create a stable horizontal surface on which the dog will stand. Actually, this is the torso.

At the next stage, we form the paws for the craft. First, we round the corners of the paper body by analogy with the figure shown below.

Next, using scissors, we determine the length and width of the dog’s paws. At the end of the work, you can relax, the torso is finished. Let's put it aside for now.

We make the base of the animal’s head by analogy with the body. We bend the cardboard and glue the edges. After the PVA has dried, cut out the pointed ears.

The dog's face can be drawn with paints, felt-tip pens or pencils, but we decided to make it out of colored paper.
Based on the size of the head of the craft, we will cut out oval eyes, a nose and a mouth in the form of a droplet. It seems to have worked out well.

Next, we will connect the dog’s body with the head and only after that we will attach the parts made of colored paper.

The puppy is almost ready. The tail is missing.

Let's cut out the missing organ from white paper. The shape and length of the tail is at the discretion of the master.

Now you can safely announce the completion of the work. It turned out to be a wonderful paper craft.

One gets the impression that the puppy will now stand on its hind legs in front of its owner. He wags his tail when greeting guests.

Let's show the dog close-up against the background of an artificial flower.


The master class is over. We hope the kids will find the idea of making a paper pet useful. The craft can be taken to kindergarten or left at home as a toy.
Well, let's say goodbye. See you again!
Similar master classes
Particularly interesting
Comments (0)

