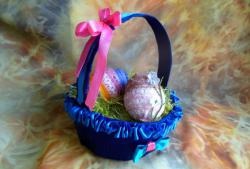
Easter paper basket
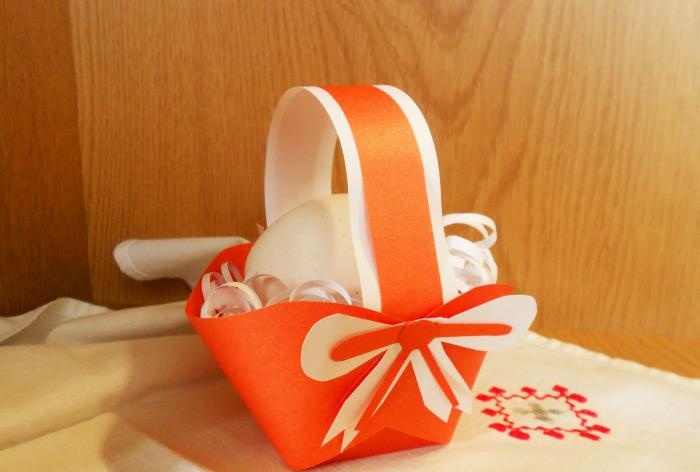
On the eve of Easter, you and your child can make a basket from colored paper. It will serve as more than just children's fun. A decorative basket would be appropriate for a family or children's photograph. You can also put an Easter gift in it, and not only that. Present You can pack a birthday gift with your own hands in a much more original way than simply wrapping it in paper.
Materials for work:
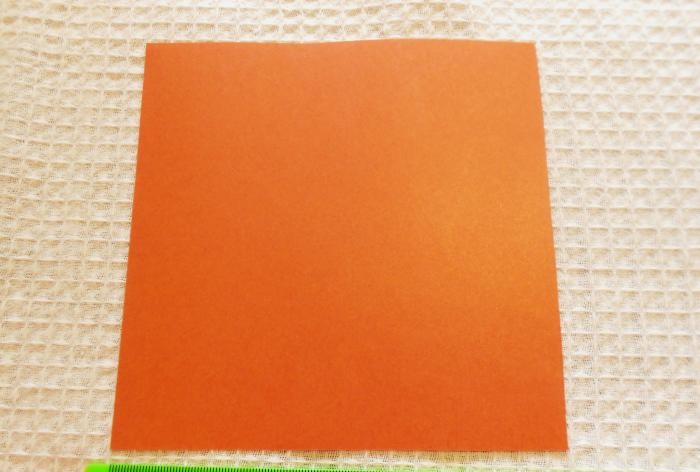
You need to cut out a square from a sheet of colored paper of your favorite color. Its side here is 15 cm. The dimensions may be different. But in order to make calculations convenient in the future, the side length must be chosen as a multiple of three.
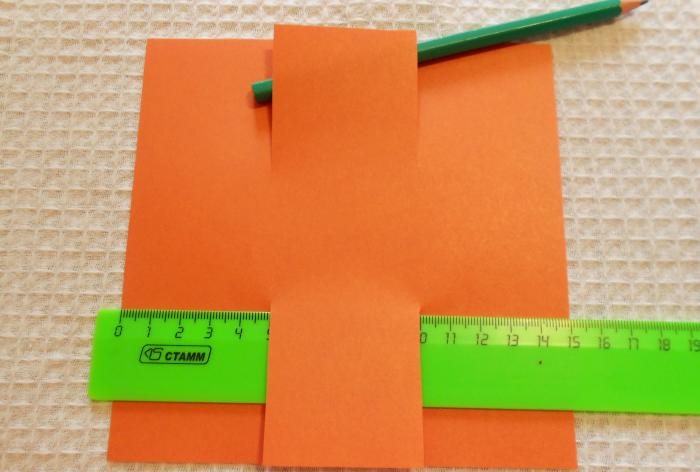
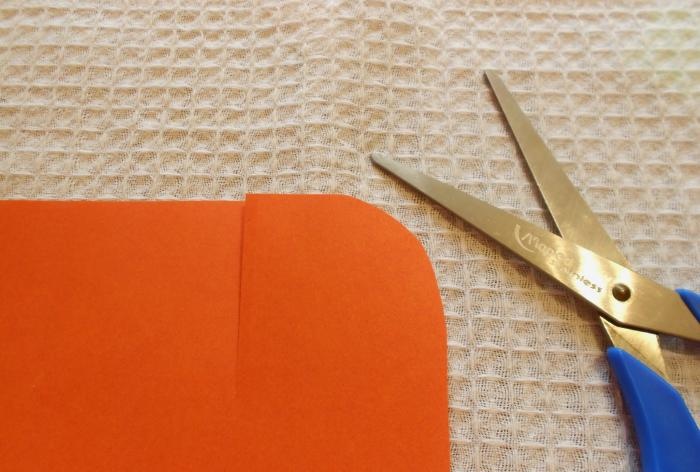
On the top and bottom sides we mark sections of 5 and 10 cm. Draw 5 cm sections vertically up (or down) from these points. Cut them with scissors.
We cut off the corners of the square, making them rounded.
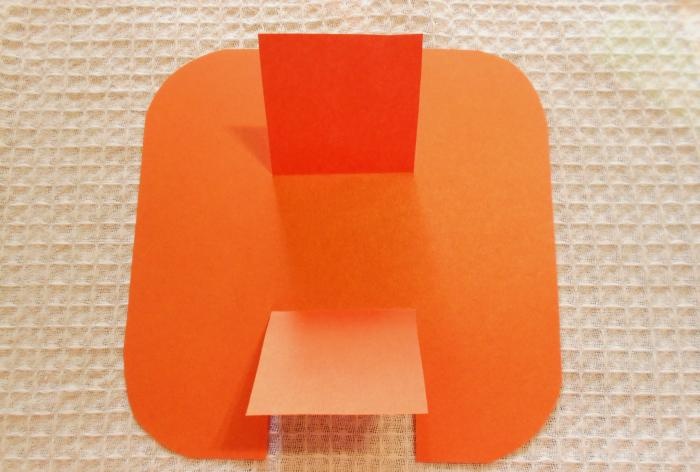
Let's start collecting the basket. We bend the middle parts of the workpiece inside the square.
We place the side part of the workpiece on the middle one. Glue it.
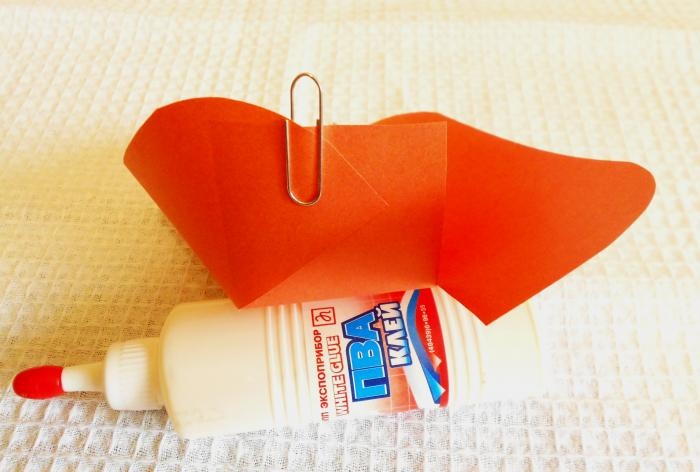
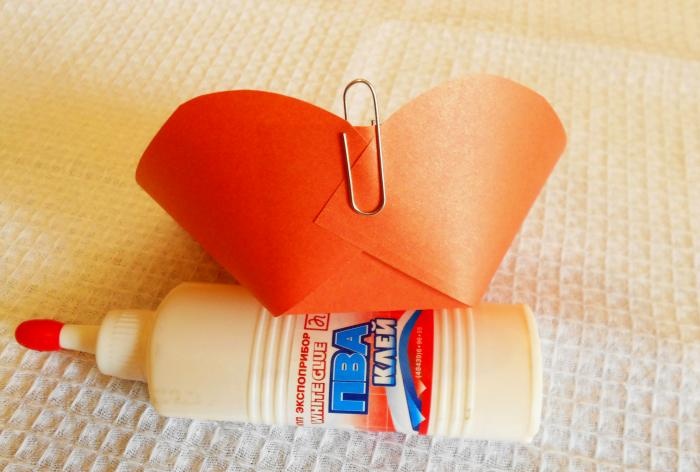
In the same way we bend the remaining three parts of the workpiece.To prevent it from falling apart, it is worth securing the gluing points with paper clips. And after drying, remove them.
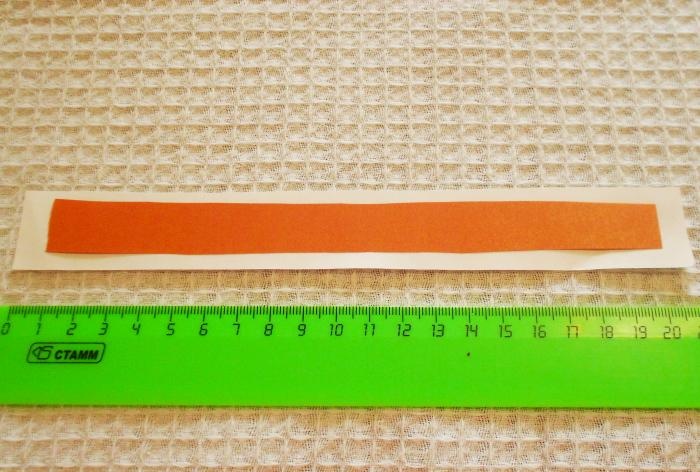
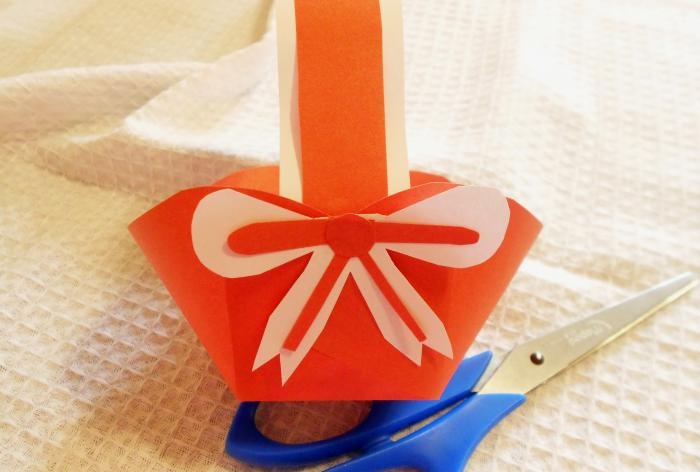
We will make a handle for the basket from two strips superimposed on one another. The first stripe - the wider one - will be white. The second one is a little narrower and orange.
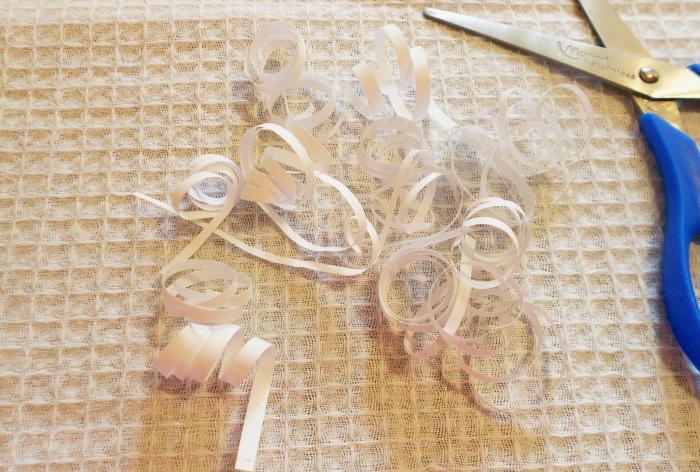
We will fill the empty space in the basket with paper shavings. To do this, cut white paper into narrow strips and curl them using regular scissors.
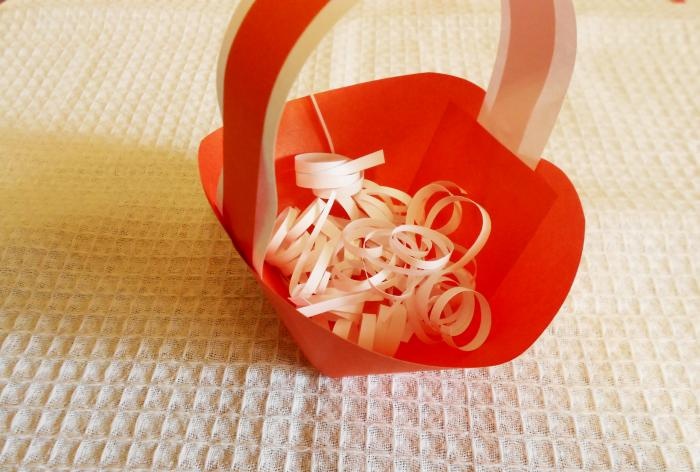
Glue the handle to the basket. Pour paper shavings inside.
To further decorate the basket, we will make a two-color bow out of paper.
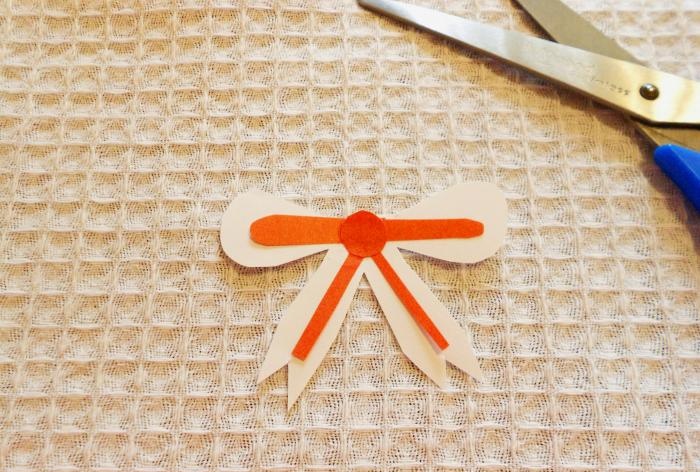
We glue it at the place where the handle is attached to hide possible defects.

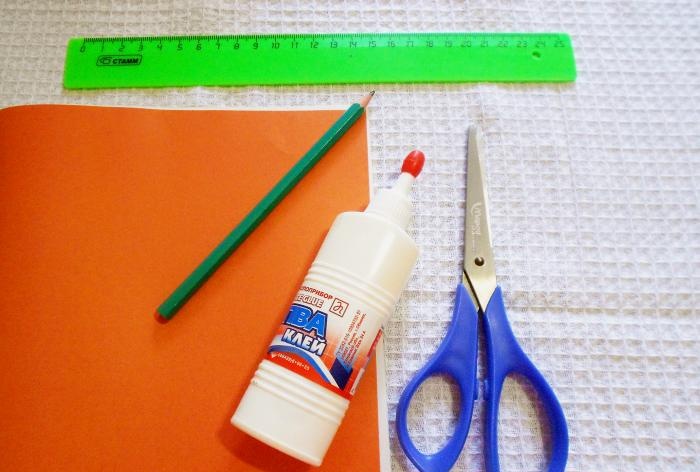
Materials for work:
- colored paper;
- White paper;
- scissors;
- glue;
- pencil;
- ruler.
Easter Basket Instructions

You need to cut out a square from a sheet of colored paper of your favorite color. Its side here is 15 cm. The dimensions may be different. But in order to make calculations convenient in the future, the side length must be chosen as a multiple of three.

On the top and bottom sides we mark sections of 5 and 10 cm. Draw 5 cm sections vertically up (or down) from these points. Cut them with scissors.

We cut off the corners of the square, making them rounded.

Let's start collecting the basket. We bend the middle parts of the workpiece inside the square.

We place the side part of the workpiece on the middle one. Glue it.

In the same way we bend the remaining three parts of the workpiece.To prevent it from falling apart, it is worth securing the gluing points with paper clips. And after drying, remove them.

We will make a handle for the basket from two strips superimposed on one another. The first stripe - the wider one - will be white. The second one is a little narrower and orange.

We will fill the empty space in the basket with paper shavings. To do this, cut white paper into narrow strips and curl them using regular scissors.

Glue the handle to the basket. Pour paper shavings inside.

To further decorate the basket, we will make a two-color bow out of paper.

We glue it at the place where the handle is attached to hide possible defects.

Similar master classes
Particularly interesting
Comments (0)

