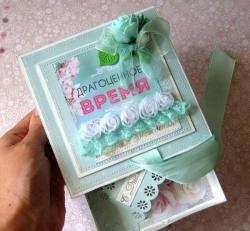
Men's banknote or photo box
Every man probably has a piggy bank, casket or box in which he prefers to store his stash, so that sooner or later he can use it to buy something valuable or give something special to his soulmate. But there is also a so-called piggy bank just to put money aside “for a rainy day.” Our men have individual natures, each with their own taste, so everyone needs to be given present according to his taste and his preferences. And now, for example, it seems to me that it will be very useful for everyone to read this article in order to learn how to make an interesting banknote box for a real man with their own hands.
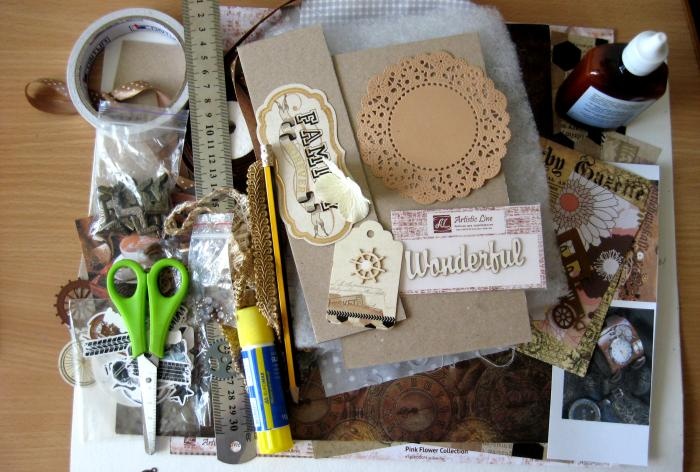
So, for this master class we need to take:
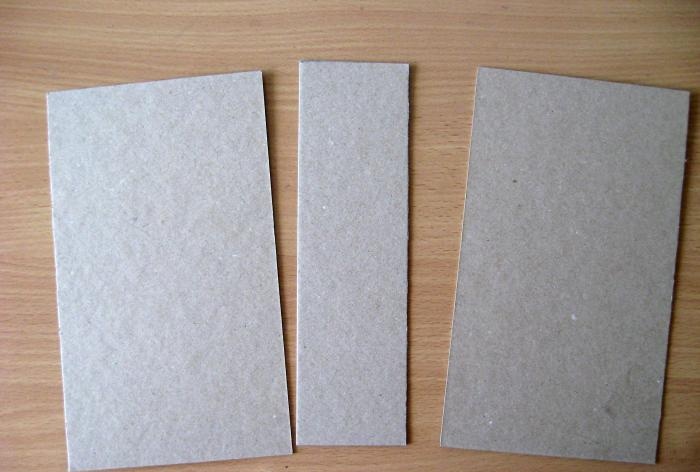
Since we have three binding blanks, we need to connect them into a single solid base, so we cut two strips of 4*21 cm watercolor paper.
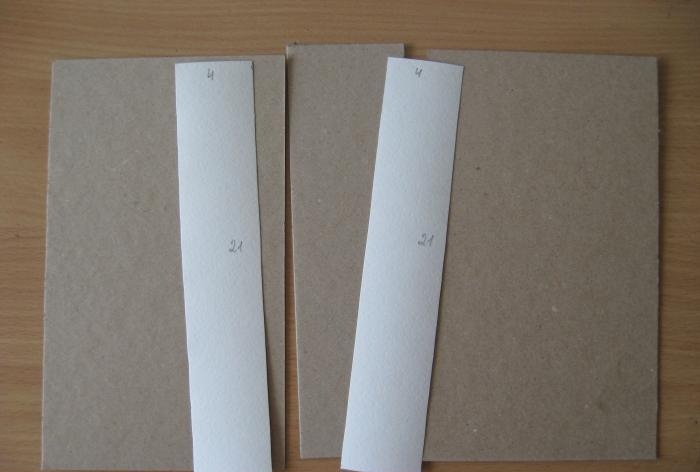
We spread the strips with a glue stick and glue them to the joints between the binding blanks. Now at the joints we draw lines on the bends with scissors so that this base fits well.
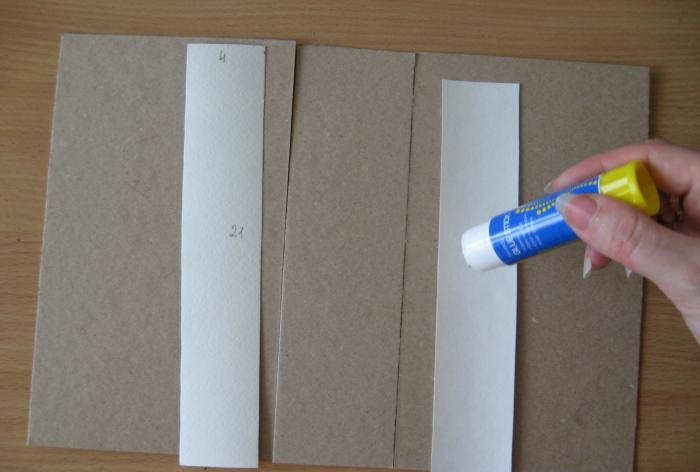
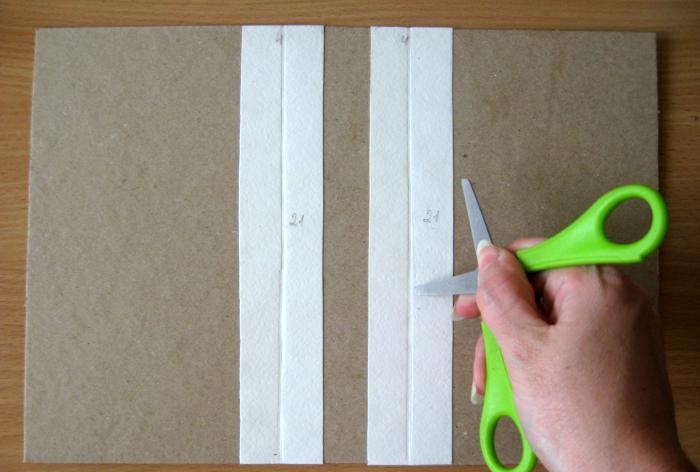
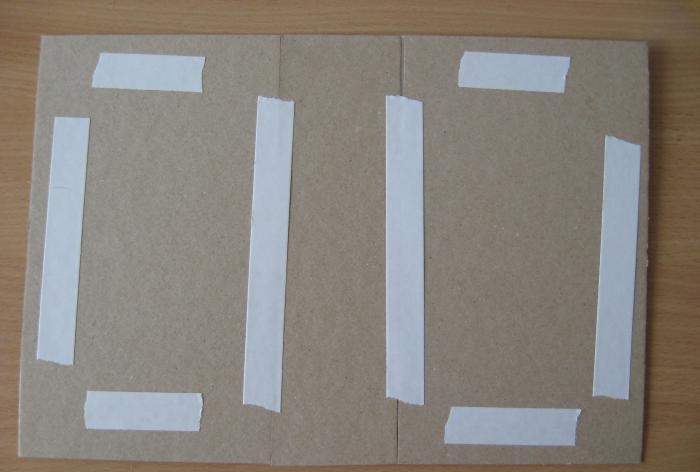
Now we turn it over and glue strips of tape.
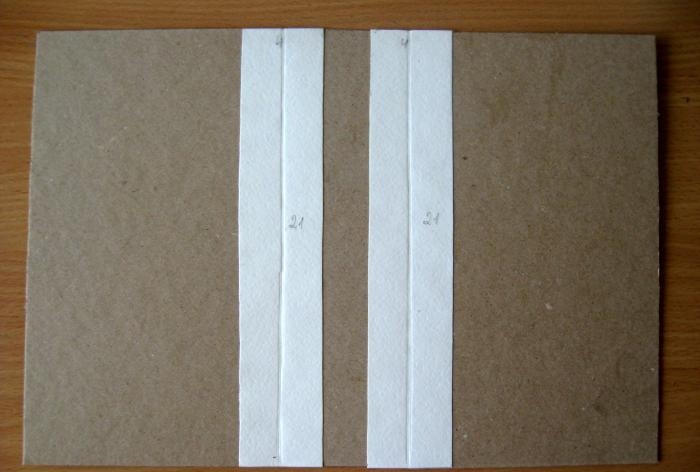
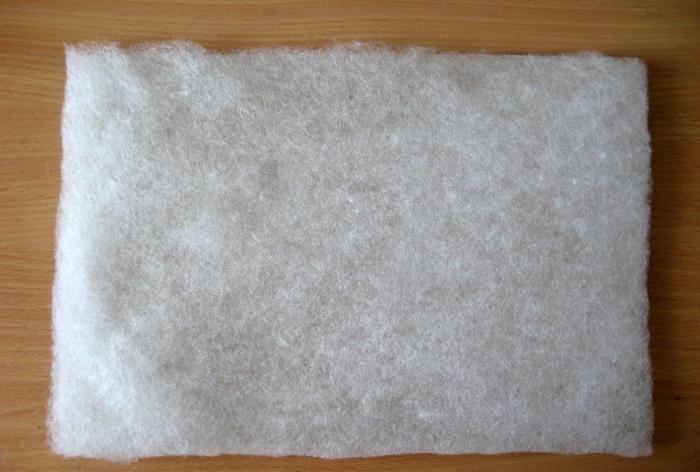
And glue the padding polyester. Now take the fabric and smooth it thoroughly with an iron.
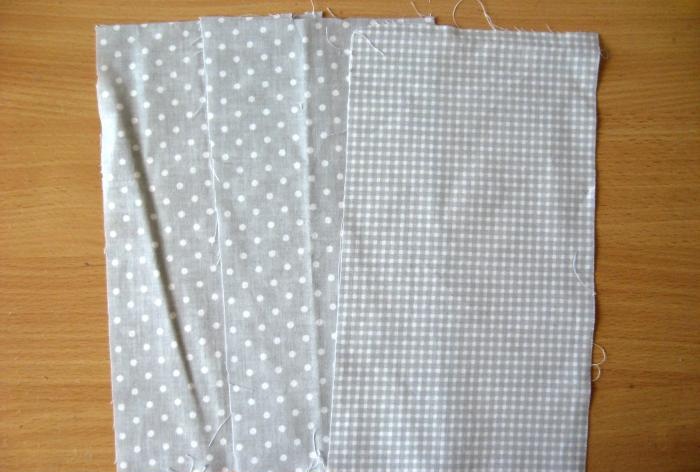
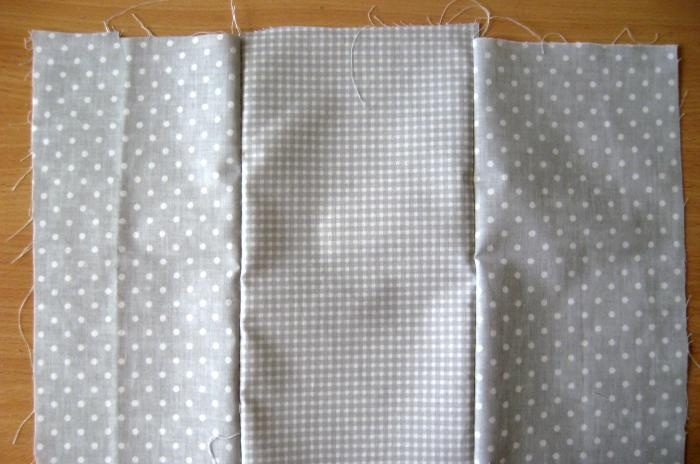
We sew the pieces of fabric together into a single fabric. Now we place this piece of fabric face down. Now we place the binding part, coat the edges and corners with a glue stick.
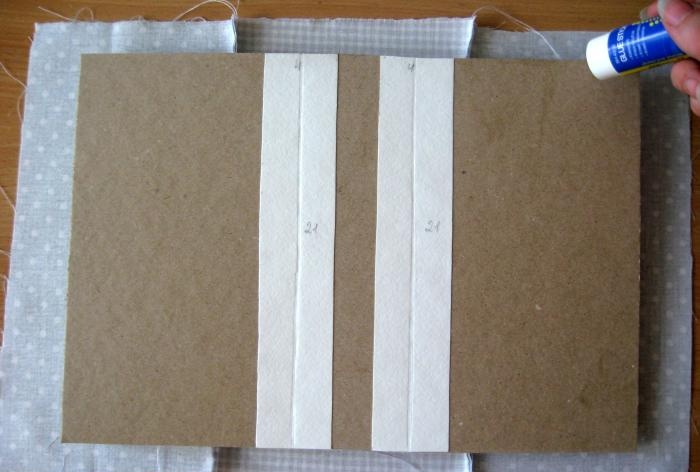
We wrap and cover the main part of our box with fabric in this way. Now we glue strips of tape in the center from the inside.
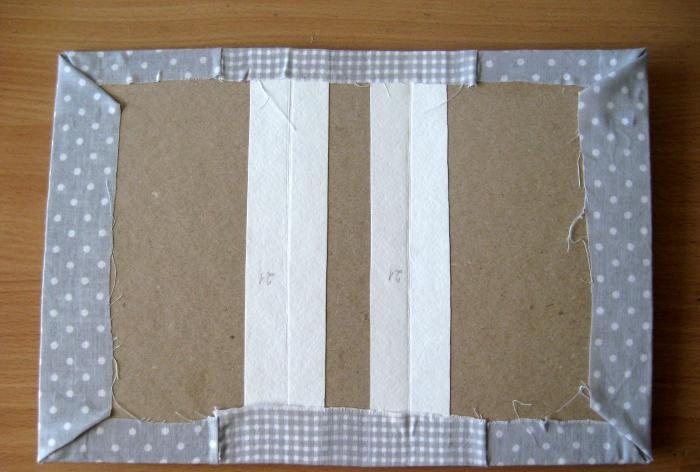
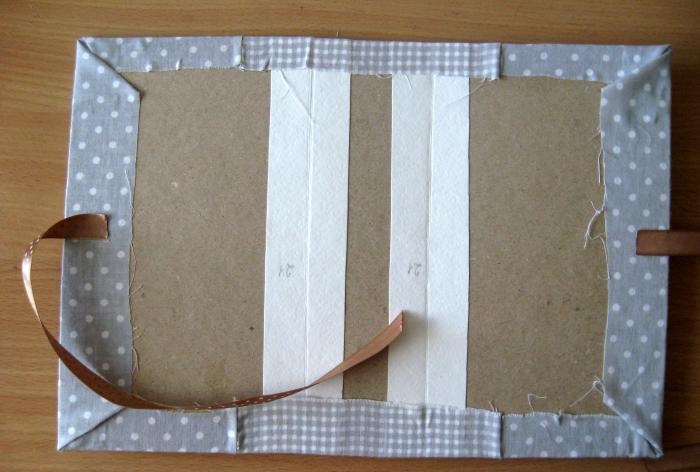
Sew along the edge. Now we cut the following pieces of paper from watercolor paper and take two pictures.
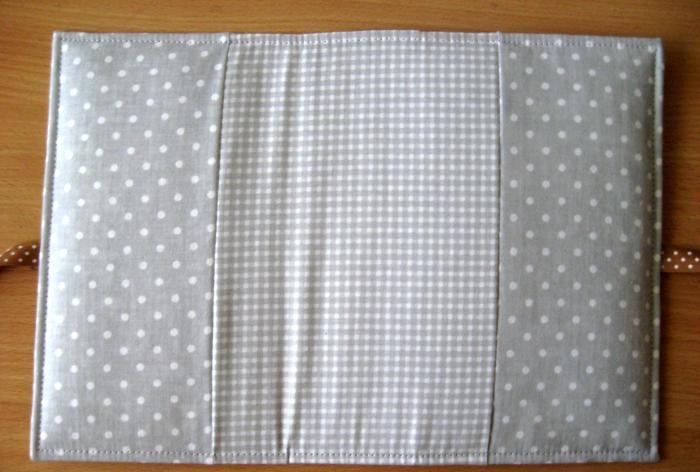
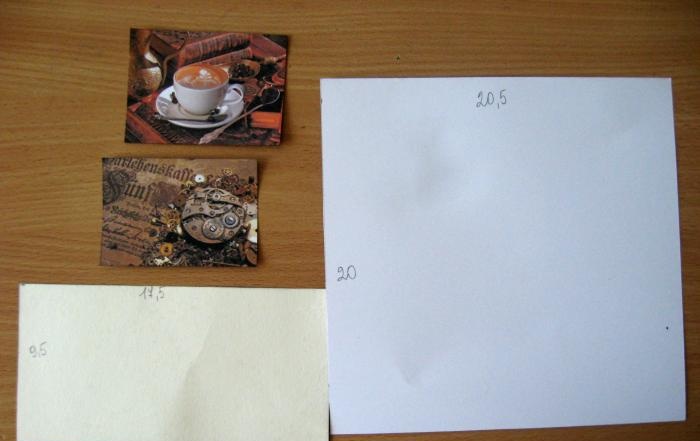
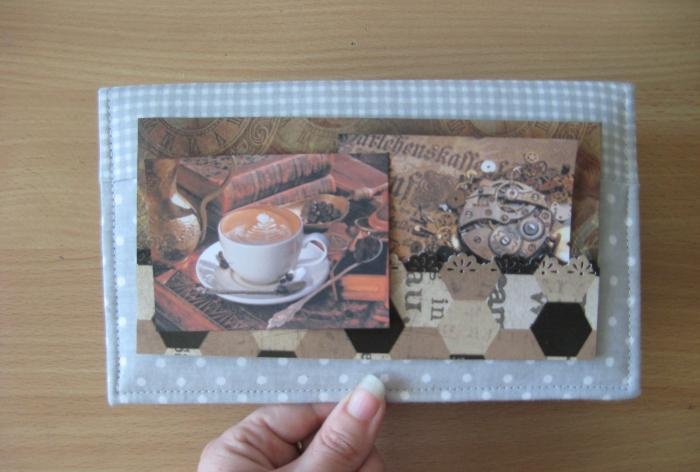
We put everything on the cover like this, then we will stitch everything in the same sequence. Now we take a large watercolor blank.
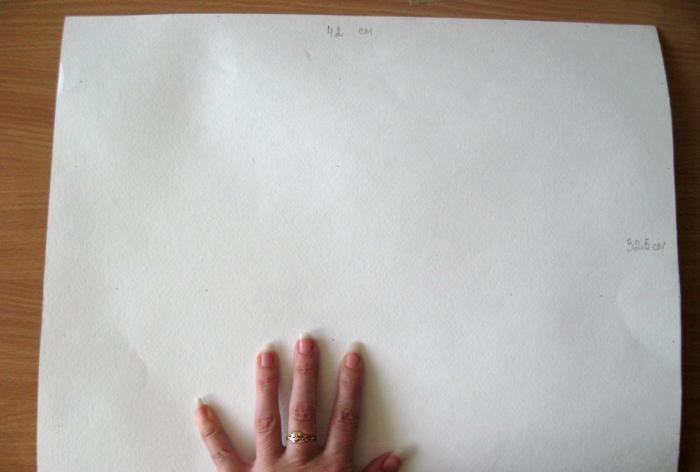
We divide it into parts and cut off the excess.
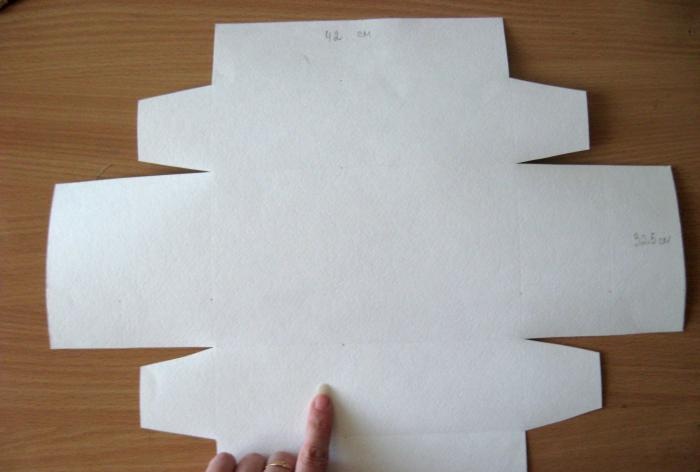
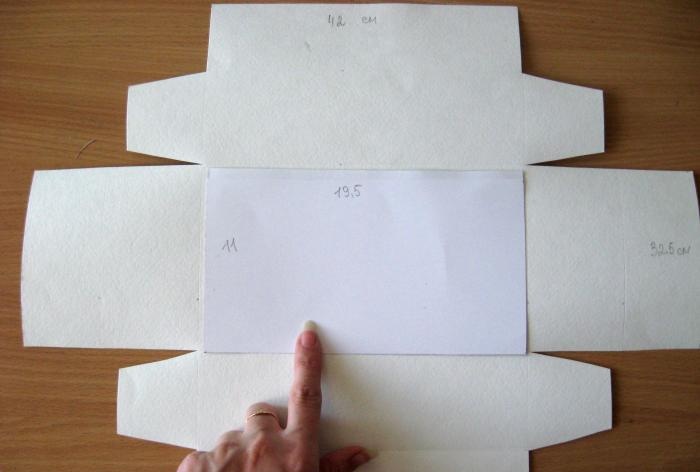
We insert binding rectangles into the side parts from the inside, and glue the same blanks from scrap paper on the outside. We sew each side separately from the front.
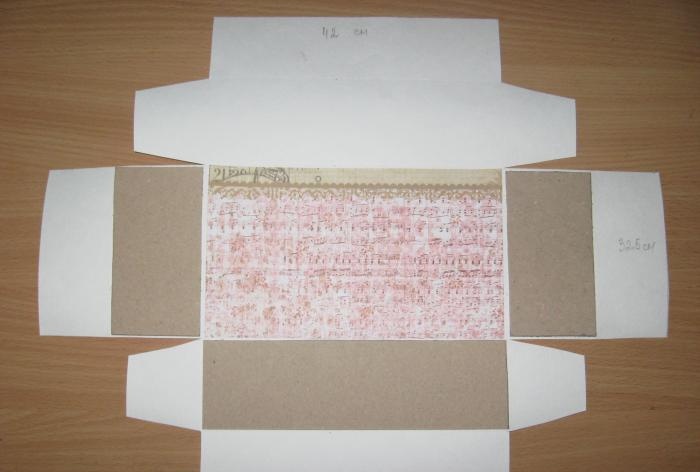
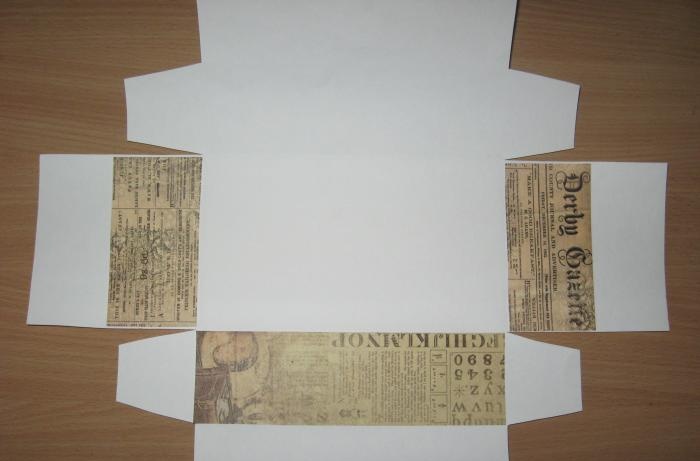
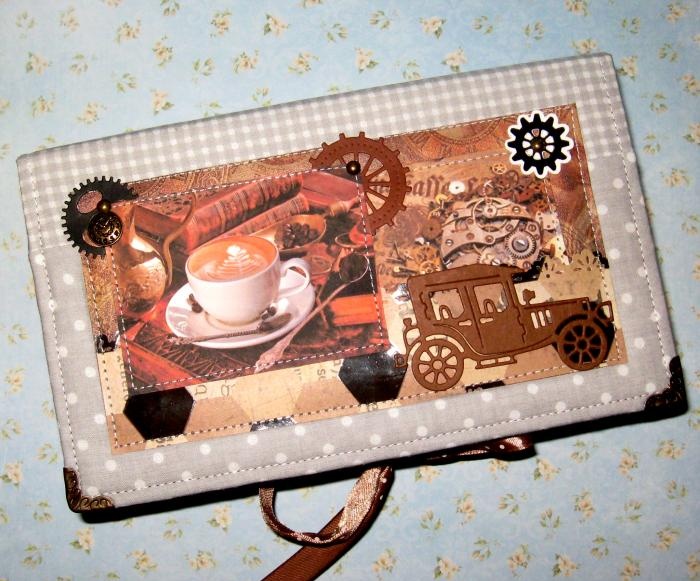
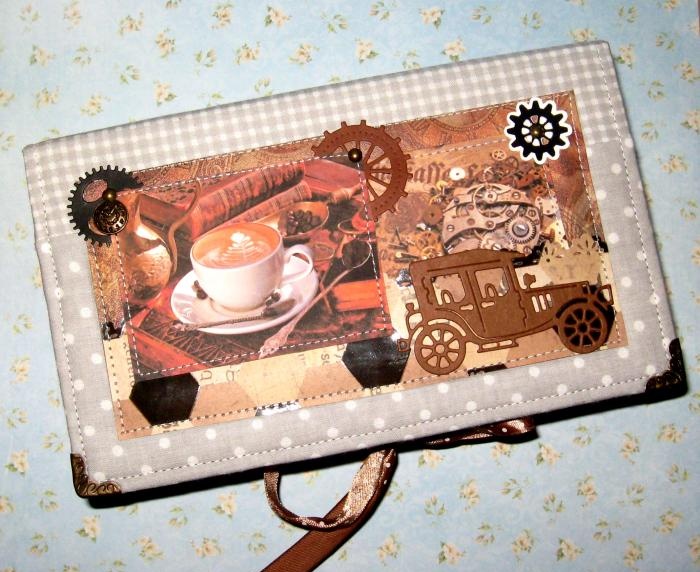
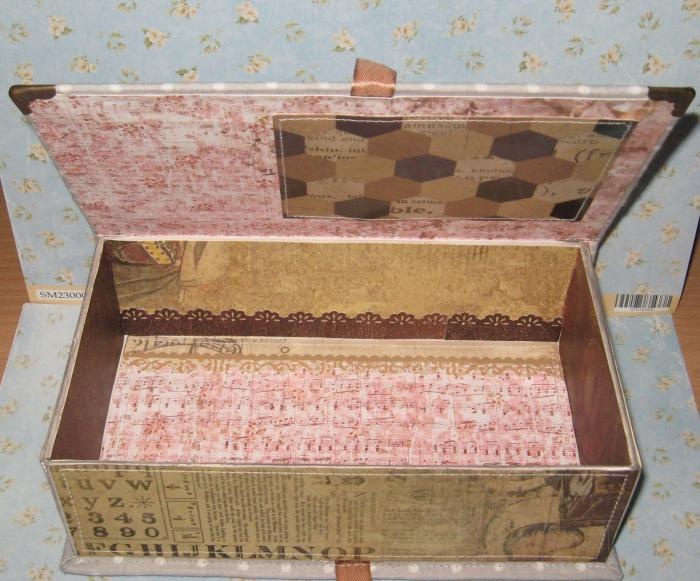
We glue gears onto the cover, insert brads, and a pendant onto the brads. Now we glue the scrap paper inside and put it under the press.
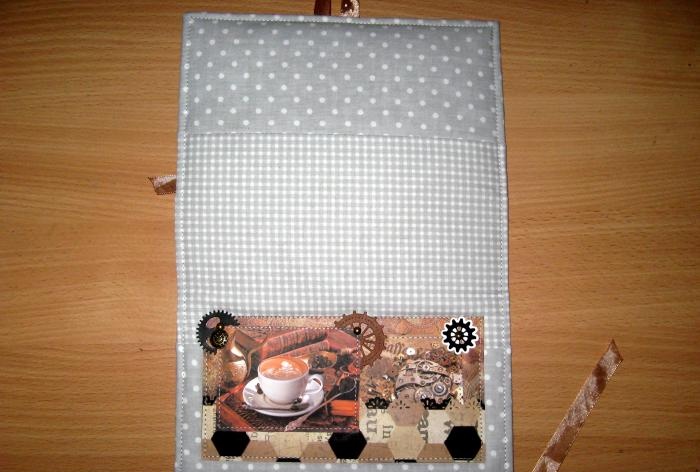
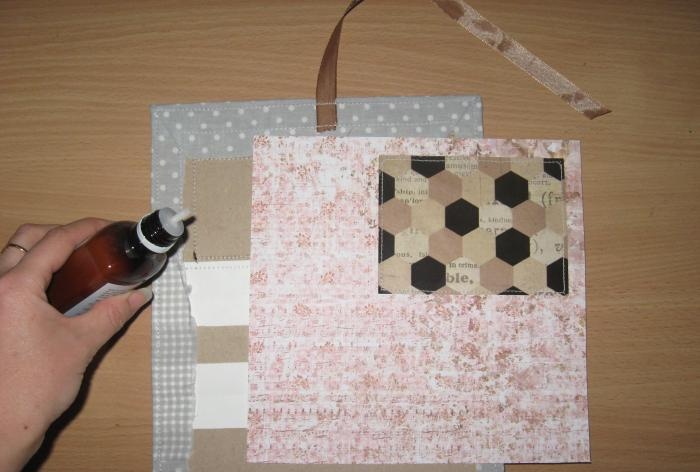
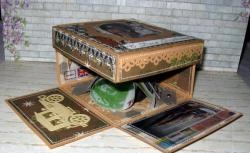
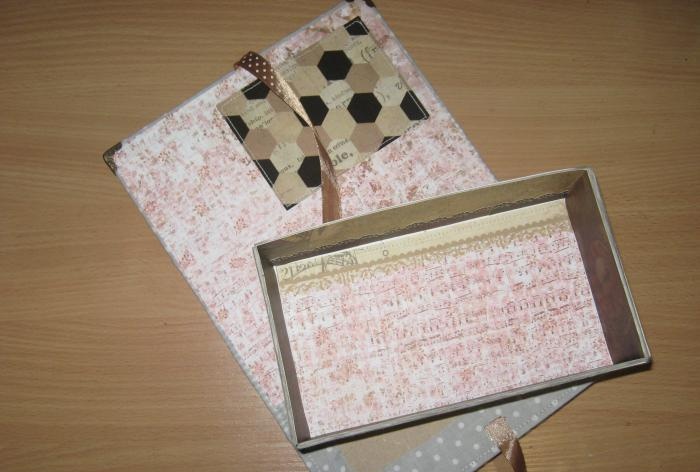
We assemble and glue the bottom of our box and now glue it into the upper main part of our cover. We also put our box under the press. We insert the corners, glue the machine and our banknote holder is ready.Thank you for your attention, good luck to everyone and bye!!!
So, for this master class we need to take:
- Migratory cardboard, two sheets 11.5*21 cm, one 6*21 cm;
- Fabric in gray tones with checks and polka dots, we need Polish cotton;
- Scrappaper in masculine colors in brown, taupe;
- Sintepon;
- Pictures with coffee and gears;
- Die-cut gears, machine, men's die-cuts;
- Bronze colored watch pendant;
- Bronze metal brads;
- Bronze metal corners;
- Watercolor paper;
- Brown satin ribbon with white polka dots;
- Double-sided tape, glue stick, Focus glue;
- Scissors, pencil and ruler.


Since we have three binding blanks, we need to connect them into a single solid base, so we cut two strips of 4*21 cm watercolor paper.


We spread the strips with a glue stick and glue them to the joints between the binding blanks. Now at the joints we draw lines on the bends with scissors so that this base fits well.


Now we turn it over and glue strips of tape.


And glue the padding polyester. Now take the fabric and smooth it thoroughly with an iron.


We sew the pieces of fabric together into a single fabric. Now we place this piece of fabric face down. Now we place the binding part, coat the edges and corners with a glue stick.


We wrap and cover the main part of our box with fabric in this way. Now we glue strips of tape in the center from the inside.


Sew along the edge. Now we cut the following pieces of paper from watercolor paper and take two pictures.


We put everything on the cover like this, then we will stitch everything in the same sequence. Now we take a large watercolor blank.


We divide it into parts and cut off the excess.


We insert binding rectangles into the side parts from the inside, and glue the same blanks from scrap paper on the outside. We sew each side separately from the front.


We glue gears onto the cover, insert brads, and a pendant onto the brads. Now we glue the scrap paper inside and put it under the press.


We assemble and glue the bottom of our box and now glue it into the upper main part of our cover. We also put our box under the press. We insert the corners, glue the machine and our banknote holder is ready.Thank you for your attention, good luck to everyone and bye!!!


Similar master classes
Particularly interesting
Comments (0)


